![Photo Pebbles](https://craft.ideas2live4.com/wp-content/uploads/sites/4/2015/04/PhotoPebbles07.jpg)
Sometimes it’s just fun to do some arts and crafts with no particular reason or goal. There are moments when we just feel like doing something creative just because. And this is one of those projects.
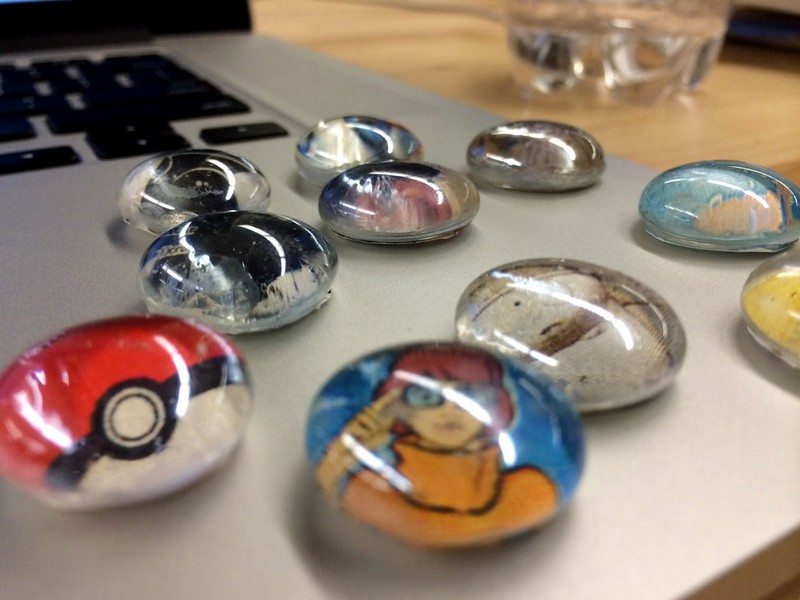
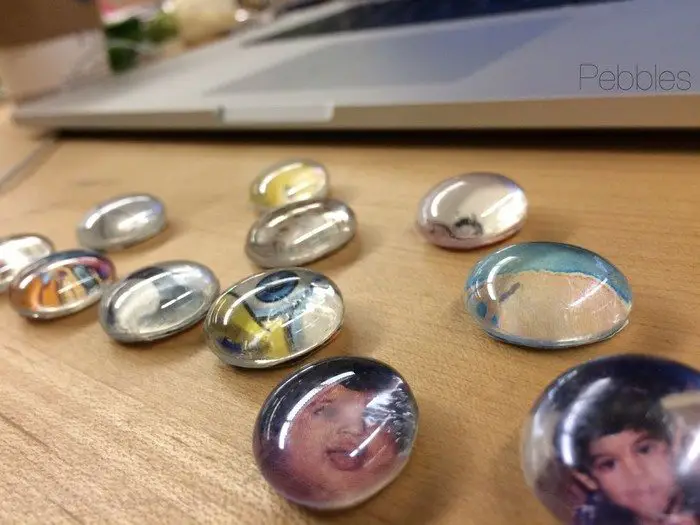
After trying it, I thought they are a cute thing to have on the work table. Put pictures of your loved ones, and when you’re stressed out you can simply look at these cute little photo pebbles to smile. I also like playing with pebbles in my hand I think that’s why this works for me :)
![Photo Pebbles](https://craft.ideas2live4.com/wp-content/uploads/sites/4/2015/04/Photo-Pebbles-6.jpg)
Click on any image to start the lightbox display. Use your Esc key to close the lightbox.
![Photo Pebbles](https://craft.ideas2live4.com/wp-content/uploads/sites/4/2015/04/Photo-Pebbles-1.jpg)
![Photo Pebbles](https://craft.ideas2live4.com/wp-content/uploads/sites/4/2015/04/Photo-Pebbles-2.jpg)
![Photo Pebbles](https://craft.ideas2live4.com/wp-content/uploads/sites/4/2015/04/Photo-Pebbles-3.jpg)
![Photo Pebbles](https://craft.ideas2live4.com/wp-content/uploads/sites/4/2015/04/Photo-Pebbles-4.jpg)
![Photo Pebbles](https://craft.ideas2live4.com/wp-content/uploads/sites/4/2015/04/Photo-Pebbles-5.jpg)
![Photo Pebbles](https://craft.ideas2live4.com/wp-content/uploads/sites/4/2015/04/Photo-Pebbles-6.jpg)
Materials for making photo pebbles:
- Glass Pebbles
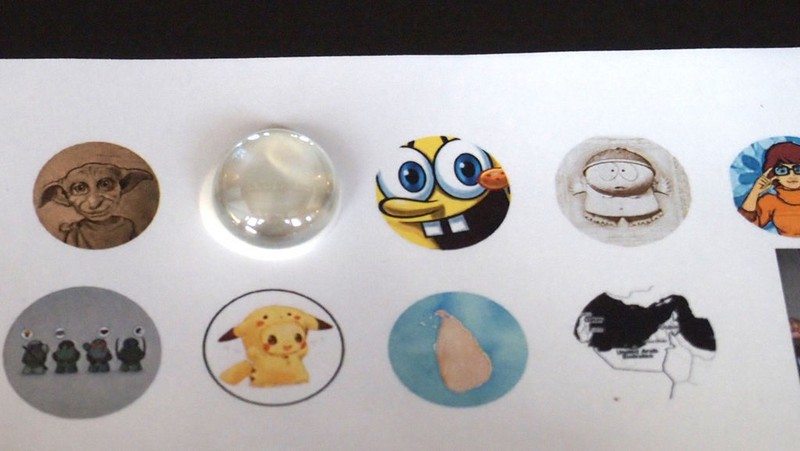
- Printed Scaled Images
- Elmer’s Glue/Mod Podge
Steps:
![Photo Pebbles](https://craft.ideas2live4.com/wp-content/uploads/sites/4/2015/04/PhotoPebbles01.jpg)
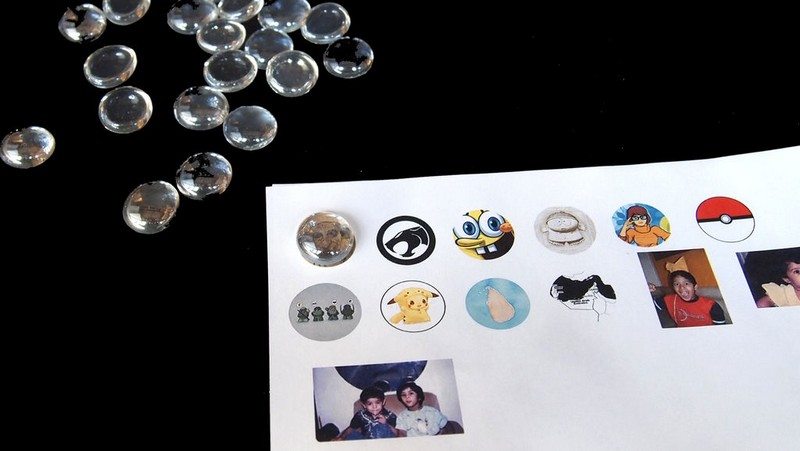
Some bags of glass pebbles consist of different sizes. If that’s the case for you, you just need to take a little extra time to match the right size of pebble for each photo.
![Photo Pebbles](https://craft.ideas2live4.com/wp-content/uploads/sites/4/2015/04/PhotoPebbles02.jpg)
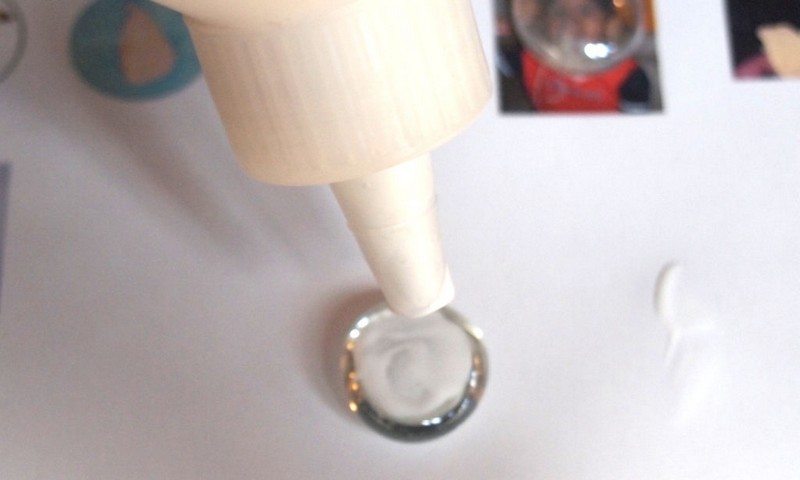
Apply glue at the back of the pebble…
![Photo Pebbles](https://craft.ideas2live4.com/wp-content/uploads/sites/4/2015/04/PhotoPebbles03.jpg)
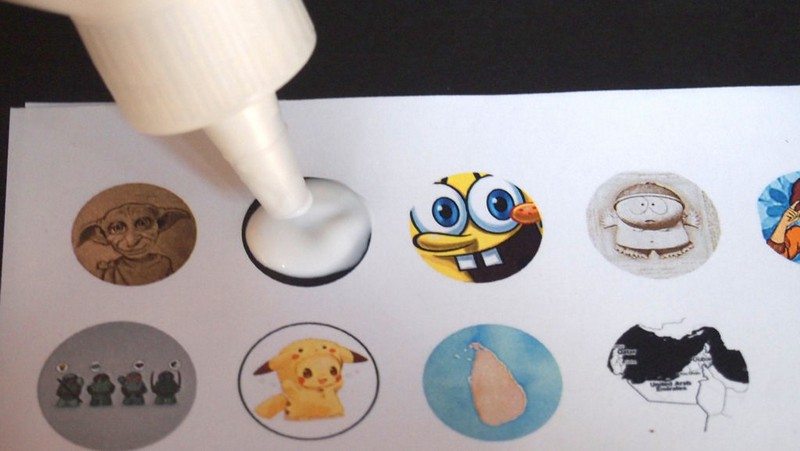
or directly on the photo.
![Photo Pebbles](https://craft.ideas2live4.com/wp-content/uploads/sites/4/2015/04/PhotoPebbles04.jpg)
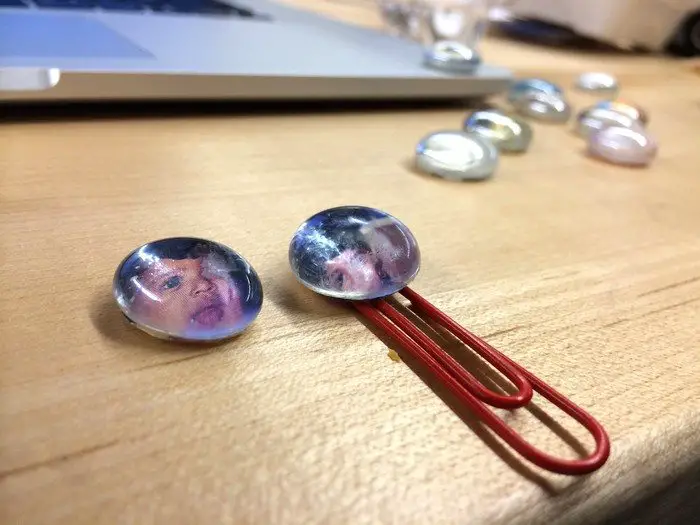
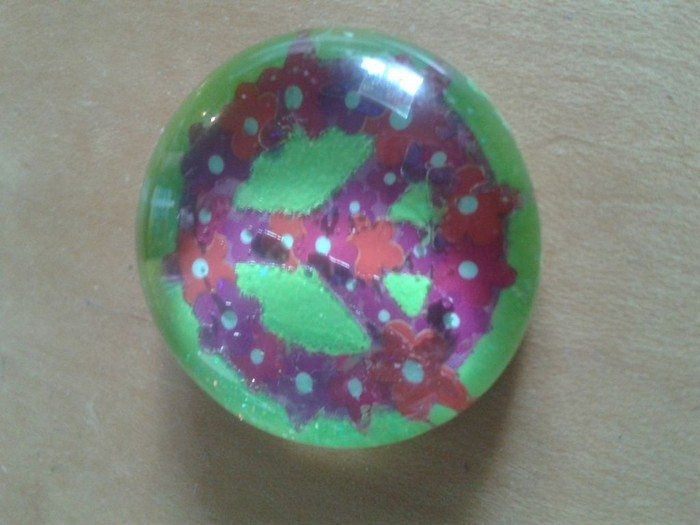
Then stick the pebble to the photo, and push down hard to get rid of excess glue. Once the glue is dry, you’ll be able to see the image again.
![Photo Pebbles](https://craft.ideas2live4.com/wp-content/uploads/sites/4/2015/04/PhotoPebbles05.jpg)
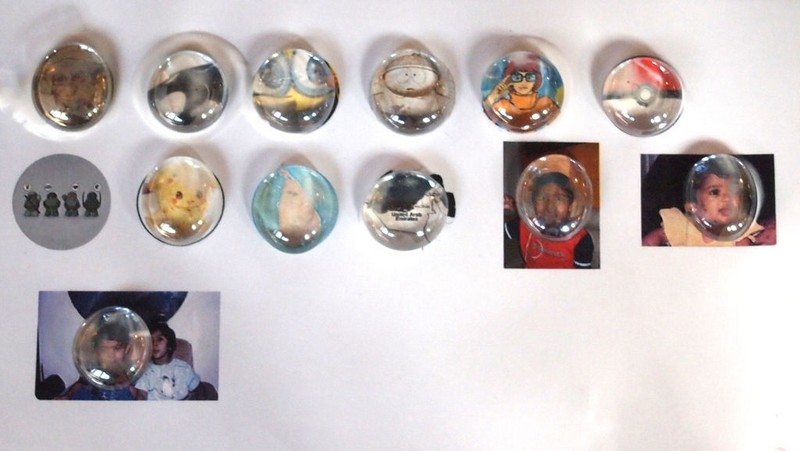
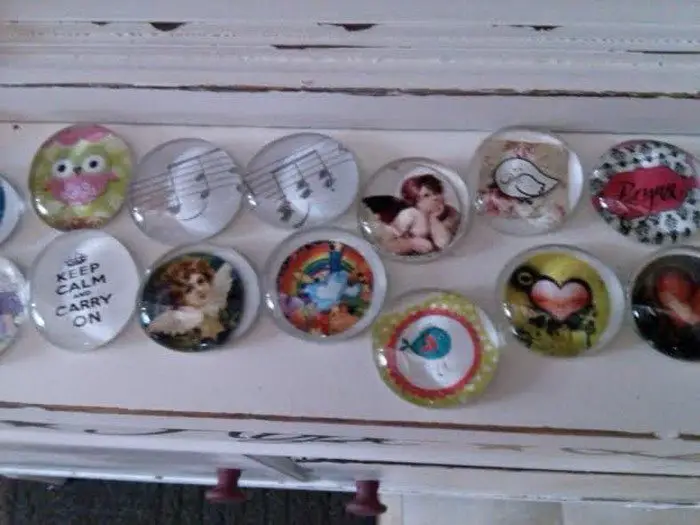
Create as many as you can because these photo pebbles look cuter when they’re plenty.
![Photo Pebbles](https://craft.ideas2live4.com/wp-content/uploads/sites/4/2015/04/PhotoPebbles06.jpg)
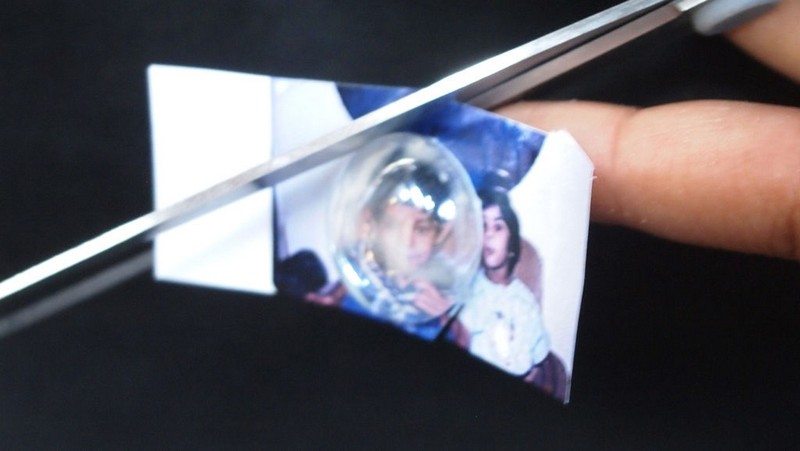
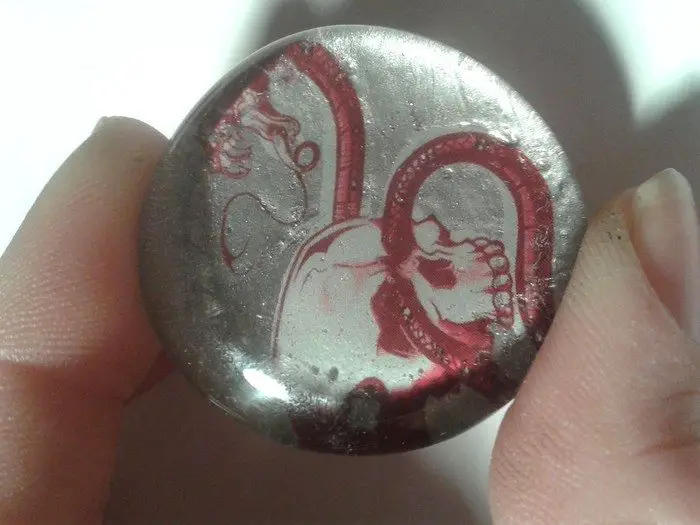
When the glue has dried, cut out the image around the pebble, going as close to the edge as possible.
![Photo Pebbles](https://craft.ideas2live4.com/wp-content/uploads/sites/4/2015/04/PhotoPebbles08.jpg)
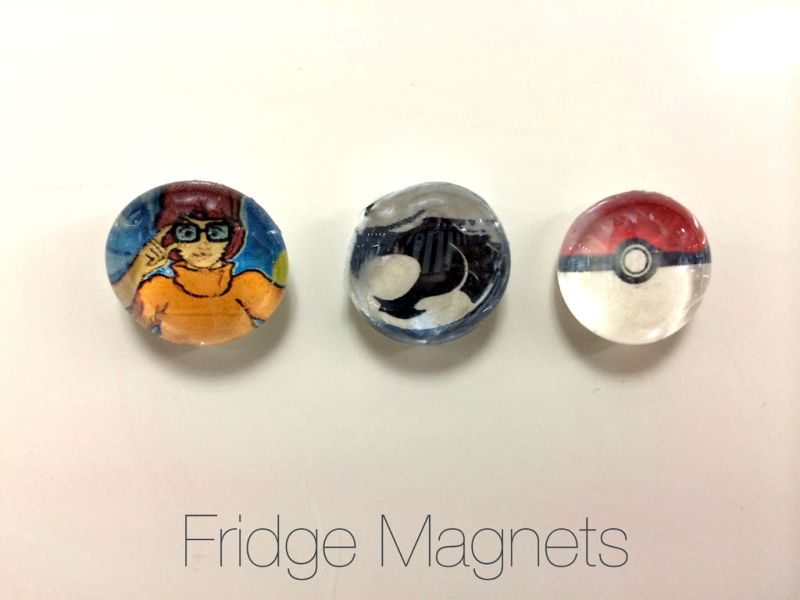
You can also attach a magnet at the back so you could use them as refrigerator magnet decor. :)