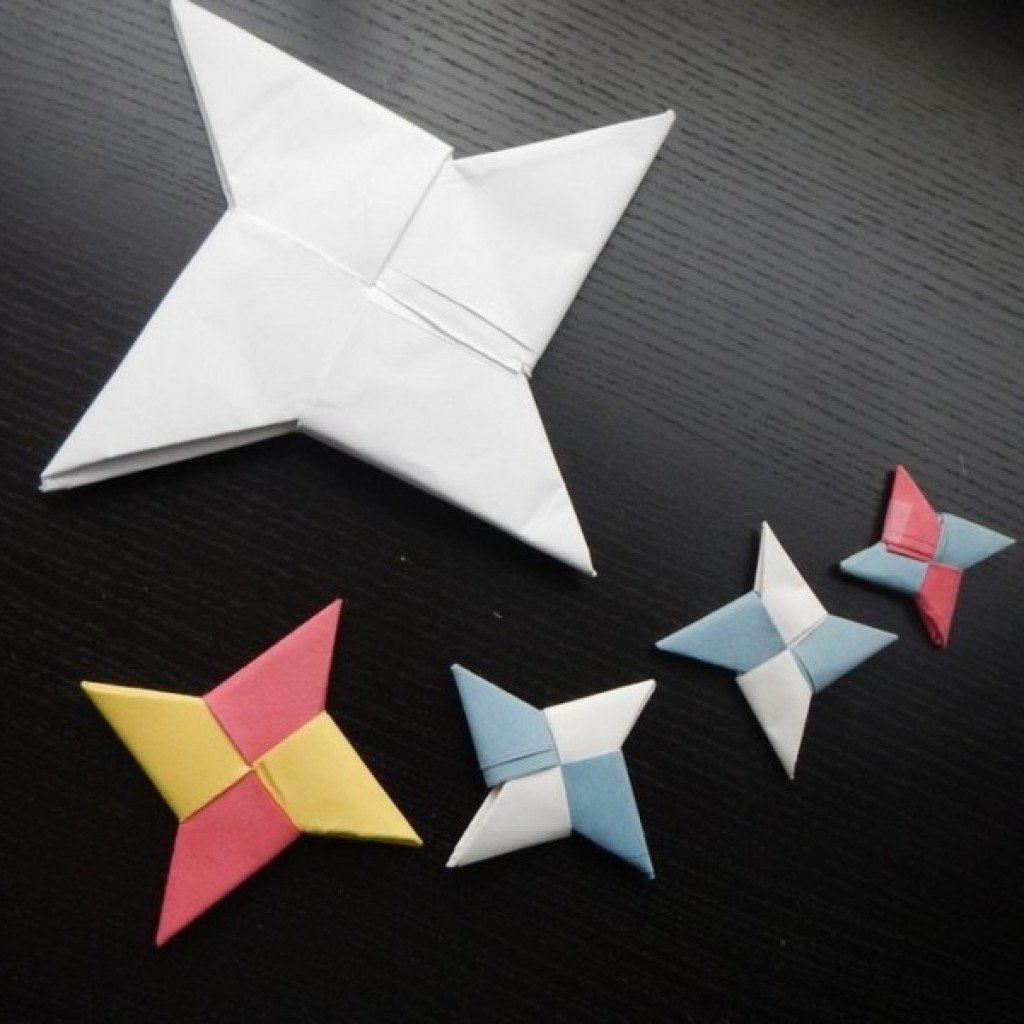
This is one of the classic origami many kids before the computer era enjoyed making. I remembered this while watching Ninja Assassin on the television the other day. It’s easy and fun to throw around which we could teach kids and let them play with.
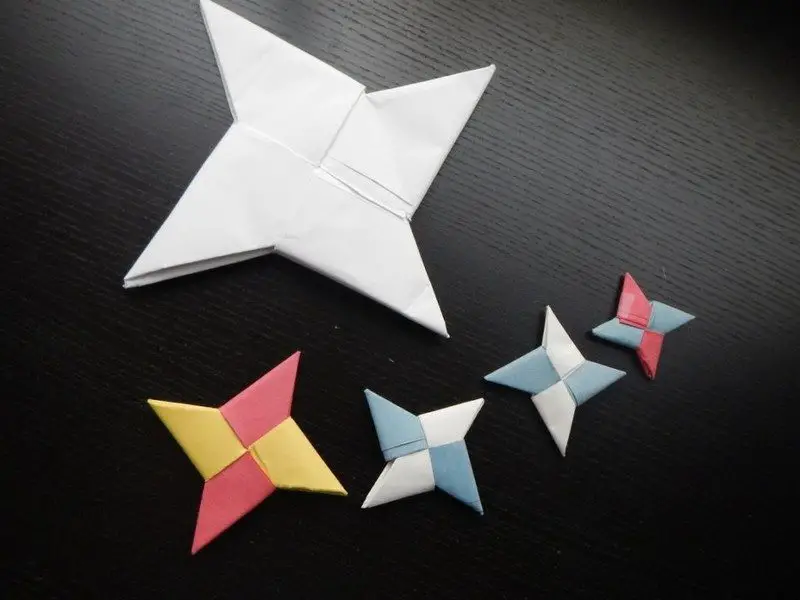
What you’ll need: 2 pieces of Square Construction Paper for one star
Steps:
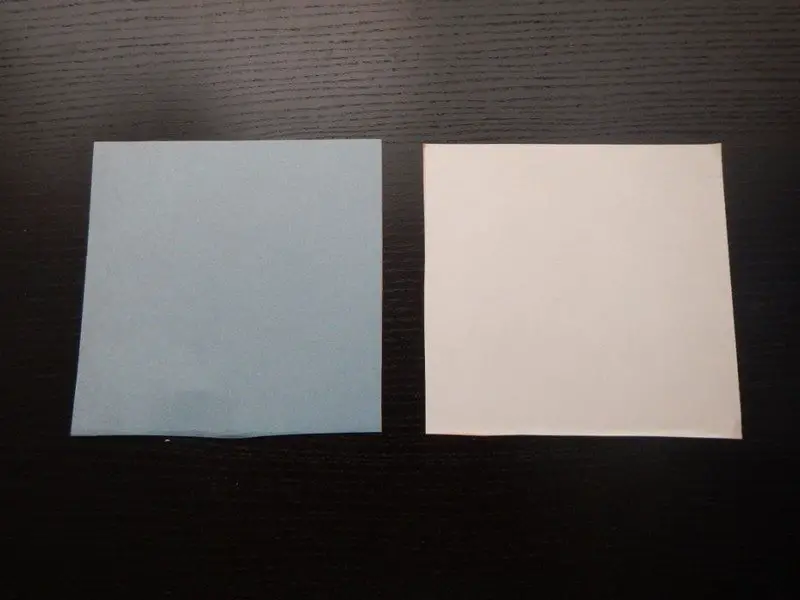
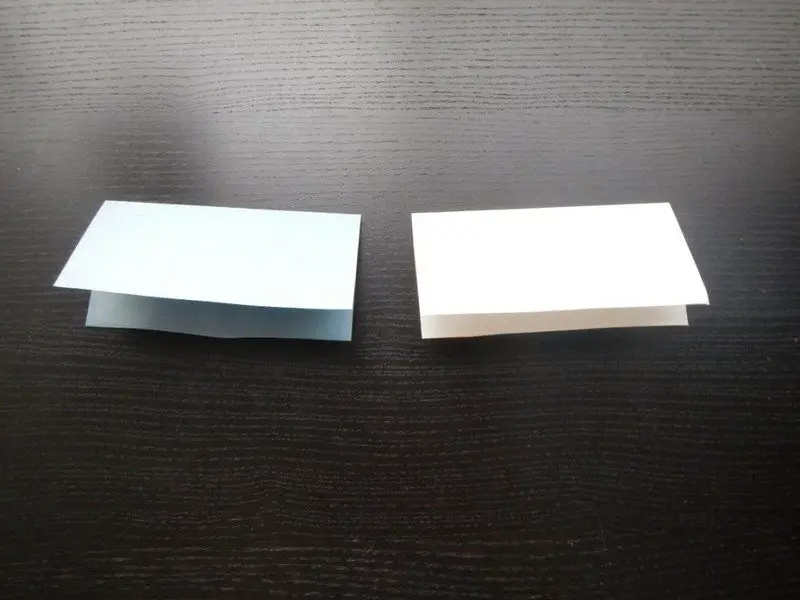
Fold the paper crosswise twice.

Fold it in half horizontally.
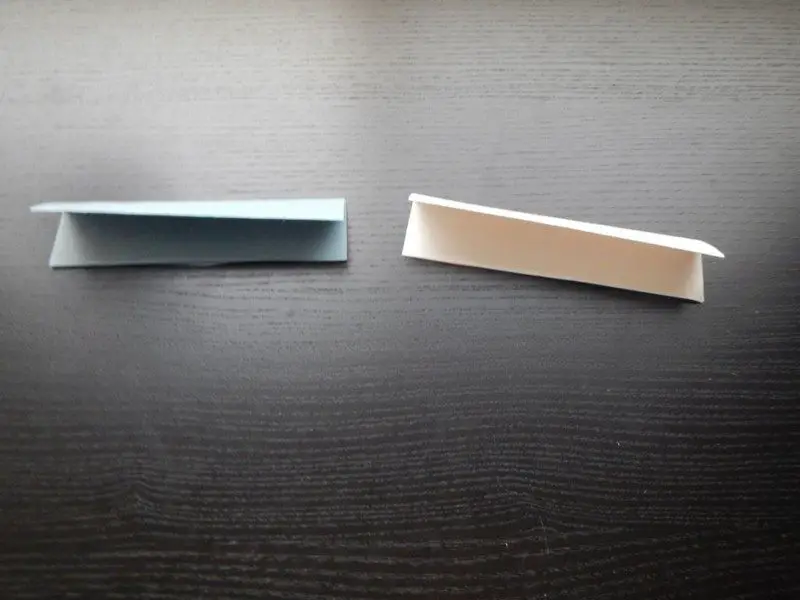
Fold one side of the one piece up until the fold mark you have made in the previous step. Then fold one side of the other piece downward, again, aligning the nearer edge to the fold mark previously made.
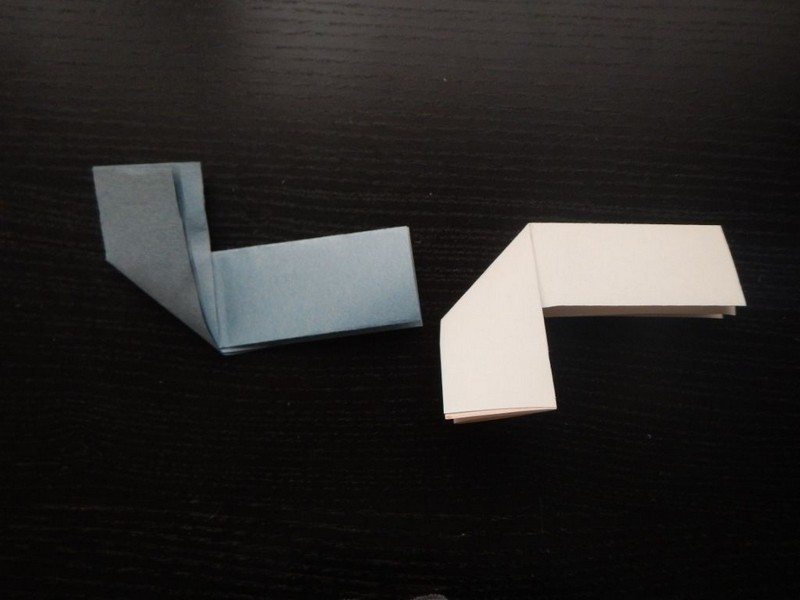
Fold their opposite sides in the other direction, like in the photo below.
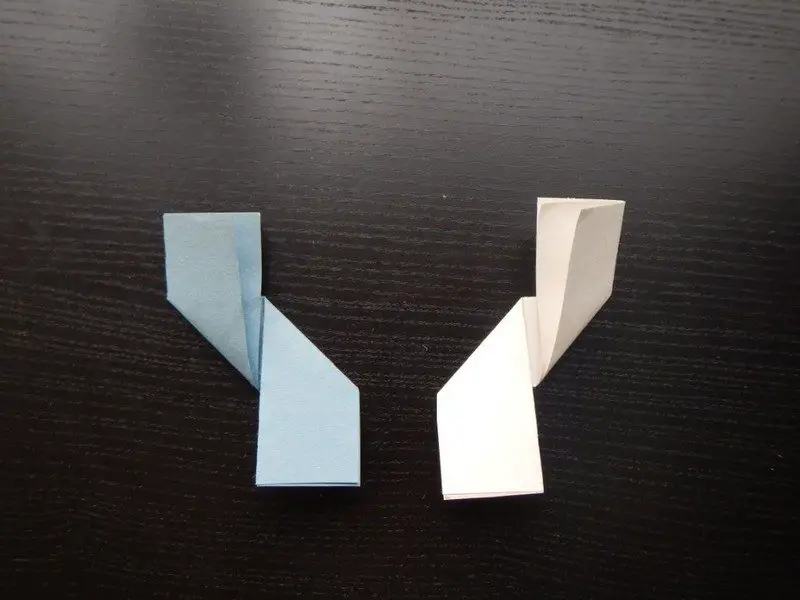
Flip them over…
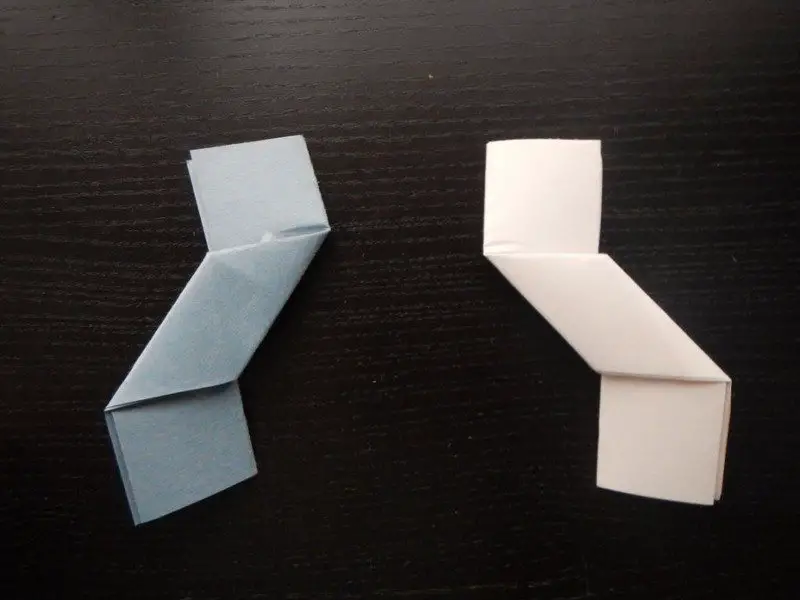
Continued Page 2…


