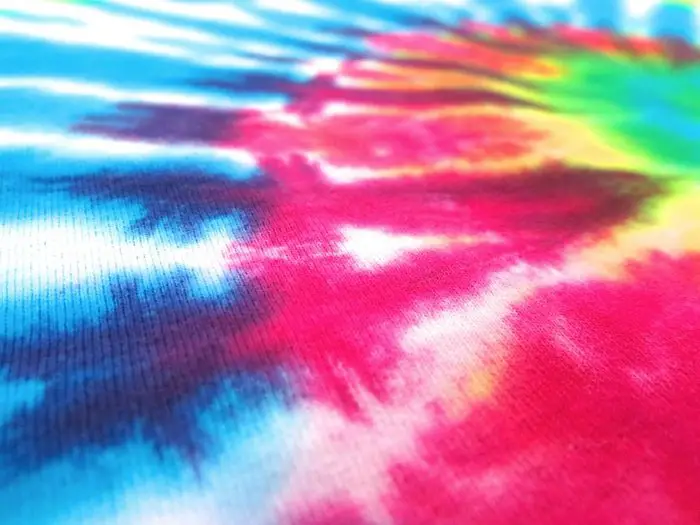
Every time I see a tie-dye shirt, I remember the early 90’s. It is mostly associated with the 1960s era, but I know it became popular again in the 90s. It was the time when almost everybody I saw was wearing these multicoloured tops.
I still think they are cute to own though. If you have old white shirts that aren’t pristine anymore, you can try giving them this hippie look.
Tie-dyes work best with 100% cotton, but you can also use silk or rayon. A 50% cotton, and 50% polyester is okay but the results will not be as good. Don’t bother with 100% polyester as your dyes will not hold at all.
Contents
- 1 What are the materials needed to create tie-dye shirts?
- 2 Creative tie-dye shirt ideas.
- 3 How to create tie-dye shirts?
- 3.0.0.1 1. Clean the shirts
- 3.0.0.2 2. Soak the shirts
- 3.0.0.3 3. Arrange the shirts in a pie-form
- 3.0.0.4 4. Dye the shirts
- 3.0.0.5 5. Place the shirt in a ziplock
- 3.0.0.6 6. Rinse the shirts
- 3.0.0.7 7. Hang and dry
- 3.0.0.8 Source: stinkymum
- 3.0.0.9 If you liked this project, you might also like to view Old T-Shirt Projects…
What are the materials needed to create tie-dye shirts?
You’ll need the following materials to create your own tie-dye shirts.
- White Shirt
- Procion Dyes (at least three different colours)
- Apron
- Rubber Bands
- Rubber/Plastic Gloves
- Squeeze Bottles (depending on how many colours you will use)
- Urea
- Soda Ash
- Salt
- Small Tub
- Paper Towels (or old rags for cleaning)
- Plastic Cover (to cover work area)
- Ziploc
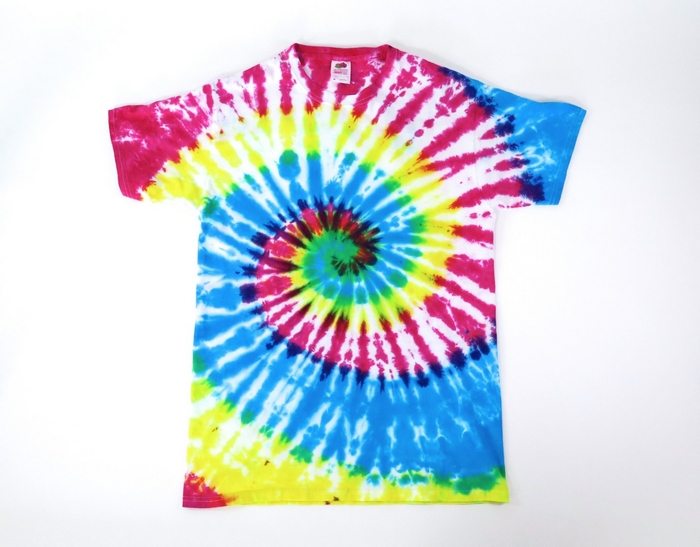
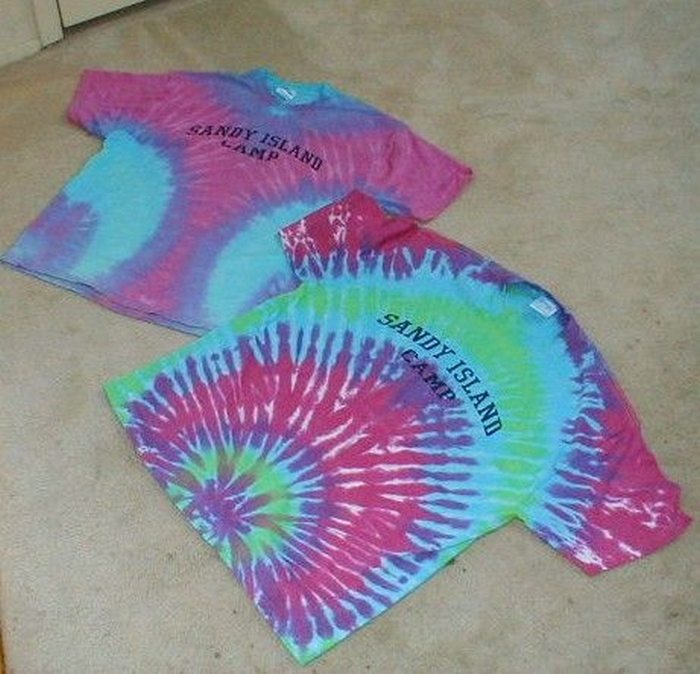
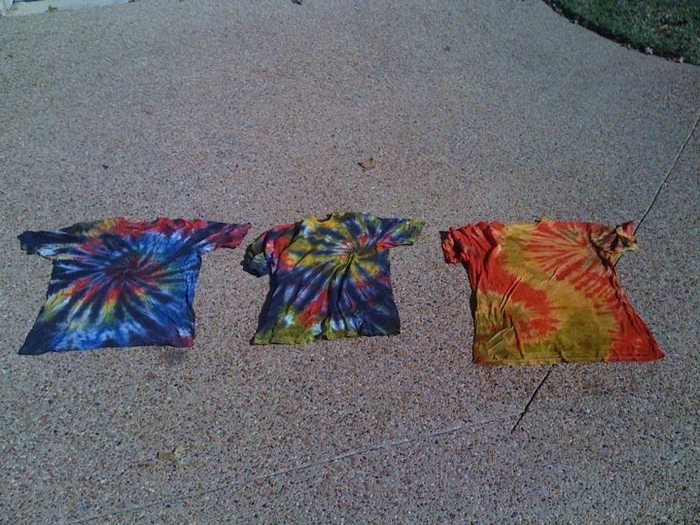
Creative tie-dye shirt ideas.
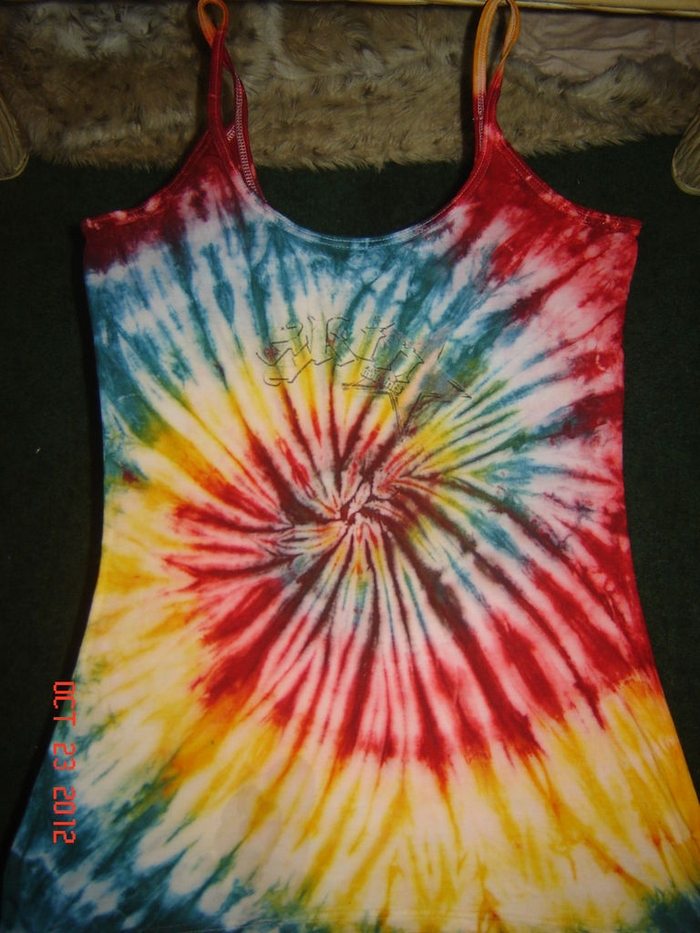
Below are samples of our create tie-dye shirt ideas that you can choose from.
Click on any image to start the lightbox display. Use your Esc key to close the lightbox.![]()
How to create tie-dye shirts?
This tutorial shows how to do a spiral rainbow design, and uses three main colours – yellow, fuchsia, and turquoise.
1. Clean the shirts
Always wash the shirt first, whether it is newly bought or not.
Wear old clothes. gloves and an apron for extra protection.
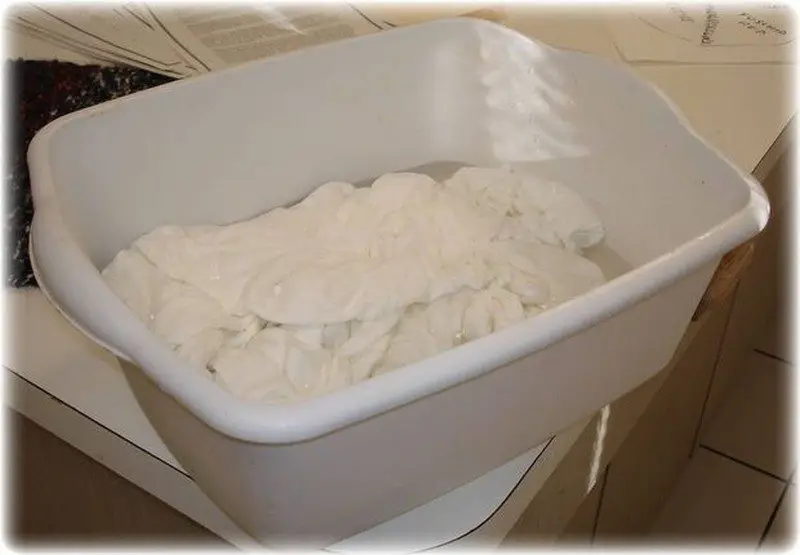
2. Soak the shirts
Mix warm baby-bath water, 2 tablespoons of salt, and soda ash (follow instructions on the soda ash package), and soak the shirt in it for about 10 minutes. Wring the shirt thoroughly, the drier the better the absorption of colours.
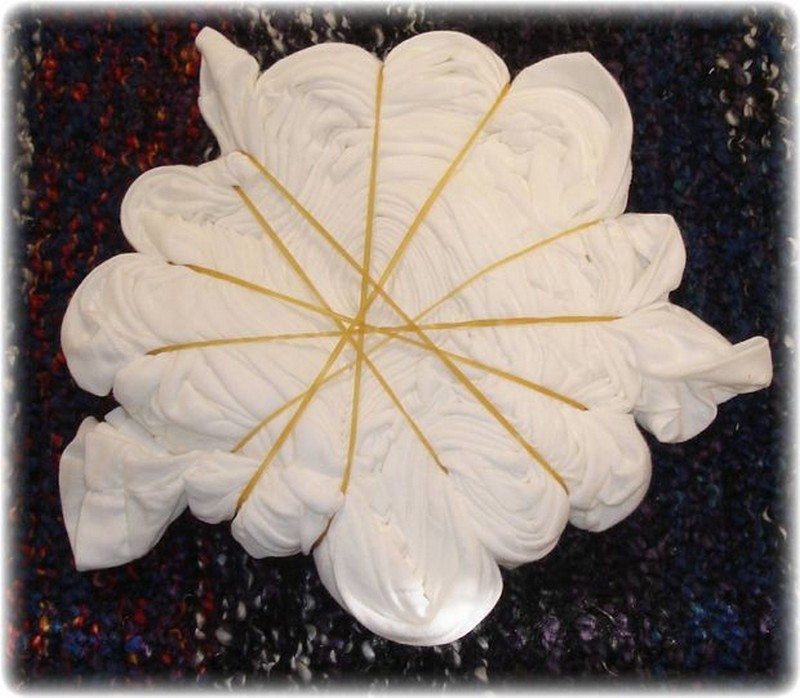
3. Arrange the shirts in a pie-form
Lay the shirt down on a flat surface. Hold the centre either with a rod or simply with your hands and twist it.
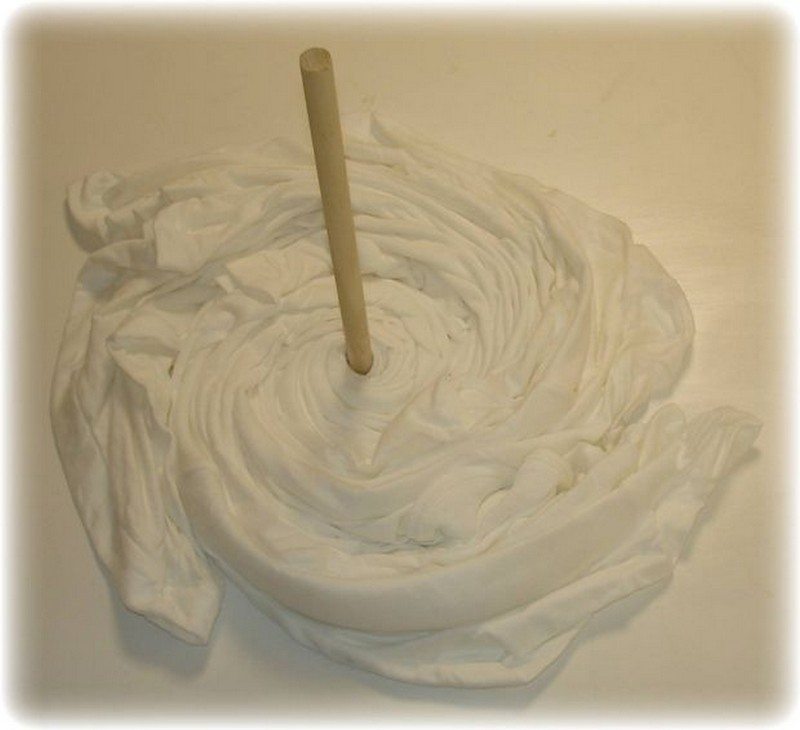
This step is more crucial than you think – it will determine the outcome of your shirt. Once your shirt takes the shape of a pie like this, carefully remove whatever it is that is holding the centre. Make sure you don’t ruin the form.
Put rubber bands like in the picture. Halfway through putting the rubber bands on, carefully turn the shirt over and continue putting on more rubber bands. The idea is to keep the shirt flat – no parts are bulging or higher than the others.
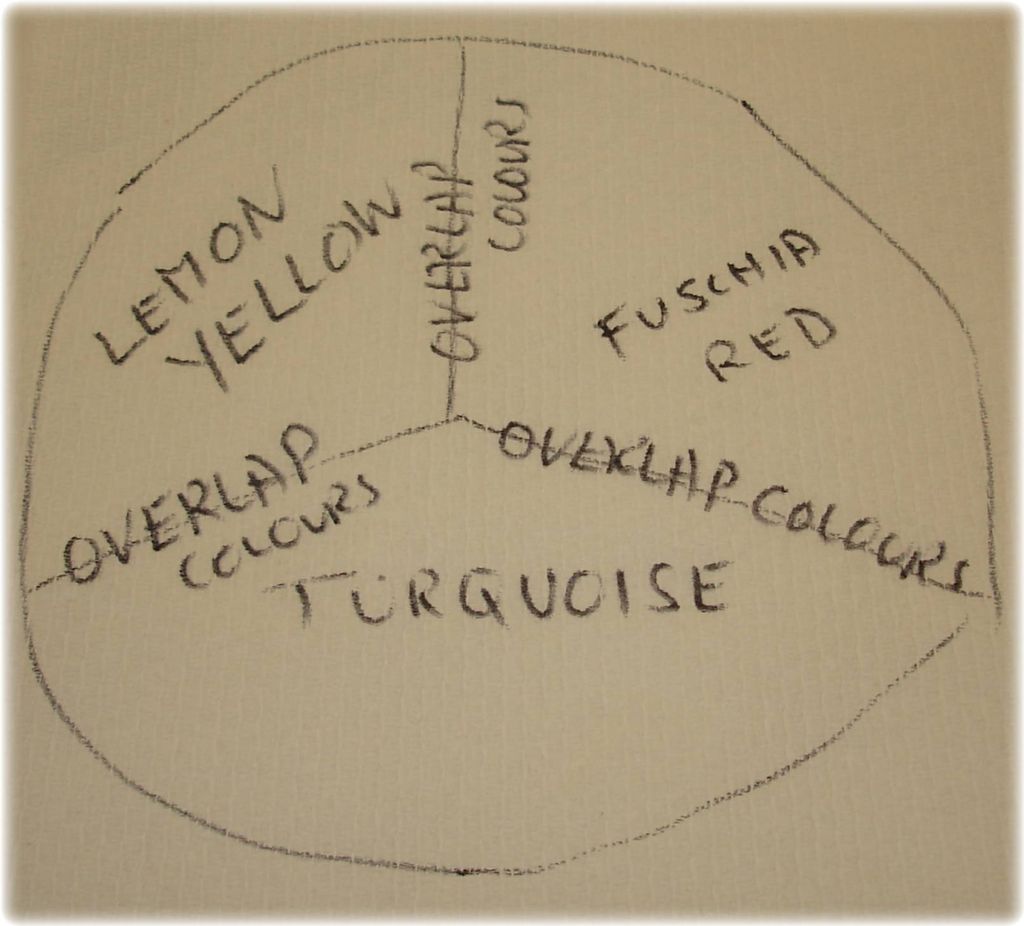
4. Dye the shirts
Now is the time to dye it. Place the shirt on a paper plate for easier flipping later on.
Start with the lighter colors first. Imagine that you are working with a real pie chart. Starting with the center, squeeze one color out on 1/3 “pie” of the shirt. Do this in a steady manner to have a nice design.
Then color the second and third pie with the two other dyes. Overlap the colors to make sure no whites will be left. Remember that some parts of the shirt are hidden.
Prepare a second paper plate and flip the first paper plate over it to transfer the shirt. Now you are working with the other side of the shirt. Dye it the same manner you did on the front side. Make sure the colors at the back and front match.
5. Place the shirt in a ziplock
When done, place the shirt in a Ziploc and close it tight. Let the colors sit and bond properly with the fabric for 24 hours. If you can’t wait that long, you can check it after 8 hours.
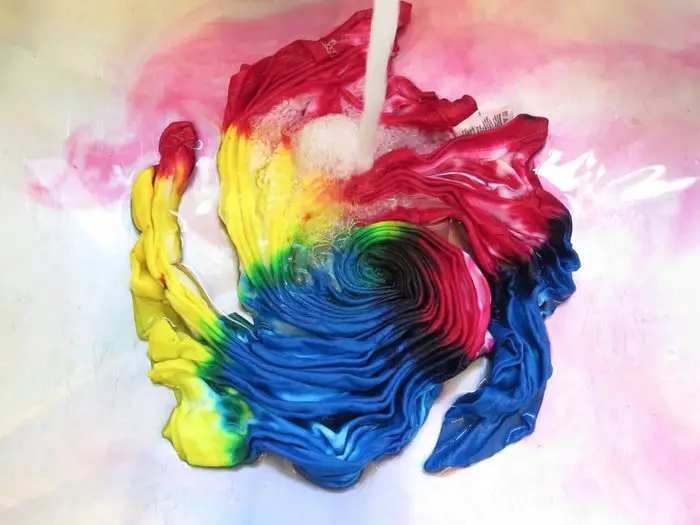
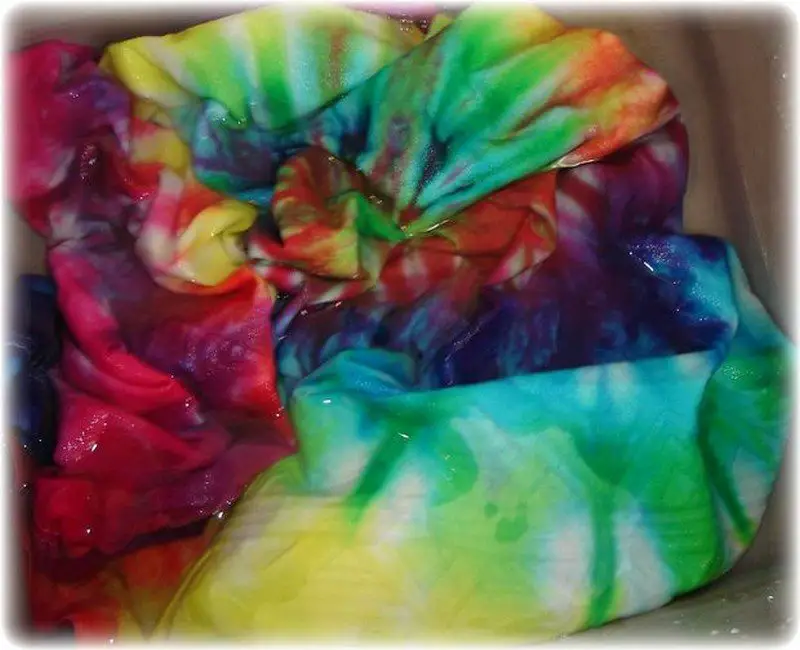
6. Rinse the shirts
Wear rubber gloves again and old clothes/apron before taking the shirt out of the plastic bag. Carefully remove the rubber bands and rinse the shirt with cold water. It may seem like all the colors are coming out, but don’t worry. Your shirt is well dyed. Keep rinsing until the water runs clear.
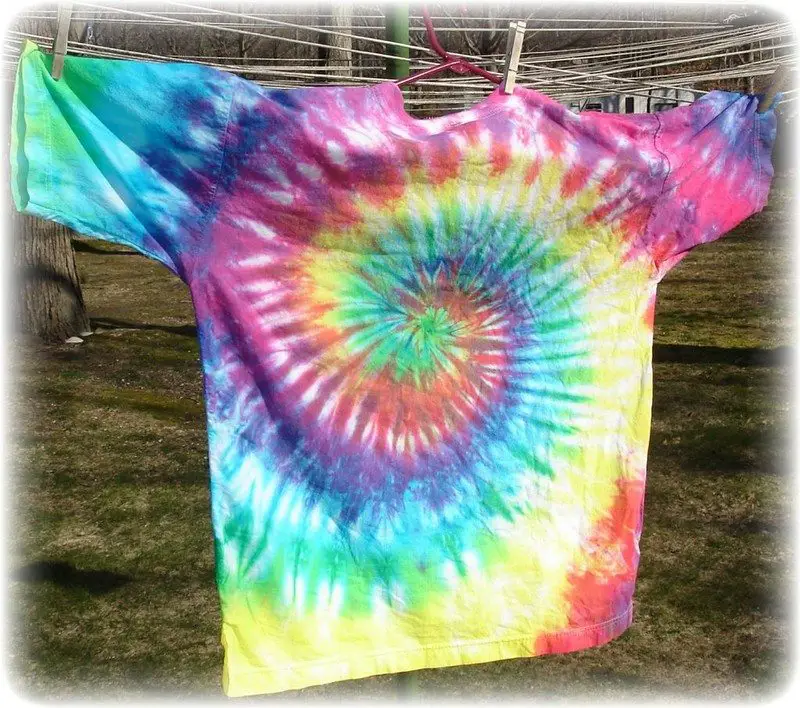
7. Hang and dry
Wash your dyed clothes at least three times separately before washing them together with your other laundry.