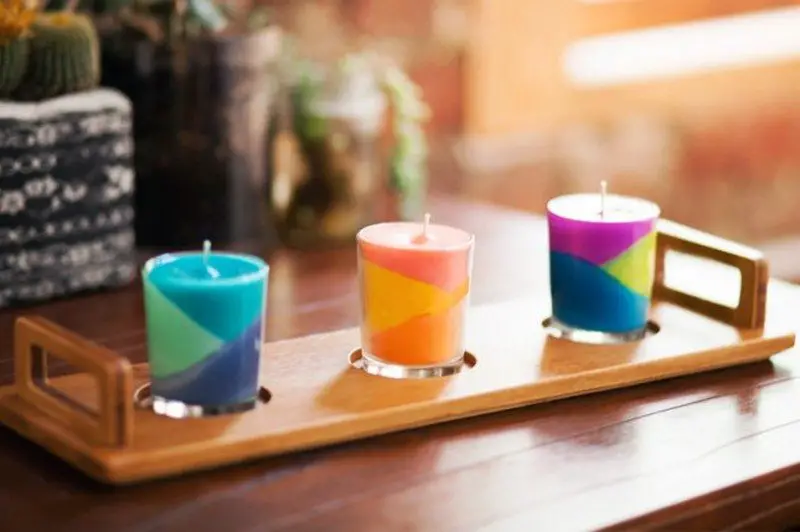
Repurposing everyday things is a lot easier than many realize, and can save you a lot of money. This includes making candles from crayons.
You can repurpose a lot of things in your home. This has the dual benefit of helping you save money while also helping reduce the stress on our natural environment.
When you repurpose something bound for the rubbish bin, you reduce the amount of waste that is put into landfills. You also reduce the need for materials manufacturers use to make new items.

Adorable Candles Made from Crayons: A DIY Project for All Ages
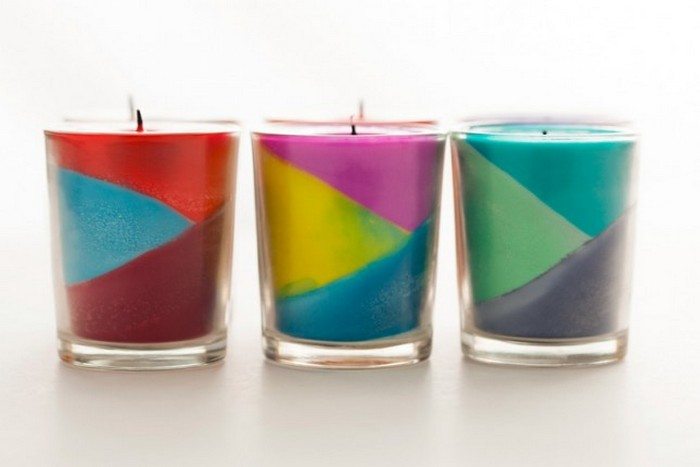
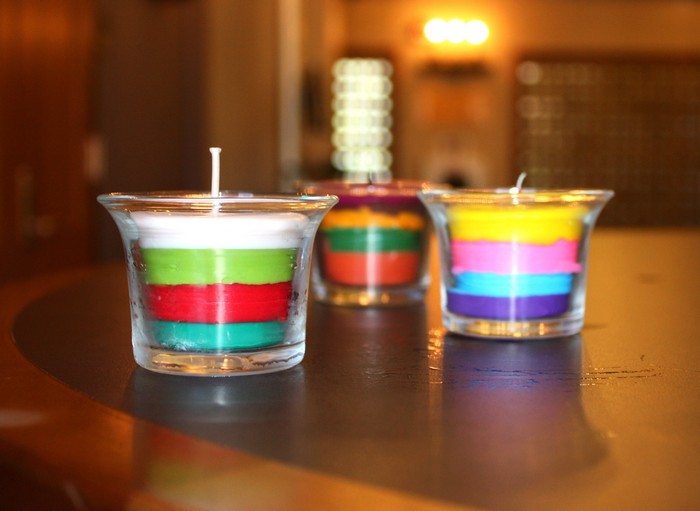
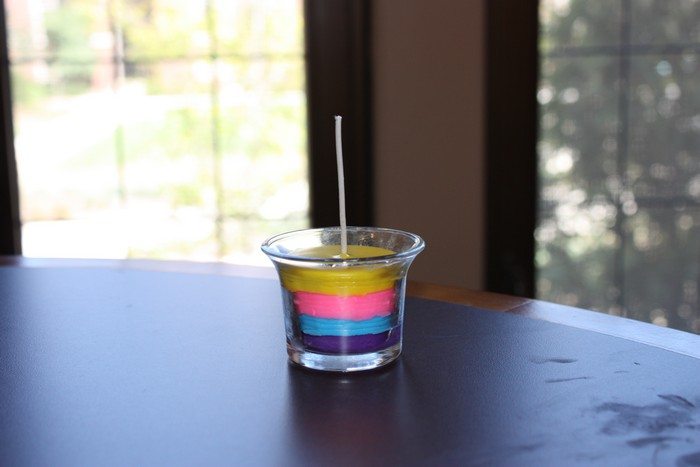
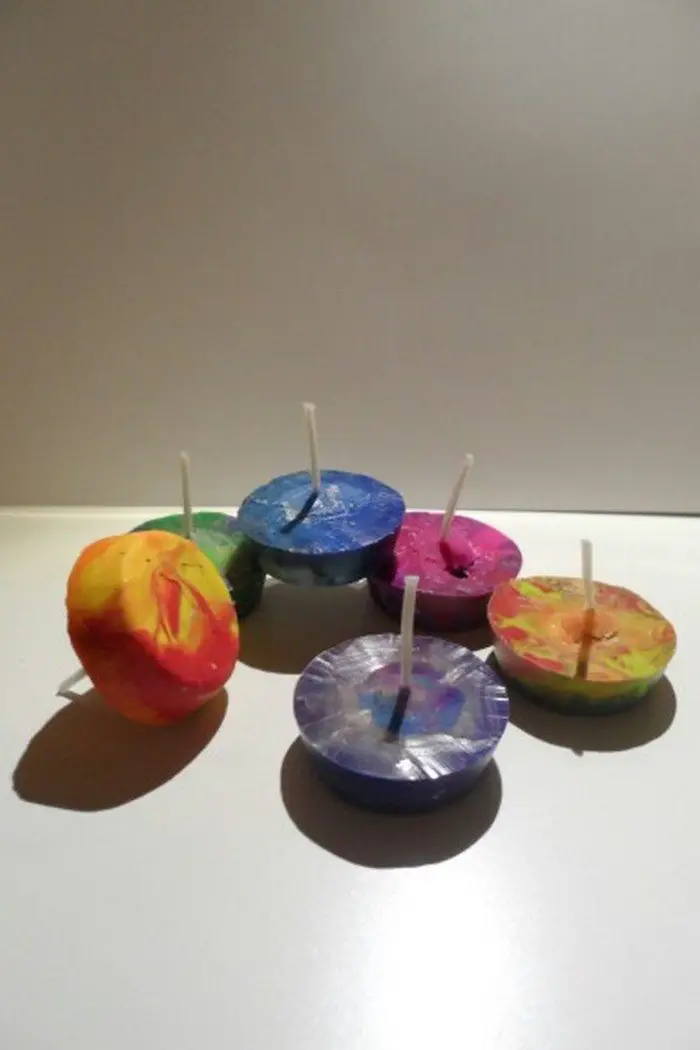
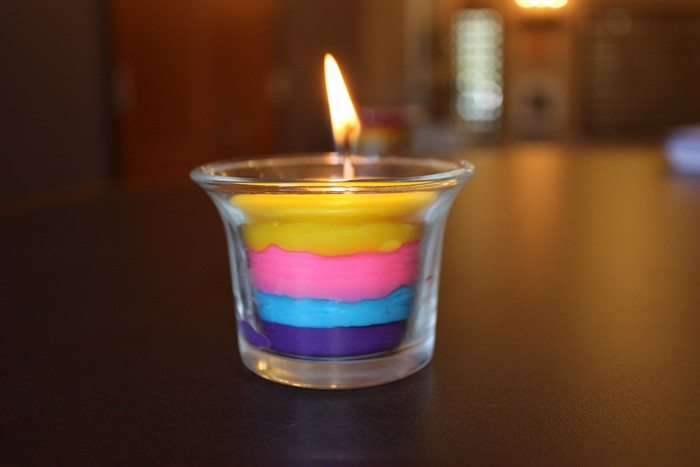
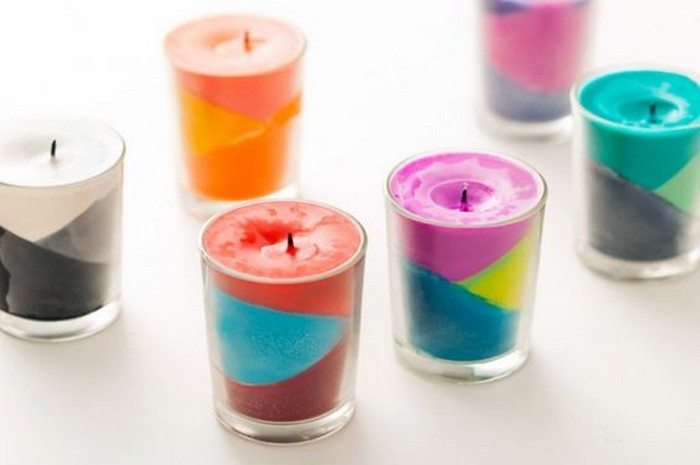
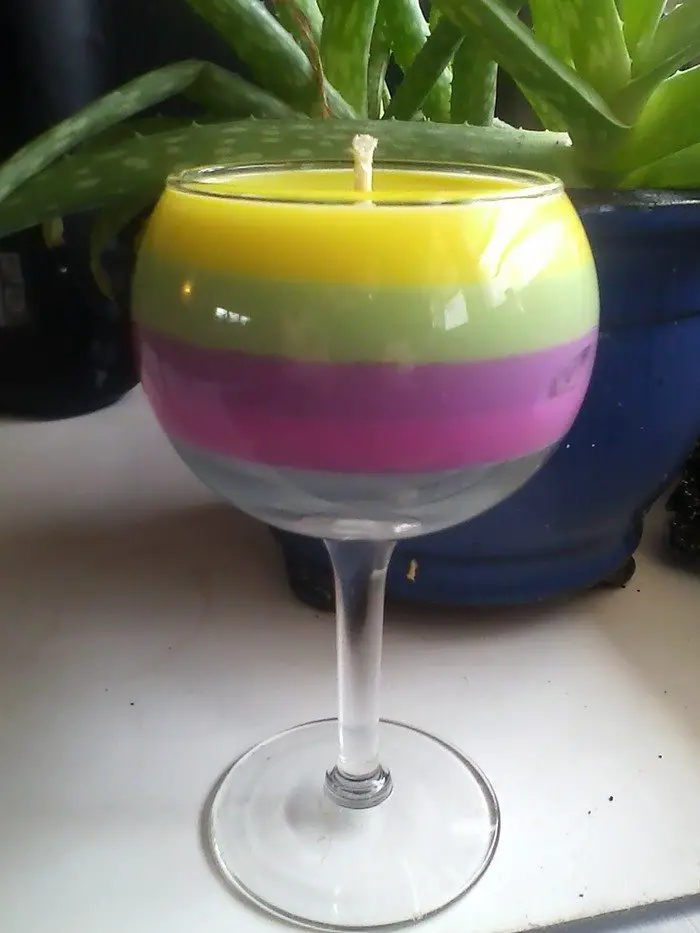
For instance, do you have small pieces of wax crayons your kids can’t use anymore? Don’t throw them away. Create small colourful candles instead. These DIY wax candles could be perfect additions to any room in your house :)
If you think your broken crayons are not enough to fill your candle holders, you can add Crisco to the ingredients. This also serves to make the colours appear softer. See examples from the album below! :)
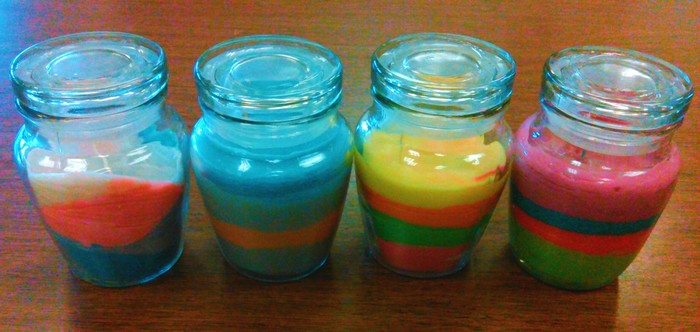
Not sure where to start? Check out these adorable candles made from crayons! This is a great project for both kids and adults and a great way to use up those old crayons that are taking up space in your junk drawer.
Not only are they easy to make, but they also make great decoration pieces. Whether you choose to keep them for yourself or give them away as gifts, these candles from crayons are sure to put a smile on anyone’s face.
Click on any image to start the lightbox display. Use your Esc key to close the lightbox.![]()


What are the materials needed to make DIY candles from crayons?
We can reduce waste by making use of broken crayons and old cups. With just a few materials, we can make these colourful DIY candles. Below is the list of materials we need:
- Wax
- You can choose from various types of wax, including soy wax, beeswax, or paraffin wax.
- Old crayons
- Gather up those old, broken crayons that are lying around in your home.
- They will add vibrant colours and unique patterns to your candles.
- Sorting the crayons by colour will help you create visually appealing combinations.
- Candle Wick
- Choose a wick that is appropriate for the size of your candle and the type of wax you are using.
- Pre-tabbed wicks are convenient as they come with a metal base that can be easily secured to the bottom of your container.
- Glass cups
- Glass cups serve as containers for your candles. Select glass cups that are heat-resistant and suitable for candle-making.
- They should have a stable base and be wide enough to accommodate your desired candle size.
- Paper cups
- Paper cups are used as moulds for melting the crayons and wax. They make it easy to pour the melted mixture into the glass cups.
- Opt for sturdy paper cups that can withstand the heat of the microwave or double boiler.
- Crisco Shortening (optional)
- Crisco shortening can be added to your wax mixture to enhance the fragrance and texture of your candles. It helps to create a smoother and more even burn.
- However, this ingredient is optional, and you can skip it if you prefer unscented candles or want to keep the process simple.
How to Make DIY Candles From Crayons?
Who doesn’t love candles? They make your home smell nice and look cozy. But store-bought candles can be expensive. Luckily, you can make your own candles at home with just a few supplies. Here’s how:
Prepare the Crayons
Before utilizing the crayons in your DIY candle-making project, it’s important to remove any paper labels that may be attached to them. Simply peel off the labels to ensure a clean and smooth surface for melting.
Next, break the crayons into smaller pieces. This step helps facilitate the melting process and allows for an even distribution of colour throughout the candles. You can use your hands or a tool to snap the crayons into manageable fragments.
If you desire a visually appealing outcome, consider sorting the broken crayon pieces by colour. This sorting process enables you to create captivating and harmonious colour combinations in your candles. By arranging the crayons by hue, you can achieve a more intentional and artistic effect.
Melting the Wax
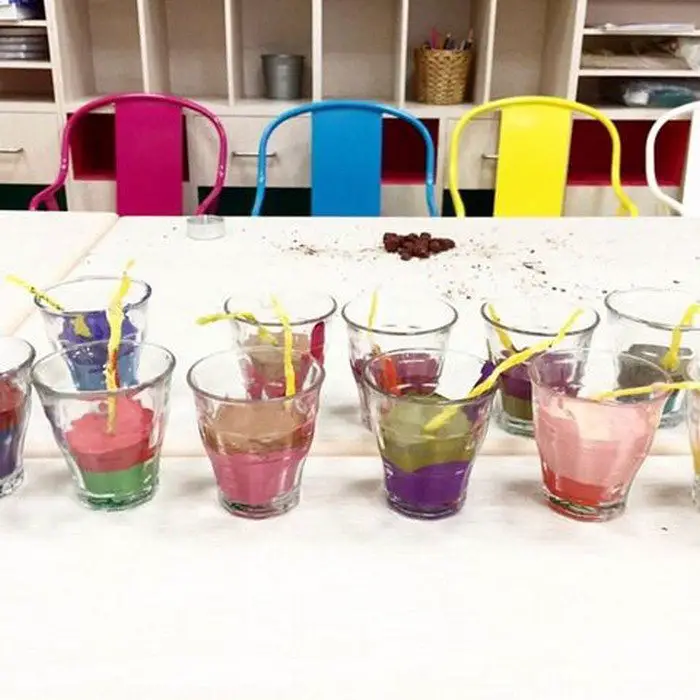
To kickstart the candles from crayons making process, take each paper cup and add a combination of wax and one-colour crayon. This will infuse your candles with vibrant hues and delightful pigments.
Place the paper cups in the microwave and heat them for approximately one minute. This duration allows the wax and crayon to melt and blend seamlessly, resulting in a smooth liquid mixture.
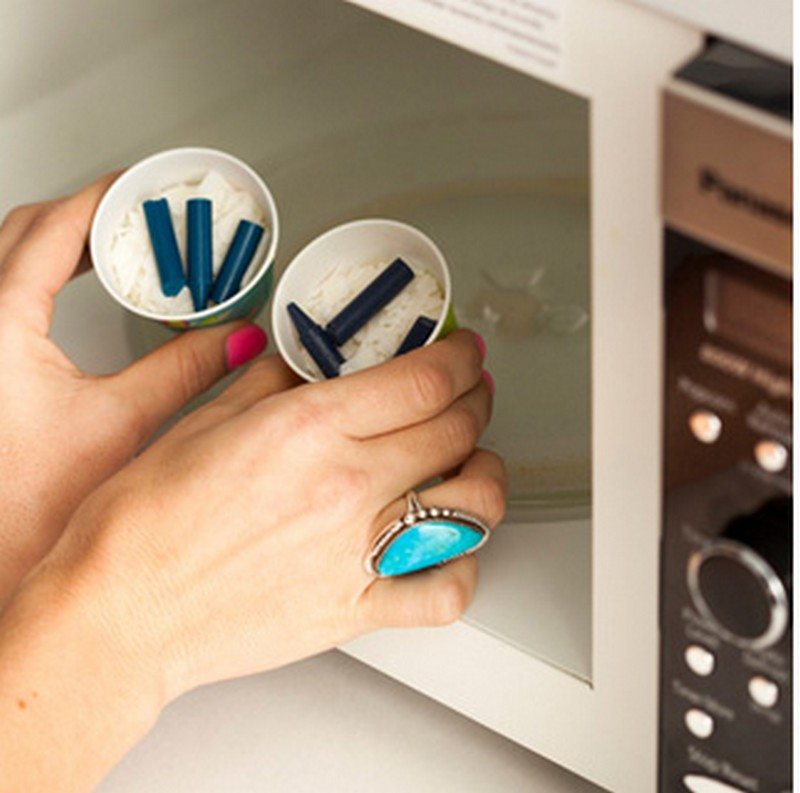
Alternatively, you can opt for the double boiler method to melt the wax. Begin by setting up a double boiler by filling the bottom pot with water and placing it on the stove over medium heat. Take the wax and place it in the top pot of the double boiler.
Stir the wax occasionally as it gradually melts, ensuring a consistent and even texture. This method is ideal for those who prefer a more controlled and gradual melting process.
If using a microwave, choose a microwave-safe container and place the wax inside it. Heat the wax in short intervals, pausing to stir in between. This technique ensures that the wax melts evenly without overheating or burning.
Stirring the wax helps distribute the heat and promotes thorough melting. Continue this process until the wax is completely melted, achieving a smooth and homogenous consistency.
Both methods offer efficient ways to melt the wax, and the choice ultimately depends on your preference and the resources available to you. Whether you opt for the convenience of the microwave or the traditional approach of the double boiler, the end result will be melted wax that is ready to be transformed into beautiful candles from crayons.
Prepare the Glass Cups
Once you have prepared the melted wax and chosen your glass cups, it’s time to position the candle wick. Take each glass cup and carefully place the wick in the centre. The wick acts as the backbone of your candles from crayons, allowing them to burn steadily and evenly.
To secure the wick in place, you can utilize a small amount of melted wax. Gently dip the metal base of the wick into the melted wax, ensuring that it gets coated. Then, place the wick in the centre of the glass cup, pressing the metal base onto the bottom surface. The melted wax acts as an adhesive, holding the wick securely in place.
As you position the wick, pay attention to its alignment. Ensure that the wick stands straight and centred within the glass cup. A centred wick promotes even burning, maximizing the lifespan of your candle and providing a consistent flame.
Pour the Melted Mixture
With utmost care and precision, slowly pour the beautifully melted wax and crayon mixture into the prepared glass cups. As you pour, be mindful of maintaining a steady hand, ensuring an even distribution of the mixture. Take a moment to appreciate the vibrant colours merging together, creating a mesmerizing concoction that will transform into stunning candles.
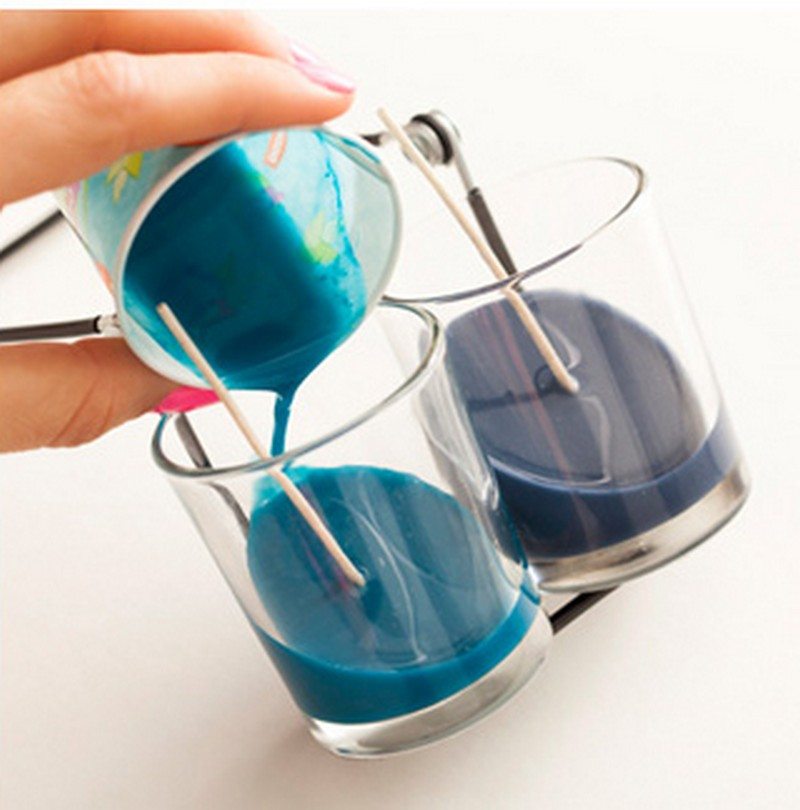
As the liquid fills the glass cups, be mindful of your desired height for your candles from crayons. Leave a small space at the top of each cup to allow for the wax to expand and solidify without overflowing. This thoughtful precaution prevents any unwanted mess and ensures a neat and professional finish.
While pouring, exercise caution to avoid disturbing the position of the wick. The wick serves as the heart of your candle, providing a consistent and steady flame. Aim to pour the wax directly into the cup, avoiding any contact or displacement of the wick.
This attentiveness guarantees that the wick remains perfectly centred, ready to ignite a warm glow in your finished candles.
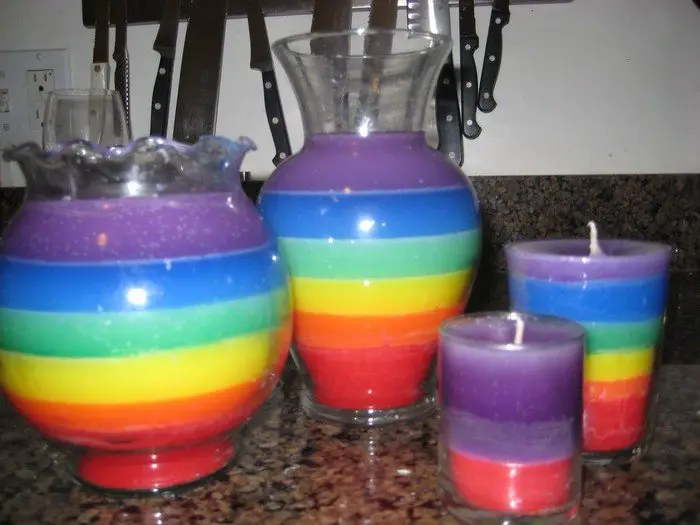
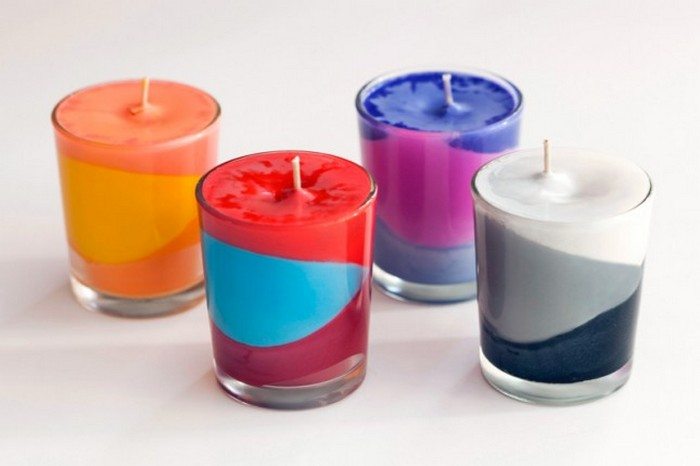
For those seeking to add an extra touch of creativity, consider tilting the glass cups slightly as you pour the wax. This technique allows for the formation of captivating swirls, unique patterns, or even layers within the candle. Embrace the opportunity to experiment and let your imagination guide you as you tilt the cups to achieve captivating designs.
Through this mindful and artistic pouring process, you bring your vision to life, witnessing the transformation of the melted wax and crayon mixture into captivating DIY candles.
Embrace the satisfaction that comes with creating something truly unique and let your candles shine as a testament to your creativity and craftsmanship.
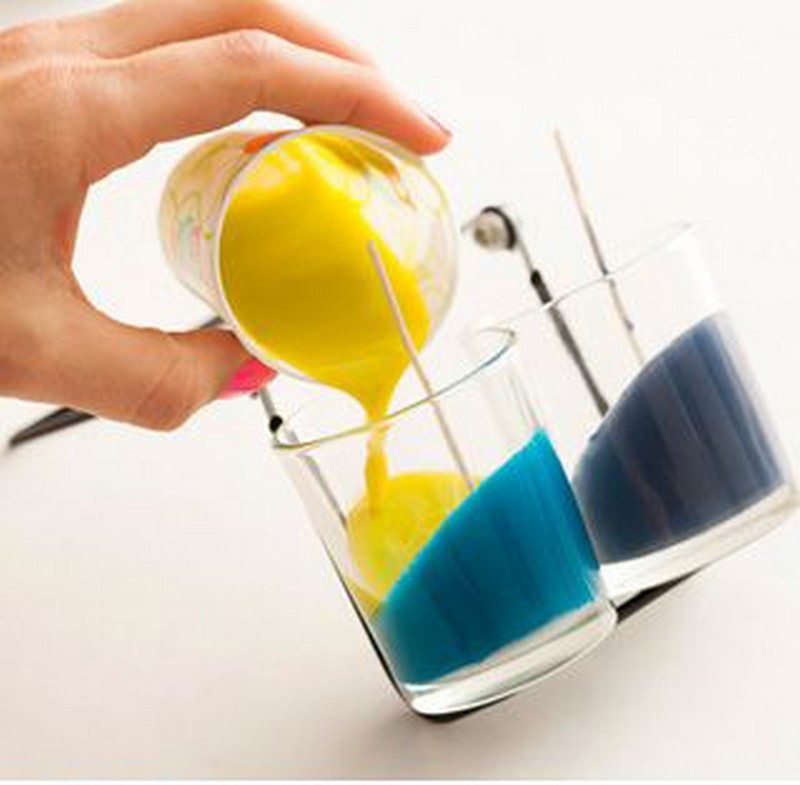
Allow the Candles to Cool
After pouring the melted wax and crayon mixture into the glass cups, it’s time to exercise patience and allow the candles from crayons to cool and solidify completely.
This crucial step is essential for ensuring the integrity and longevity of your DIY candles. The cooling process may take a few hours, depending on the size and thickness of your candles.
As tempting as it may be to check on the progress or handle the candles from crayons prematurely, it’s important to resist the urge and let nature take its course.
Rushing this stage can lead to uneven cooling, cracks, or other imperfections in the final product. By allowing the candles ample time to cool undisturbed, you ensure a smooth, even surface and a sturdy structure.
During this waiting period, find solace in the anticipation of your candles from crayons taking shape. Observe the transformation from liquid to solid, as the vibrant colours settle and harmonize within the wax. Embrace the soothing process and envision the warmth and ambience these candles will bring to any space.
Remember, the cooling time can vary depending on factors such as the ambient temperature, candle size, and composition of the wax. By exercising patience and allowing the candles to cool at their own pace, you guarantee a finished product that will delight your senses and bring joy to those who encounter them.
So, sit back, relax, and let time work its magic. The wait will be worth it, as you witness the candles solidify into exquisite works of art. Embrace the anticipation and soon you’ll be rewarded with beautifully crafted candles from crayons ready to light up your surroundings.
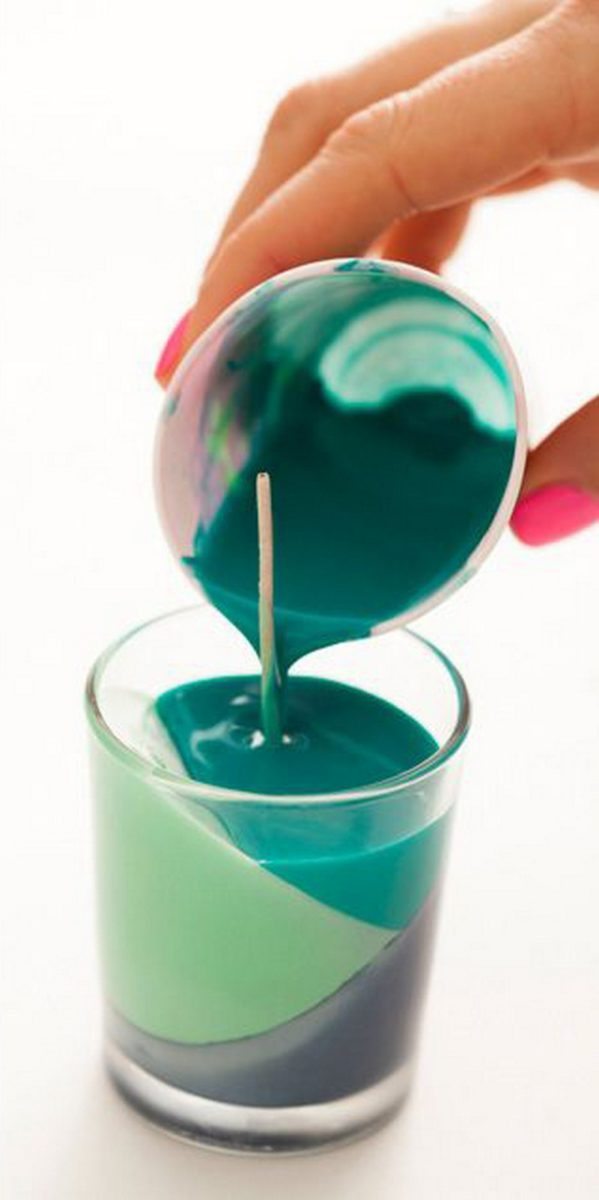
Now, you have these beautiful coloured DIY candles from crayons on display! It’s that easy! :)
These colourful DIY candles from Crayons can be displayed in your living room, dining table, bedroom, lounge area, or anywhere!
Conclusion
In conclusion, creating DIY candles from crayons is not only a fun and engaging project but also a wonderful way to repurpose old materials and reduce waste.
By gathering broken crayons and utilizing simple materials like wax, candle wicks, glass cups, and paper cups, you can embark on a creative journey that results in stunning and colourful candles from crayons.
Thanks to Identity Mag for this great project!
If you liked these candles from crayons project, you might also like to view DIY melted crayon wall decor…

