Photographs play an important role in everyone’s life. They connect us to our past. They remind us of people, places, stories, and feelings. They can help us to know who we are, who we once were – and maybe even tell us who we can become. Photographs are a tangible link to the past, to time and moment now lost.

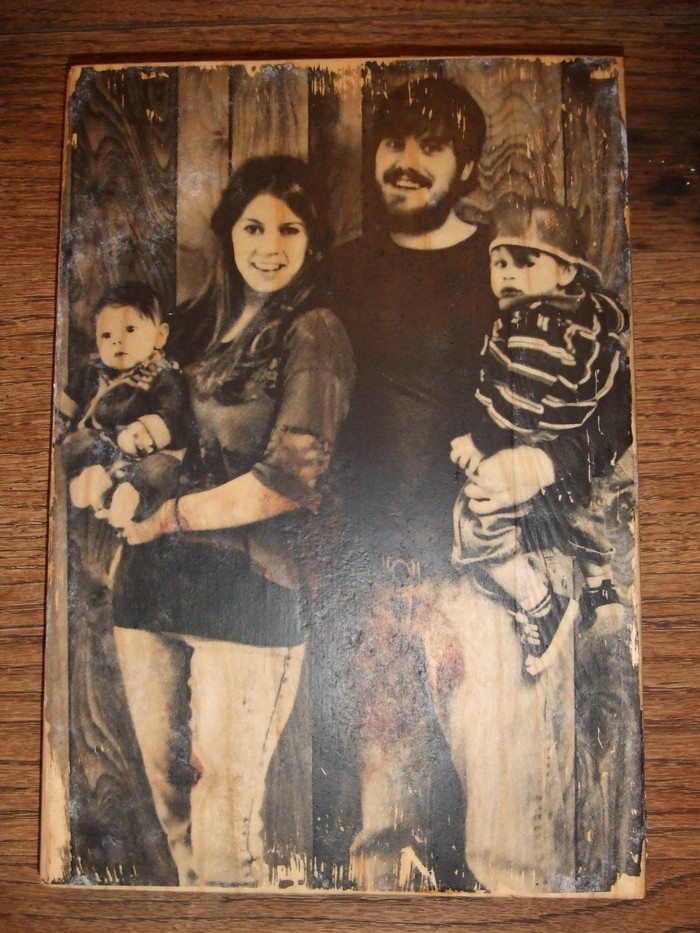
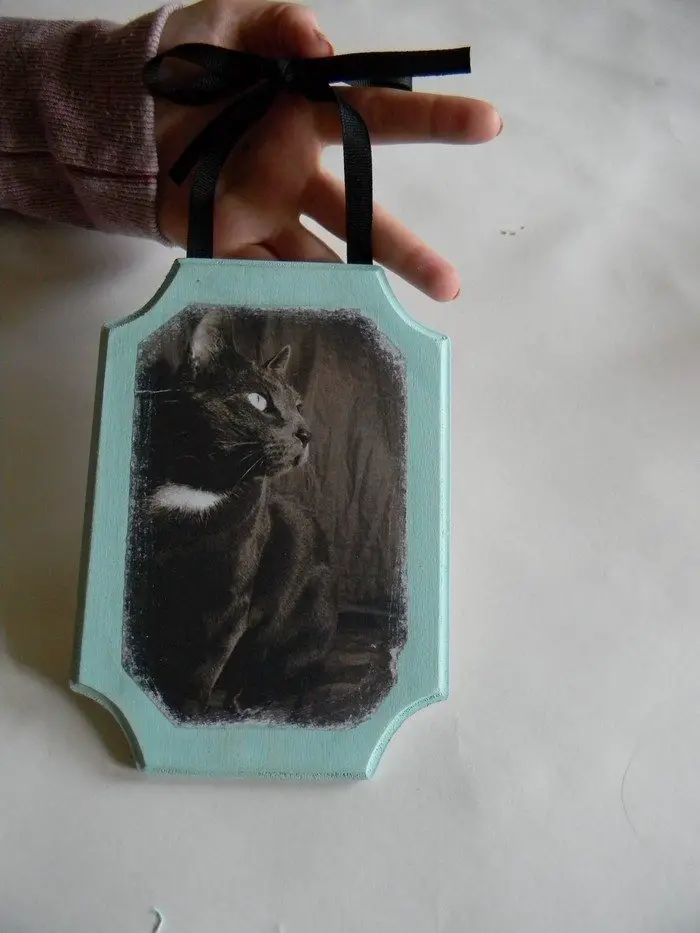
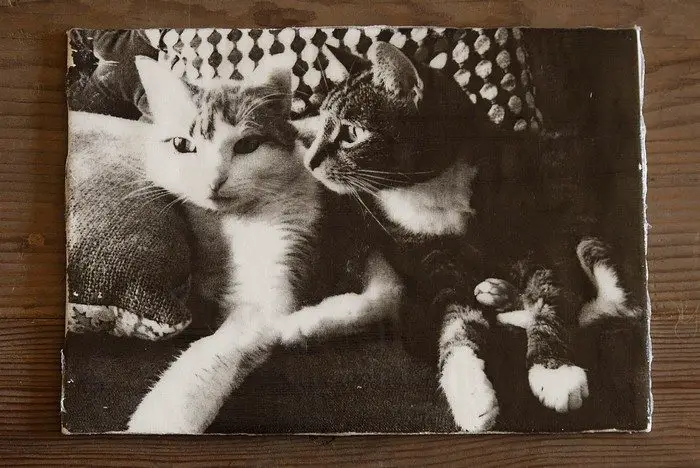
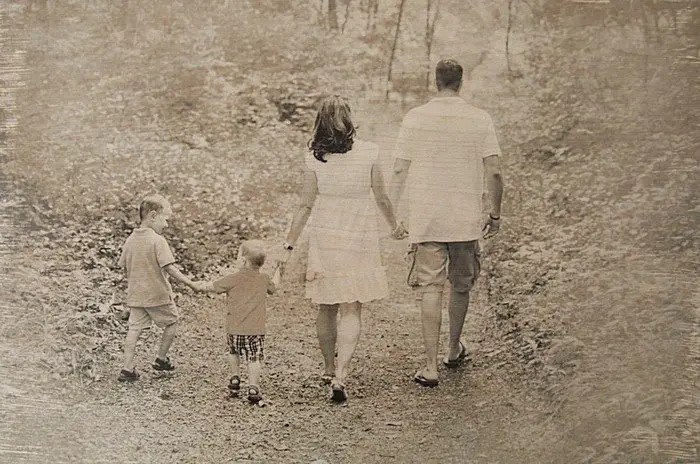
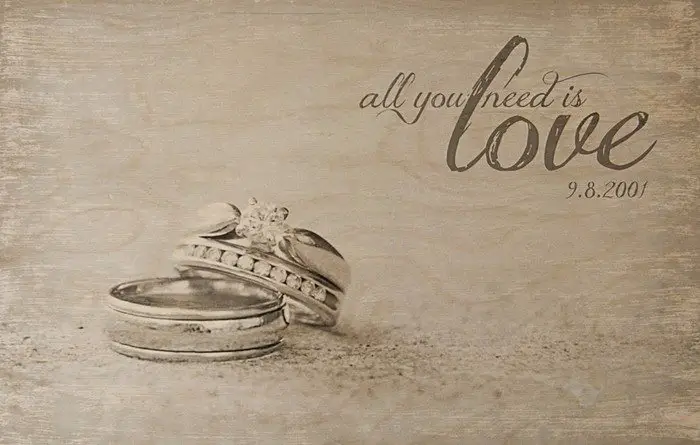
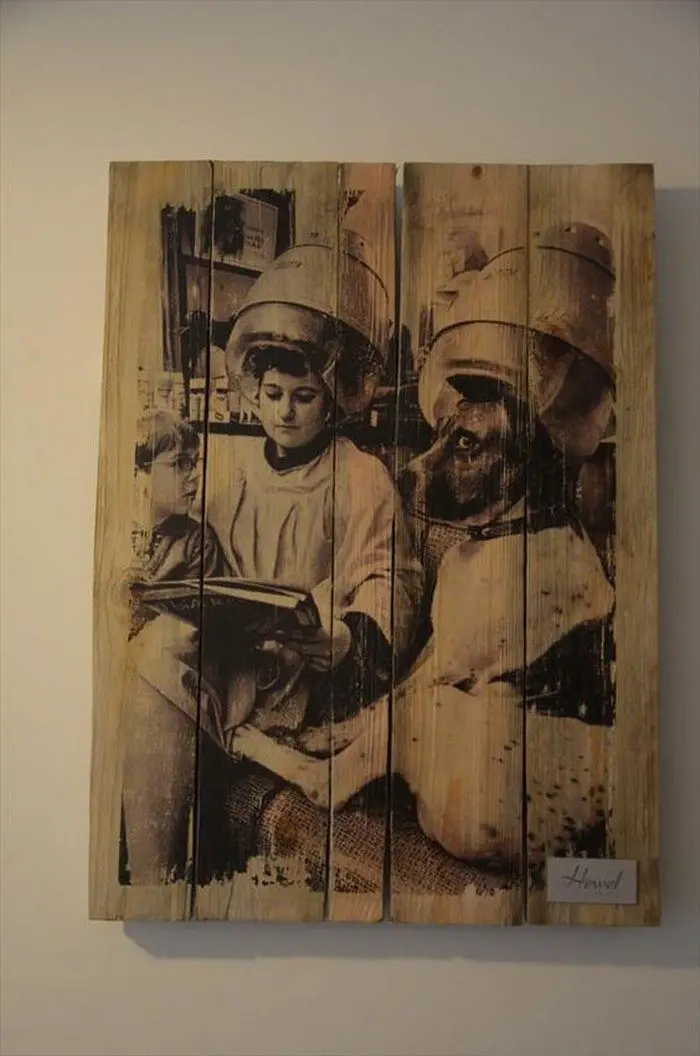
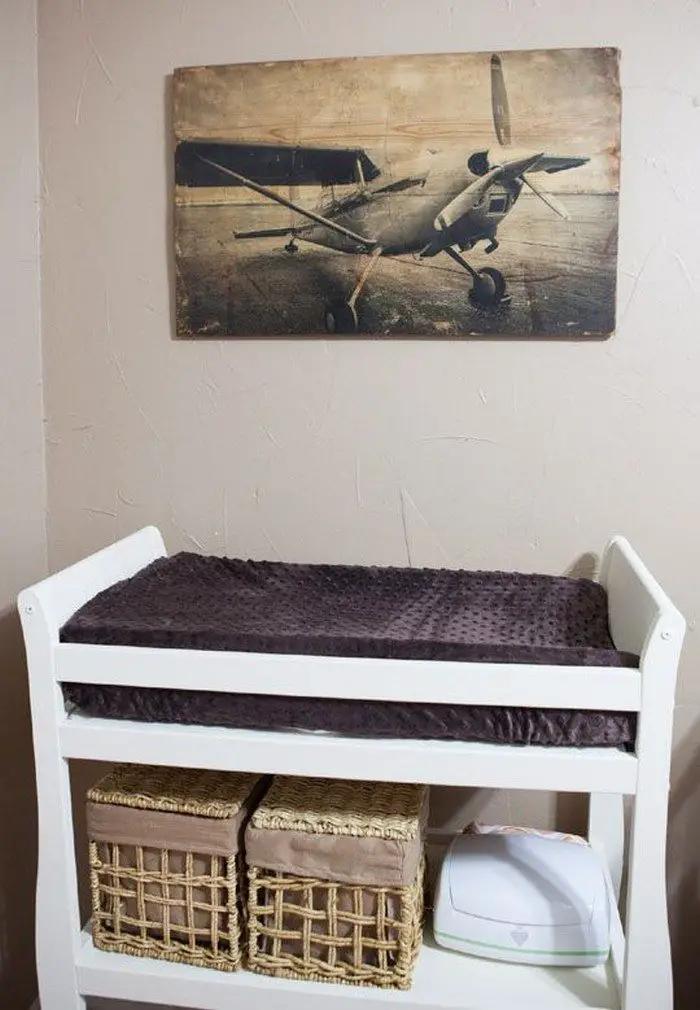
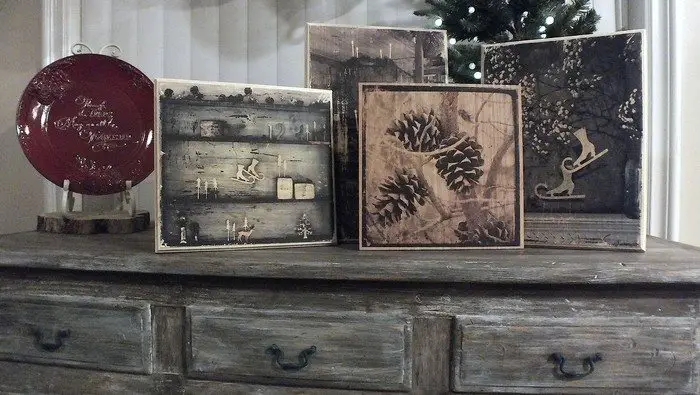
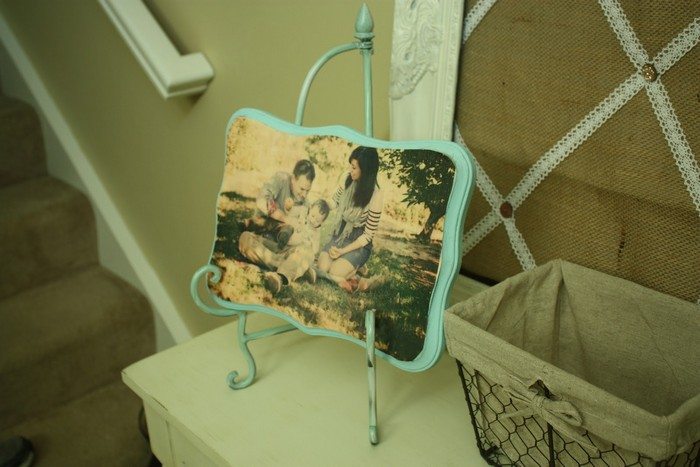
Have you thought about your next creative craft idea for your next craft night? Thinking of a new way to display memorable photos at home? How about transferring your photo to wood? Forget picture frames and use the timber you have at home instead and give that rustic touch to your living room. It’s perfect for making decorations, woodblock hang-ups, and wood coasters.
Transferring a photo to a piece of wood takes around 20 minutes. What we like more about this idea is that you can customize the look any way you want it — your imagination is the limit! You can paint the timber any color you like and even use special effects and patterns! And, of course, you can shape the wood to match the mood and content of your photo.
You can display your photos in a unique way by learning how to transfer photos to wood. Homemade photo projects are one of the easiest and most original ways to express yourself.
You can choose to incorporate a colored photo or print a black-and-white version. Text can be added to your design or you can choose to use only a photo. Depending on your preferences, you can print all the way to the wood’s edges or leave some space for breathing.
It’s entirely up to you how you create a unique and creative photo transfer on timber!
Contents
What is a Mod podge?
Mod podge is a craft bond and sealant method we can use in a variety of ways. Even though using Mod Podge to transfer prints to wood takes a long period, it yields more detailed results.
Using this technique, you’ll be pleasantly surprised by the crispness and color of the photos. However, this method does require more than 24 hours due to the drying time required for Mod Podge.
How to prepare the wood?
- Roughen the wood up a little to provide an ideal surface for the ink to adhere to.
- After you have sanded your wood piece in a circular motion, remove the topmost layer of wood.
- Then you can now wipe your wood piece with a slightly damp cloth to remove dust. If dust remains, the transfer method could be affected.
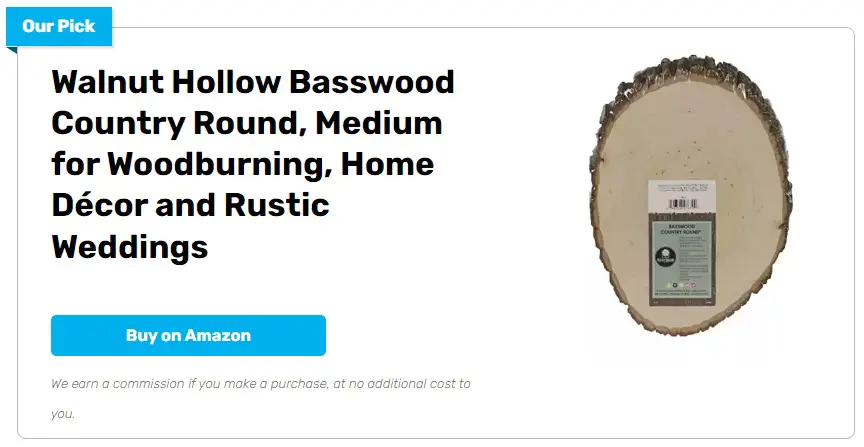
What are the materials needed to transfer a photo on wood?
Below are the materials you will need to create your own artistic photo on wood.
Materials:
- Photo Print on Regular Paper
- Block of Wood
- Mod Podge
- Gel Medium
- Bowl of Water
- Rug/Cloth
Tools:
- Paintbrush
How to transfer a photo on wood?
To fit your photo to the dimensions of the timber, it’s either cut your timber based on your picture’s size or you can edit your saved picture in any editing software (like Photoshop). Here, you can add more photos like a collage, and print them together on one piece of paper. You can print this picture based on the dimensions of your timber and based on the printer’s capability.
Click on any image to start the lightbox display. Use your Esc key to close the lightbox.![]()