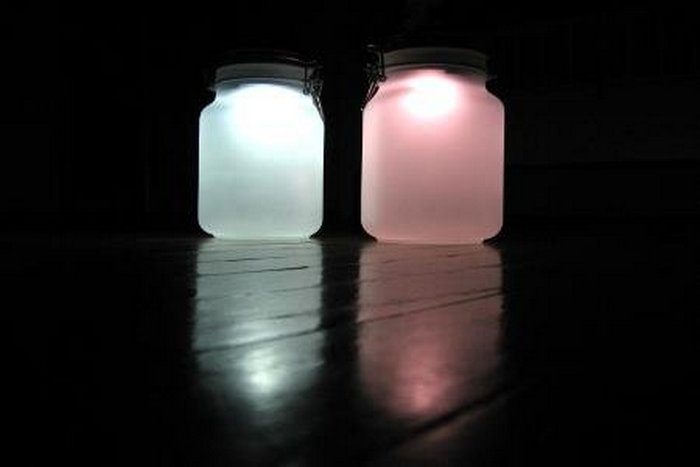
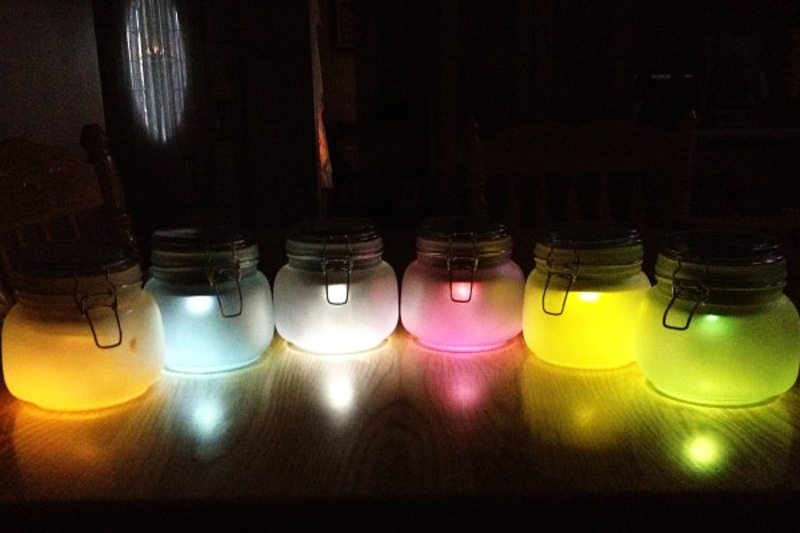
These mason jar lightings are definitely cute during nighttime. Admit it, seeing it in the pictures makes you smile already! Now, why not make a few for yourself? :)
You can always make cool crafts that involve DIY lights in jars, and they are always so much fun. This is why we are always looking for ways to transform these jars at home. The perfect lighting decor can be made out of mason jars – what an excellent idea!
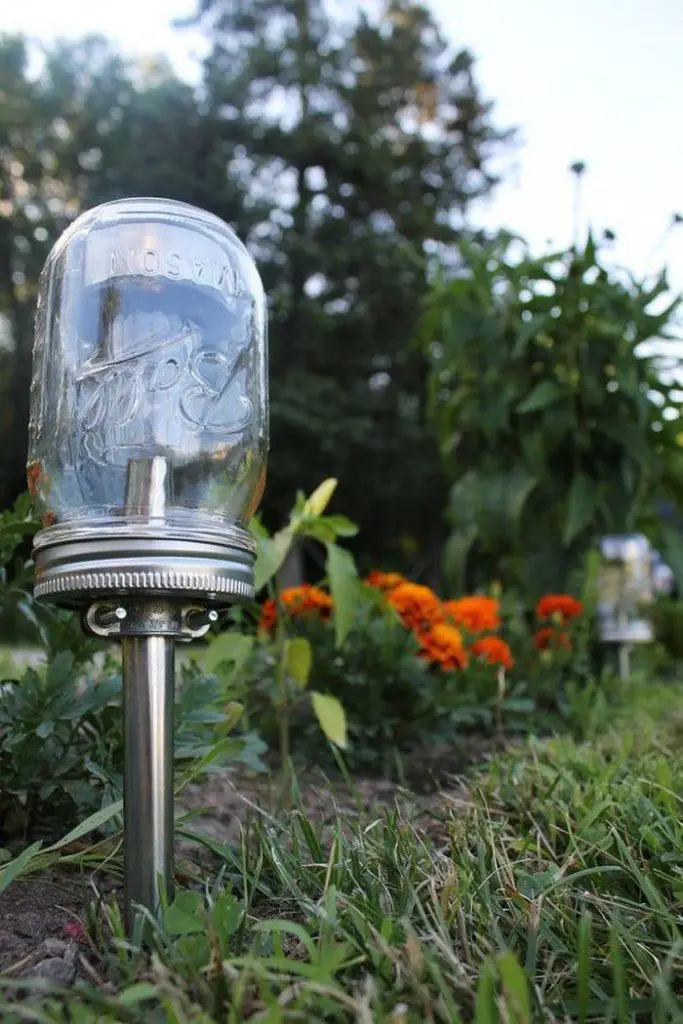
You can make these DIY lights in jars for free and create a fascinating and mystical background in your backyard or patio!

DIY Solar Lights in Jars are fantastic outdoor displays. Why not make your own fast and easy solar-powered lights in jars?

Contents
What you’ll need to make DIY solar lights in jars…
Materials:
- Solar lights; the silver-topped ones show through the jar a little less
- Jar with Clamp Style Lid
- Glass Frosting Spray
- AA 2300mAh rechargeable; NiMh Energizer battery holds more power
- Stained Glass or Window Paint
- Newspaper
- 2-4 popsicle sticks or toothpicks
- Loctite Repair Extreme Adhesive
- Phillips screwdriver
Click on any image to start the lightbox display. Use your Esc key to close the lightbox.


1. Clean the jars
Spread the newspaper in your work area. It would be ideal for you to do this outdoors.
Clean the jar by wiping it with a clean dry cloth. Turn the jar upside down on top of the popsicle sticks.
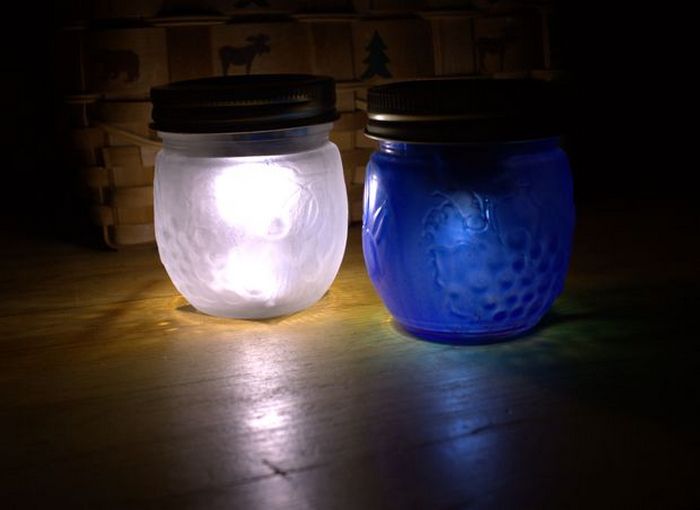
2. Frost the jars
Frost the jar for a glowing effect. Make sure you keep the lid away or covered while spraying. Hold the spray paint about six inches far and apply evenly. You will barely see what is happening with the glass while you are spraying; don’t stay too long and wait until you really see the paint because you will only have to coat it lightly. It’s easier to do a second coating than try to repair drip marks. Let it dry completely.
3. Prepare the solar lights
Unscrew the solar lights from their plastic bulb. Replace the battery with your new battery.
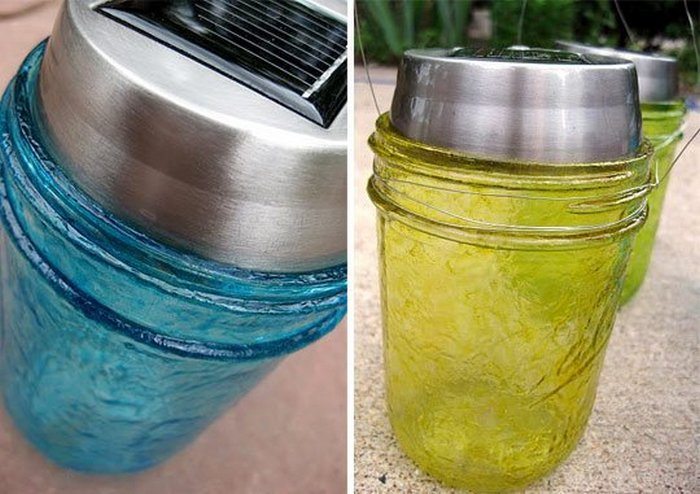
4. Attach the lights to the jars
Lay the jar lid upside down on a flat surface. Use adhesive to stick the light, making sure that you placed it correctly so that it can receive sunlight through the glass lid. Set it aside overnight to dry completely.
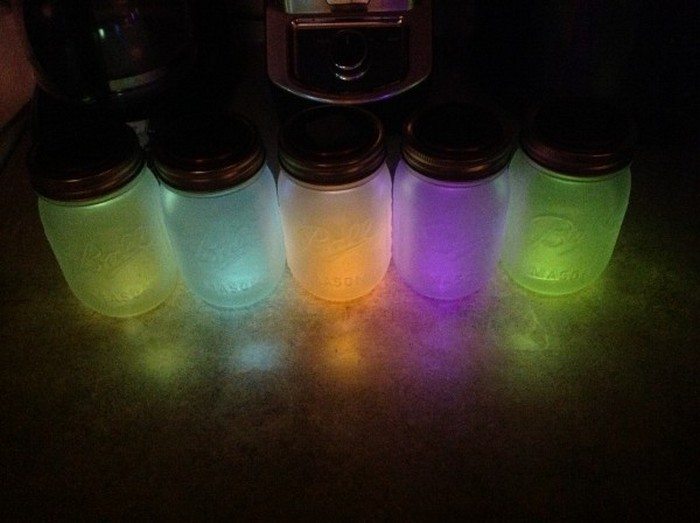
5. Paint the bulbs
For the color of your lights, simply paint the tiny bulbs with stained glass paints using a toothpick.
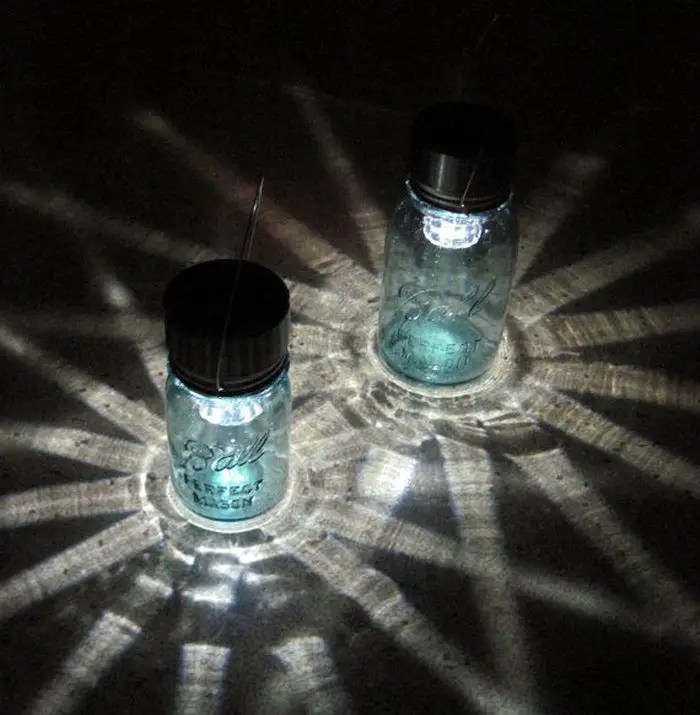
6. Expose the jar to the sun
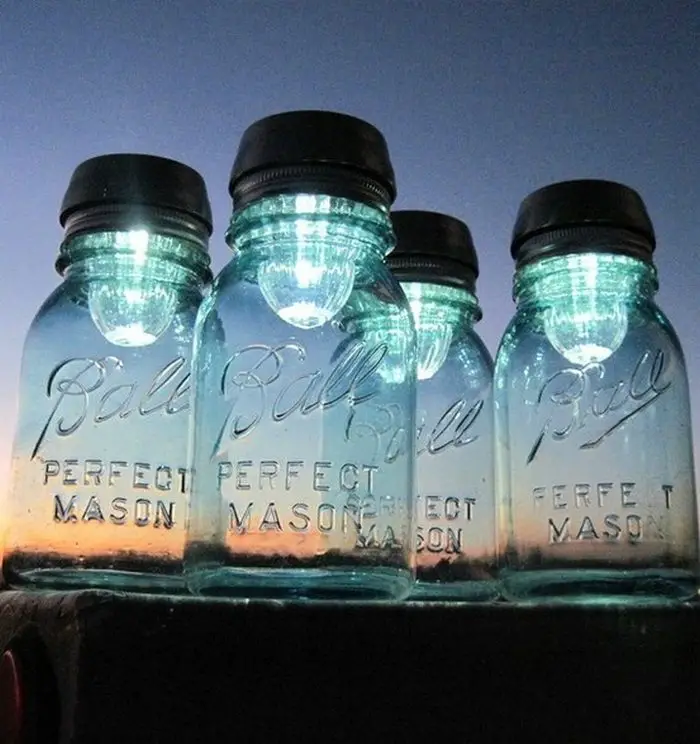
Close the jar, clamping it. Leave it where sunlight can reach it, and see it glow in the dark!
Those are all the steps we covered in our tutorial on DIY lights in a jar! Thanks for reading and I hope you enjoyed making solar-powered jar lights.
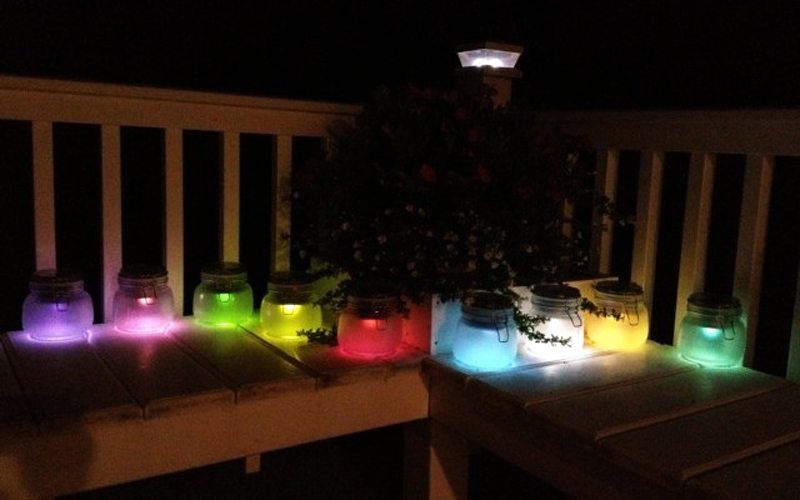
During the day, place the jars in a sunny location to charge. After darkness falls, the jars will begin to emit light. Having them on your patio at night will certainly set the mood.
Cute, attractive, and stunning. Best to welcome your guests at night on the patio, backyard, or even on your balcony.
You can use them indoors as well — my kids actually use them as night lights in their bedrooms. Take your time and enjoy the process!
Thanks to Put it in a Jar for this great project!
If you liked this project, you might also like to view DIY Galaxy Jars…


