When I was a kid, I found it difficult to choose a kids’ wallet that was perfect for me. The ones at department stores and toy stores just didn’t appeal. They were either too big or too flashy for my taste. During my preteen, I found that the designs were too mature or too childish for my age.
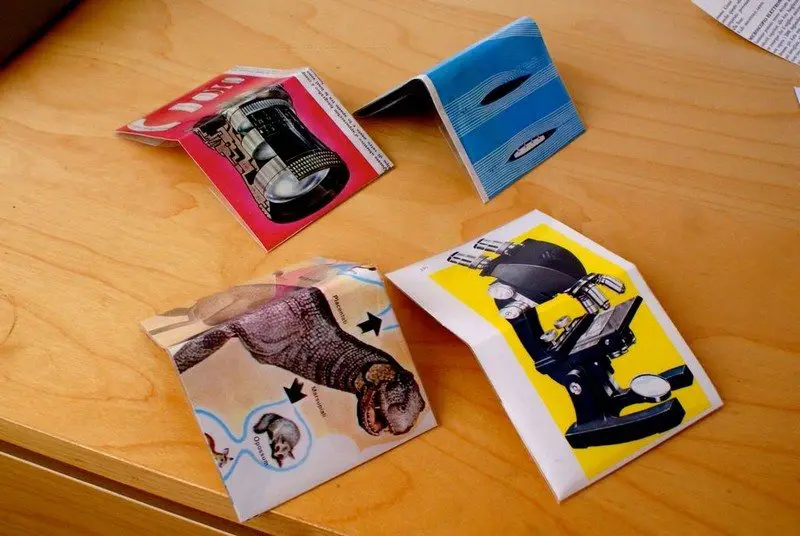
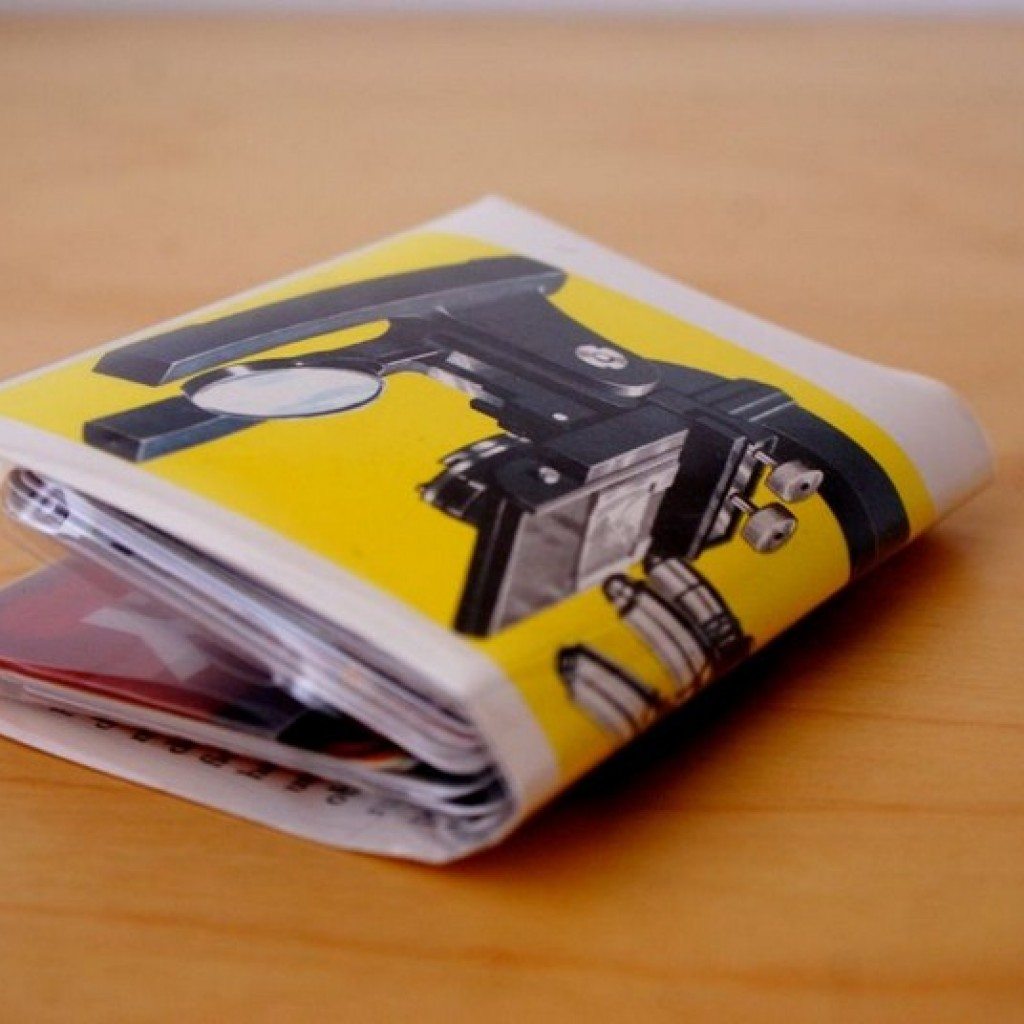
If I had found these kids’ wallets shown below during those times, it would have been the perfect one! This is why I think this is a great idea to teach the kids today. What’s great about this is that they could have any design that they want. It’s easy to make, simple, not expensive, and can last a long time!
When you see your children having a passion for saving money. And truly value having their own savings. It feels great, right? Although sometimes we’re not sure where these kiddies get all the cash they are collecting…what do you think?
But usually, they enjoy keeping money given by their uncles, aunties, godparents, grandparents, and even from us during holidays, especially when it’s Christmas. And they love to save this money for themselves to buy the toys they want! 😎
This project is so wonderful, it could be an excellent Christmas or Birthday gift for your kids. It’s not difficult to make and could last a year or more.
Our kids would be thrilled if we make this kid’s wallet from this pattern. They can even help you with this project! 😉
You’ll need the following tools and materials to make a DIY kid’s wallet.
- A4 Plastic Binder Page Protector
- A3 Print of this file – FoldOnlyWallet (Yes it’s A3 :) Do not resize, print at 100% scale, and ignore printer notice that says it exceeds printable area)
- A Print of your chosen design/image (paper should be thick/heavy like a postcard or a paper from a magazine)
- Scissors
- Stapler
Contents
How to make a DIY kids’ wallet
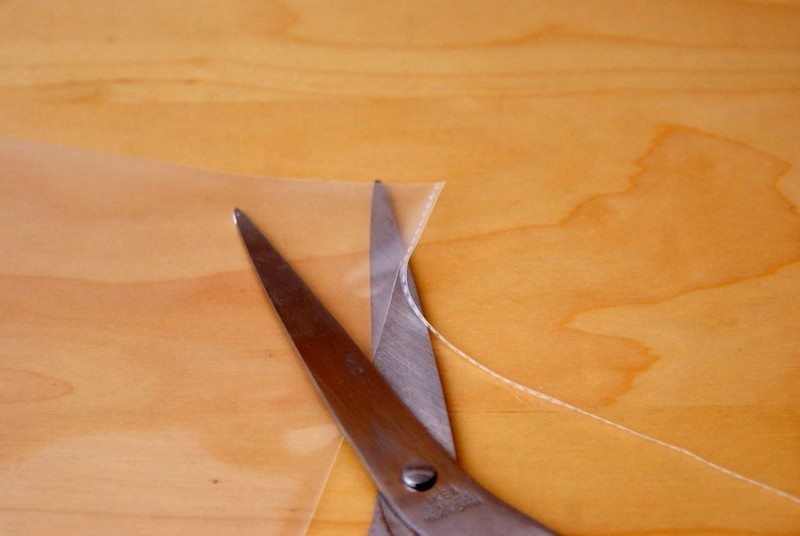
1. Cut the plastic
Cut the short side of the plastic that is sealed.
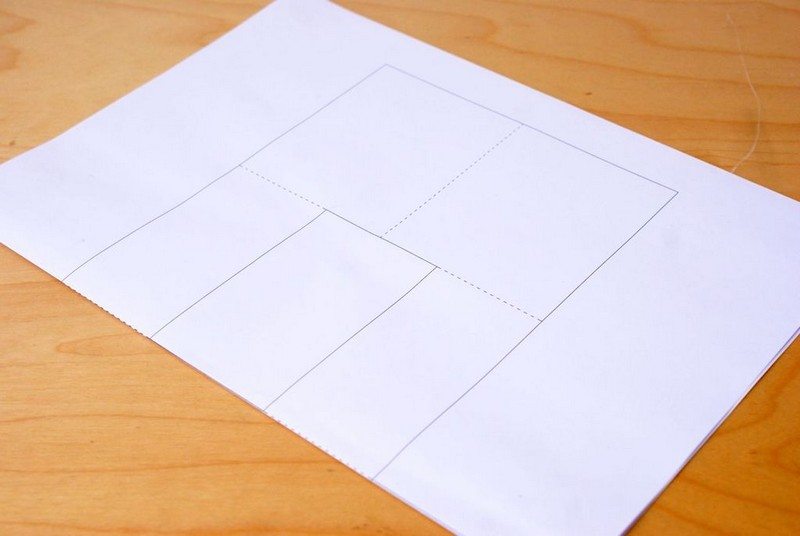
2. Fold the paper
Fold the A3 paper in half crosswise.
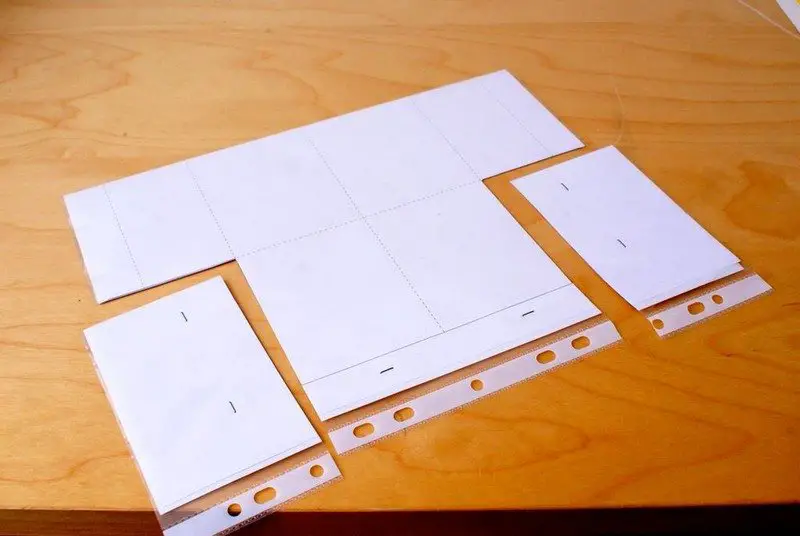
3. Insert the paper into the plastic
Insert the paper into the plastic sheet, making sure it is at the center. Staple them together as shown in the photo.

4. Cut the sides
Cut the side corners along the solid lines, as shown.
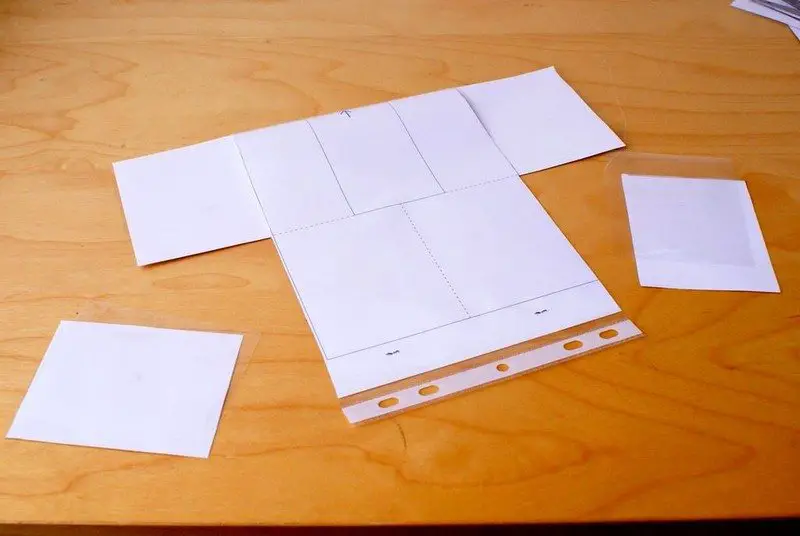
5. Cut the angles
Flip the sheet and cut the two other angles, but take note that only one side has to be cut. The other side should be retained. These are the “wings” that you could see in the photo, and will hold everything together so be careful not to cut them out!
Continued Page 2…


