Last Updated on August 24, 2023 by Team Ideas24
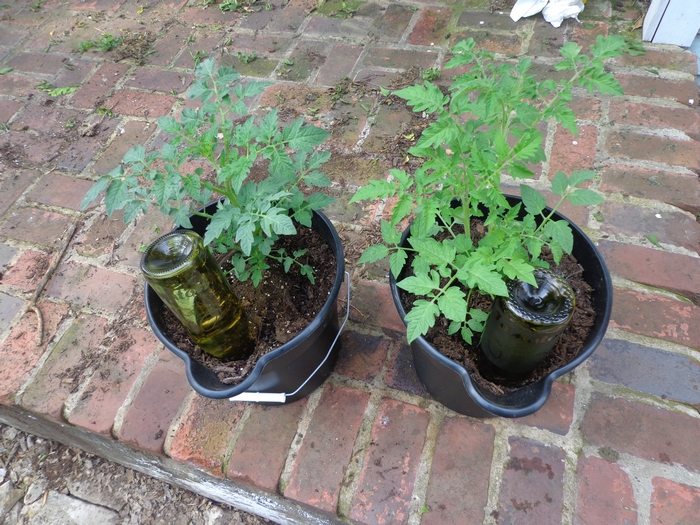
Got empty wine bottles? If you have a garden or growing some produce, then this is the wine bottle project for you – especially if you live in a hot and dry place…

Your own version of watering globes! You can always find and buy watering globes from stores, but this idea is way better for a number of (obvious) reasons. :)
It’s an upcycling project! You can never go wrong with bringing new purpose to ‘trash’ instead of letting them pile up in landfills. And they’re free! If you don’t have any empty bottles with you, you can always ask friends, or at the most buy for a very, very cheap price.

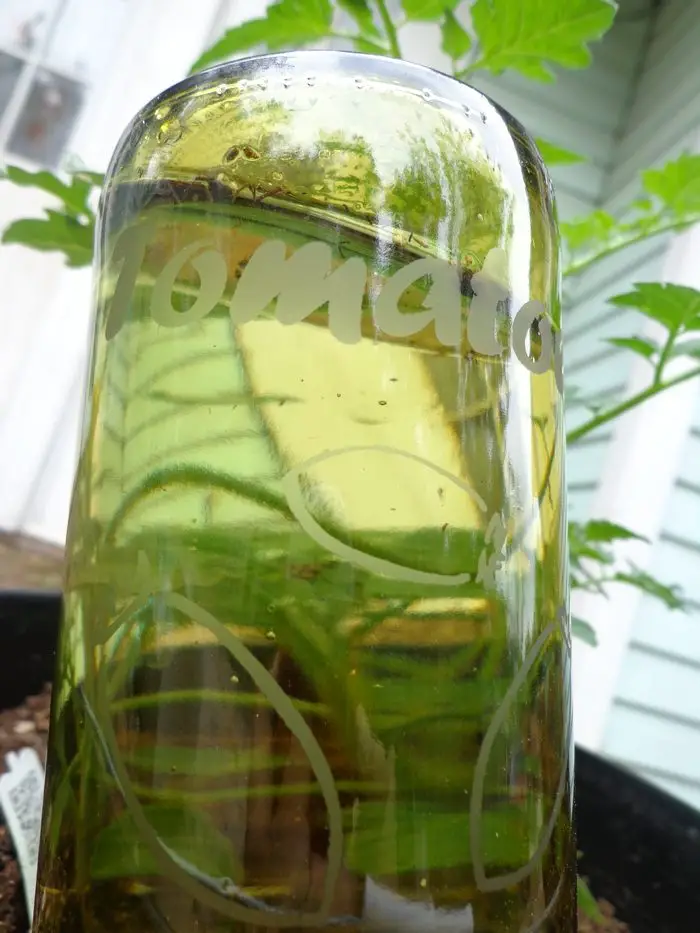
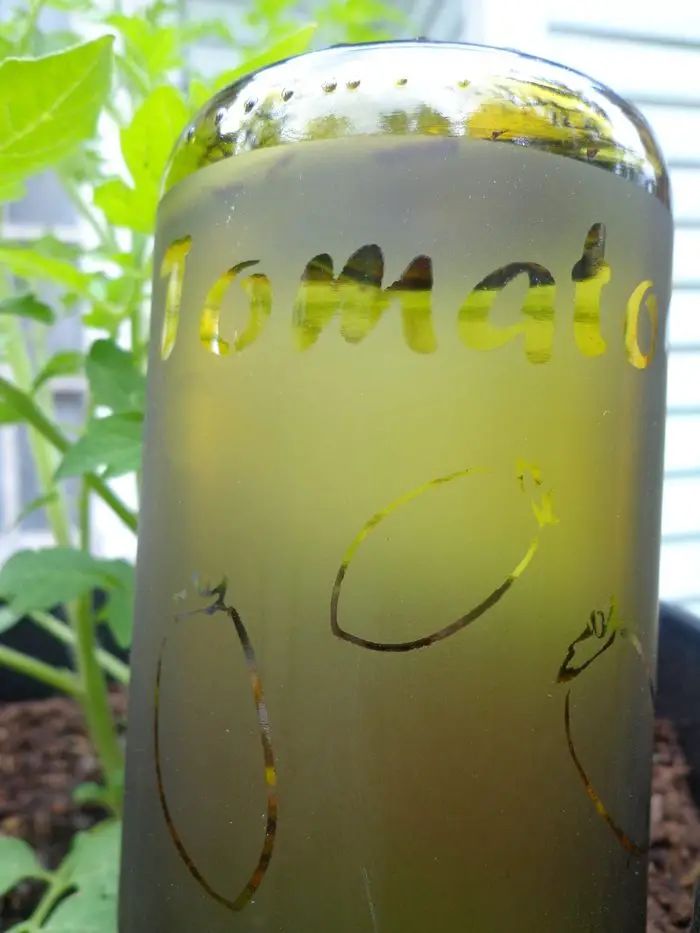
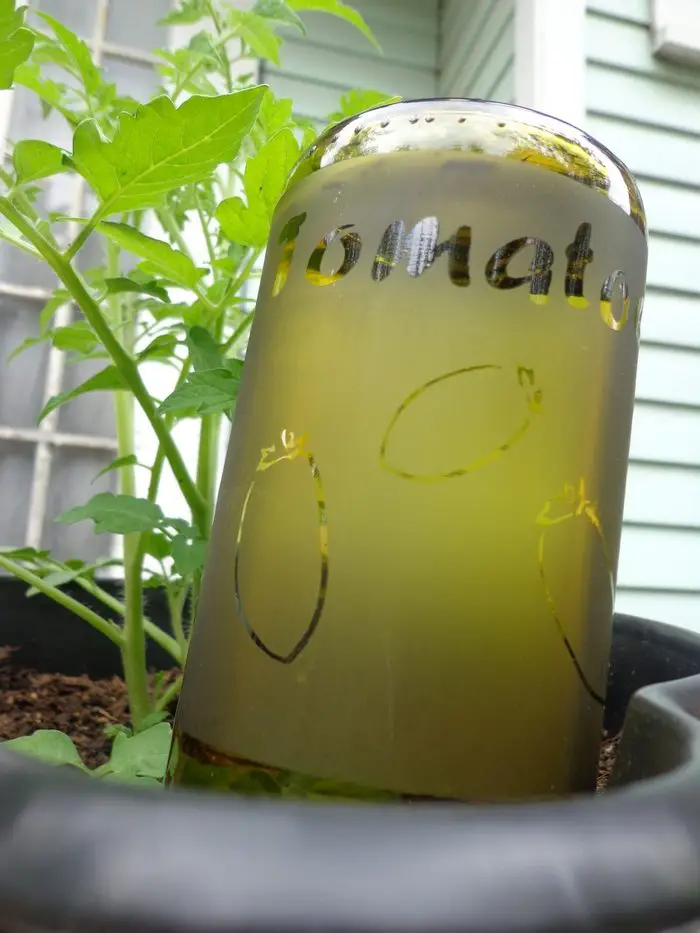
These watering wine bottles not only serve to make sure your plants are hydrated, but they also help to identify your plants since you’ll be labeling them with etching cream.
Now you have a sturdier and more beautiful ‘watering globe’. What do you say we get this started and put as many of these watering bottles as you want all over your yard? :D
Click on any image to start the lightbox display. Use your Esc key to close the lightbox.![]()

Materials:
- Wine Bottles
- Contact Paper or Vinyl
- Silhouette/Cutter/X-Acto Knife
- Armour Etch
- Gloves
- Paintbrush
- Old Newspaper
- Masking/Duct Tape
Contents
How to make a DIY watering wine bottle
1. Remove the label
First things first, you’re going to want to remove the labels on your bottles. The easiest way is to soak the bottles in hot soapy water for about half an hour. The label should then easily peel off, but if not a bit of scrubbing with steel wool or an abrasive sponge helps to get it off quickly.
2. Cut out the stencil
Next, you will have to cut out your stencil. There are many designs online for you to choose from, depending on what plants you have. If you used the silhouette, you can easily use both the positive and negative stencils created. If you are carefully cutting it out by hand, you may be able to as well.

3. Apply the stencils
After making sure the bottle is clean and dry, apply your stencils so that the top of the stencil is near the bottom flat part of the bottle. Be very careful, especially with the thin lines of your design!
4. Tape off all extra areas
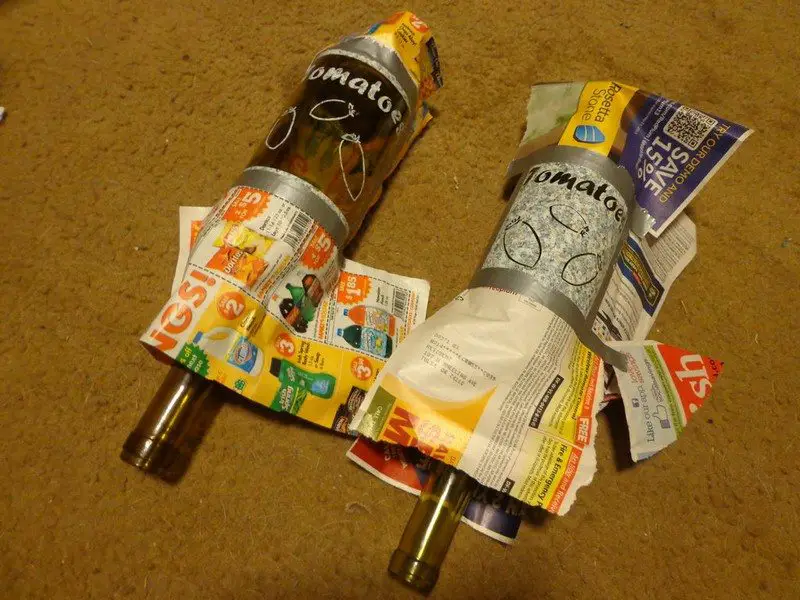
Tape off all extra areas with masking or duct tape and add newspaper to cover all parts of the bottle except the part being etched.
5. Apply the etching cream
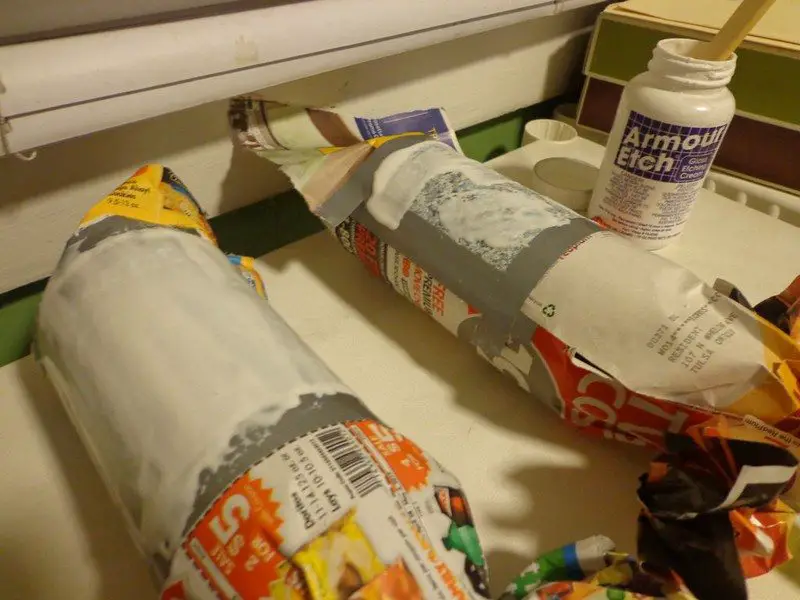
Make sure the bottles are on a stable surface. I padded them around with more newspaper so they couldn’t roll around. Wearing gloves, apply the etching cream thickly over the areas to be etched. You should not be able to see the stencil through the etching cream.
Leave on for approximately 10-15 minutes for maximum effect.

6. Rinse and dry
Wearing gloves, carefully rinse off all of the etching creams using cold water and paper towels. Dry bottles completely.

7. Fill the bottles with water
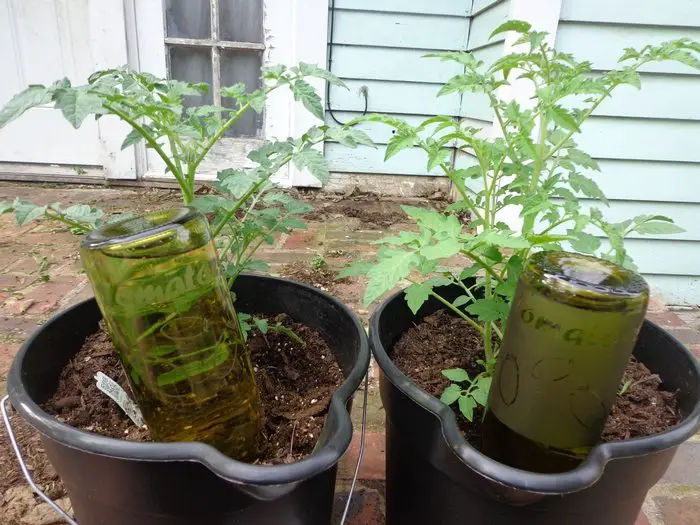
Fill the bottles up with water to the very brim of the bottle. After watering your plant, quickly turn the bottle upside down and shove it into the dirt about 6-8 inches from the base of the plant.

As the soil dries out, it will gradually drain the water from the wine bottle. This is great for hot areas where the ground dries quickly between waterings, or mainly for people who forget to water their tomatoes *raises hand*.
We would love to hear about the results of your project! Please let us know how things went and what you learned. We are always interested in hearing about new and innovative projects.
Thanks to Procrastibaker for this great project!
If you liked this project, you might also like to view How to Make Your Own Wine Cork Board…


