Last Updated on August 24, 2023 by Team Ideas24
Crayons and drawing books for the kids’ art time? Too ordinary! So here’s a little project to give your kids something a bit different and more fun to do.
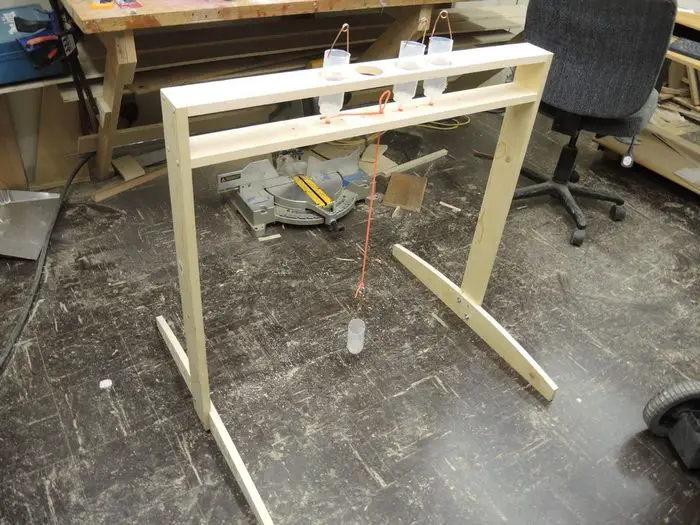
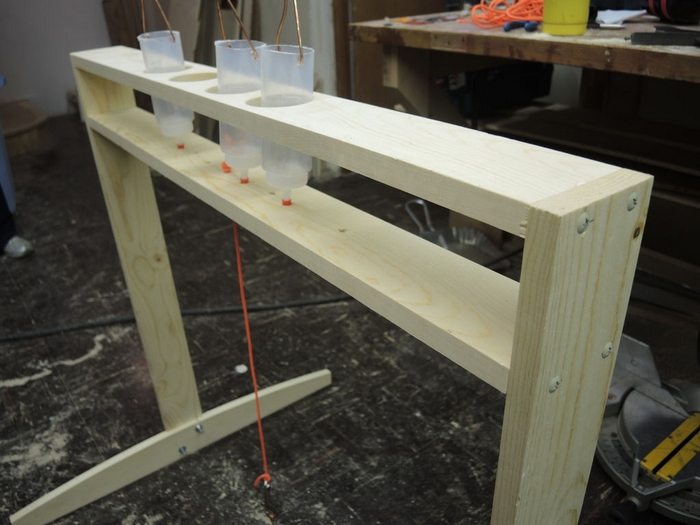
You can build this simple stand using scrap timber you may have in your storage. But you can also use other materials such as PVC pipes, cardboard boxes, etc. Be creative and resourceful! As long as it’s something the paint bottles can swing from then that’s good! You can also try to use small empty plastic bottles to use as paint applicators, instead of buying squeeze bottles.

And don’t forget to cover the floor with old newspapers if you’re planning to do this indoors for easier cleanup!
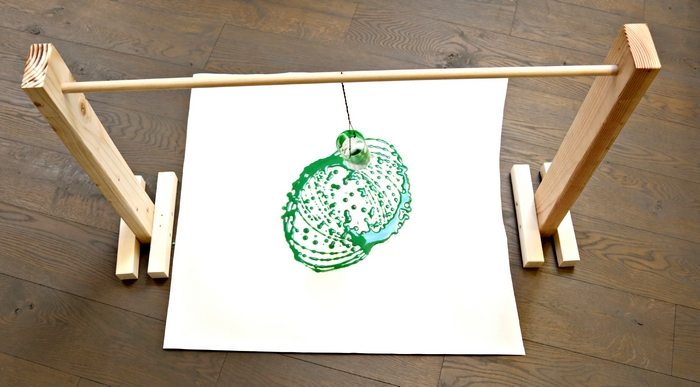
We’re pretty sure your kids will love this large canvas for them to play around with. It can also help broaden their imagination which can be hard to achieve if they are always restricted to crayons and paper on the table!
Creating art with kids can be super easy – and super fun! All you need are a few supplies and some imagination.
Here’s the list that you’ll need:
- 30″ Dowel
- 4 pcs – 8″ long, 2×2 Timber
- 2 pcs – 24″ long, 2×4 Timber
- Screws
- Wire / Thread
- Tempera Paint for Kids
- Cup or Glass Jar (one with a wide opening for catching paint drips)
- Squeeze Bottles
- Wide Canvas
- Scissors
- Drill
Contents
How to create easy art for kids
Let’s get this started, shall we? :)
1. Create the stand
There are many different ways to do this; all we’re looking to create is a stable stand that we can thread through to create a pendulum that will drop paint onto our canvas or paper.

2. Prepare the paints
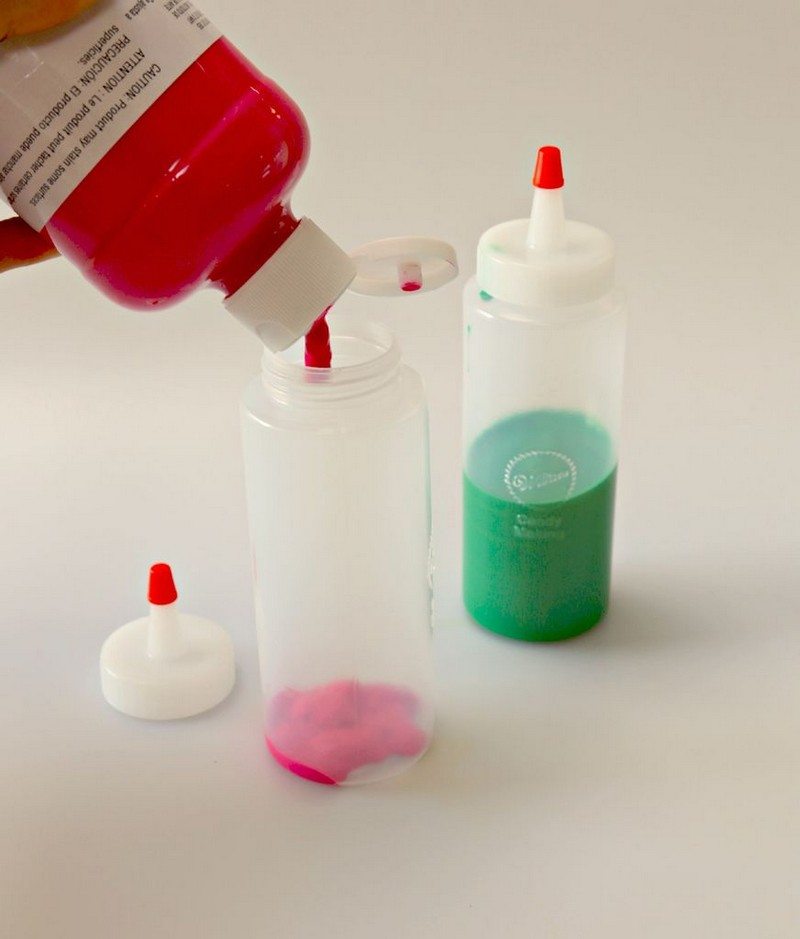
I used a pair of Wilton squeeze bottles and filled them with washable, kid-friendly paint. These will be used as the applicators. I thinned the paint a tad bit with water to achieve a slightly more liquid consistency.
3. Prepare the canvas material
I used a square piece of pre-treated canvas material. This will be what sits on the ground and gets painted on. You could also use card stock or poster boards.
4. Create a pendulum
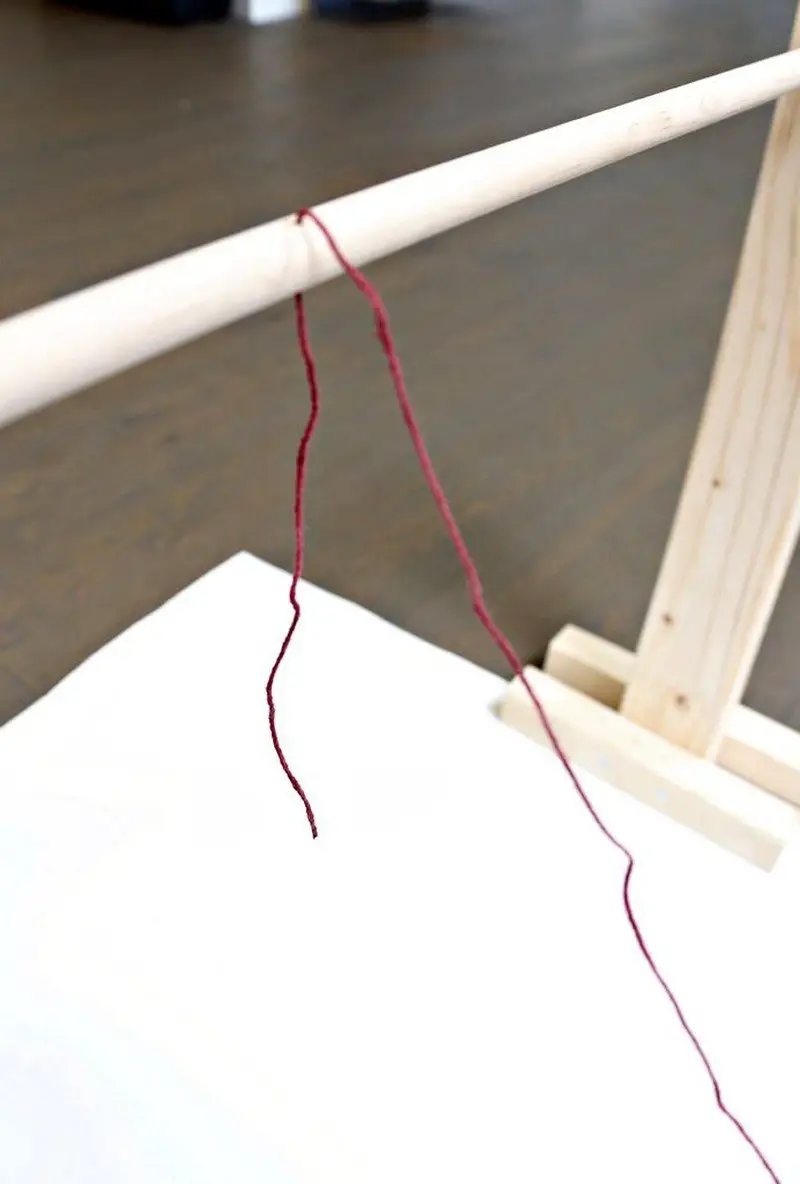
I drilled a small hole through my dowel where a piece of string will connect it to the paint applicator. This will be our pendulum.
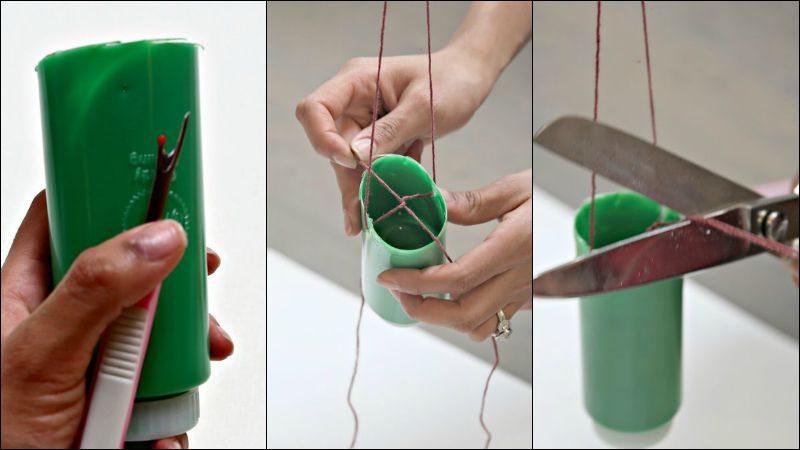
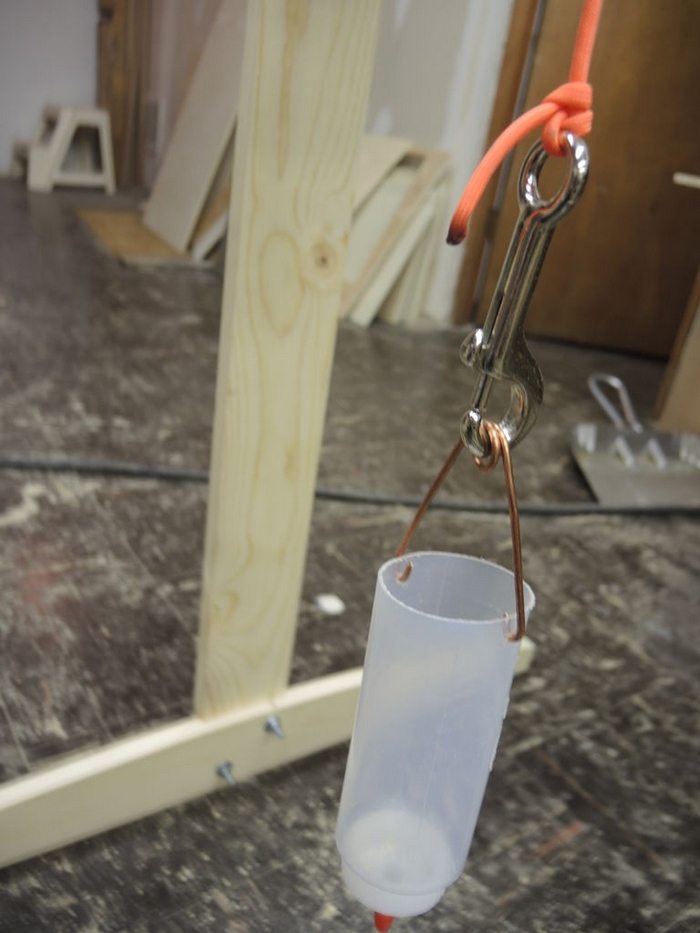
 Next, I prepped my Wilton squeeze bottle by cutting out the bottom and making two small holes about a half-inch away from the newly cut bottom, exactly opposite each other.
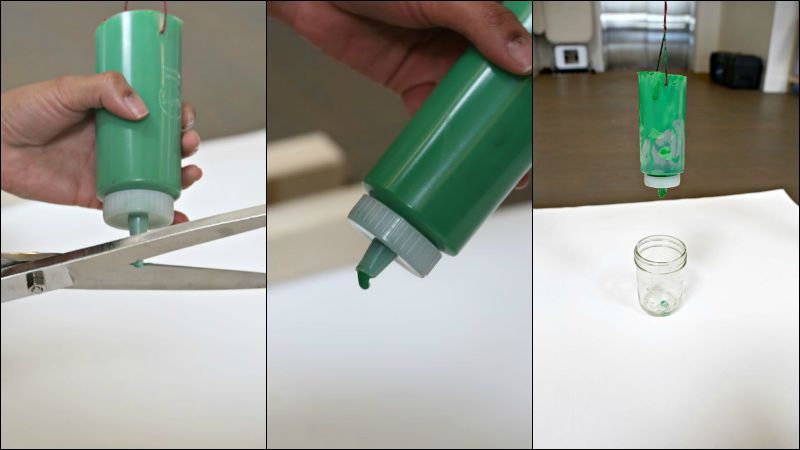
Now, cut a larger opening on the squeeze top so the paint can flow easily out of it. Because we thinned our paint a bit with water, it should flow out effortlessly. I put a small cup directly underneath the bottle so it wouldn’t get onto my canvas material until I was ready to set it in motion.
These two holes will be strung through with the string hanging from our dowel.
5. Start painting and have fun!
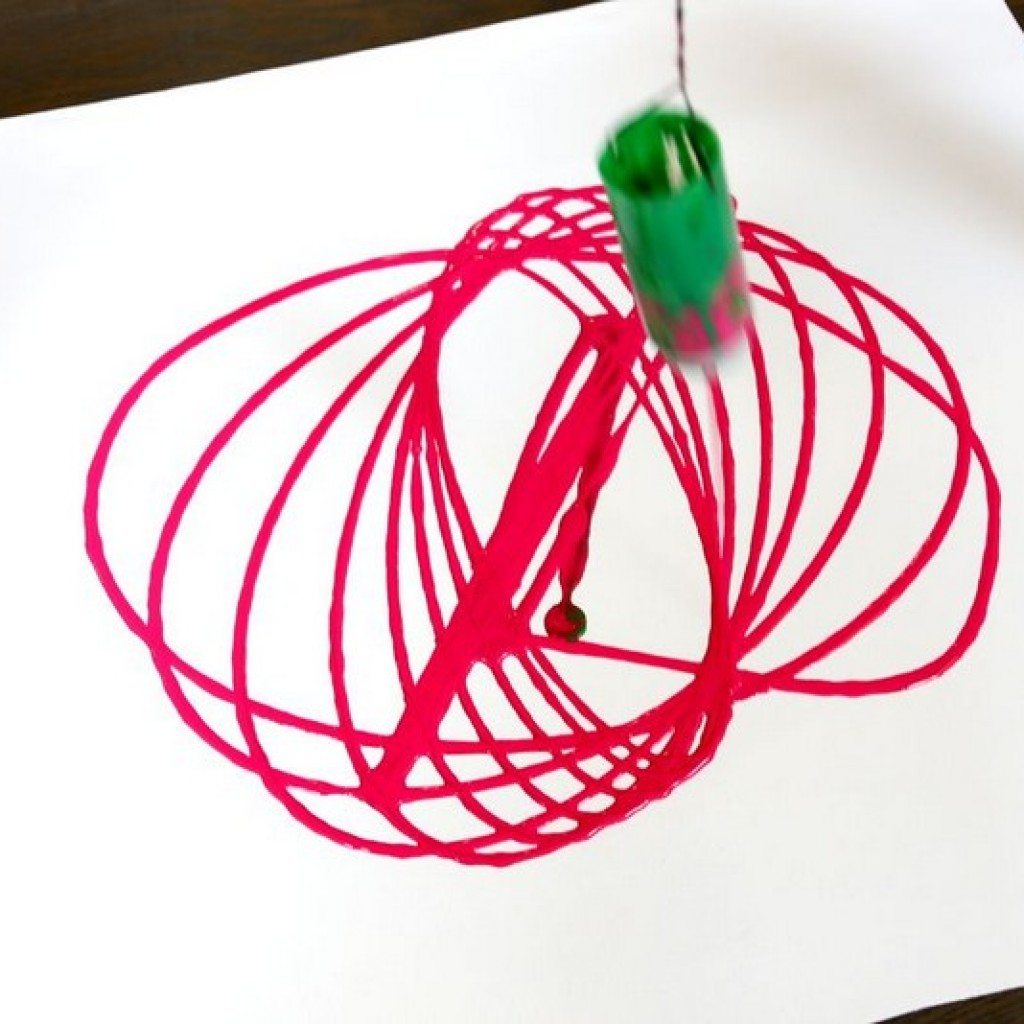
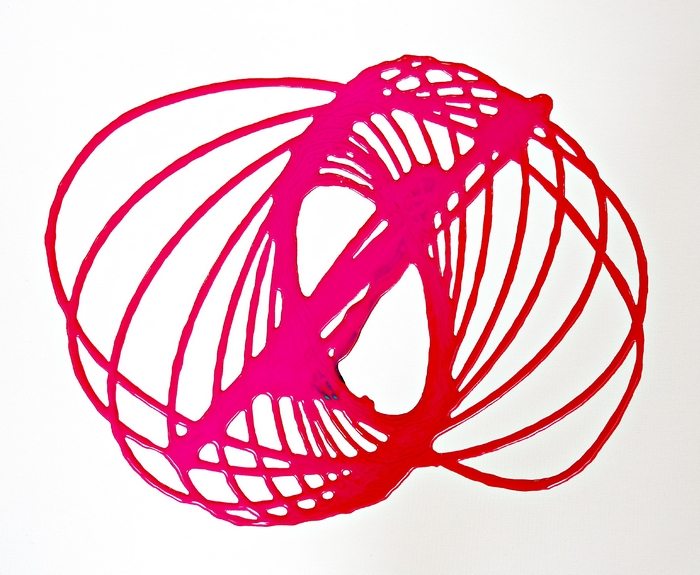
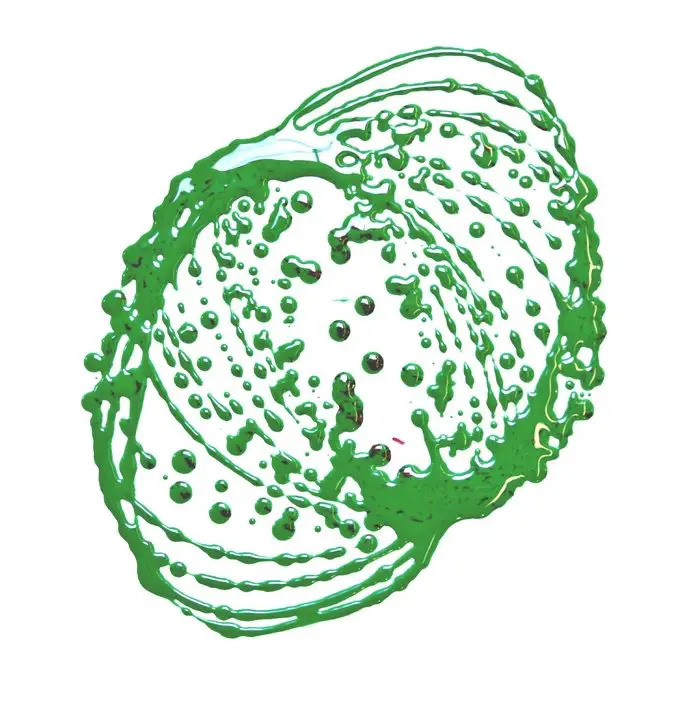
Now it’s time to let the kids have fun with it! Use a circular motion to get the pendulum paint bottle moving around. The paint will start to flow and the pendulum will start to swing. Keep going until the paint has been evenly distributed.
You can let the kids experiment and see what they can create! Let them paint to their heart’s content – there’s no need to be neat and tidy here. 😉

Click on any image to start the lightbox display. Use your Esc key to close the lightbox.![]()


Let us know if it produced wonderful effects! :)
We are always looking for ways to improve and would appreciate any feedback. Thank you! 😊
Thanks to for this great project!
If you liked this project, you might also like to view Easy Valentines Emoji Craft for Kids!

