Last Updated on November 13, 2024 by Team Ideas24
One artistic approach to transforming your best memories into timeless works of art is to have a picture transferred into a canvas. This procedure may be both fulfilling and fun whether your goal is to design a special gift or adorn your house with personal accents.
Professional-looking results can be attained using the correct tools and materials instead of costly equipment or expert assistance. From getting your materials ready to final touches, this article will lead you through every stage of moving a picture to canvas so your artwork looks great and will last for years to come.
Contents
Step-by-Step Tutorial: Transfer Photos to Canvas Like a Pro
Transforming a favorite photo into a beautiful canvas display is easier than you might think. With a few materials and simple steps, you can create a unique piece of art that’s perfect for your home or as a heartfelt gift. Follow these steps to bring your cherished memories to life on canvas!
Materials Needed
Before you start, gather the following materials to ensure a smooth and successful transfer of photos to canvas:
- Canvas:
- Choose a pre-stretched and primed canvas. A smooth surface works best for photo transfers.
- Photo Transfer Medium:
- This is a special gel or medium designed specifically for transferring photos. Popular options include Mod Podge Photo Transfer Medium and Liquitex Gel Medium.
- Laser Printed Photo:
- Ensure your photo is printed using a laser printer, as inkjet prints will not work for this process. Use regular copy paper, not photo paper.
- Brushes:
- Use flat, synthetic brushes for applying the transfer medium.
- Squeegee or Credit Card:
- A squeegee or an old credit card helps smooth out the photo and remove air bubbles during the transfer.
- Water Spray Bottle:
- A spray bottle filled with water is essential for removing the paper backing after the photo has been transferred.
- Soft Cloth or Sponge:
- Use a soft cloth or sponge for gently rubbing off the paper backing without damaging the transferred image.
- Scissors – To trim the photo to fit the canvas.
Optional Tools for Enhanced Results:
- Acrylic Paints:
- For adding extra details or touching up the transferred photo.
- Clear Acrylic Sealer:
- Use a clear sealer to protect and preserve the finished artwork. Matte, satin, or gloss finishes are available depending on your preference.
- Fine Sandpaper:
- Fine-grit sandpaper can be used to smooth out any rough edges or imperfections on the canvas before transferring the photo.
- Painter’s Tape:
- For securing the edges of the photo to the canvas during the transfer process.
- Foam Roller:
- A foam roller can help apply the transfer medium evenly and smoothly.
These materials will ensure you’re well-prepared to transfer photos to canvas, allowing you to create beautiful and lasting canvas art.
Preparing the Photo
A good photo transfer to canvas depends on carefully preparing your photo. These guidelines will help you ensure that your picture is ready for the transfer.
- Selecting the Appropriate Picture
- Choose a premium picture when you transfer photo to canvas. Check its clarity and resolution. This will affect your transfer picture to canvas’s outcome at last. Steer clear of low-grade or fuzzy photos.
- Resizing and Editing the Photograph
- Edit your picture as needed. Change colors, brightness, and contrast to suit you. To fit your canvas, scale the picture.
- Make sure it fits for a flawless transfer picture to canvas. Use free internet tools or Photoshop or photo editing program.
- Creating the Photo on Transfer Paper
- Print your corrected picture with a laser printer. Photo transfer on canvas requires only laser printouts. Use not picture paper but plain copy paper.
- If the picture has text, be sure the print is mirror image. Perfect transfer images to canvas depend on this stage.
Correct photo preparation will help to create lovely and long-lasting transfer photos to canvas.
Preparing the Canvas
Making sure you’re transferring photos to canvas work depends on how you are preparing your canvas. See these guidelines to prepare your canvas.
- Choosing the Correct Platform
- Select a pre-stretched, priming canvas. Transferring images on canvas best uses a smooth surface. Make sure your picture fits on the canvas. This guarantees a perfect transfer photos to canvas.

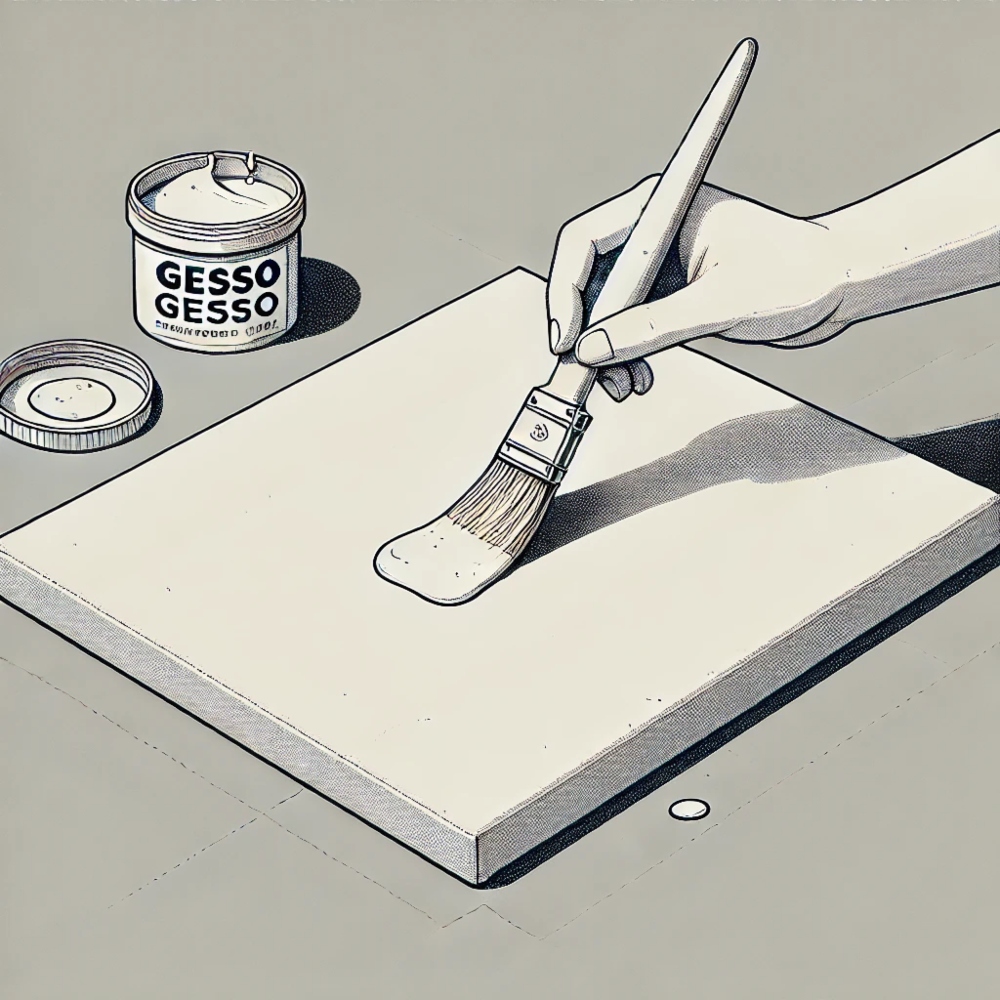
- Starting the Canvas
- Though the canvas is already primally primed, think about adding another layer of gesso. This produces a better surface. Allow it to dry totally. A well-primed canvas improves your transfer photo to canvas quality.
- Create a Sanitized Surface
- Verify the canvas’s surface for cleanliness free of dust. Should need, gently wipe it with a soft towel. A good transfer picture to canvas depends on a spotless surface.
- Securing the Canvas
- Lay your canvas on a level, firm surface. If needed, securely fasten it using painter’s tape. This helps attain a perfect transfer photo to canvas and stops motion during the procedure.
A good and long-lasting transfer photos to canvas depends on your canvas being properly ready.
Transferring the Photo
Transferring the photo to canvas is the most exciting part of the process. Follow these steps carefully to ensure a successful transfer photo to canvas.
- Applying the Photo Transfer Medium
- Using a flat, synthetic brush, apply a generous layer of photo transfer medium to the printed side of your photo.
- Make sure the medium covers the entire surface evenly. This step is crucial for a smooth transfer photo to canvas.
- Positioning the Photo on the Canvas
- Carefully place the photo, printed side down, onto the canvas. Smooth it out gently with your hands.
- Use a squeegee or an old credit card to remove any air bubbles and excess medium. Ensure the photo is firmly attached for the best transfer photos to canvas results.
- Allowing the Photo to Dry
- Let the canvas dry completely. This usually takes about 24 hours. Do not rush this step, as it ensures the photo adheres properly to the canvas.
- Removing the Paper Backing
- After waiting 24 hours, you’ll be ready to reveal the magic of your transferred image. Begin by ensuring your canvas is dry; then, spray the paper backing with water until it’s thoroughly soaked. Let it sit for a few minutes so the water can penetrate the paper effectively.
- Next, take a soft cloth or sponge and gently rub the paper. You’ll notice the paper will start to peel away, unveiling the image beneath. It’s essential to be patient and gentle during this step to avoid damaging your transfer photo to canvas.
- As you continue, keep wetting the paper and rubbing softly. The process may get a little messy, but that’s all part of the fun. Soon, you’ll find that the paper comes off entirely, leaving your beautifully transferred image intact on the canvas. Magic!
- Final Touches
- Inspect your canvas for any remaining paper fibers. Remove them carefully with water and gentle rubbing. Allow the canvas to dry again. Your transfer photos to canvas are now ready for the finishing touches.
Following these steps will help you achieve a beautiful and lasting transfer photo to canvas.
Tips for Achieving Different Styles When Transferring a Photo to Canvas
When transferring a photo to canvas, you have the flexibility to experiment with various styles to achieve unique visual effects. Here are some techniques to consider:
Explore Image Placement
- Full Canvas Coverage: Choose an image that extends to the very edges of the canvas. This style creates a seamless, flush appearance, offering a modern and clean look.
- Natural Border Look: Opt for a smaller image that doesn’t reach the edges of the canvas. This approach creates a natural border, giving the piece a framed effect without the need for an actual frame.
Enhance with Mixed Media
- Incorporate Paint: If your image doesn’t cover the entire canvas and you’d like to fill the gaps, consider adding paint. This not only fills the space but also adds texture and depth, turning your piece into a mixed media masterpiece.
Style Flexibility
- Custom Adaptation: Whether you lean towards a flush edge or prefer a natural border, adapt your approach to fit the aesthetic you desire. Don’t be afraid to customize as you go.
Embrace Imperfection
- Enjoy the Process: Allow yourself the freedom to experiment. Achieving perfection isn’t necessary—sometimes, the best results come from spontaneous creativity.
By trying these different techniques, you can create a canvas photo transfer that suits your personal style and artistic vision. Enjoy the journey of creativity and self-expression!
Displaying Your Canvas Art
It’s time to show your masterwork now that your transfer picture to canvas has been properly done. Showing your canvas art correctly can help it to be more beautiful and serve as the center point in your room. These suggestions and ideas help you to present your transfer picture to canvas.

- Consider Lighting
- The visual attractiveness of your canvas art will be much influenced by the site you choose. Highlighting the colors and details of your transfer photo to canvas depends on good lighting.
- Although natural light is perfect, be aware of direct sunlight, which over time could cause fading. Use mild, ambient lighting to illuminate your canvas should natural light not be a choice.
- Think About Eye Level
- Usually, this implies the middle of the canvas should be between 57 and 60 inches above the floor. This makes viewing and appreciating the elements of your transfer picture to canvas simple without straining your neck difficult.
Creative Display Ideas
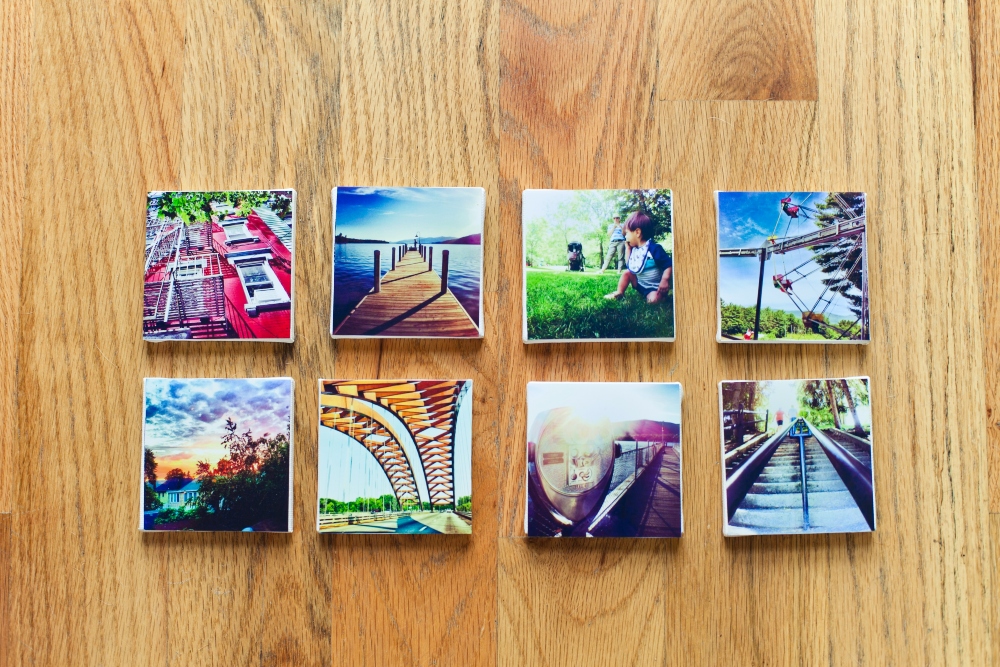
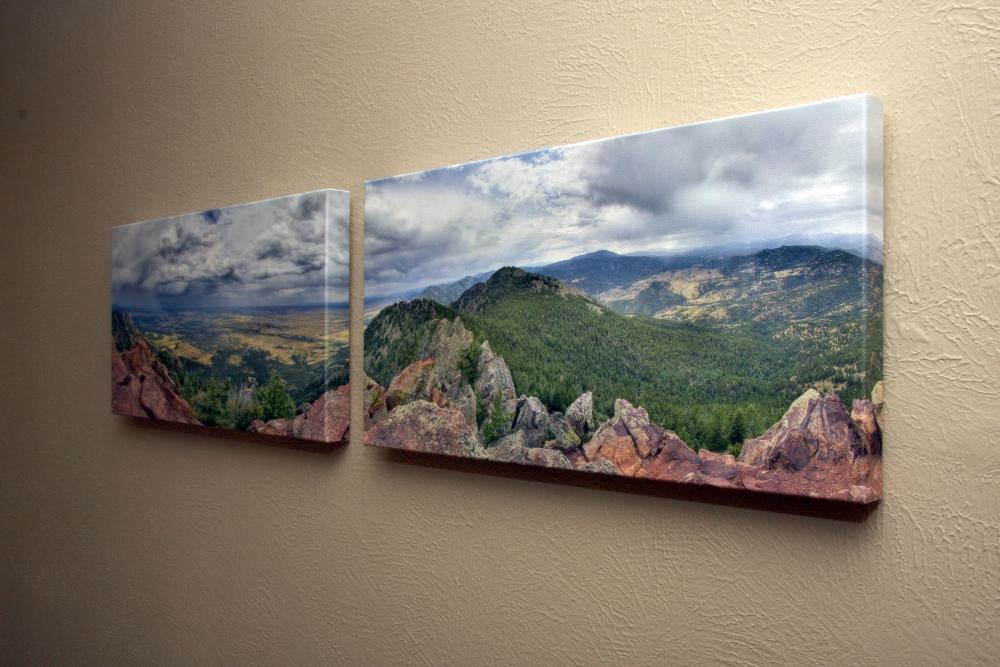
- Gallery Wall
- Group many canvases to create a gallery wall. If you have other artworks you like to exhibit or several transfer photos to canvas projects, this works great.
- Either symmetrically or in a more varied fashion, arrange them in a logical sequence. This gives any room visual appeal and makes a strong statement.
- Floating Shelves
- One flexible approach to show your canvas art is with floating shelves. The layout is simple enough for you to rearrange and add other accent pieces as books, plants, or little sculptures.
- This produces an interactive show that you may change anytime you so wish.
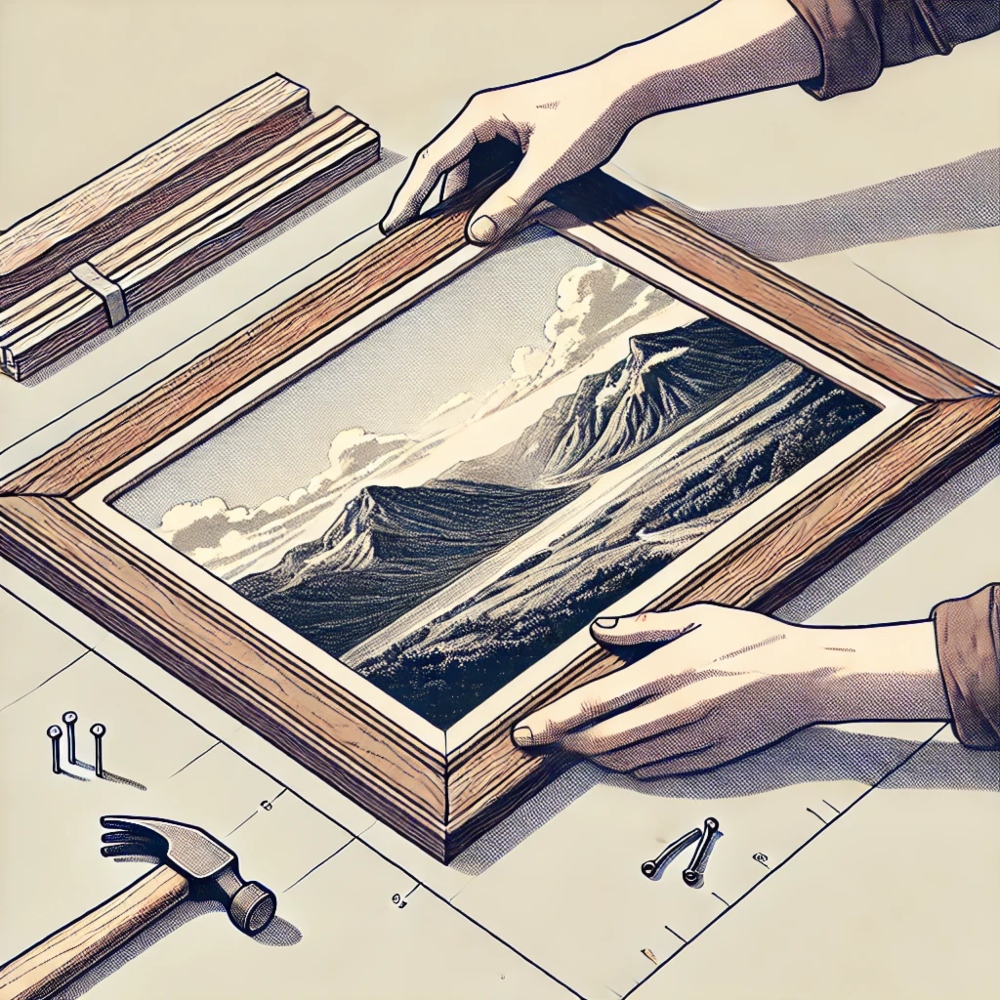
- Frame It
- While canvases don’t usually call for frames, adding one will give your transfer photo on canvas a polished and finished appearance.
- Select a frame that accentuates your photo’s color and design. Most canvases fit a basic, contemporary frame. If your décor calls for more ornate options, feel free to try them.
- Mix with Other Media
- Combine your canvas art with other kinds of wall art, such prints, posters, or metal work. Combining several media may produce a rich, textured display that gives your area character and depth.
Hanging Techniques
Wire and Hook: The wire and hook method is a reliable way to hang your transfer photo to canvas work. After marking D-rings at the rear of the canvas frame, string picture wire between them. Stow the wire on wall hooks. This approach lets you make simple tweaks to guarantee your canvas is level.
Sawtooth Hanger: For smaller canvases, a sawtooth hanger can be a simple and effective solution. Attach the hanger to the rear of the canvas and straight-forwardly hang it on a wall nail or screw.
Command Strips: If you prefer not to put holes in your walls, use adhesive command strips designed for hanging pictures. These work well for lightweight canvases and offer the advantage of easy removal and repositioning.
Enhancing Your Display
Add Lighting: Accent lighting can dramatically enhance the look of your transfer photo to canvas. Consider using picture lights, track lighting, or wall-mounted sconces to highlight your canvas. This not only illuminates the artwork but also adds a touch of sophistication to your display.
Incorporate Color Themes: Coordinate the colors in your canvas art with the room’s decor. Pull out a few key colors from your transfer photo to canvas and use them in other elements of the room, such as throw pillows, rugs, or curtains. This creates a harmonious and cohesive look.
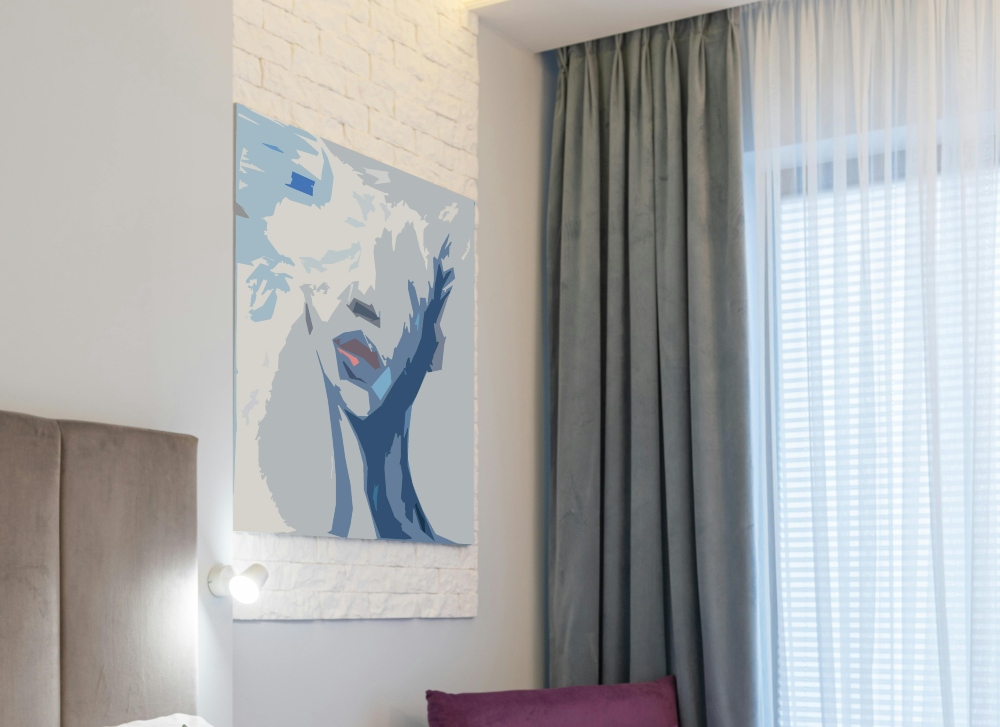
Create a Focal Point: Make your canvas art the focal point of the room. Position it above a fireplace, sofa, or bed to draw attention to it. A well-placed transfer photo to canvas can anchor the room and provide a central point of interest.
Maintaining Your Canvas Art
Regular Dusting: Keep your canvas art looking its best by dusting it regularly with a soft, dry cloth. Avoid using water or cleaning solutions, as these can damage the canvas and the transferred image.
Avoid Direct Sunlight: As mentioned earlier, direct sunlight can cause your transfer photo to canvas to fade over time. Try to display your canvas in a location that receives indirect light or use UV-protective glass if framing.
Temperature and Humidity Control: Extreme temperatures and humidity levels can affect the longevity of your canvas art. Try to keep your canvas in a stable environment, away from sources of heat or moisture.
- Rotating Your Display
- To keep your space feeling fresh, consider rotating your canvas art periodically. This not only gives you the chance to enjoy different pieces but also helps protect your canvases from prolonged exposure to light and dust.
Showcasing your transfer photos to canvas art thoughtfully enhances your space. Whether displayed on a gallery wall, floating shelves, or as a prominent piece, highlight its beauty in a way that suits your style. Proper hanging techniques and maintenance ensure it remains a cherished part of your decor for years.
Troubleshooting Common Issues
When you transfer photos to canvas, there are some difficulties even with great preparation. Relax; many of these problems are typical and simply fixable. This guide will enable you to troubleshoot and fix typical issues as you transfer photo to canvas.
Air Bubbles Under the Photo
- Problem: Under the photo, air bubbles can develop during the transfer process and produce an uneven surface and unequal adherence.
- Solution: Apply the photo transfer medium equally and firmly press the photo onto the canvas to prevent air bubbles. To flatten the picture from the center outward and drive out any air bubbles, use a squeegee or credit card. Use a pin to lightly punctuate bubbles that develop after drying, then flatten the region.
Photo Not Transferring Completely
- Problem: Blanks may result from occasionally parts of the picture not matching the canvas.
- Solution: Make sure you cover the picture with a thick, even coating of transfer media. Strongly press the picture onto the canvas and let enough time to dry. Should portions of the picture still not transfer, think about correcting the absent sections with acrylic paint that complements the image.
Paper Residue on Canvas
- Problem: After removing the paper backing, you can discover residue remaining on the canvas that compromises image clarity.
- Solution: After lightly cleaning off the paper residue using a soft cloth or sponge, mist the canvas with water and let it soak for a few minutes. Steer clear of too aggressive rubbing since it could ruin the transferred picture. One needs patience most of all. Proceed as needed until all of the paper residue disappears. Correctly getting your picture ready and making sure it’s well attached will help to minimize this problem when you print it into canvas.
Image Fading or Discoloration
- Problem: The transferred picture could seem faded or discoloured, therefore losing its original brightness.
- Solution: The transfer uses premium, laser-printed images. Before removing the paper backing, make sure the picture is absolutely dry. Clear acrylic sealers used following the transfer will aid to preserve the image’s hues and protect it. Store your transfer picture on canvas artwork out from direct sunshine to stop fading.
Canvas Surface Peeling
- Problem: Should the surface begin to peel or break, the transferred picture will be impacted.
- Solution: Before beginning the transfer process, be sure your canvas is correctly primed. When removing the paper backing, steer clear of water saturation of the canvas too great. Should peeling take place, cover the impacted areas with a thin layer of photo transfer media or clear acrylic sealer to lock them. Another way to assist stop peeling is to keep the canvas in a steady surroundings with reasonable humidity.
Blurred or Distorted Image
- Problem: The transferred picture could seem distorted or blurry, therefore losing its natural detail.
- Solution: Make sure your picture comes out clearly and highly resolved. Make sure the picture is firmly and equally pressed onto the canvas throughout the transfer process. Blurring in the drying process might result from any movement. Let enough time pass to avoid smearing. Take care to have a consistent hand and surroundings when you transfer photo to canvas.
Difficulty Removing Paper Backing
- Problem: Eliminating the paper backing might be challenging at times, and too much rubbing might ruin the picture.
- Solution: Take gentle, patient removal of the paper backing as you transfer photo to canvas. Keep the paper damp while you work by misting it from a spray bottle. This softens the paper, which facilitates rubbing off. If you run across tough stains, use a little extra water and let them soak before moving further. When you print images to canvas, timing the soaking and removal process correctly can make a big difference.
Uneven Edges
- Problem: The transferred photo’s edges might seem ragged or uneven.
- Solution: Before beginning the transfer process, precisely cut your picture. Securing the photo’s edges to the canvas with painter’s tape guarantees that they remain in place during the transfer. Acrylic paint allows you to smooth out the edges after the transfer.
Sealer Issues
- Problem: Sometimes using a sealer results in a photo smudging or cloudiness.
- Solution: The transferred picture should be totally dried before adding any sealer. For a light and evenly applied sealer, choose a spray one when you transfer photo to canvas. To prevent smearing, apply several thin coats rather than one big layer. Before adding the following layer, let every one dries totally.
Though most problems can be fixed with diligent planning and attention to detail, moving a picture to canvas can occasionally provide difficulties. Following these troubleshooting guidelines will help to guarantee a flawless and successful transfer photo to canvas operation. Recall that mastery of this art form depends mostly on patience and repetition. Love painting lovely canvas paintings from your treasured images.
Conclusion
The process of “transfer photo to canvas” work is a rewarding and creative project that can turn your favorite memories into beautiful art. With the right materials and careful attention to each step, you can achieve stunning results. Enjoy the satisfaction of showcasing your personalized canvas art in your home or gifting it to someone special.