Shibori dyeing is a traditional Japanese technique that involves the use of resist dyeing to create beautiful patterns on fabric.
This ancient art form has recently gained popularity in the fashion industry, with designers incorporating shibori dyeing techniques into their collections. The process involves folding, twisting, binding, and manipulating fabric before immersing it in the dye, resulting in stunning and unique designs.
Contents
Transforming Fabrics With Shibori Dyeing in 6 Easy Steps
In this step-by-step guide, delve into the basics of shibori dyeing, including the materials needed, different types of resist techniques, and how to create a dye bath. Whether you’re a seasoned textile artist looking to try something new or a beginner interested in exploring the world of shibori dyeing.
This guide will provide you with the knowledge and skills necessary to create your own beautiful and intricate designs.
Are you ready to create some dyeing magic?
Get ready to rock your dyeing world! Here’s the lowdown in six simple steps. We’ll show you how to pick the perfect fabric and dye hues that will make your heart sing. Plus, we’ll teach you all the pro tricks so you can master different dyeing techniques like a boss. With these skills under your belt, you’ll be ready to take on any dyeing challenge that comes your way! Let’s do this!
Step 1: Gathering of Materials
To begin your shibori dyeing adventure, gather the necessary materials. You will need:
- Natural fabric – Choose a fabric made of natural fibres, such as cotton, silk, or linen, as they absorb dye better.
- Shibori dyeing tools – Obtain items like rubber bands, wooden blocks, clips, poles, strings, or thread and needle. These tools will help create different patterns and resist areas during the dyeing process.
- Fabric dye – Select a fabric dye in your desired colours. Shibori dyeing traditionally uses indigo dye, but feel free to explore other hues.
- Water containers – Prepare several large buckets or basins to hold the dye and rinse water.
- Protective gear – Wear gloves and an apron to protect yourself from dye stains.
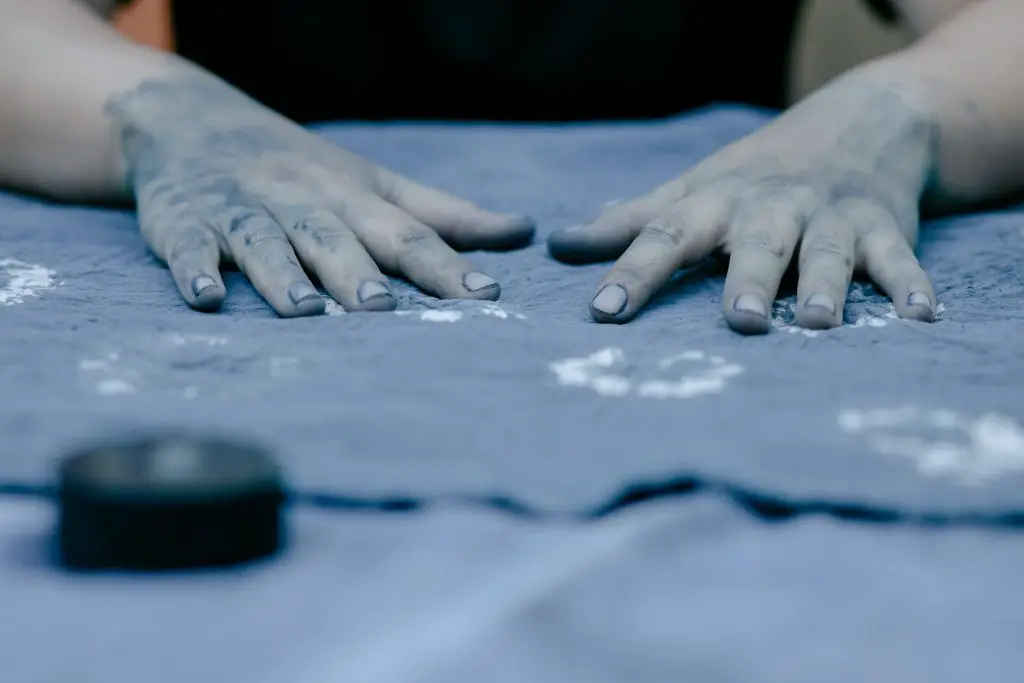
Step 2: Preparing the Fabric
Before diving into the shibori dyeing process, prepare your fabric by washing it thoroughly. This removes any dirt, oils, or sizing that may hinder dye absorption. Once clean, leave the fabric slightly damp, as it will make the dyeing process smoother.
Step 3: Choosing and Getting Ready With Your Shibori Dyeing Techniques
Now it’s time to select the shibori dyeing techniques you want to use. Some popular techniques include:
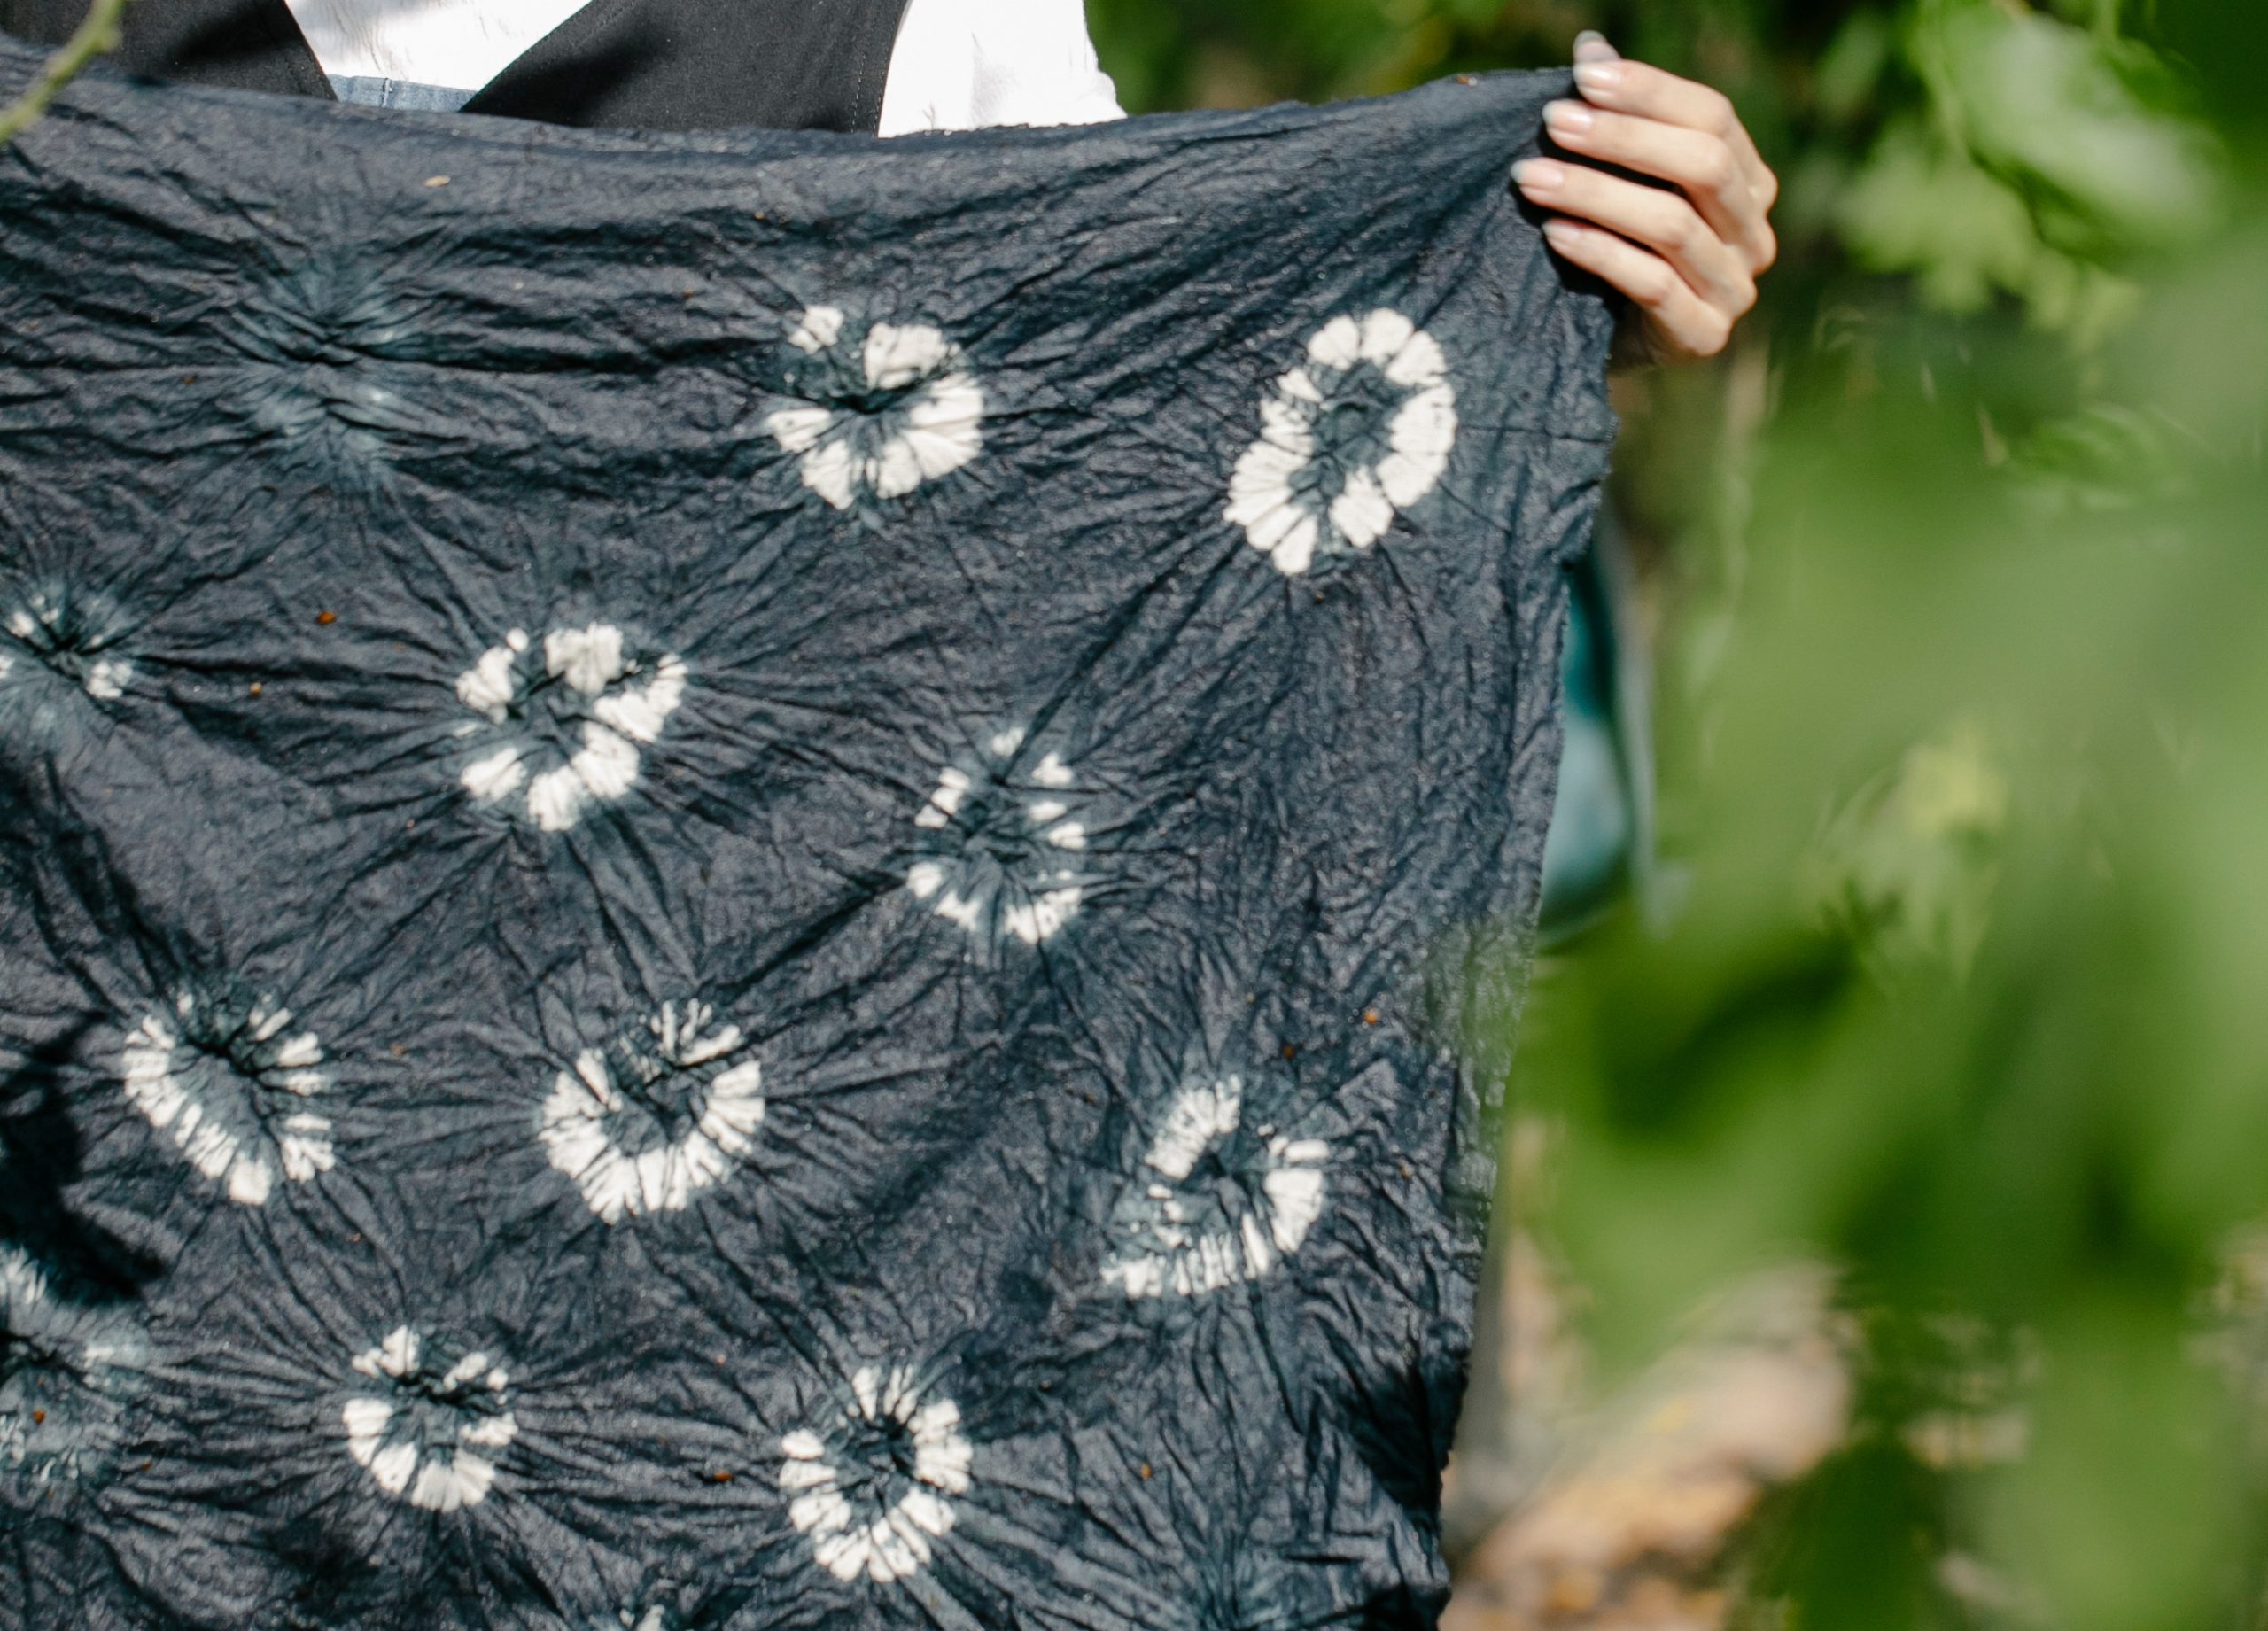
Kumo
Kumo is a fascinating shibori dyeing technique that allows you to create intricate resist patterns, reminiscent of captivating spiderwebs, on your fabric. With Kumo, you can transform plain textiles into visually striking works of art. Now, delve into the step-by-step process of creating this mesmerizing pattern:
1. Pinching the Fabric
Begin by carefully pinching sections of the fabric with your fingers. Choose the areas where you want the resist pattern to appear. You can pinch small sections for more intricate designs or larger sections for a bolder effect. Experimentation is key to achieving unique results.
2. Securing With Rubber Bands or String
Once you have pinched the fabric, secure it tightly using rubber bands or string. This will maintain the resistance in the pinched areas, preventing the dye from permeating those sections. Ensure the bands or strings are tight enough to maintain the desired pattern, but not so tight that they damage the fabric.
3. Making Spiderweb-Like Designs
As you continue pinching and securing the fabric, the pattern will start to resemble an enchanting spiderweb. The resulting shibori dyeing design will showcase a delicate interplay of open areas and resist sections, adding depth and complexity to your fabric.
Experiment with the placement and density of the pinched areas to create variations in the final design. You can also combine Kumo with other shibori dyeing techniques to produce truly unique and beautiful effects.
By mastering the kumo shibori dyeing technique, you’ll be able to infuse your fabric with a sense of intrigue and beauty, transforming it into a captivating canvas that mesmerizes the eyes. The spiderweb-like patterns created through Kumo will surely leave a lasting impression and make your fabric stand out as a true work of art.
Itajime
Itajime is an enchanting shibori dyeing technique that involves folding the fabric in an accordion-like manner and then clamping it between wooden blocks or shapes. This method creates captivating geometric patterns and distinct resist areas on your fabric. Here’s the step-by-step process of creating Itajime designs:
1. Folding the Fabric
Start by folding the fabric in an accordion style, making uniform and parallel folds. The width of each fold will determine the size of the resulting patterns, so you can adjust it according to your desired outcome. Take your time to ensure that the folds are neat and precise.
2. Clamping the Fabric
Once the fabric is folded, carefully position wooden blocks or shapes along the folded edge. These blocks will act as clamps, compressing the fabric and creating resist areas. You can use various sizes and shapes of blocks to add visual interest and complexity to the final design.
3. Securing the Clamps
Firmly secure the clamps in place, ensuring they hold the fabric tightly. This will prevent the dye from penetrating the areas covered by the clamps, resulting in distinct and crisp patterns. Double-check that the clamps are secure, but avoid over-tightening them, as it may damage the fabric.
3. Applying the Dye
Proceed to immerse the fabric in the dye bath, making sure that the entire fabric is submerged. Allow the fabric to absorb the dye for the recommended time, following the instructions provided with your chosen dye. The clamped areas will resist the dye, while the exposed sections will absorb the colour.
4. Rinsing and Unclamping
Once the desired colour intensity is achieved, carefully remove the fabric from the dye bath and rinse it under running water. Gently remove the clamps to unveil the fascinating geometric patterns and contrasting resist areas. Take your time to unfold the fabric, revealing the full beauty of the Itajime design.
By mastering the Itajime technique, you can infuse your fabric with mesmerizing geometric patterns and striking contrasts. The folded and clamped areas create bold, eye-catching designs that are sure to make a statement.
Experiment with different folding techniques, sizes, and shapes of wooden blocks to unlock endless possibilities and express your artistic vision. Embrace the art of Itajime and elevate your fabric into a true masterpiece.
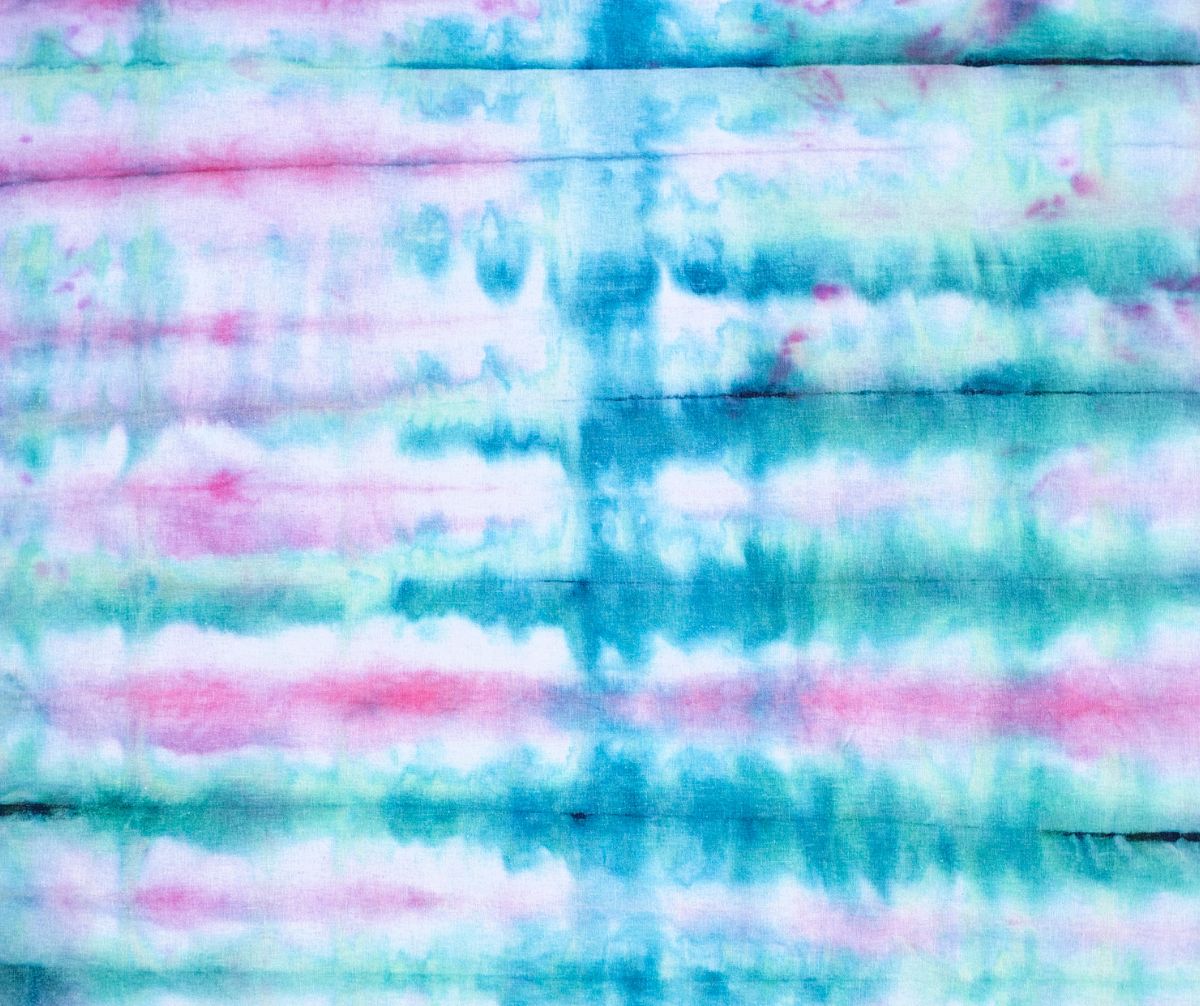
Arashi
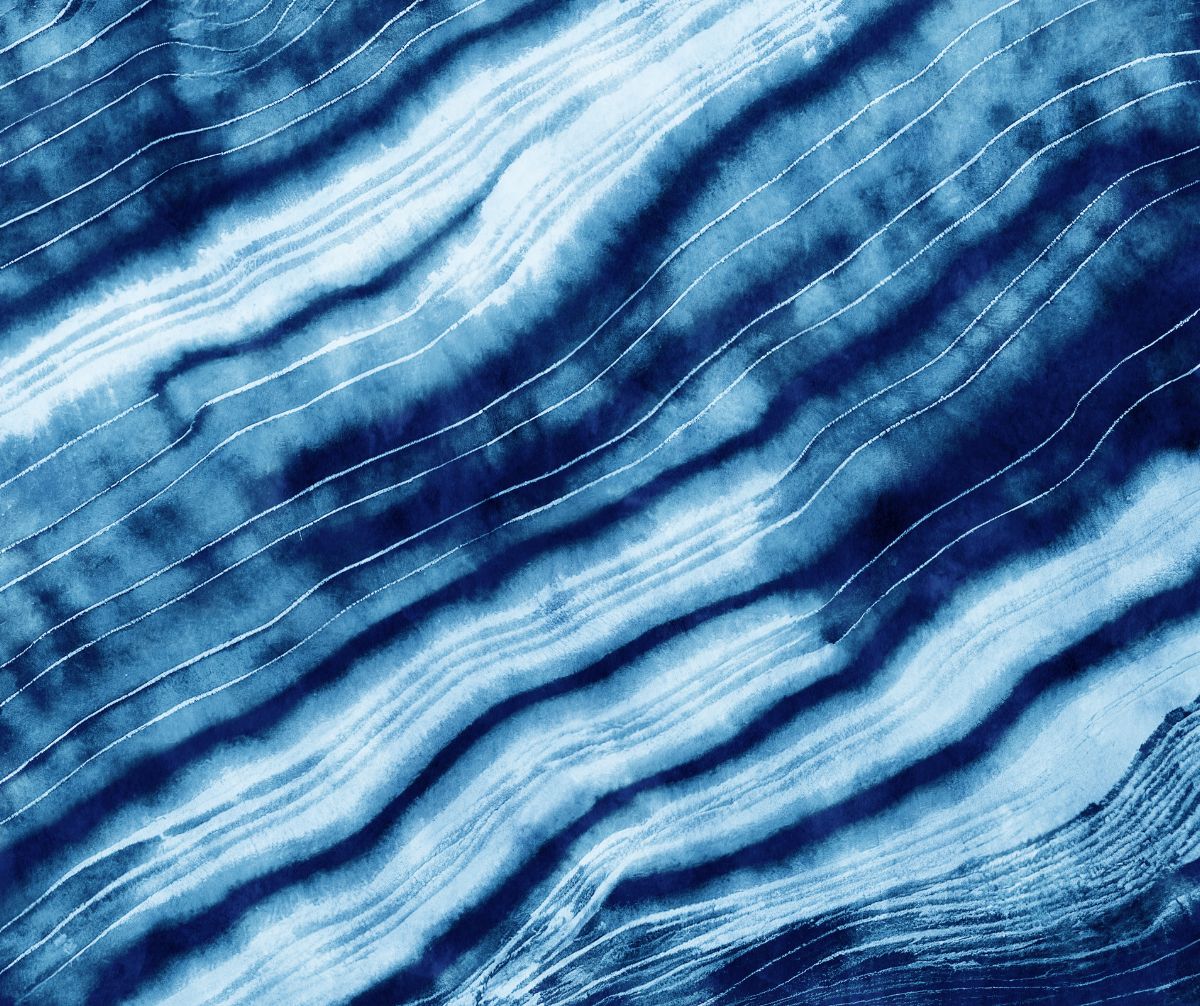
Arashi is a captivating shibori dyeing technique that allows you to create stunning diagonal lines on the fabric, evoking the graceful flow of falling rain. By wrapping the fabric diagonally around a pole and compressing it with string or fabric, you can achieve a mesmerizing pattern that is both fluid and dynamic. Dive into the step-by-step process of mastering the Arashi technique:
1. Preparing the Fabric
Begin by preparing your fabric for the dyeing process. Ensure it is clean and slightly damp, as this will aid in the absorption of the dye.
2. Selecting a Pole
Choose a cylindrical object or pole that suits your desired pattern size. A PVC pipe or a sturdy wooden dowel is commonly used. Consider the length and thickness of the pole based on the size and type of fabric you are working with.
3. Wrapping the Fabric
Starting from one corner, wrap the fabric around the pole diagonally. Keep the fabric taut as you wrap, ensuring it is evenly distributed along the pole. As you continue wrapping, the fabric will naturally gather, creating beautiful diagonal lines.
4. Compressing the Fabric
Once the fabric is wrapped around the pole, secure it in place using string or fabric strips. Begin at the top of the pole and wind the string or fabric tightly around the fabric-wrapped section. Maintain consistent pressure to compress the fabric and create resistance. The result will be elegantly arched lines resembling raindrops in motion.
5. Applying the Dye
Immerse the fabric-wrapped pole into the dye bath, ensuring that all parts of the fabric are fully submerged. Allow the fabric to absorb the dye for the recommended duration specified by the dye manufacturer.
The compression created by the wrapping process will resist the dye, resulting in captivating variations in colour intensity along the diagonal lines.
5. Rinsing and Unwrapping
Once the desired colour saturation is achieved, carefully remove the fabric-wrapped pole from the dye bath. Rinse the fabric under running water to remove any excess dye until the water runs clear. Gently unwrap the fabric from the pole, revealing the exquisite diagonal lines reminiscent of rainfall.
The Arashi technique grants you the ability to infuse your fabric with the fluid beauty of rain cascading down. Experiment with different fabric types, pole sizes, and wrapping variations to create unique effects and evoke diverse moods. Allow your creativity to flow freely as you master the art of Arashi, capturing the grace and movement of raindrops on fabric.
Nui
The Nui technique in shibori dyeing offers a captivating way to embellish fabric through delicate stitching. By using a needle and thread, you can create intricate patterns and resist areas by pulling the thread tightly, resulting in elegant gathers. Explore the step-by-step process of mastering the art of Nui:
1. Preparing the Fabric
Begin by selecting the fabric you wish to work with and ensure it is clean and properly prepared. Consider the type of fabric and its ability to withstand the stitching process.
2. Choosing the Design
Decide on the pattern or design you want to create using the nui shibori dyeing technique. This could range from simple geometric shapes to intricate motifs. You can draw the design directly onto the fabric as a guide or rely on your creativity and improvisation.
3. Thread the Needle
Select a strong and sturdy thread that complements your fabric. Thread the needle and knot the end to secure it. Consider using a contrasting colour thread to make the stitches more visible and add visual interest to your design.

4. Stitching the Fabric
Start stitching the fabric using a running stitch or any other desired stitch pattern. Insert the needle into the fabric and pull it through, creating small, even stitches. As you stitch, pull the thread tightly to gather the fabric, creating resist areas where the dye will have limited penetration.
5. Exploring Patterns and Textures
Experiment with different stitch lengths, spacing, and directions to create various patterns and textures. You can create parallel lines, curved shapes, or even intricate motifs by combining different stitch techniques. Let your imagination guide you and allow your stitches to form a unique and personalized design.
6. Applying the Dye
Once you are done with your desired stitching, immerse the fabric into the dye bath. Ensure that the fabric is fully submerged and allow it to absorb the dye according to the dye manufacturer’s instructions. The stitched areas will resist the dye, resulting in beautifully defined patterns and areas of colour variation.
7. Rinsing and Unravelling
After the fabric has achieved the desired colour intensity, carefully remove it from the dye bath. You can also wash the fabric with mild detergent to remove all remaining dye and improve its colourfastness. Rinse the fabric under running water to remove excess dye until the water runs clear.
Gently unravel the stitches, revealing the exquisite resist areas and the intricate details created through the Nui technique. Through the artful use of stitches, the Nui technique allows you to add depth and texture to your fabric, turning it into a canvas for embroidery.
Let your creativity flourish as you experiment with different stitch patterns, creating unique designs that showcase the beauty of shibori dyeing. With Nui, you can stitch your way to fabric masterpieces that are as visually captivating as they are expressive.
Step 5: Making the Final Flourishes
After you have washed your dyed fabric to remove any excess dye, it’s time to make the final flourishes to ensure a polished and professional result. Allow the fabric to air dry or tumble dry on a low setting. Ironing the fabric will help set the dye and smoothen any wrinkles.
Extra Tip: Unlocking the mastery of fabric dyeing necessitates a fusion of understanding, practice, and artistic ingenuity. Elevate your expertise and guarantee triumphant dyeing endeavours with The Ultimate 8-Step Guide to Mastering the Art of Fabric Dyeing.
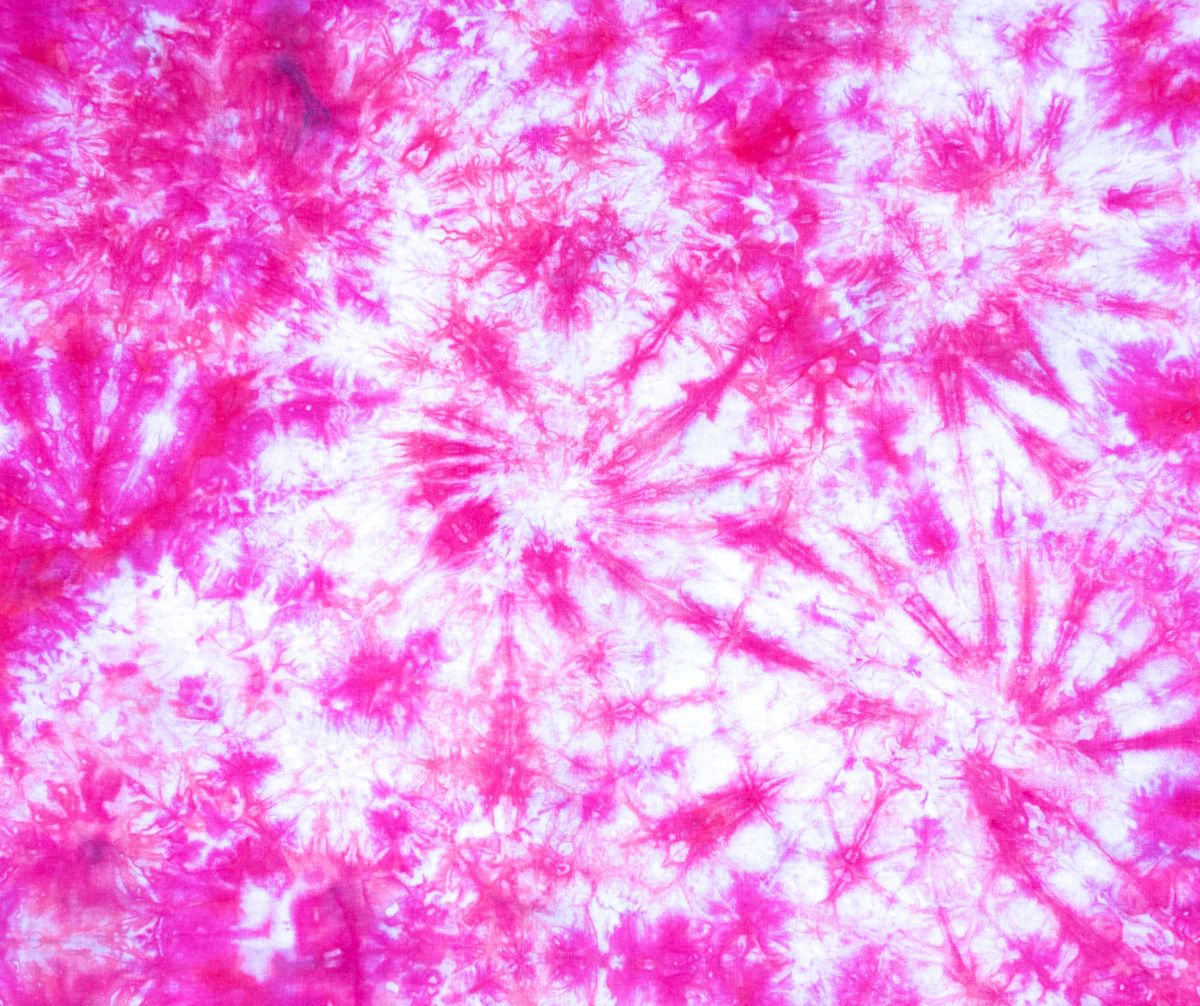
Step 6: Admiring Your Shibori Masterpiece
Once dry, take a moment to admire your shibori masterpiece. The combination of vibrant colours and intricate patterns achieved through shibori dyeing is sure to impress. Your fabric is now ready to be transformed into stunning garments, home decor, or art pieces.

Remember, shibori dyeing is an art form that embraces experimentation and creativity. Feel free to explore different techniques, colour combinations, and fabric types to unleash your inner artist and create truly magical pieces.
From Mundane to Mystical: Dyeing Magic Into Your Clothes
Shibori dyeing is a captivating and rewarding art form that allows you to transform plain fabrics into extraordinary pieces imbued with beauty and creativity. With this step-by-step guide, you have gained the essential knowledge and skills to embark on your own dyeing adventures.
From selecting the right fabric and dye colours to mastering various application techniques, you are now equipped to create stunning patterns and designs that reflect your unique style.
So, explore the endless possibilities of shibori dyeing, as you unleash the magic within each dye bath and witness the awe-inspiring transformation of your fabric.


