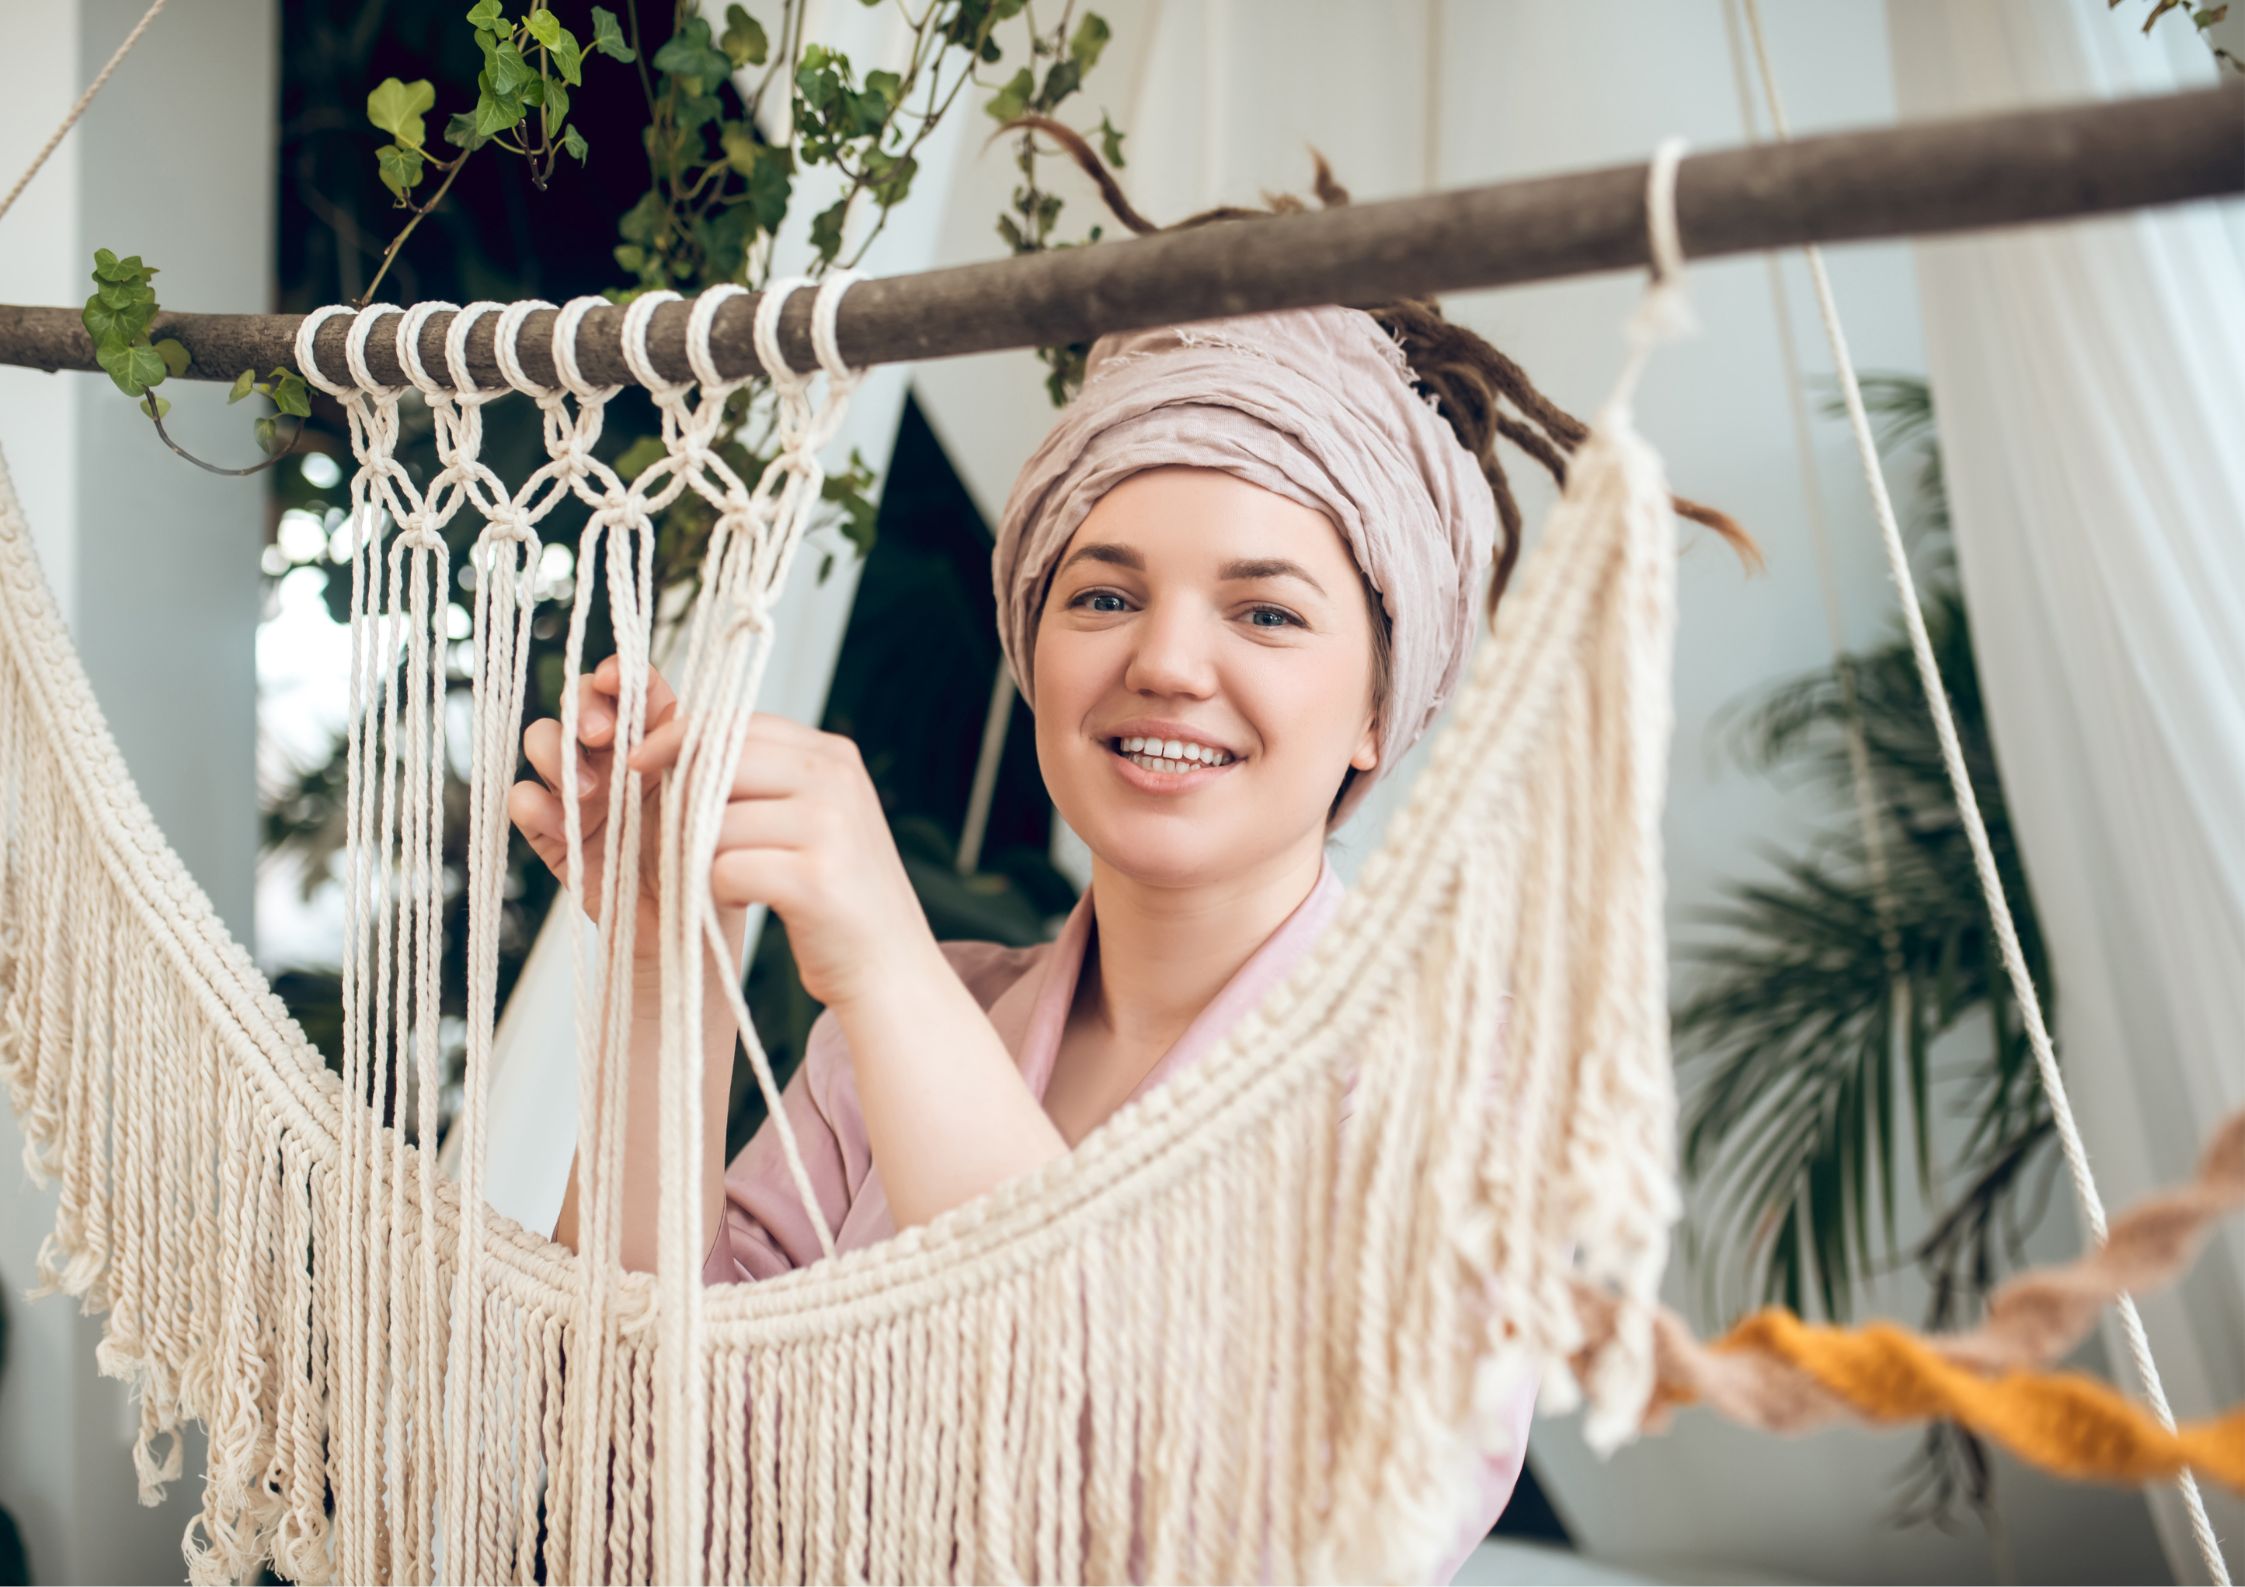
Macrame wall hangings have been making a comeback in recent years and with good reason. Their intricate knots and elegant designs add a touch of bohemian chic to any room. If you’ve been wanting to try your hand at macrame, but don’t know where to start, worry not. This beginner’s guide will teach you everything you need to know to create a stunning macrame wall hanging for your home.
Contents
Macrame: The Art of Knotting Things Together
This guide will cover the basics of macrame, including the materials you’ll need and the most important knots to learn. This will discuss the types of rope or cord for various projects and go through the different textures and patterns you can create with different materials. This will explore the design process, color schemes, and design plan for your wall hanging.
There will also be tips and tricks to help you create a jaw-dropping macrame wall hanging. From measuring and cutting your rope to tying those perfect knots, this will be your trusty guide every step of the way. Get ready to ready to unleash your inner macrame master!
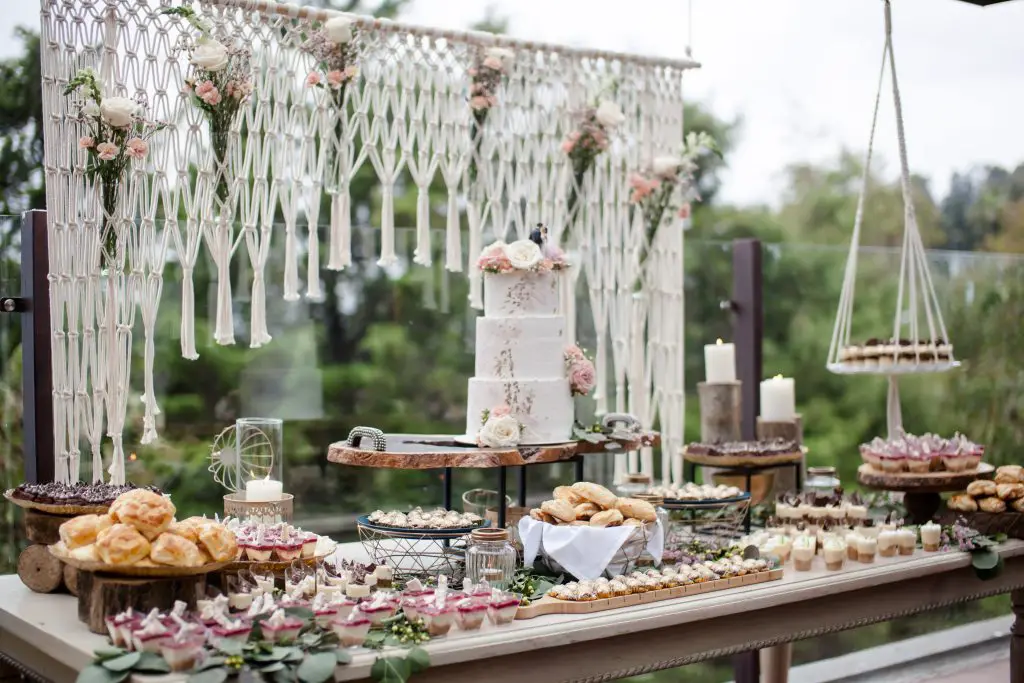
Macrame is the art of knotting cords together to create intricate and beautiful designs. And what better way to show off your newly acquired macrame skills than with a stunning macrame wall hanging?
It’s the perfect way to add texture, depth, and bohemian touch to any room in your house! Plus, it’s a great hobby to get into if you’re looking for a relaxing and creative outlet.
The Supplies You’ll Need to Create Your Own Masterpiece
Macrame wall hangings can be made with a variety of materials. Here are some commonly used materials for making macrame wall hangings:
- Macrame Cord or Rope
- This is the most commonly used material for making macrame wall hangings. Macrame cords or ropes can be made from cotton, jute, hemp, or synthetic fibers.
- It comes in a variety of thicknesses and colors, making it easy to customize your design.
- Wooden Dowel or Branch
- A wooden dowel or branch is used as the base for hanging the macrame wall hanging. The size of the dowel or branch will depend on the size of your wall hanging.
- Scissors
- Scissors are used to cut the macrame cord or rope to the desired length.
- Tape Measure or Ruler
- A tape measure or ruler is used to measure the length of the macrame cord or rope.
- Comb or Brush
- A comb or brush is used to comb out and separate the macrame cords to create a more textured look.
- Beads or Other Embellishments
- Beads or other embellishments can be added to the macrame wall hanging to create a more decorative look.
- Metal rings or hoops, feathers, or other decorative elements can also be added to the macrame wall hanging for a more unique and personalized look.
When choosing materials for your macrame wall hanging, it’s important to consider the size and style of your design. The type of cord or rope you use will affect the thickness and texture of your wall hanging, while the size of your dowel or branch will determine the size of your piece. Experiment with different materials and designs to create a one-of-a-kind macrame wall hanging.
How to Tie the Basic Knots: The Square Knot and the Half Knot
There are two essential knots every macrame wall hanging needs: the square knot and the half knot. With these two knots in the repertoire, intricate and beautiful designs can be created and can transform any space into a cozy oasis.
The Square Knot
The square knot, also referred to as the reef knot, is one of the most basic knots used in macrame. It is a simple knot that creates a symmetrical pattern and can be used in many different macrame designs. Here is a step-by-step guide on how to make a square knot:
- Cut two cords to the desired length. The length of the cords will depend on the size of the project you are making.
- Fold one cord in half and place it over the other cord, so that the midpoint of the folded cord is on top of the other cord.
- Take the ends of the folded cord and pass them through the other cord and then through the loop created by the folded cord.
- Pull the ends of the folded cord down and tighten the knot. This is the first half of the square knot.
- Take the other cord and pass it through the folded cord and the loop created by the folded cord.
- Pull the ends of the other cord down and tighten the knot.
- Simply follow the process of “left over right, then right over left” to create a square knot.
- Repeat these steps to create as many square knots as you need for your project.
The square knot can be used in many different ways in macrame, including to create a series of knots for a simple wall hanging or to create intricate patterns in more complex designs. With practice, you can master the square knot and use it to create beautiful macrame projects.
The Half Knot
The half knot is another basic knot used in macrame. It is similar to the square knot, but instead of repeating the same knot again and again, the half knot alternates between two cords. Here is a step-by-step guide on how to make a half knot:
- Cut two cords to the desired length. The length of the cords will depend on the size of the project you are making.
- Hold the cords together and fold them in half. Place the midpoint of the folded cords through a dowel or rod and bring the ends of the cords to the rod.
- Take the left cord and make a loop by bringing it over the other cords and then behind them. Hold the loop in place with your left hand.
- Take the right cord and bring it through the loop created by the left cord.
- Bring the right cord behind the other cords and through the loop created by the left cord.
- Pull the right cord down and tighten the knot.
- Now repeat the same steps, but this time start with the right cord. Make a loop with the right cord, and bring the left cord through the loop and behind the other cords.
- Pull the left cord down and tighten the knot.
- Continue alternating between the left and right cords to create a row of half knots.
The half knot can be used in many different ways in macrame, including in creating a simple row of knots for a macrame wall hanging or making textured patterns in more complex designs. With practice, you can also master the half knot and use it to create one-of-a-kind macrame projects.
Patterns for Macrame Wall Hangings: From Simple to Intricate
Knotting patterns are the perfect way to add some pizzazz to your space! With options ranging from simple to intricate, you can get as creative as you want.
Simple Macrame Wall Hanging Patterns
Here are some simple macrame wall-hanging patterns to get you started:
1. Basic Square Knot Pattern
This is the most common macrame knot and is easy to learn. You can use a few strands of cord and tie square knots to create a simple yet beautiful wall hanging. The basic square knot pattern can be used to create a variety of designs, such as a diamond or a zigzag.
2. Half Square Knot Pattern
This pattern is similar to the basic square knot but uses half-square knots to create a spiral effect. To create this pattern, you need to use four strands of cord. First, fold the cords in half and attach them to a rod or a dowel. Then, take the two outer strands and tie a half knot around the two inner strands.
Repeat this process with the other side by taking the outer strands and tying them in a half knot around the two inner strands. Continue tying half knots in this way until you reach the desired length of your wall hanging.
The Half Square Knot Pattern creates a textured and interesting design that is perfect for adding a bohemian touch to your home decor.
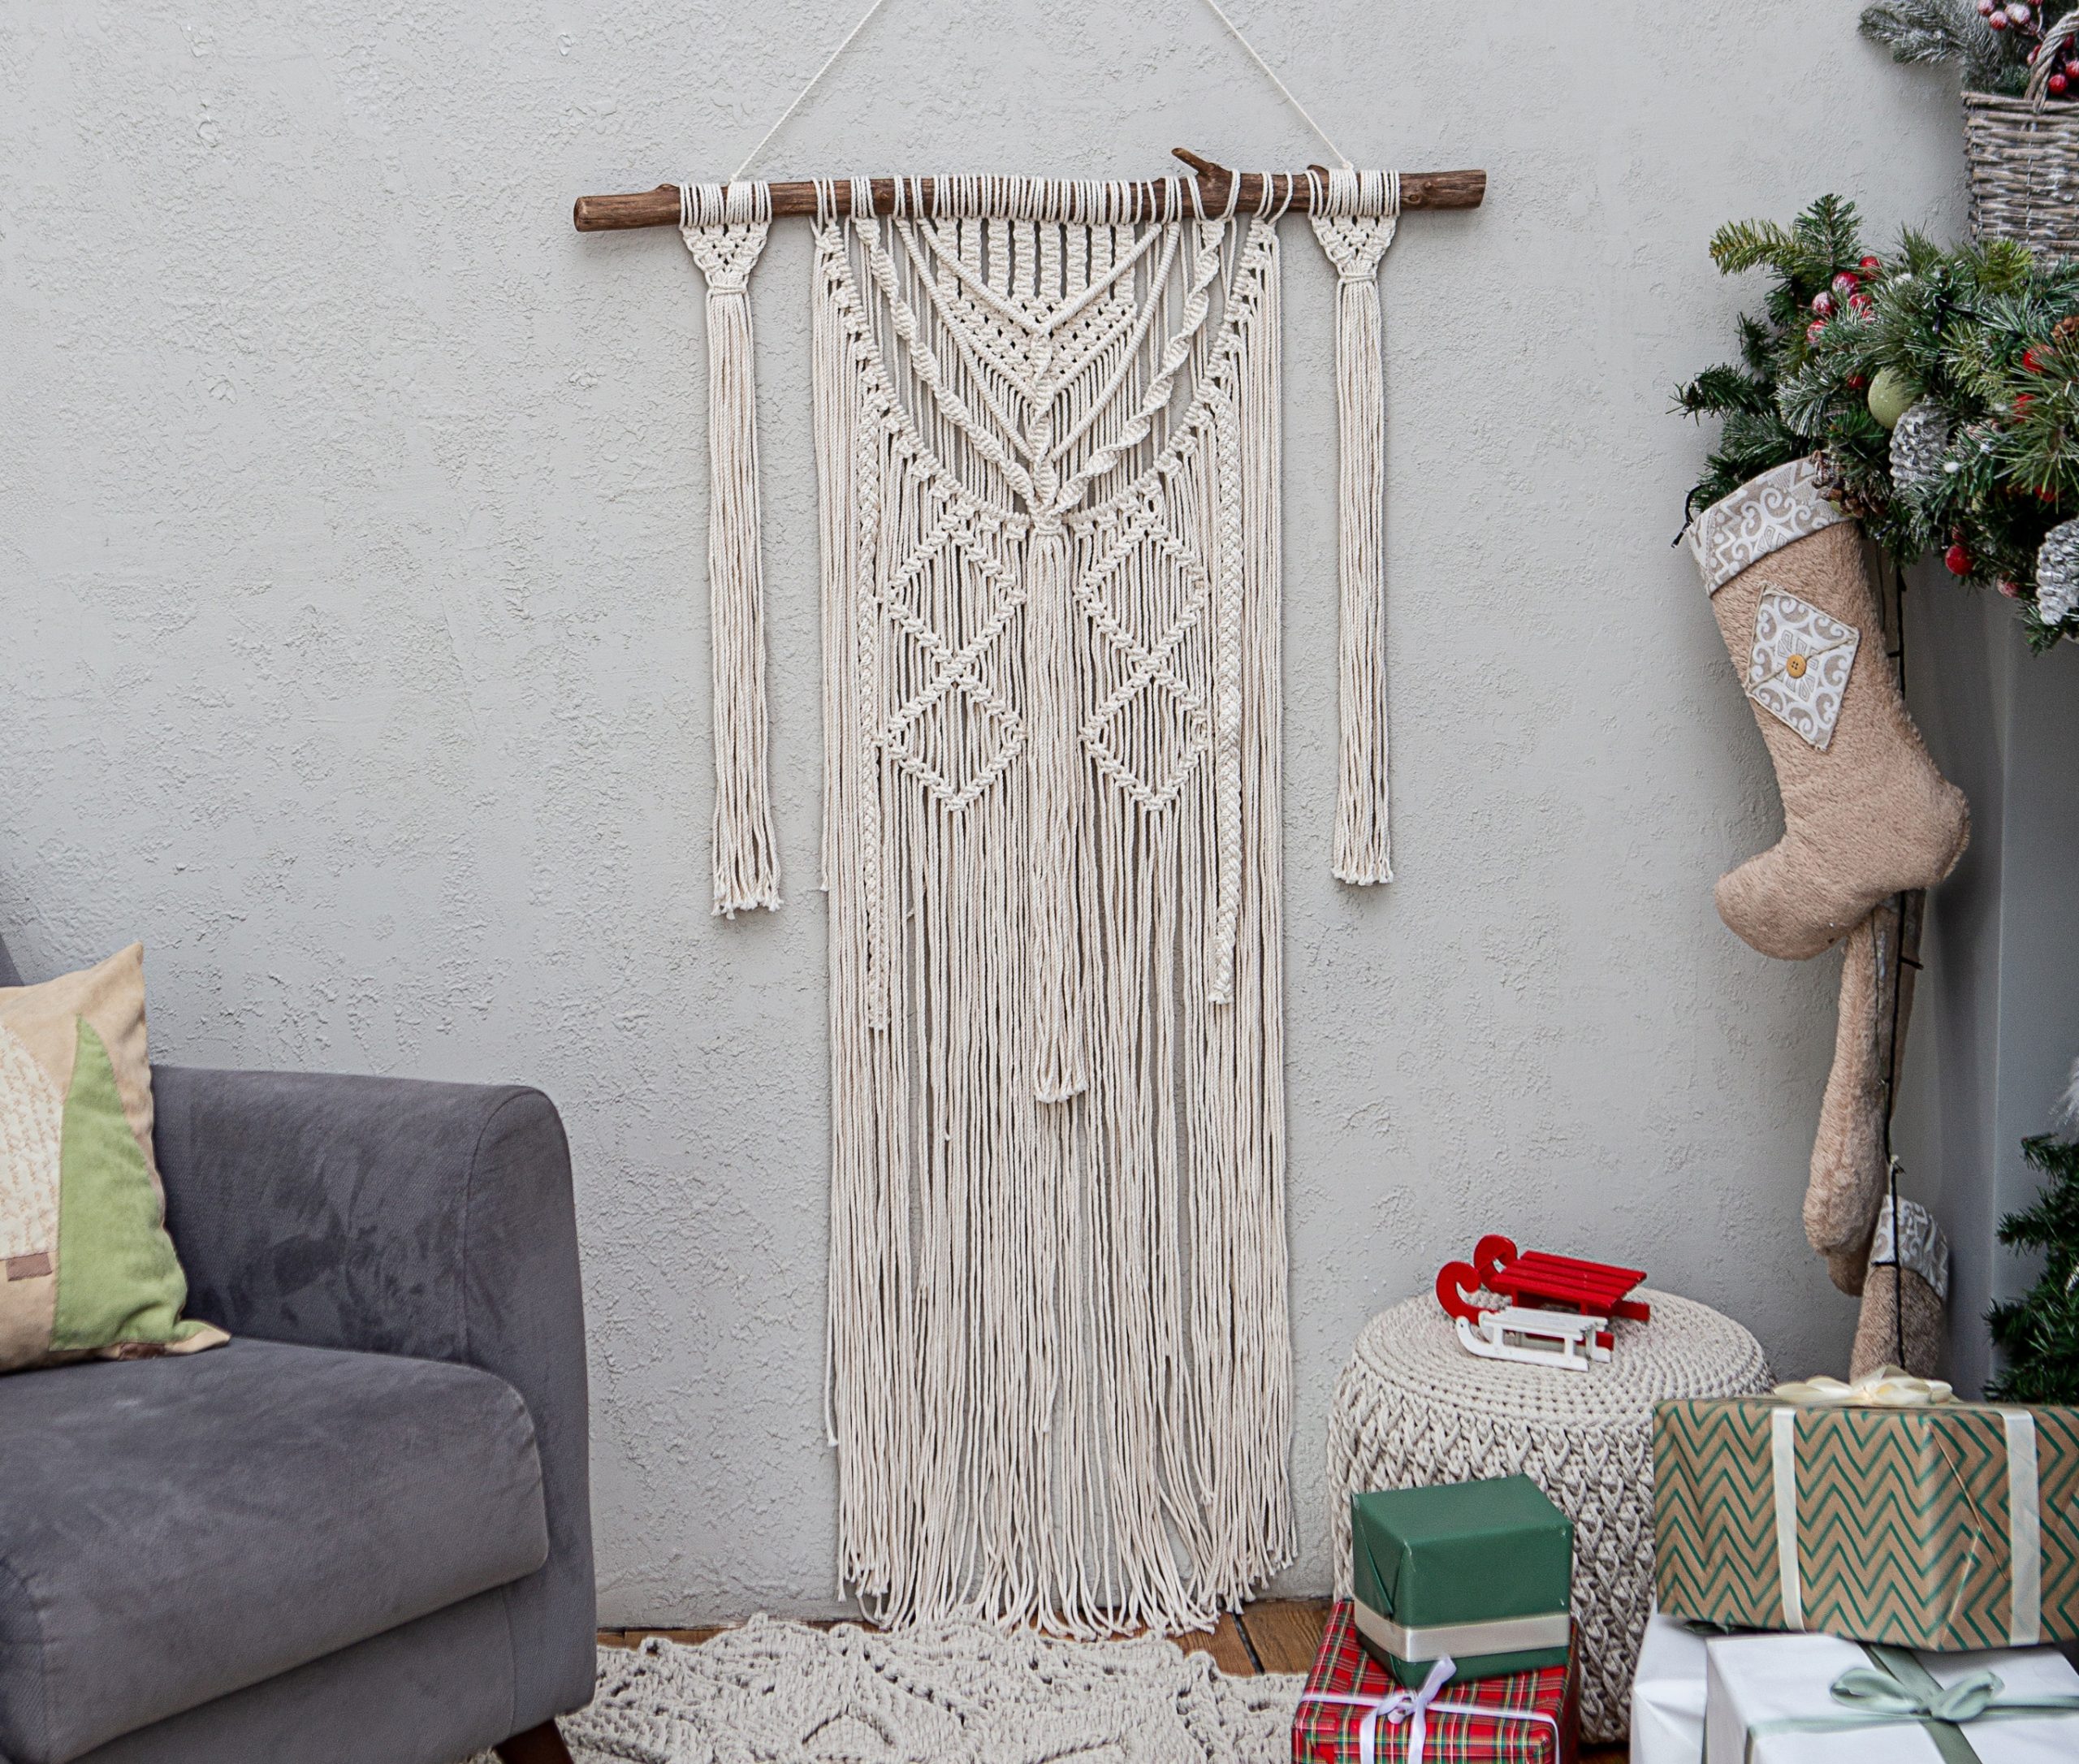
3. Diagonal Wall Hanging
A Diagonal Wall Hanging is a beautiful macrame pattern that adds a unique touch to your home decor. This pattern involves tying a series of diagonal knots to create a triangular shape. To create this pattern, you will need to use several cords that are twice the length of the desired length of your wall hanging.
First, fold the cords in half and attach them to a dowel or a rod. Then, tie a diagonal knot by taking the left cord over the middle cords and under the right cord, and then taking the right cord over the middle cords and under the left cord.
Repeat this process, but in the opposite direction, to create a mirror image on the other side of the wall hanging. Continue tying diagonal knots until you reach the desired length of your wall hanging. The Diagonal Wall Hanging pattern creates a beautiful and modern design that is perfect for adding a touch of elegance to your space.
Tassel Wall Hanging
The Tassel Wall Hanging is a fun and playful macrame pattern that adds texture and movement to your home decor. To create this pattern, you will need a dowel or a rod, and several cords that are twice the length of the desired length of your wall hanging.
First, fold the cords in half and attach them to the dowel using a lark’s head knot. Then, tie a series of square knots along the length of the cords. Once you have created the desired length of square knots, cut the ends of the cords to create a fringe.
To create tassels, take several strands of cord and tie a knot around the fringe at the bottom of your wall hanging. You can create tassels in different sizes and lengths to add visual interest to your wall hanging. The Tassel Wall Hanging pattern is perfect for adding a bohemian touch to your space and is an easy and fun macrame pattern for beginners.
These simple macrame wall patterns are a great way to start for beginners, but the possibilities for macrame wall hangings are many! You can also try to make your own macrame curtain if you are still feeling inspired to create more unique home decor.
Intricate Macrame Wall Hanging Patterns
Macrame is a beautiful and intricate craft that can create stunning wall hangings. Here are some intricate macrame wall-hanging patterns to challenge your skills:
1. Double Half Hitch Wall Hanging
This pattern uses a double half-hitch knot to create a unique and intricate design. To make this wall hanging, start by tying a loop knot at the top of your cord and hanging it from your dowel. Then, make a double half hitch knot by taking the left cord to the middle cords and under the right cord, and then taking the right cord under the middle cords and up through the loop created by the left cord. Repeat this process down the length of your cord until you reach your desired length.
2. Chevron Wall Hanging
This pattern uses a combination of diagonal knots and V-shaped knots to create a chevron design. To make this wall hanging, start by tying a loop knot at the top of your cord and hanging it from your dowel. Then, make diagonal knots until you reach the middle of your cord.
Next, make a V-shaped knot by taking the two middle cords to the outer cords and then taking the outer cords under the middle cords and up through the loop created by the two middle cords. Repeat this process on the other side to create a symmetrical chevron design.
3. Diamond Wall Hanging
This pattern uses a diamond shape and intricate knots to create a beautiful wall hanging. To make this wall hanging, start by tying a loop knot at the top of your cord and hanging it from your dowel. Then, make diagonal knots to create the diamond shape. Once you’ve created the diamond shape, use a combination of square knots and half-square knots to fill in the space inside the diamond.
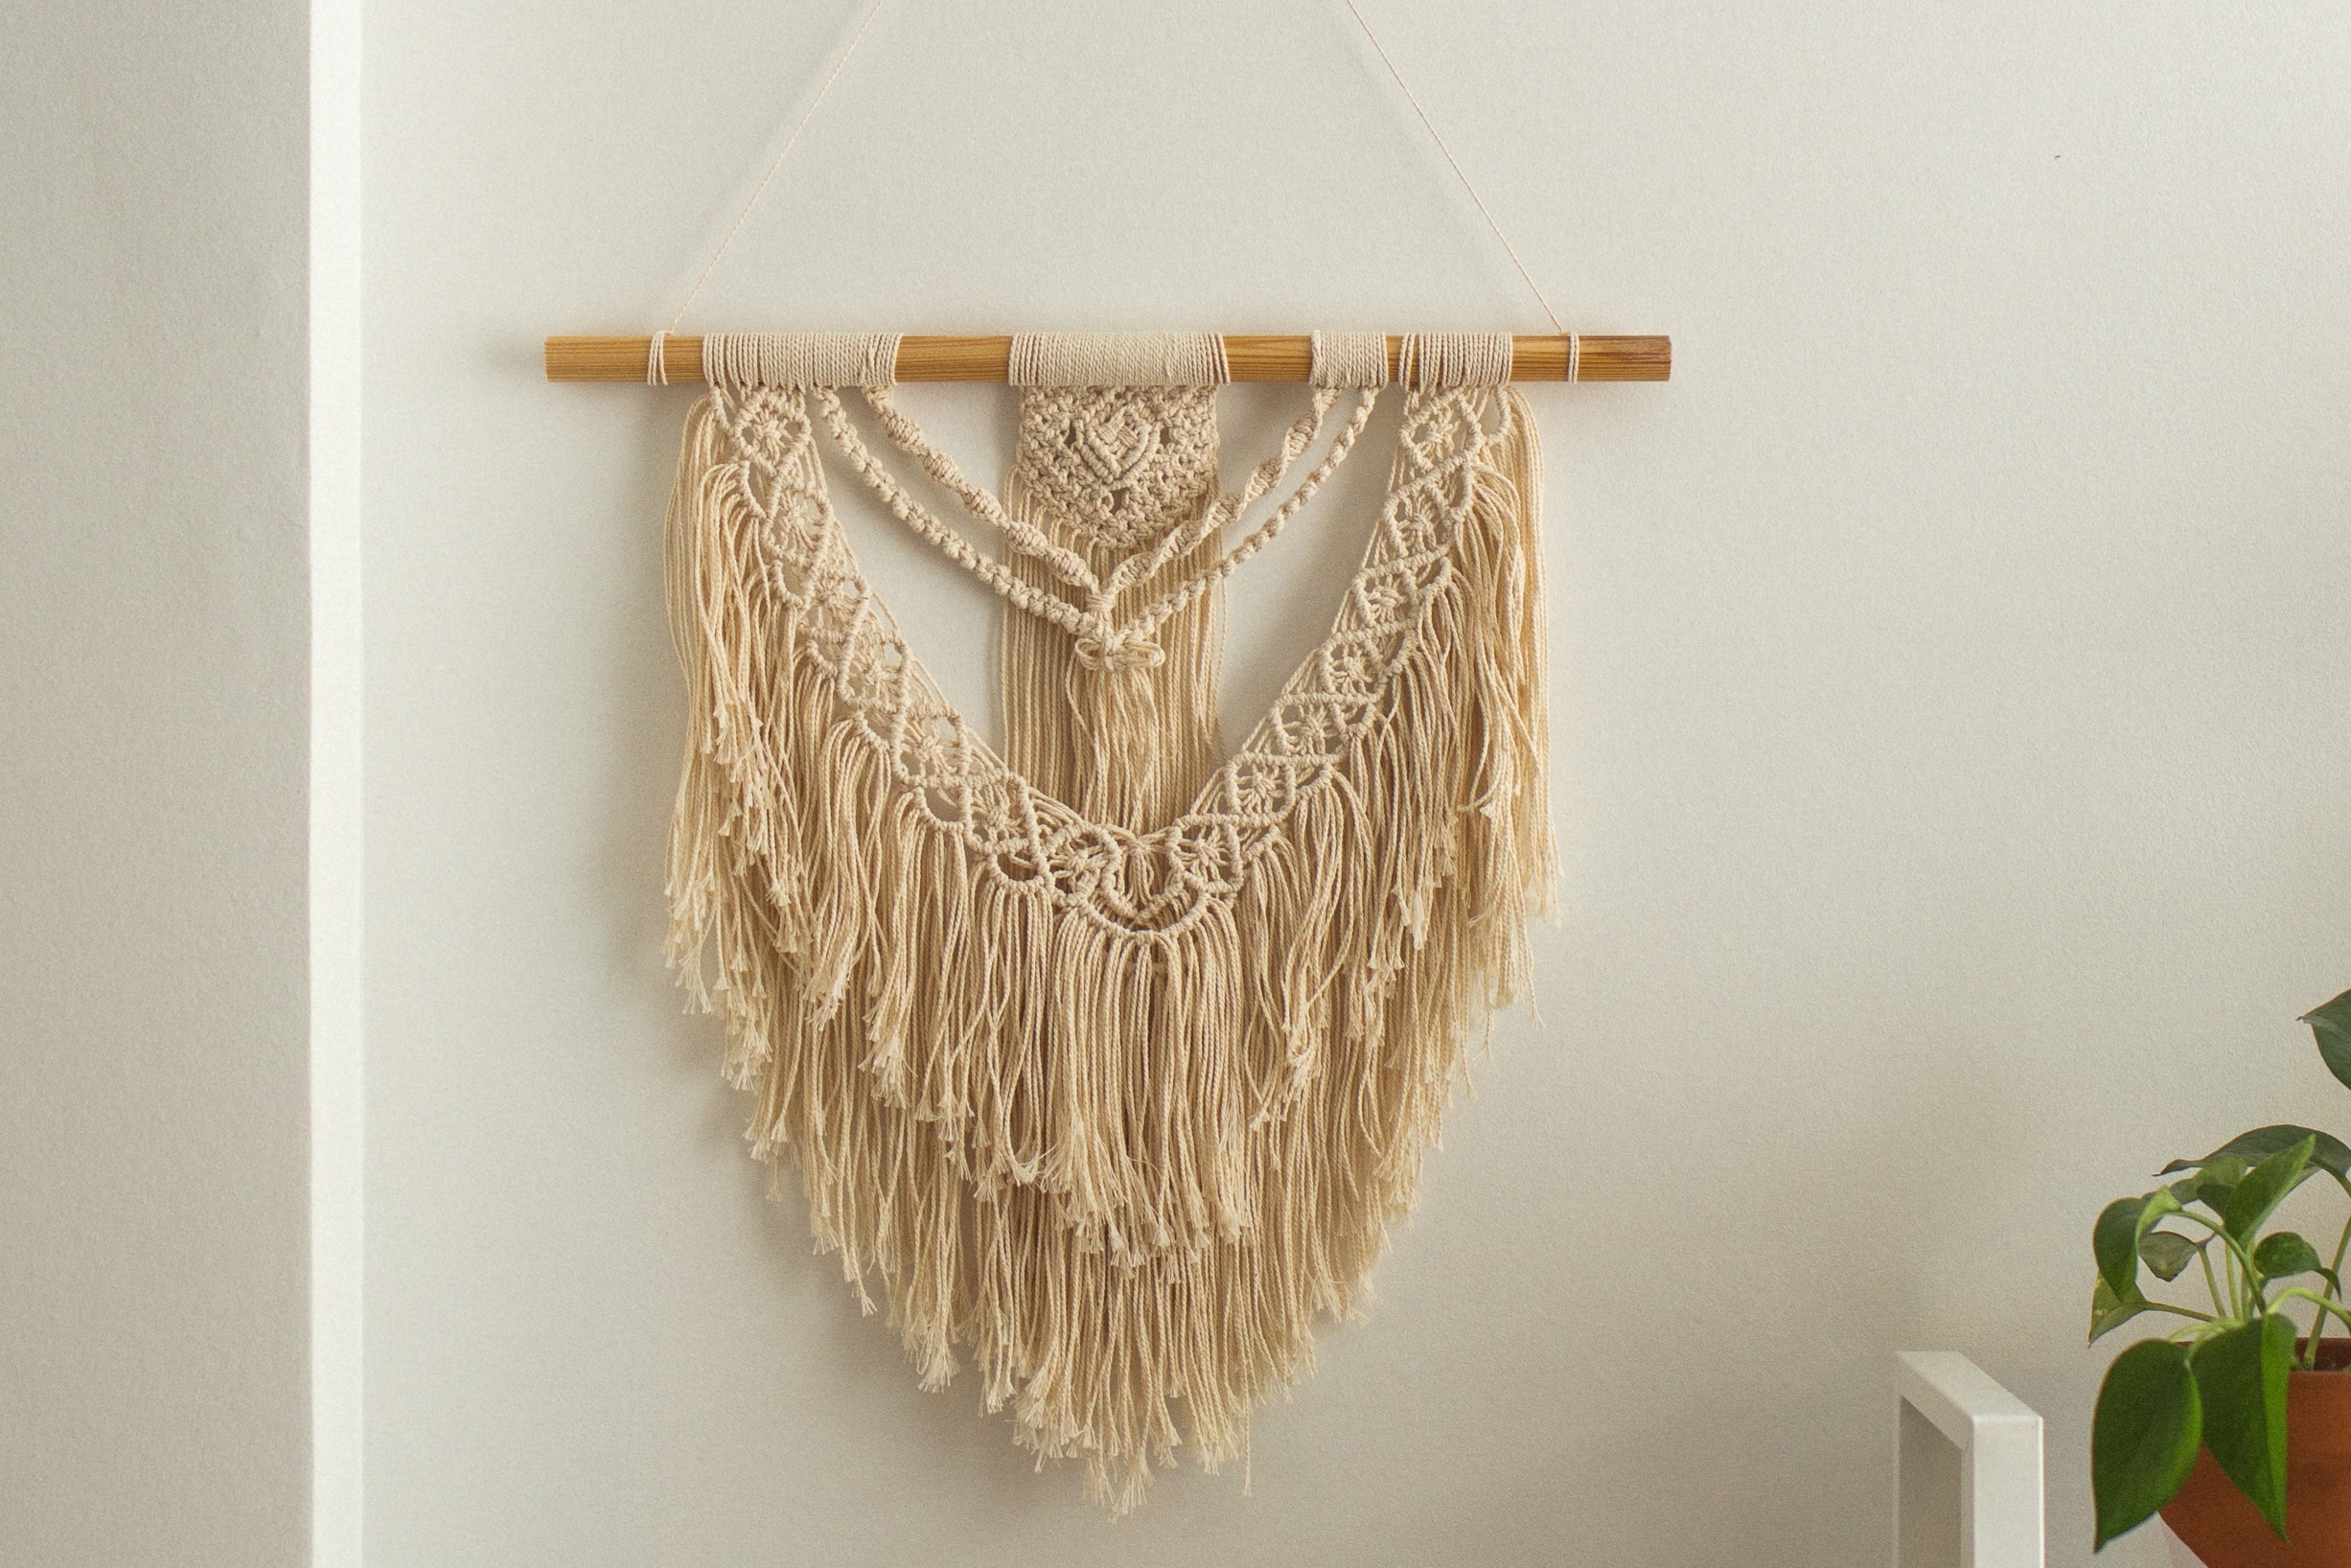
4. Fringe Wall Hanging
This pattern uses a combination of knots and fringe to create a textured and intricate wall hanging. Start by tying a loop knot at the top of your cord and hanging it from your dowel. Then, make diagonal knots down the length of your cord. Once you’ve created the desired length, use a combination of square knots and half-square knots to create a textured fringe at the bottom.
5. Mandala Wall Hanging
This pattern uses a circular shape and intricate knots to create a stunning mandala design. Also, tie a loop knot at the top of your cord and hang it from your dowel. Then, create a circular shape using a combination of square and half-square knots. Once you’ve created the circular shape, use a combination of intricate knots to create a unique and detailed design inside the mandala.
These intricate macrame wall patterns require more skill and patience, but the result is truly stunning. Experiment with different knots and designs to create your one-of-a-kind macrame wall hanging.
Summary
To sum it up, creating a macrame wall hanging is an enjoyable and rewarding project that can add a unique touch to your home’s decor. With just a few simple knots and some practice, even beginners can create beautiful designs.
So, grab some cord, and a dowel, and start knotting your way to a stunning macrame wall-hanging masterpiece! Enjoy!


