The modern mantra is to do more with less, and increasingly, savvy homeowners are jumping on board by exploring creative and cost-effective ways to give their homes a refresh.
Squeegee painting is one of the up-and-coming art forms that is gaining traction due to its quick and economical results. You can add personality, style, and colour to any room in an instant with this technique, and the possibilities are only limited by your imagination!
Contents
The Art of Squeegee Painting
In this blog post, we will explore some of the best squeegee painting ideas to help you transform your space and get creative with your home decor. From vibrant patterns to subtle accents, squeegee painting is an easy and effective way to breathe new life into any room.
We will also provide tips and advice on how to get started and share some of today’s popular painting designs.
Now, let’s explore the art of squeegee painting!
Unleash Your Inner Artist With a Squeegee
Unleash your inner artist with a squeegee and add a unique touch of style to your rooms. Squeegee painting is a fun and creative way to refresh any room in your home. With a few simple supplies, you can create your own unique wall art, window decoration, or even furniture piece.
Simply spread your paint with the squeegee, and use different techniques to craft your own unique design. Squeegee painting is an easy and affordable way to add a unique piece of art to your space.
A Swipe of Color to Brighten Up Any Room
Looking to add a bit of vibrancy to your rooms? Squeegee painting is for you! With a swipe of colour, this painting style can brighten up any room and lend it an energizing, eye-catching atmosphere. Whether you’re creating a piece for display or a piece to inspire a creative mood, squeegee painting is the perfect way to add a touch of style and personality to any space.
Get Creative With Unique Patterns
Thinking outside the box will take your squeegee painting to the next level. Try experimenting with unique patterns to give your project the personal touch it needs. Whether it’s stripes, polka dots, or anything else, getting creative with your patterns will make your rooms one-of-a-kind.
Don’t be afraid to combine different patterns; the combinations are limitless! With squeegee painting, your rooms will be transformed with your own beautiful designs. It’s one of the amazing ways to transform a room.
Squeegee painting is a technique that can create interesting and unique patterns on your walls. Here’s the step-by-step guide to help you get started.
Materials you’ll need:
- Squeegee painting set
- Painters tape
- Paint tray
- Drop cloth or plastic sheeting
- Gloves
- Paint or ink
- Canvas or wood panels
- Gesso (optional)
- Protective eyewear
Steps:
- Prep the room. Cover the floors and any furniture with a drop cloth or plastic sheeting to protect them from paint splatters. Use painter’s tape to mask off any areas you don’t want to paint, such as baseboards or trim.
- Wear protective equipment: If you are engaging in squeegee painting, it is recommended to use protective eyewear to protect your eyes from any splatters or drops of paint that may accidentally come into contact with your eyes. It’s always important to prioritize safety when engaging in any type of activity that may pose a risk to your health and well-being.
- Prep your surface: Make sure your surface is clean and dry before you begin. If you’re using canvas, you prime it first to prevent the paint from soaking in too much. You can use a gesso which is a primer used to prepare a surface for painting. It provides a smooth, even base for the paint and can help prevent the paint from soaking into the surface too much. Otherwise, it will be difficult to paint with a squeegee.
- Select your paint colours: Choose 2-3 colours that work well together and will complement your decor.
- Apply your paint: Use a brush or other tool to apply your paint or ink to the surface. You can apply it in broad strokes, or use a more detailed approach if you prefer.
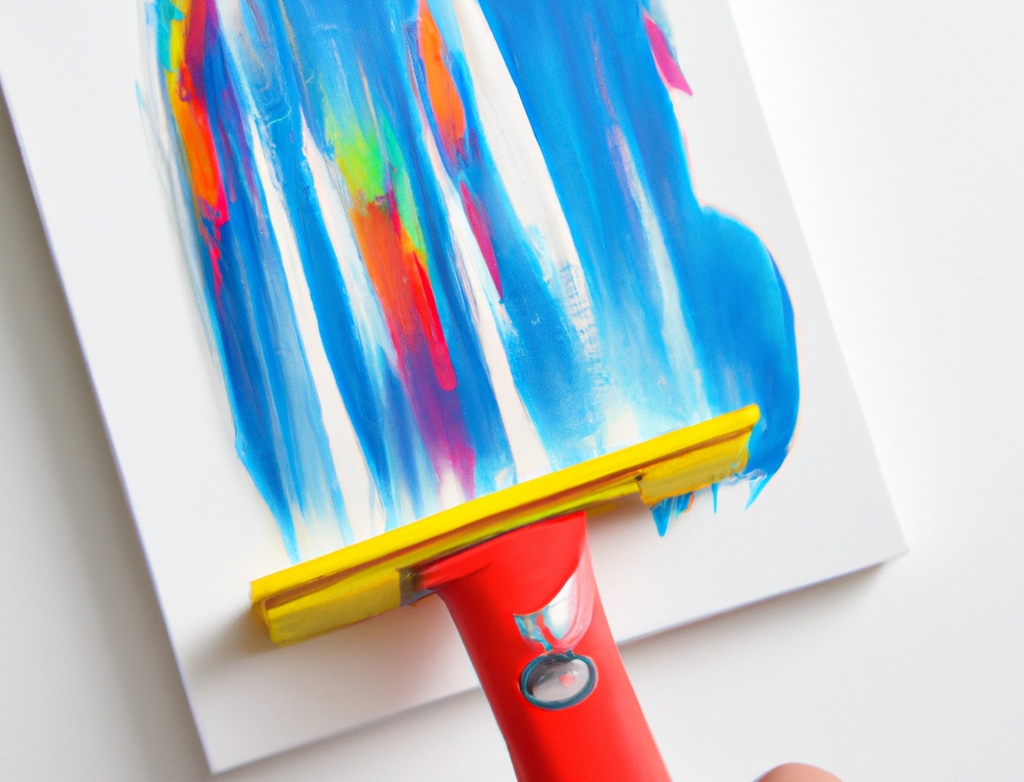
- Use the squeegee: Once you’ve applied your paint or ink, use the rubber squeegee to create texture and patterns. Drag the squeegee across the surface, applying different amounts of pressure to create different effects.
- Experiment: Don’t be afraid to try different techniques and see what works best for you. You can try dragging the squeegee in different directions or using it to blend colours together. You can drag in a straight line or in a circular motion.
- Make layers of paint: Continue adding layers of paint and using the squeegee to create patterns until you’re satisfied with the result. You can add as many or as few layers as you like, depending on the effect you’re going for. You can go for an abstract or a specific design.
- Let it dry: Once you’re happy with your artwork, give it some time to dry.
- Get tidy: Peel off that painter’s tape, then let the cloth gently fall. Take care of any spills or sticky spots. Let’s get your workspace spick and span!
With some practice and experimentation, you can create a beautiful and unique squeegee painting that will be sure to impress.

Achieve a Raindrop Effect With a Single Swipe
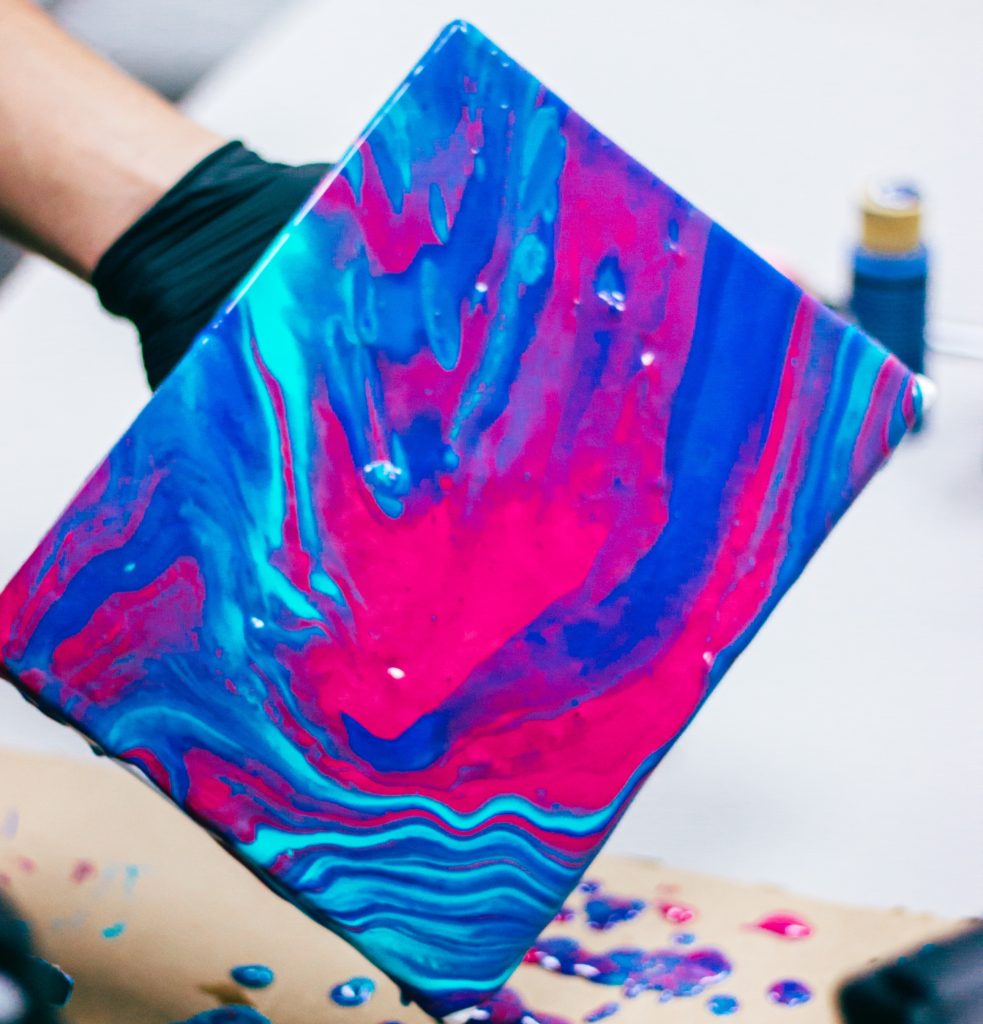
When you think of squeegee painting, you probably imagine a single colour or a single texture of the paint. But the true art of squeegee painting is the ability to express yourself with a single swipe. The raindrop effect is a fantastic way to achieve this.
By having a few droplets of paint, and then swiping your squeegee across a canvas or wood panels in a single, continuous motion, you can create a beautiful, abstract pattern of small droplets. This effect can add a distinct, imaginative touch to any room.
Here are the steps to achieve the raindrop effect:
- Follow steps 1-3 listed above.
- Prep first layer: Start preparing your painting surface with a layer of paint. You can use any colour of your choice.
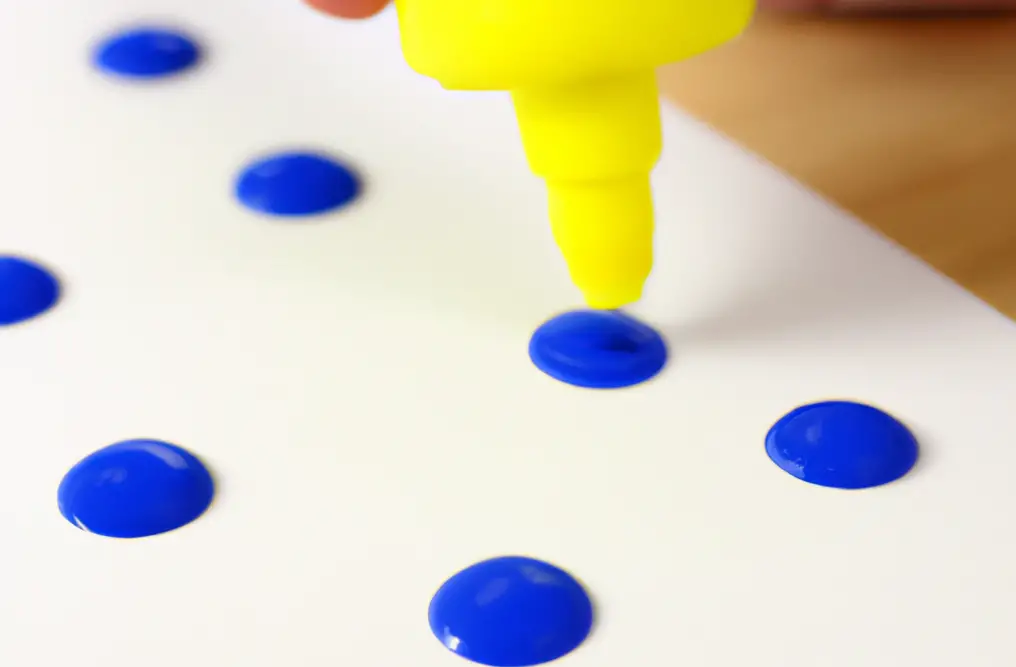
- Add contrasting colour: Once the paint has dried, pour a small amount of a contrasting colour of paint onto the surface.
- Use the squeegee: While the paint is still wet, use the squeegee to lightly dab and drag it in a random pattern across the surface. This will create small, irregular shapes that resemble raindrops.
- Cover the entire surface: Continue to create raindrop shapes across the entire surface, overlapping them slightly to create a more natural and random pattern.
- Let it dry: Give your masterpiece enough time to dry.
- Clean your workspace: Remove the painter’s tape and drop the cloth. Then, clean up any spills or messes.
Now, you have a beautiful raindrop squeegee-painted effect that everyone will love!
Create a Focal Point With a Squeegee
Creating a focal point using a squeegee can be an interesting technique to add interest and draw attention to a specific area of your painting. You can create an artful statement with a single colour or combine colours for a one-a-kind and vibrant piece. Here’s how:
Steps:
- Follow steps 1-4 listed above.
- Create the focal point: Choose a contrasting colour of paint that you want to use to create the focal point. Using a small brush, apply the contrasting paint to the area of your choice.
- Use the squeegee: While the paint is still wet, use the rubber squeegee to drag the paint in a straight line across the surface, blending it into the surrounding colours.
- Intensify the effect: Apply additional layers of the contrasting paint if necessary to intensify the effect and draw attention. You can also use the squeegee to remove some of the paint in areas around the focal point, creating a gradient effect that leads the eye towards it.
- Add layers of paint: Continue adding layers of paint and using the squeegee to create patterns until you’re satisfied with the result. Pay attention to your focal point to give it emphasis.
- Add texture and pattern: Use the squeegee to add texture to the area around the focal point, creating a contrast. You can create different patterns such as swirls, waves, or zigzags.
- Let it dry: Once you’re happy with your work, allow the paint to dry.
- Tidy up: Remove the painter’s tape and drop the cloth. Clean up any spills or messes that you can see to keep your workspace clean and tidy.
Be imaginative and creative, and you can easily create a unique and eye-catching focal point on your wall using a squeegee!
Mixing Paints and Mediums for Squeegee Art
Squeegee painting is an exciting way to unleash creativity and add a splash of color to any space. The key to mastering this art form lies in your chosen paint and mediums. This guide will help you mix paints and mediums perfectly for your next squeegee art project.
Choosing Your Paints
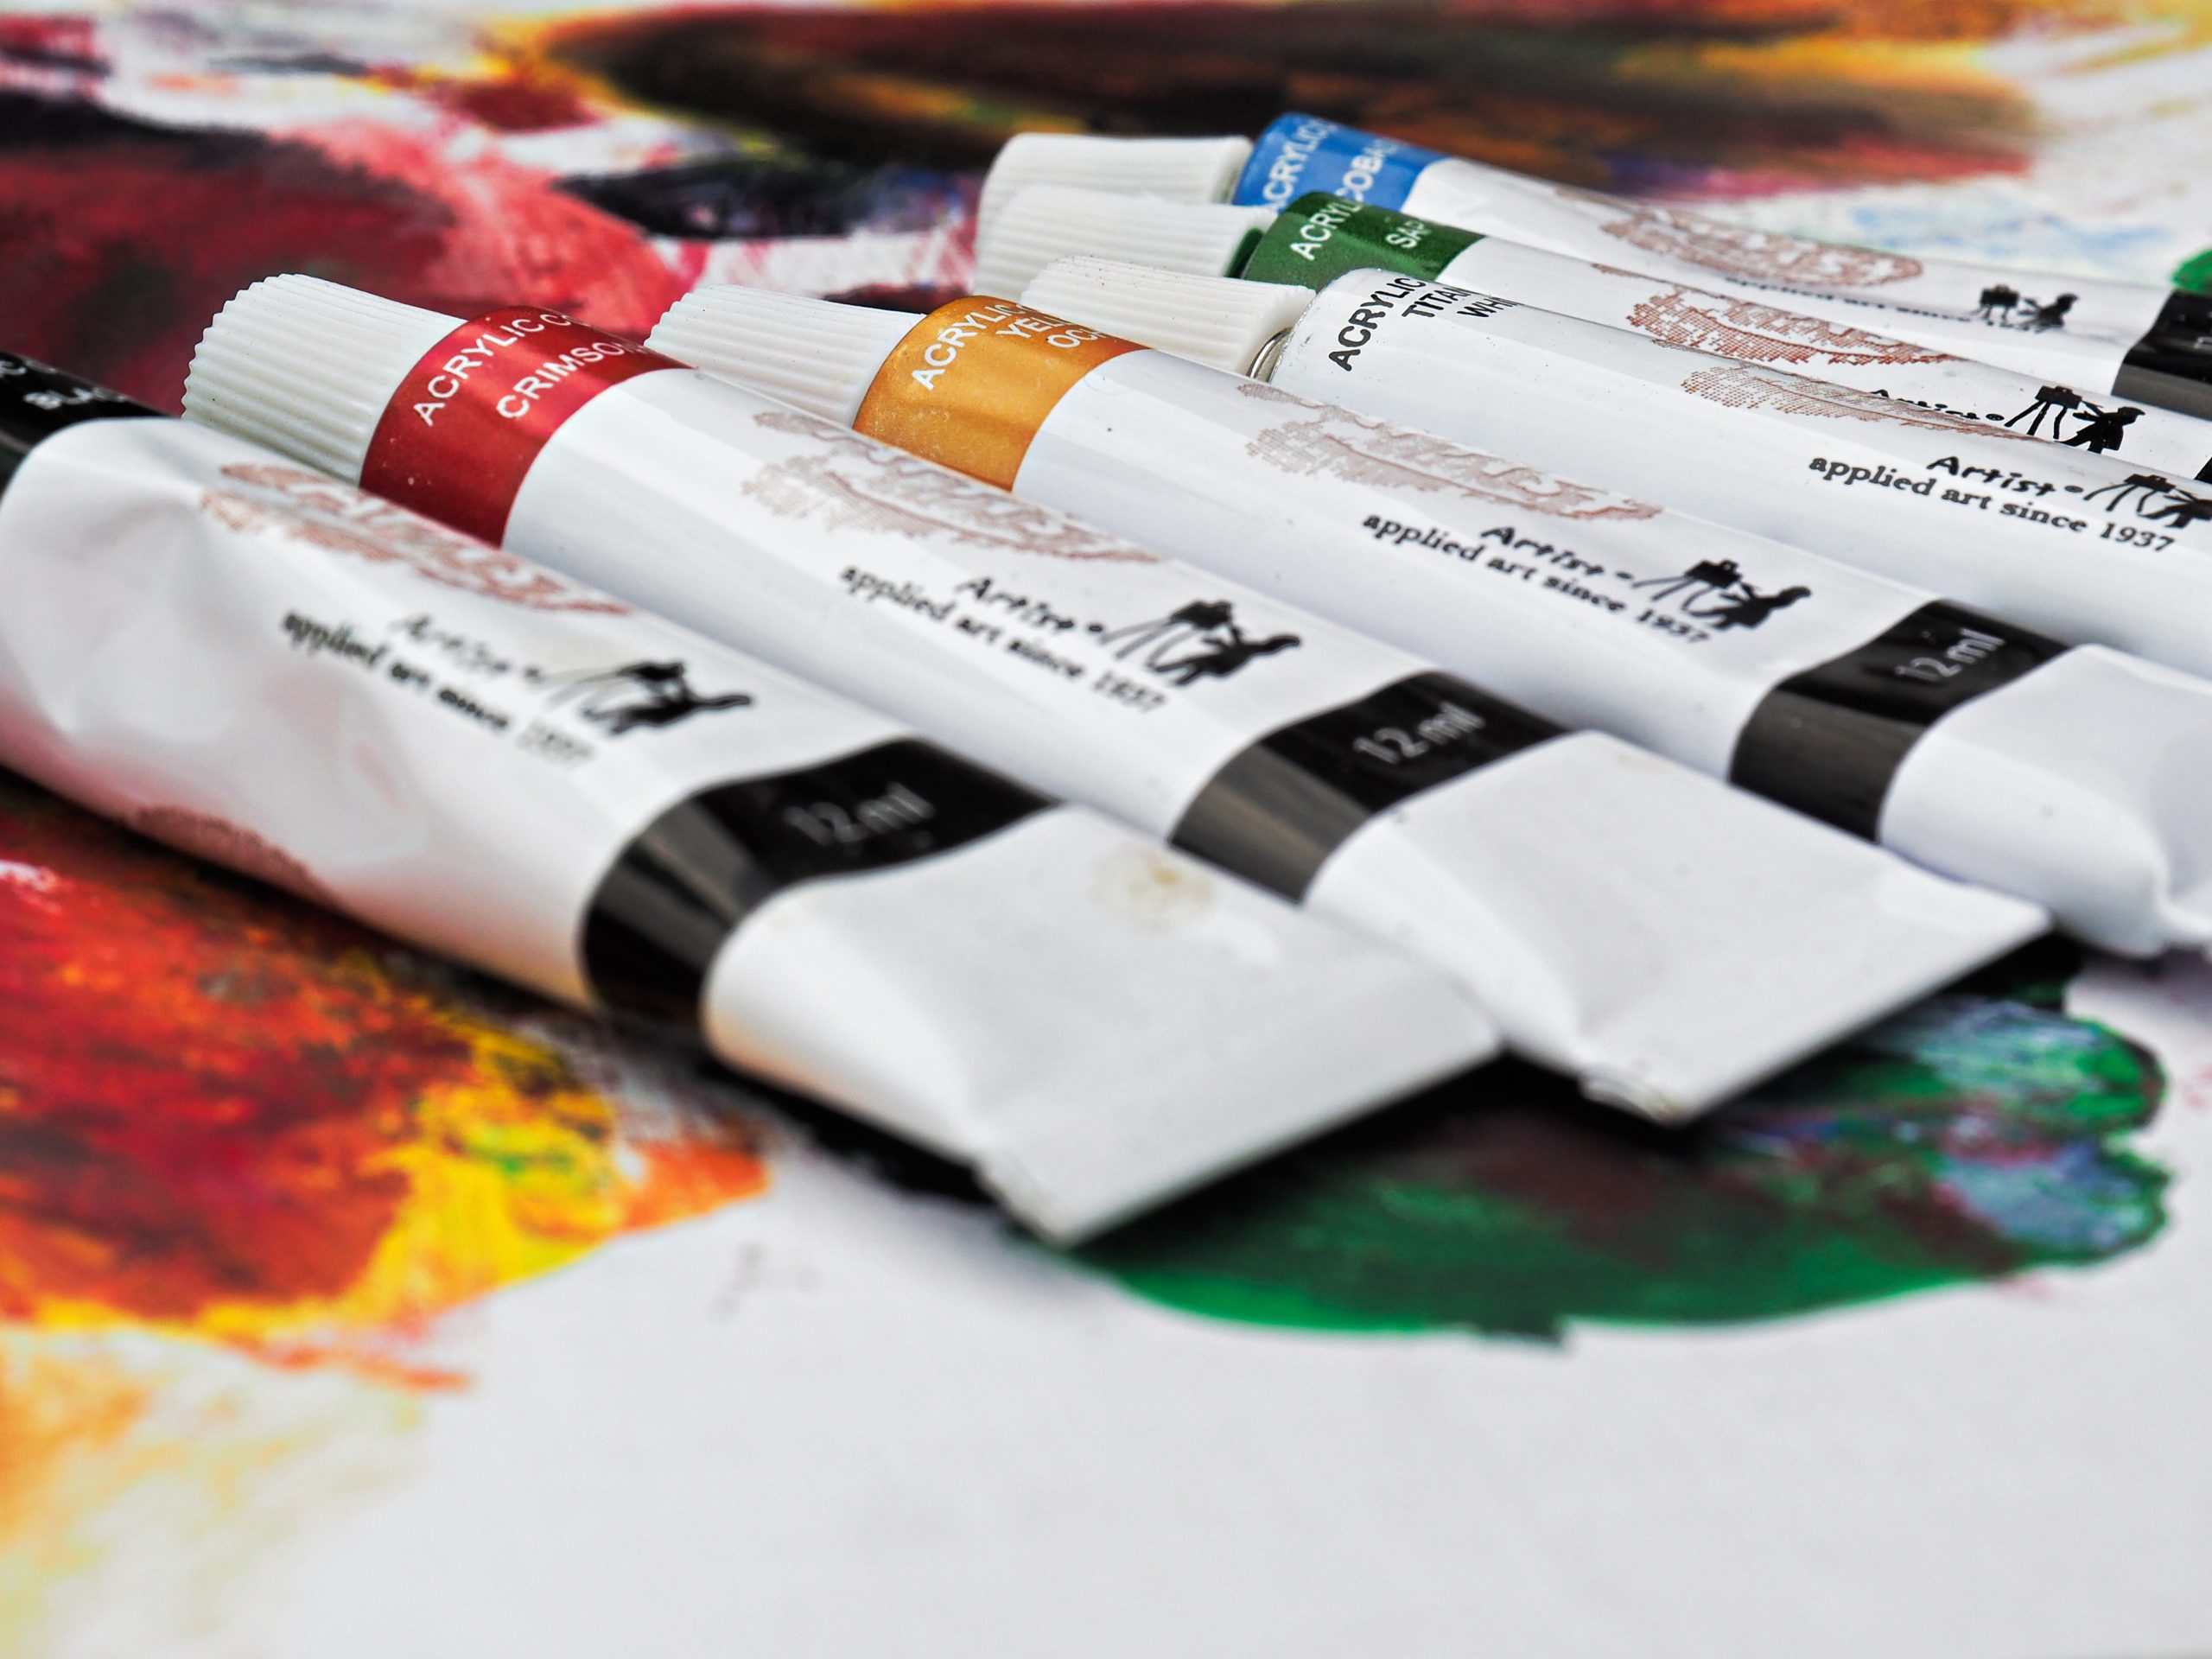
When diving into the world of squeegee painting, the choice of paint can significantly impact the outcome of your artwork. Acrylic paints are a popular choice among artists for their adaptability and quick drying properties.
These paints come in various forms, including heavy body acrylics, which are thicker and offer rich texture, and acrylic inks or high-flow acrylics, known for their liquid consistency. The latter are especially suited for squeegee art, as they allow for effortless spreading across your canvas or paper, resulting in smooth, vibrant layers that can easily blend into one another.
When selecting paints, consider the effect you wish to achieve. For bold and opaque layers, heavy body acrylics are your go-to. If you’re aiming for washes of color or more translucent effects, acrylic inks or high-flow acrylics will serve you best.
Understanding Mediums
Mediums play a crucial role in transforming the behavior of your acrylic paints, offering a new dimension to squeegee painting. By incorporating mediums, you can modify the paint’s texture, influence its drying time, and adjust its transparency, without compromising the pigment’s intensity. Fluid mediums are particularly compatible with the squeegee technique. They thin the paint to a consistency that’s ideal for spreading across surfaces, facilitating a smoother glide and enabling more intricate designs and effects.
Experimenting with different mediums opens up a world of finishes for your artwork. Gloss mediums will give your piece a shiny, reflective quality, matte mediums eliminate glare, providing a subtle, understated look, and iridescent mediums introduce a shimmering effect that can make your artwork stand out. Each medium affects the paint’s properties differently, so experimenting is key to discovering how they can enhance your squeegee art.
Mixing Techniques
The secret to successful squeegee art is finding the perfect balance between the paint and medium to achieve the desired consistency. This consistency allows the paint to flow effortlessly across your canvas, creating stunning, seamless patterns.
Mixing your chosen acrylic paint with a pouring medium is recommended. The pouring medium acts as a thinning agent, enhancing the paint’s flow without diluting its color. A good starting point is a 1:1 ratio of paint to medium.
However, this can vary depending on the type of paint and the effect you’re aiming for. You may need more medium for thicker paints to achieve a fluid consistency, while thinner paints might require less. The key is to mix slowly and gently.
Vigorous stirring can introduce air bubbles into the mix, which can surface in your final piece as unwanted texture or pinholes. Mix the paint and medium thoroughly until you reach a smooth, homogenous mixture that will glide under your squeegee.
Testing Your Mix
Before you commit your mix to your final canvas, conducting a test run on a smaller scale is crucial. This preparatory step is invaluable, as it gives you a firsthand look at how your paint and medium blend behave under real conditions. Apply your mix to a small test surface using the same type of material as your main project.
This could be a spare piece of canvas, paper, or even a similar texture board. As you spread the paint with your squeegee, observe closely how it moves, blends, and settles. Pay special attention to the drying time, the sharpness of edges, and the interaction of colors. This is also an excellent opportunity to experiment with different squeegee movements and pressures to see the variety of textures and patterns you can create.
Testing helps you fine-tune the consistency of your paint mix and adjust your technique to achieve the desired effects in your squeegee art. Through this process, you’ll gain insights into improving your technique and mix, ensuring a more predictable and satisfying outcome for your larger, final artwork.
Incorporating Squeegee Art into Home Decor
Squeegee art brings a unique blend of texture, color, and movement to any space, making it a perfect addition to home decor. This innovative art form can transform ordinary walls into stunning focal points, add a splash of color to minimalist spaces, or infuse your home with personal style.
Here’s how you can incorporate squeegee art into your home decor to create visually appealing and vibrant living spaces.
Creating Statement Walls
Creating a statement wall is one of the most impactful ways to use squeegee art in home decor. Choose a prominent wall in your living room, bedroom, or dining area to showcase a large squeegee painting.
The dynamic patterns and colors can add depth and interest, making the wall a room’s centerpiece. When selecting your artwork, consider the room’s existing color scheme and style to ensure the piece complements your decor.
Enhancing Room Themes with Squeegee Art
Squeegee art can also play a significant role in enhancing or defining the theme of a room. For instance, cool blues and greens in abstract squeegee patterns can emphasize a nautical or coastal theme, while bold, bright colors can add a pop to a modern or eclectic space. Use squeegee paintings to tie together color schemes and elements within a room, reinforcing the desired atmosphere.
Personalizing Spaces
Personalize your living areas by creating your own squeegee art. This can be a fun family activity, where each member contributes to a piece that will be displayed in a communal area, such as the living room or kitchen. Not only does this add a personal touch to your home, but it also allows you to tailor the artwork specifically to your space and color preferences.
Adding Texture and Depth
Squeegee art is not just about color; it’s also about texture. The technique can produce a range of textures, from smooth and subtle to bold and dramatic. Use these textured pieces to add depth to a room, pairing them with simpler decor elements to create balance. Textured squeegee art works well in spaces with a lot of solid colors or minimalist designs, as it adds visual interest without overwhelming the space.
The Takeaway
Overall, squeegee painting is a great way to bring colour and life to a room in a unique way. It’s simple to do and it’s low cost. You can simply customize your own designs to make your room look totally one-of-a-kind.
Are you an artistic novice or a master of the craft? Either way, adding art to your home décor is a great way to have some creative fun!
Just follow the simple steps above, and you’ll be making your own squeegee painting like a pro!


