Making a DIY key wind chime is a perfect project to unleash your creativity and design a unique piece for your home or garden. Revel in the satisfaction of knowing you created it all by yourself.
So yes, why not take on this project and bring your creative vision to life? Your family and friends will be mesmerized by the extremely beautiful and unique chime!
Bring the sweet sound of music into your life by making an exclusive key wind chime! You don’t have to be a pro crafter to craft your own symphony of tinkling keys — all you need is some keys and other materials, and a good knowledge of sound production. Whether you’re a beginner or a pro, learning how to construct an exquisite wind chime with keys is an enjoyable and educational experience.
Contents
- 1 How to make your own Key Wind Chime?
- 2 Choosing the Right Keys for Your Wind Chime
- 3 FAQ on Crafting Your Own DIY Key Wind Chime
- 3.1 What materials do I need for a DIY key wind chime?
- 3.2 Where can I find keys for my DIY key wind chime?
- 3.3 How do I ensure the keys produce a good sound in my wind chime?
- 3.4 Can I use different types of keys in my wind chime?
- 3.5 How do I attach the keys to my wind chime?
- 3.6 Is it possible to customize the design of my wind chime?
- 3.7 Where is the best place to hang a DIY key wind chime?
- 3.8 How can I maintain my key wind chime?
- 4 The Takeaway
How to make your own Key Wind Chime?
Ready to create a unique and eye-catching piece of home décor? In this article, we’ll take a deep dive into the process of fashioning an enchanting key wind chime! From scavenging for the perfect keys to putting it all together and suspending it in your living space, we’ll offer helpful tips and tricks to make sure your endeavour is a success.
Let’s begin this wonderful journey!
Gathering the Necessary Components to Craft a Wind Chime
You’ll need imagination, supplies, and a plan to make your own DIY key wind chime. Collect the necessary bits and pieces to create your own personal chime and get ready to make something magical!
Here are the materials and supplies that you need:
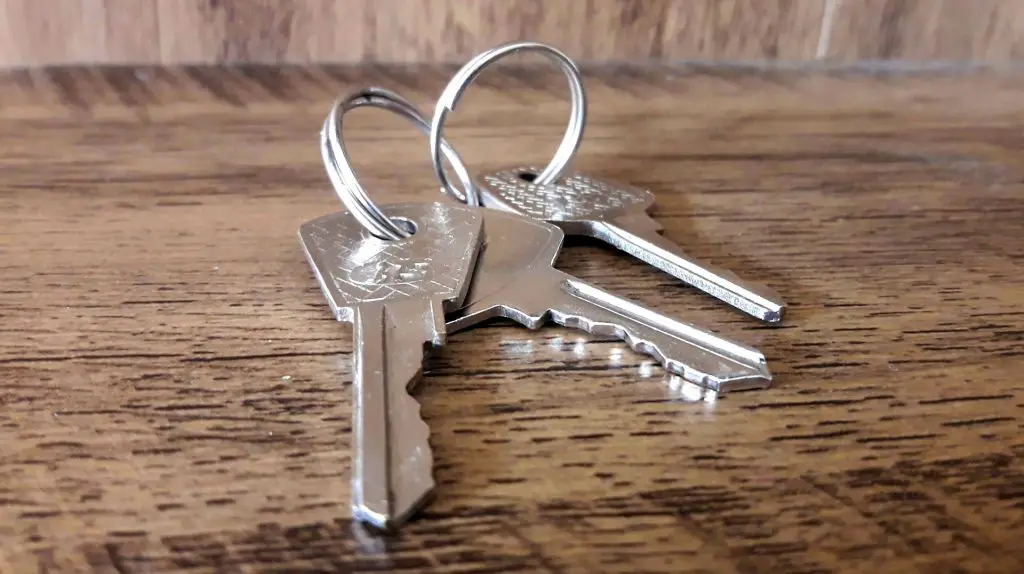
- Keys: Collect a few old keys that you no longer use or that you can get from a thrift store. You can use any type of key, such as house, car, or padlock keys.
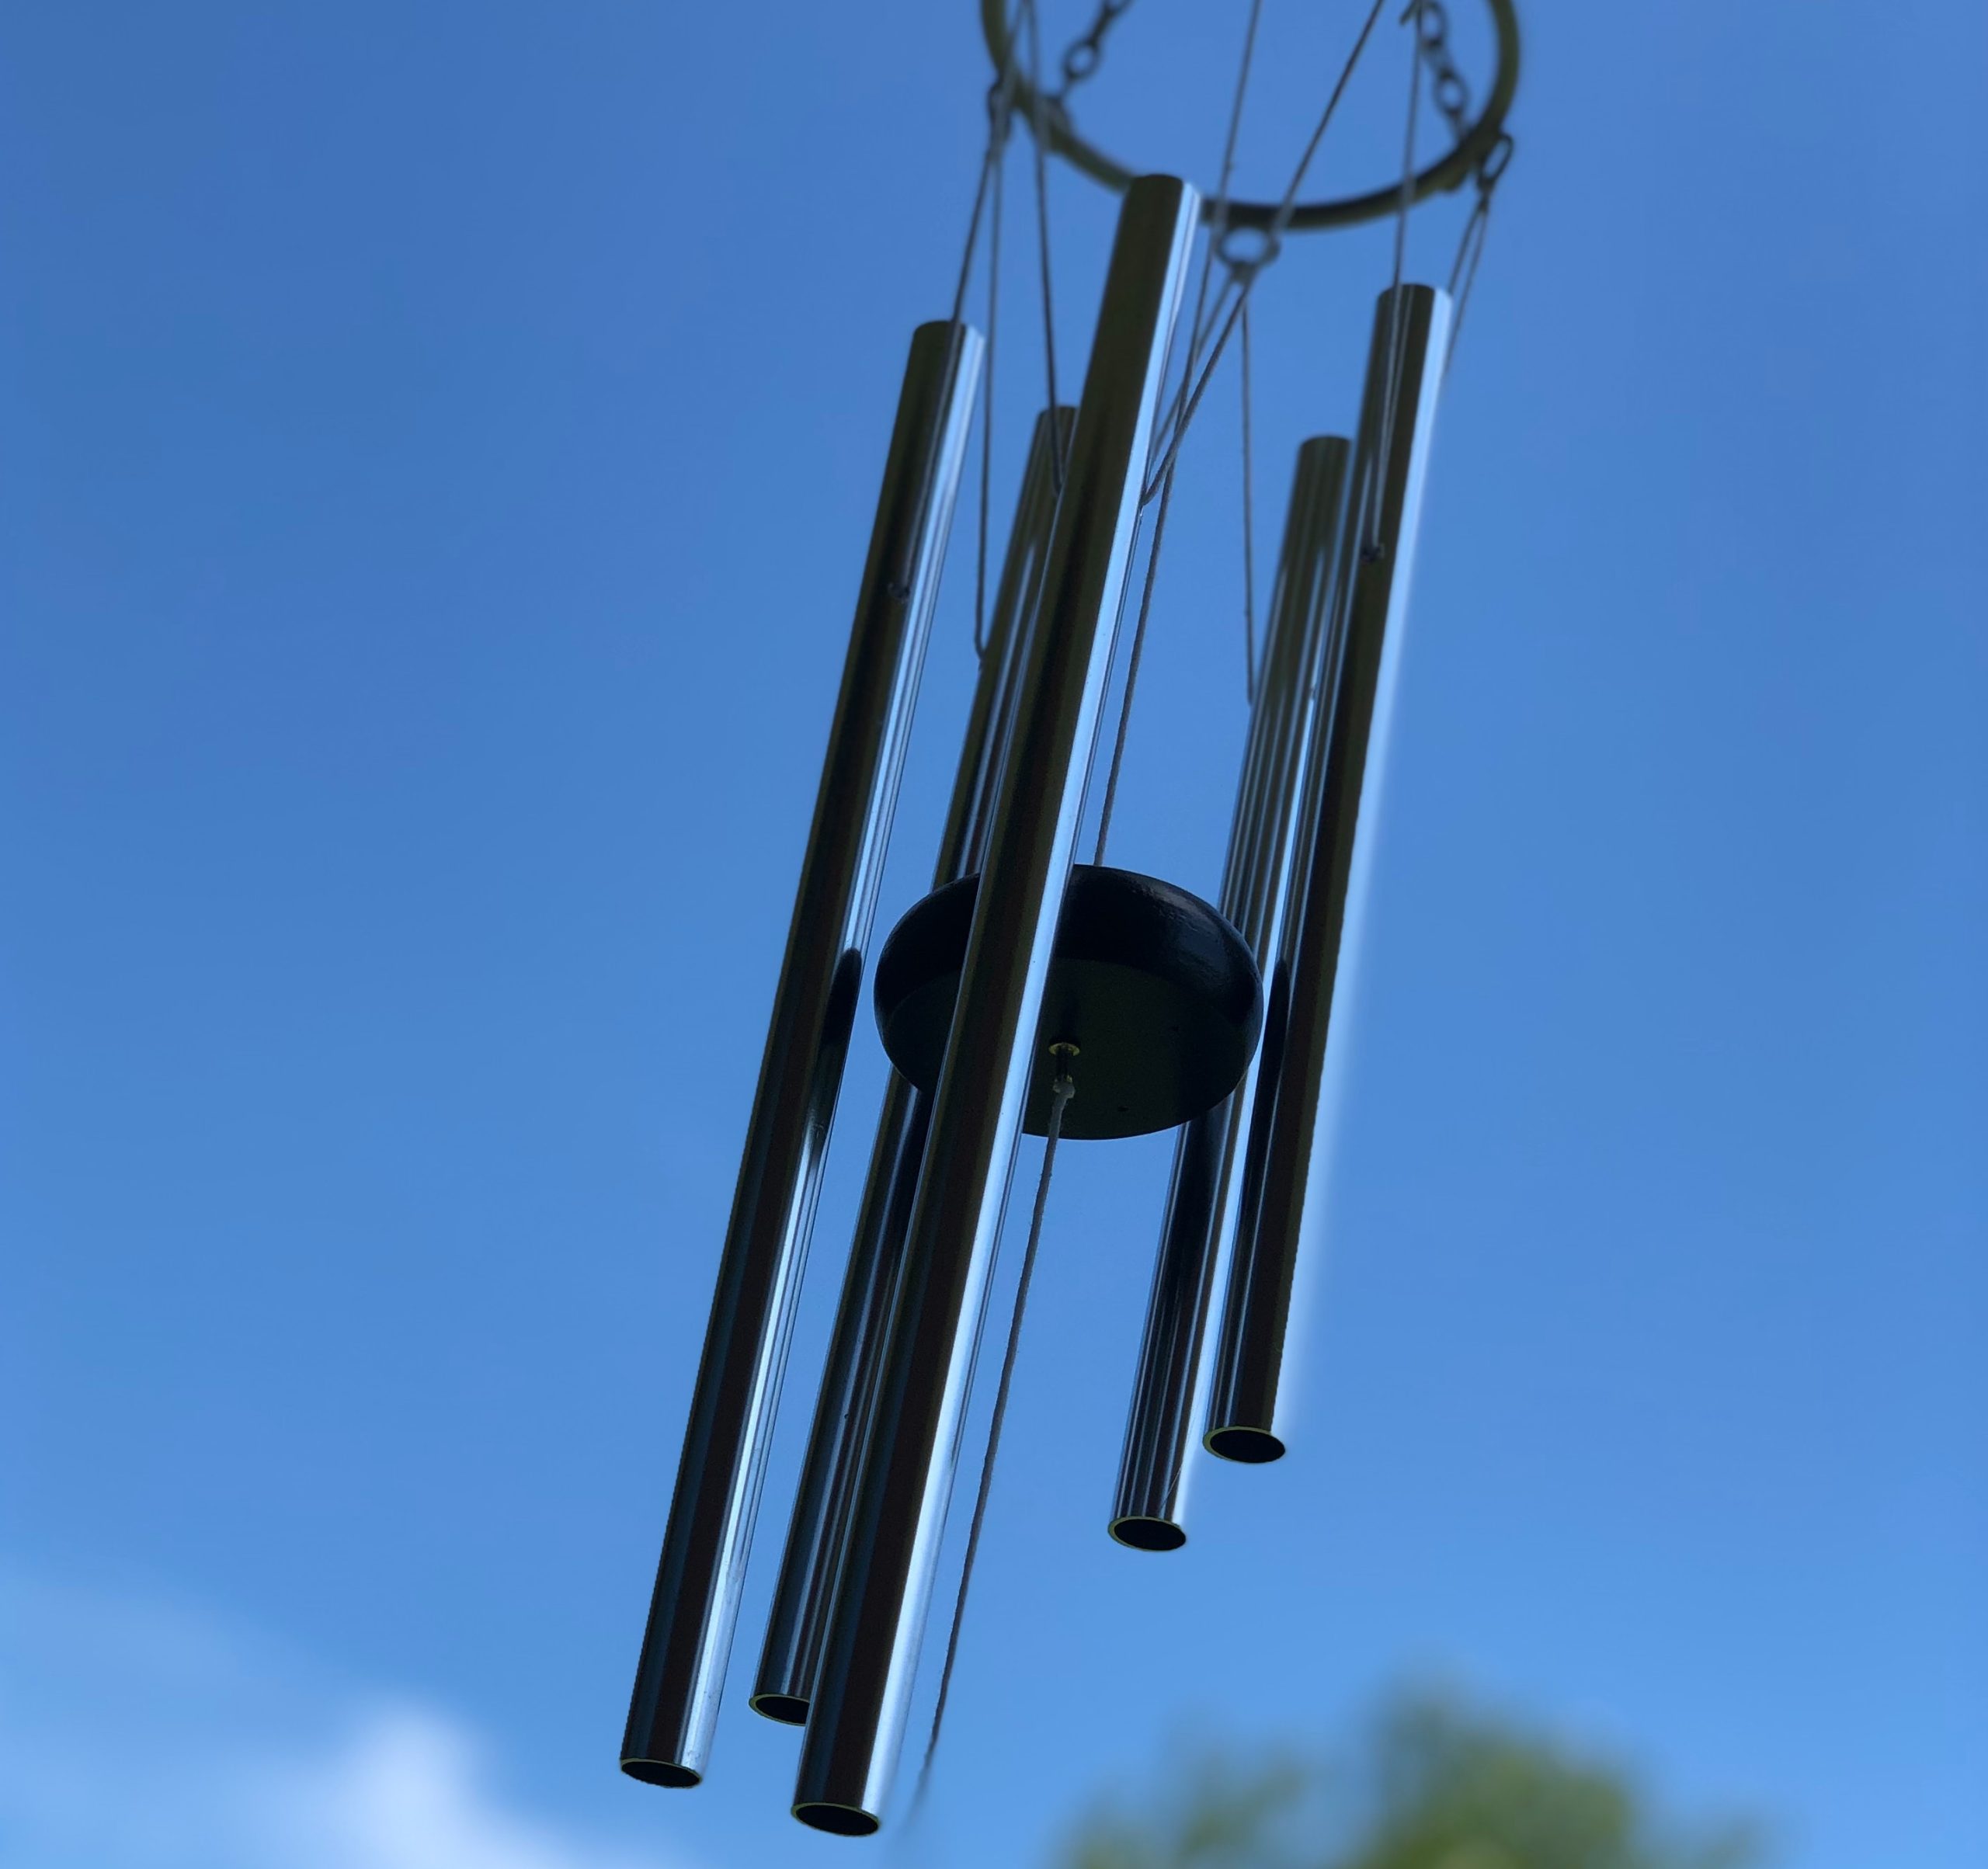
- Wind chime tubes: For a beautiful song, secure some metal tubes that’ll bring the music to life! You can find these on the web or at your local hardware store.
- Fishing line or string: Make sure to get some reliable and strong line or string to hang the keys and the tubes.
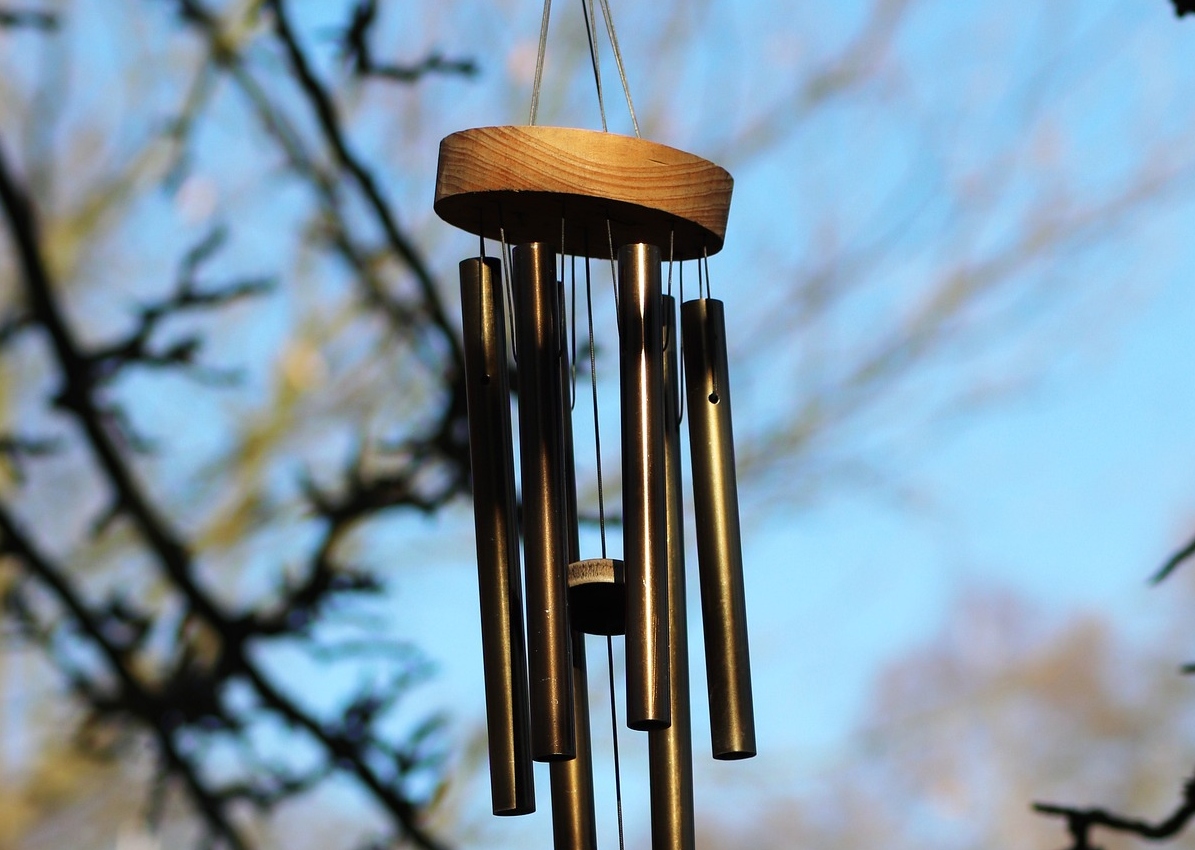
- Wooden or metal ring: This is where the keys and tubes will come together — use a wooden or metal ring as the base.
- Drill and drill bits: To be able to drill holes in the keys and the tubes.
- Saw or pipe cutter: Get a saw or a pipe cutter to cut the tubes precisely to the desired length.
- Sandpaper or file: Use sandpaper or a file to smoothen the edges of the tubes after cutting them.
- Paint or decorative elements for the keys (optional): To add decorative elements such as beads or charms to the wind chime.
Now that you have the necessary components, it’s time to start crafting your own DIY key wind chime!

Crafting a DIY Key Wind Chime
Create your own key-inspired wind chime with this easy DIY project. Here are the steps to craft a DIY key wind chime:
- Cut the tubes
- Use a saw or pipe cutter to cut the metal tubes to the desired length. You can experiment with different lengths to achieve the sound you want.
- Sand the edges
- Use sandpaper or a file to smoothen the edges of the tubes after cutting them. This will prevent the tubes from injuring anyone who comes in contact with them.
- Drill holes in the keys
- Use a drill and a small drill bit to make a hole in the top part of each key. This is where you will tie the fishing line or string to hang the keys.
- Tie the keys
- Crafting a one-of-a-kind DIY key wind chime is a satisfying way to make art and music at the same time. With a few supplies, you can create a beautiful, one-of-a-kind piece of home decor.
- Cut a length of fishing line or string for each key, and tie one end to the hole in the key. Tie the other end of the string to the wooden or metal ring.
- Repeat this step for each key. Make sure to thread the fishing line or string tightly through the holes for a perfect DIY key Wind Chime.
- This will ensure that your beautiful craft is not only securely attached but also ready to make beautiful music in the breeze. Make sure to give the strings a good tug.
- After you have attached the keys to the chime, it’s time to spread them out and create a unique pattern. Move the keys around until you find the perfect look, allowing the keys to dangle from different lengths, and positioning the keys to create a pleasing design.
- Once you have the desired pattern, secure each key with a knot, and you have a unique key wind chime ready to hang up and enjoy!
- You can also make it more colorful with bottle caps. It’s another DIY wind chime that you can give a shot at!

- Attach the tubes
- Cut a length of fishing line or string for each tube. Tie one end of the string to the top of the tube and the other end to the wooden or metal ring. Repeat this step for each tube.
- Adjust the length
- Adjust the length of the strings so that the keys and tubes hang at different lengths. This will create a variety of pitches when the wind blows. Experiment a bit with different arrangements until you find the one that sounds just right.
- Paint and decorate (optional)
- If you want to add color or decoration to your wind chime, you can paint the keys or add decorative elements such as beads or charms to the strings.
- Hang your wind chime.
- Hang your wind chime in a location where it will catch the wind and create beautiful music.
A little care in each step can go a long way in ensuring that your chime looks and sounds perfect. Take your time. Quality craftsmanship is key when creating a unique wind chime, so don’t skimp on the details — you’ll be glad you spared enough time!
Make a DIY key wind chime that’s of real quality!
Crafting a one-of-a-kind DIY key wind chime is a satisfying way to make art and music simultaneously. With a few supplies, you can create a beautiful, one-of-a-kind piece of home decor.
After you have attached the keys to the chime, it’s time to spread them out and create a unique pattern. Move the keys around until you find the perfect look, allowing the keys to dangle from different lengths and positioning the keys to create a pleasing design.
Once you have the desired pattern, secure each key with a knot and have a unique key wind chime ready to hang up and enjoy!
You can also make it more colorful with bottle caps. It’s another DIY wind chime that you can give a shot at!
Find the Perfect Spot to Hang Your Chime
The fun part begins after crafting your DIY key wind chime — finding the perfect spot to hang it! Think about the environment you want to create with your chime.
Do you want a peaceful oasis in your backyard? Or maybe a light, airy atmosphere on your porch? Choose a spot that offers a good balance of wind and shade, and also has enough room for the chime to move freely.
Hang it from a sturdy tree branch, a ceiling, or even a decorative shepherd’s hook to make sure it’s secure. Once you’ve hung the chime, sit back and listen to the beautiful melodies it creates.
Giving Your Chime a Spin and Listen to the Jingles It Makes
Once you’re settled where to put it up, it’s time to give your one-of-a-kind DIY key wind chime a spin and listen to the beautiful jingles it makes!
The unique combination of tones emanating from the chime will be unlike any other, and the sound will fill your outdoor space with a delightful atmosphere. When the wind picks up, you can enjoy your chime’s music for as long as you want. Enjoy the peaceful ambiance that your key wind chime brings to your home!
Enjoying Your DIY Key Wind Chime!
Crafting a one-of-a-kind wind chime is an incredibly rewarding DIY project! After all your hard work, you’ll be left with a unique piece of home decor that will fill your space with the mesmerizing sounds of nature. Before you know it, your DIY key wind chime will have become a beloved addition to your home.
The best part? Every time the wind catches those keys, you’ll be reminded of your creativity and dedication to making this beautiful piece.
Choosing the Right Keys for Your Wind Chime
Creating a DIY key wind chime is about crafting a visually appealing decoration and producing a melodious and harmonious sound. The keys you choose play a crucial role in determining the tone and quality of your wind chime. Here’s how to select the right keys for your project.
Types of Keys
The selection of keys for your DIY key wind chime plays a pivotal role in the overall sound and aesthetic of the chime. Incorporating a variety of keys, such as house keys, car keys, or antique skeleton keys, adds diversity to the sound.
Each key’s unique shape and weight produces a distinct tone when it collides with others. For instance, an old-fashioned skeleton key might give a deep, rich clang, while a small mailbox key could provide a higher-pitched jingle. When these different types of keys are mixed in your DIY key wind chime, they combine to create a symphony of complex and intriguing sounds. This tones blend can transform your wind chime into a captivating musical piece.
Material and Size
In a DIY key wind chime, the material and size of the keys are crucial in determining the sound quality. Metal keys are often the best choice for wind chimes because they produce a clear and resonant sound. The size of the key also influences the tone:
larger keys usually yield deeper, more sonorous tones reminiscent of a church bell, while smaller keys create light, tinkling sounds that can be soothing and playful. You can achieve a dynamic range of sounds by experimenting with keys of various sizes and materials in your DIY key wind chime.
This experimentation allows for customization in both your wind chime’s visual appeal and acoustic performance, making it a truly unique and personal creation. Combining different materials and sizes in your DIY key wind chime can result in a harmonious blend of sounds pleasing to the ear and a beautiful addition to any space.
Sourcing Keys
Creating a DIY key wind chime begins with finding the right keys, which can be a delightful adventure. Local thrift stores are treasure troves where you can often find a variety of keys at low costs.
Flea markets are another excellent source, offering various keys from different eras and designs. Don’t hesitate to contact friends and family for spare keys they no longer use; these can often provide unexpected and unique additions to your chime.
For those seeking a touch of history or uniqueness in their DIY key wind chime, estate sales, and antique shops can be goldmines. Here, you might discover antique keys with intricate designs that can add a vintage charm and a story to your wind chime. Each key you find has its own history and character, making your DIY key wind chime a musical piece and a mosaic of stories and memories.
Testing for Sound
To ensure your DIY key wind chime produces the most harmonious sound, it’s crucial to test each key for its unique tone. Hang the keys individually – perhaps on a temporary string or hook – and strike them gently to listen to their sounds. This step is vital in understanding each key’s tonal quality and resonance.
Pay attention to the pitch and timbre of the sounds produced. Some keys might have a high-pitched ring, while others offer a deeper, mellower tone. This process will help you envision how the keys will sound in unison and enable you to make informed decisions about their arrangement in your DIY key wind chime.
Adjusting your selection based on these tests ensures that your wind chime will be a visual delight and a melodious and cohesive musical instrument. By carefully testing and selecting keys for your DIY key wind chime, you can craft a chime that looks beautiful and fills your space with enchanting and pleasing sounds.
Selecting the right keys is crucial in crafting your DIY key wind chime. By paying attention to the keys’ type, material, and sound, you can create a visually stunning piece and a melodious and harmonious addition to your home or garden.
FAQ on Crafting Your Own DIY Key Wind Chime
What materials do I need for a DIY key wind chime?
To create a DIY key wind chime, you’ll need old keys, metal or wind chime tubes, strong fishing line or string, a wooden or metal ring, a drill with drill bits, a saw or pipe cutter, sandpaper or a file, and optional paint or decorative elements.
Where can I find keys for my DIY key wind chime?
You can find keys for your DIY key wind chime at local thrift stores, flea markets, through friends and family, or at estate sales and antique shops for unique and vintage keys.
How do I ensure the keys produce a good sound in my wind chime?
Test each key by hanging and striking them individually to listen to their tones. This helps select keys that produce harmonious sounds for your DIY key wind chime.
Can I use different types of keys in my wind chime?
Mixing different types of keys, such as house, car, and skeleton keys, in your DIY key wind chime can create a more complex and interesting sound.
How do I attach the keys to my wind chime?
Drill holes in the top part of each key and use fishing line or string to tie them to a wooden or metal ring. Ensure the strings are tight and secure for your DIY key wind chime.
Is it possible to customize the design of my wind chime?
Absolutely! You can paint the keys, add beads, charms, or other decorative elements to personalize your DIY key wind chime.
Where is the best place to hang a DIY key wind chime?
Hang your DIY key wind chime in a spot where it can catch the wind, like near a window, on a porch, or in a garden, ensuring enough room to move freely.
How can I maintain my key wind chime?
Regularly check for damages, tighten loose strings, and clean the keys to maintain your DIY wind chime. If it’s outside, consider bringing it in during extreme weather to prolong its life.
The Takeaway
Overall, crafting a one-of-a-kind key wind chime is an easy project that can be completed with simple supplies and creativity.
A DIY key wind chime is a project that any crafty person can do in just eight easy steps. It’s a great way to repurpose old keys and create a unique and beautiful piece of decor for your home or garden.
With some creativity, you can even experiment with different materials to create a more personalized chime. For example, you can use seashells or colored glass beads instead of metal tubes or use different types of keys to add more variety to the sound.
The possibilities are limitless, and best of all, you can create a one-of-a-kind wind chime that is truly your own. It’s a fun and satisfying DIY project that can be completed in just a few hours, and the end result is a beautiful and functional piece of art that will bring joy and beauty to your surroundings.
DIY key wind chime is sure to bring a bit of charm and character to your home. So, will you give it a try?


