Recycling is always a good idea. When we recycle, we lessen the trash that collects in landfills. Moreover, old material is converted into new products, reducing the need to consume natural resources. This helps to protect natural habitats for the future.
Do you know how we end up having a lot of cardboard boxes in our trash? Egg cartons, pizza boxes, toilet paper tubes – name it, we have it. And then there are soda bottles, too. Instead of throwing them away, why not turn trash into treasure?
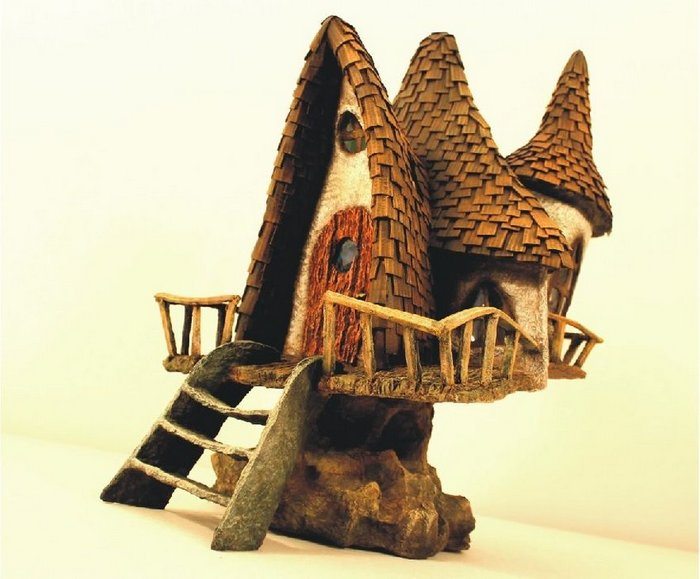
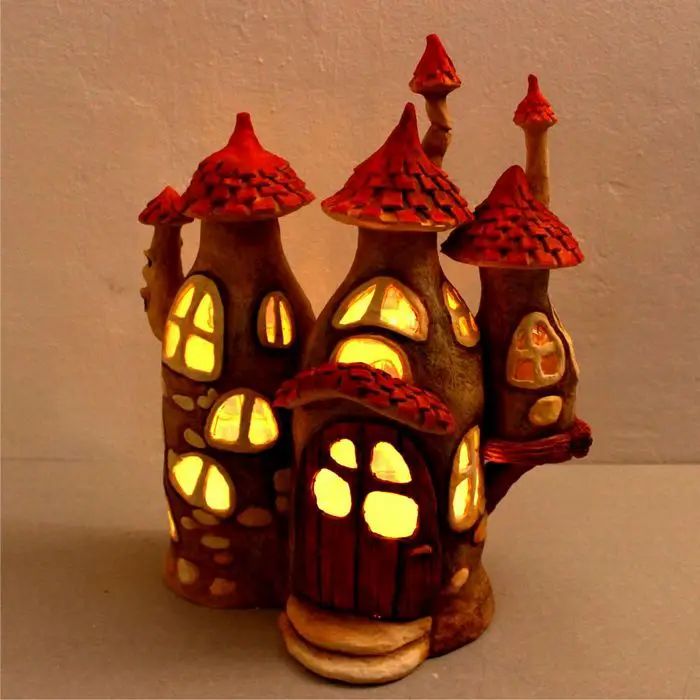
I came across a tutorial video on how to recycle trash and turn them into a fairy house lamp. This would be perfect for your child’s bedroom. It creates magic at night and it’s a charming décor, too. One look at the finished product and it’s hard to believe it’s DIY.
This project isn’t really easy for a beginner but then again, we all have to start somewhere. Most DIY projects are trial and error. If the first one didn’t turn out the way you expected, you can try again. The materials used here are mostly recycled stuff so the project isn’t expensive.
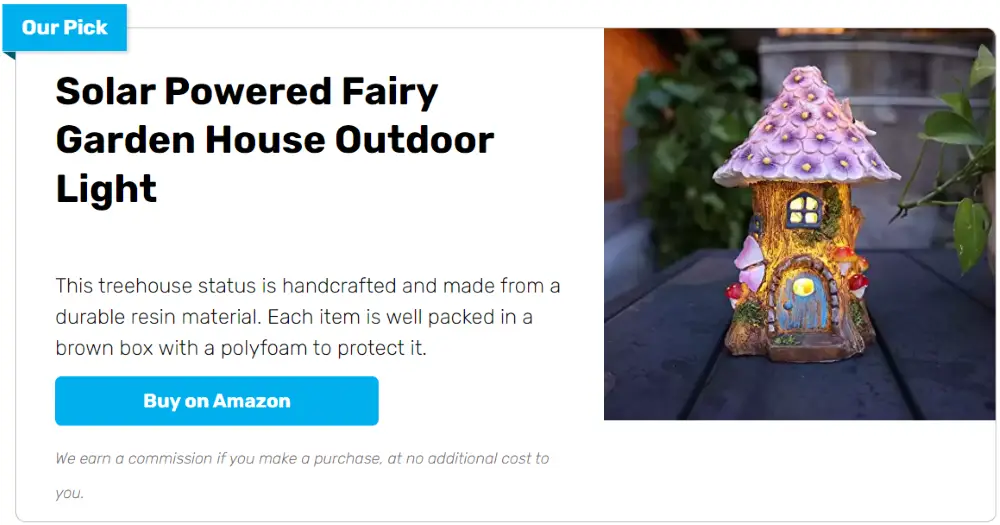
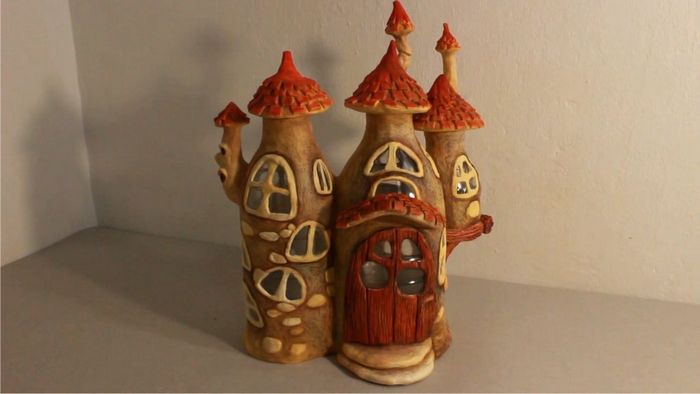
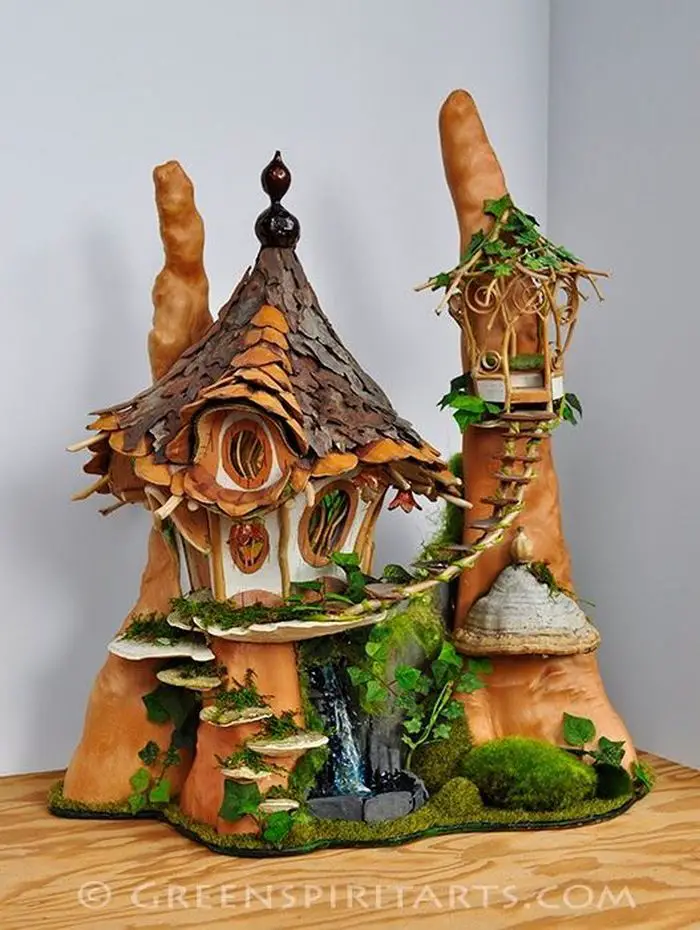
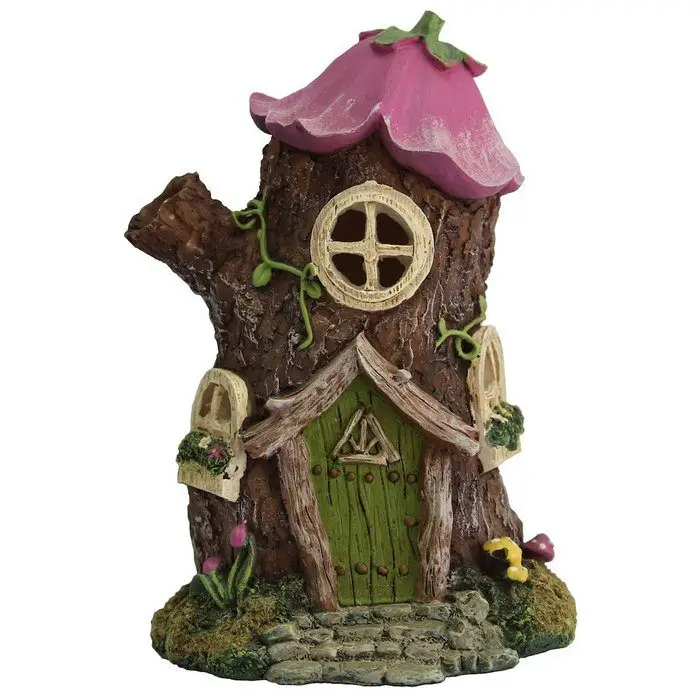
We’ve gathered some of the most inspiring designs out there to help get your creativity flowing. These fairy house lamps are the perfect way to add a touch of magic to your home. Whether you use them as decoration or as a night light, they’re sure to bring a smile to your face.
So take a look and see which design speaks to you. We’re sure you’ll find the perfect one to light up your life. They’re so beautiful you’ll want to make your own lamp right away!
Contents
Enchanted fairy house lamp design ideas
Click on any image to start the lightbox display. Use your Esc key to close the lightbox.


How to make a fairy house lamp from recycled trash
These fairy house lamps are sure to add a touch of magic to any space. Whether you use them as accent lighting or as the main source of light in a room, they’re sure to make a statement. So what are you waiting for? Let’s get started!
First, gather all the recycled supplies you need, here’s the list:
Materials:
- old newspapers
- old cardboard boxes
- 2 pcs soda bottles
- Hot glue
- P.V.A. glue
- Paint (choose your colours)
Tools:
- Glue gun
- Cutter
- Knife
- Spoon
- Paintbrush
This is a great way to teach your kids about recycling, and they’ll love creating their own little magical world. Here’s how:
1. Create the basic structure
To create the basic structure, start by placing a recycled bottle on cut-out recycled pieces of cardboard. Add another cardboard with a hole in the middle. The hole must allow your recycled bottle to pass through. Then add some crumbled round newspapers on the base. Add some cut-out pieces of egg tray then glue to the base and sides of the recycled bottle. Cut out small cartons to make the walls and roof of the fairy house. Add another recycled bottle (cut into half), and glue it beside the wall, this will serve as the small tower of the fairy house. Then, cut some small pieces of carton for its tower look roof.
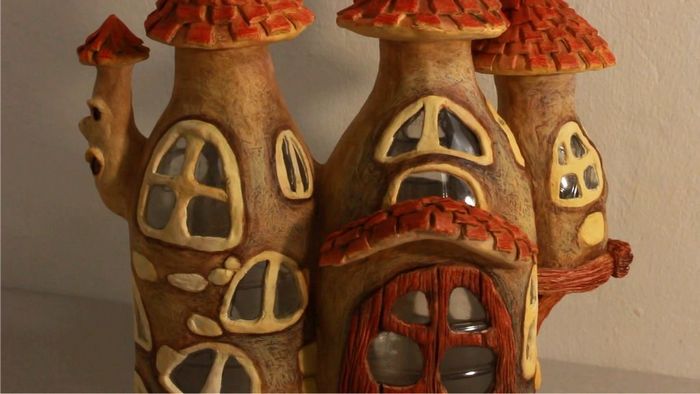
2. Add the door and windows
Once you have the basic structure of your fairy house, you can now draw the door. Then, carefully cut them with a cutter. Make the tiny door out of the remaining recycled plastic bottle. For the windows, you can use your recycled toilet paper tubes to make them. Simply draw the windows, cut them and glue to your fairy house.
3. Make your paper clay mixture
To make your paper clay mixture, simply dissolve a recycled egg tray in a hot water, then mix with PVA glue. This clay mixture should end up having a cement look. This mixture is a versatile and easy-to-use clay that’s perfect for a variety of crafting projects. Perfect for crafting projects of all kinds, and it’s a great way to recycle those egg trays that would otherwise end up in the trash. Plus, it’s a lot of fun to mix and mould!
4. Apply the paper clay mixture
Apply the paper-clay mixture all over your fairy house. This will give it a cement look. Make sure to smooth it out as best as you can so your fairy house looks neat and tidy.
5. Add the details
To add more details, add some staircases, balcony and roof details. You can use tiny pieces of the carton to make these. Simply cut some sticks to make the balcony, some long pieces to make the ladder and tiny squares to make the roof details. Just glue them all once done and let them dry.
6. Paint your fairy house lamp
Now that your glue is dry, you can start painting your fairy house! Pick out your favorite color and get started. If you’re not sure what colour to choose, think about what kind of mood you want your fairy house to evoke. A bright colour will create a cheerful atmosphere, while a dark color will give your fairy house a more mysterious feel. Whichever colour you choose, have fun with it and let your creativity flow!
After painting the fairy house lamp. Let it dry.
7. Add the LED light
Once the paint is dry, you can now add your LED light to your fairy house lamp.
Now that you have your very own Magical Fairy House Lamp, enjoy its light and beauty! You can now use it to add some extra light and magic to any room in your home. Be sure to show it off to your friends and family, and don’t forget to share this article with them! 😎
Thanks to Creative Mom for this great project. You can watch the video tutorial here…
If you liked this project, you might also like to view the DIY Fairy Door…


