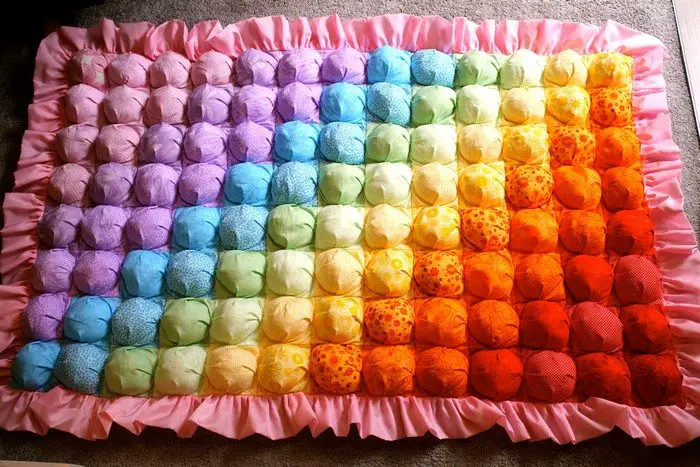
This cute bubble quilt, also known as the biscuit quilt, is a great project for when you have heaps of scrap fabric in your storage!

Don’t throw away those little scraps of fabric yet, as they can definitely be turned into one of the useful and favourite items in your household. Bubble quilts are soft and very cozy to use that everyone in your home will surely love them – including your pets!
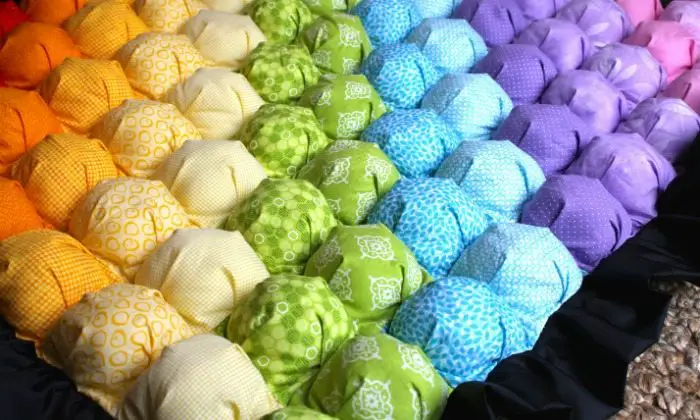
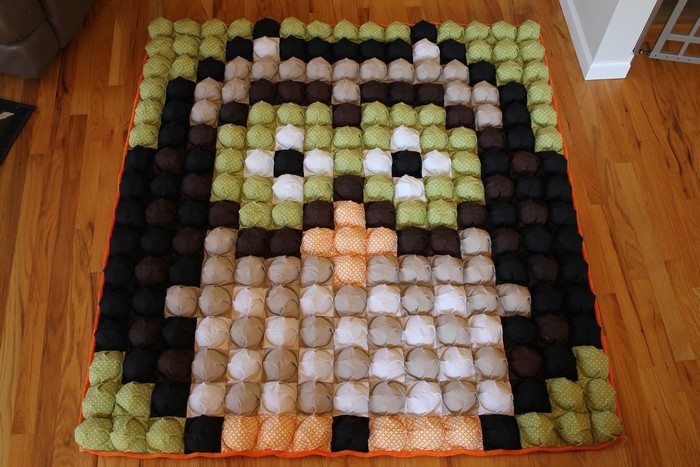
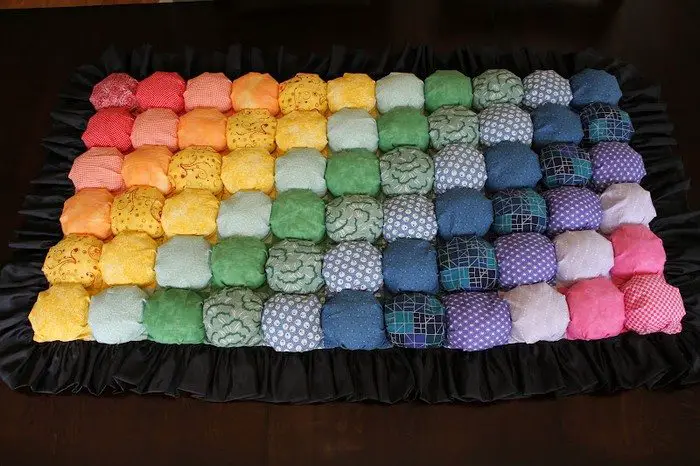
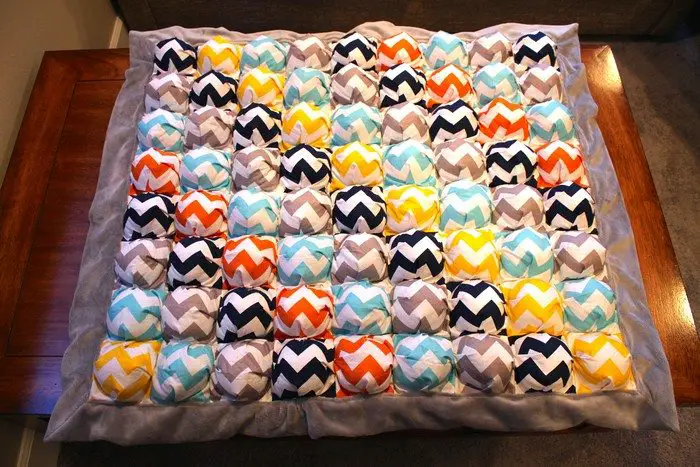
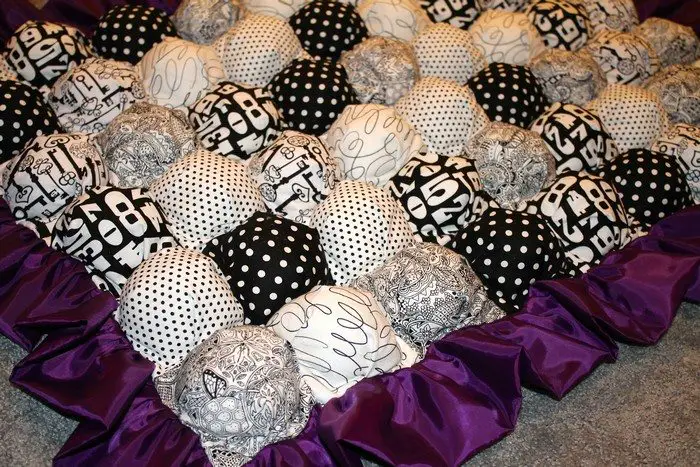
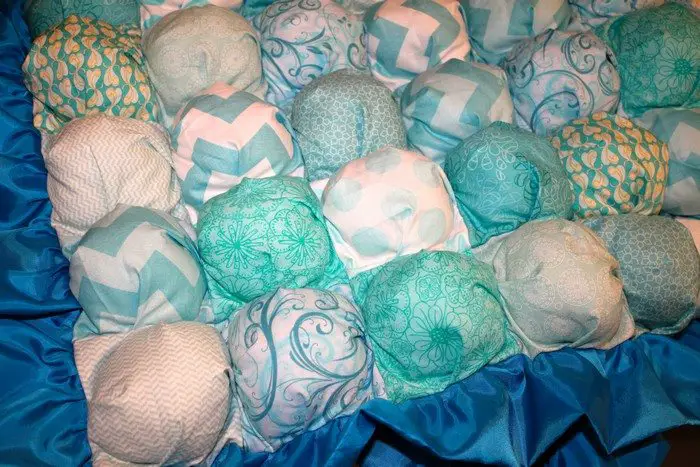
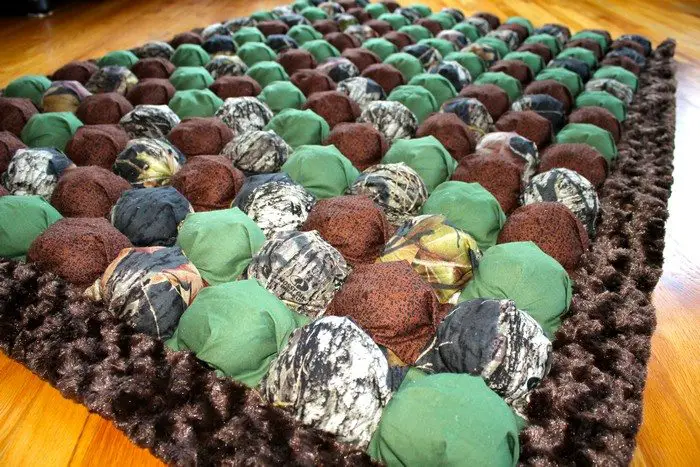
You can make it in any size, as colourful as you want, and arrange the bubbles according to colour or design like you would a mosaic, depending on its purpose. You can make one and use it as a chair cushion, a bed covering for your baby’s crib, or a play mat for your baby or your dog!
It’s cute, easy, and cheap! If you’re into sewing projects, this will make a great DIY gift for friends and family!
You’ll need the following tools and materials to make a DIY bubble quilt.
- 1-1/4 yard worth of Cotton Fabrics (for the top)
- 1 yard Minky Fabric (for the backing)
- 1-1/4 yard Silky Fabric (for the ruffle)
- 1 bag Fiberfill Stuffing (Poly-Fil)
- Sewing Machine
- Pins
- Scissors / Fabric Rotary Cutter
- Ruler
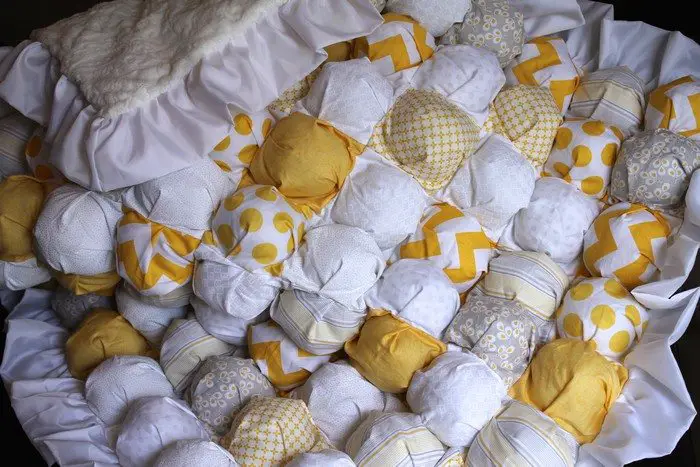
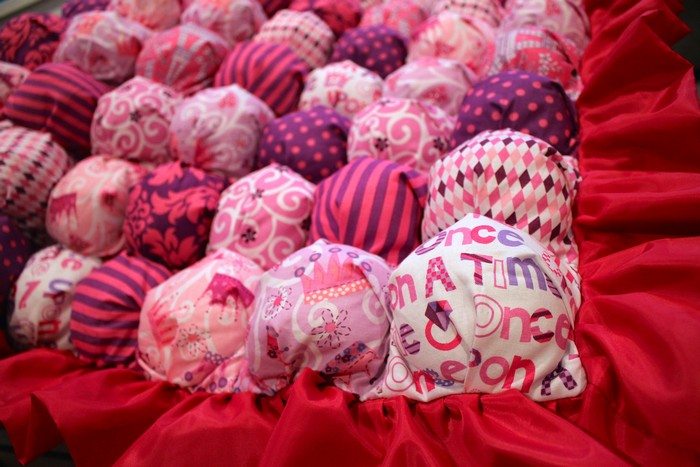
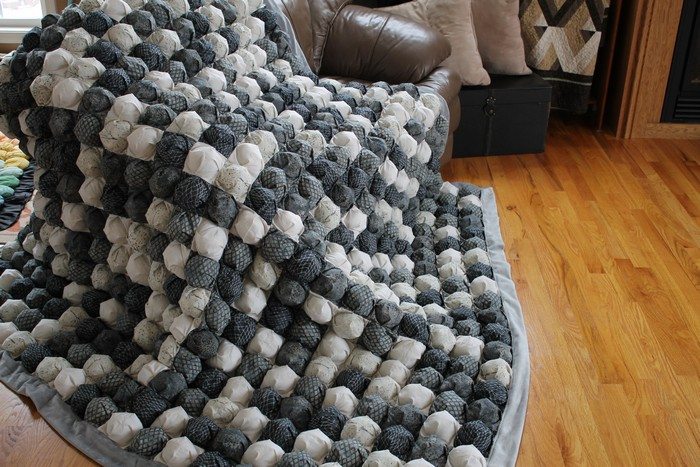
Go ahead, and check the samples and design ideas in our album below. :)
Contents
Cute bubble quilt design ideas
Click on any image to start the lightbox display. Use your Esc key to close the lightbox. ?


How to make a bubble quilt
Can you think of someone who would love to have a bubble quilt?
1. Make some small puff blocks
Cut a piece of cotton fabric into small portions, you don’t have to buy a piece of new fabric, but you can use scrap instead.
To make some small puff blocks for the front, make 108 pieces of squares by cutting the scrap cotton fabric into 5×5” each.
To make some small puff blocks for the back, make 108 pieces of squares by cutting the scrap minky fabric into 4.5×4.5” each.
Make one long binding strip by cutting the binding into 3” strips and sewing them together. Squeeze it in half from front to back.
2. Sew all the puff blocks together
Sew all the puff blocks together, preferably by using a sewing machine, by placing the 5” cloth above the 4.5” cloth. Allow ¼” allowance for each.
Put a pleat in the centre of the square with the front fabric after aligning the back edges of both fabrics.
Move the fabric to the next side by lifting up the presser foot with the needle down. Once you have lined up the back edges of the fabric and made a pleat in the middle, lower your presser foot and repeat the process.
Continue this process with the other side of the fabric. Let one side of the fabric open for stuffing. Continue this process to all the other squares.
3. Layout the quilt
Layout the quilt on a clean floor by lining up 12 puff blocks across and 15 puff blocks down.
Make sure to line them up properly, label or mark them and connect them with some clips before sewing them all together.
4. Connect all the blocks in each column
Connect all the blocks in each column by sewing them together. By sewing them all together, keep in mind to keep the opening of the puff block on the right side.
Stitch the back of each puff block to the front of the next puff block. Repeat until the whole column is stitched all together.
5. Stuff the puff blocks
Stuff the blocks with sufficient fiberfill stuffing and sew the opening of each square to finally close them. Put the same amount of stuffing on other blocks.
Repeat until all blocks are stuffed and closed. Attach the closed side of the next column to the side you just sewed.
Before stuffing the next column, sew the first one together after you’ve finished stuffing the first one. It is more comfortable to stitch them together when one is not yet stuffed, rather than when they’re both stuffed.
Sew the closed side of the next column to the side you just sewed. It is recommended that you cut out your backing fabric approximately four inches larger all the way around.
6. Pin the front to the back
All three seams of the top, binding, and back were sewn together in one seam. It seemed a bit tricky with the puffs, and I didn’t want to do it twice.
Sew 1/4 of the way around the quilt with the raw side of the binding facing the quilt edge. In your seam, make sure you capture the binding, the quilt top, and the backing.
Quilt backings should be trimmed along their edges. Hand sew the binding to the back by folding the edge towards the back.
Hand tie the quilt jointly, putting a knot at each junction. We can use embroidery thread to make this, but you can also use a string or rope. To make the quilt look good, I placed the ties on the back.
Now, enjoy using your own bubble quilt! You can have this as your pillow or simply a display! 😉
Thanks to Adventuresofadiymom for this great project. You can get step-by-step instructions here…
If you liked these ideas, you will also like viewing these Turn your old favourite shirts into a T-shirt quilt!


