War brings out the best and worst in people. Most of us know all about the horrible things we do to each other in war. We have seen them in the news and read about them in books.
Ironically, however, wars have also produced some of the best equipment, technology, and materials we see and use in our daily lives today.
For those who do not know, paracords were originally used during World War II as suspension lines for parachutes – parachute cords. At that time paratroopers learned to use it for other purposes as well, and so now it is known as a survival tool. Today, we have paracord bracelets.

Paracord, or parachute cord, is a nylon cord with a legendary strength-to-weight ratio, and its versatility helped it catch the attention of other military units, and eventually civilians. Its name derives from its original purpose in parachutes, which was to suspend lines.

Suppose there is no braided sheath with varying interweaving strands within the sheath. In that case, it does not qualify as paracord, even if it is marketed as paracord (as unscrupulous sellers, especially on eBay, often do). For survival applications, it’s crucial to distinguish braided cordage from legitimate paracord, which is why I raise this issue. Typical nylon or polyester rope lacks the versatility that paracord does, and if your life is at stake, this distinction will make a huge difference.
This tutorial below will teach you how to make a paracord bracelet that you can easily access during emergencies.
Making a Paracord Bracelet
You’ll need the following materials to make a paracord bracelet.
- 550 Paracord (13 ft)
- 1/2 inside release buckle
- Scissors
- Small pliers
- Lighter
Step 1: Prepare the Paracord
- Measure and Cut the Cord: Measure out 13 feet of 550 paracord. Use scissors to cut the cord to this length.
- Seal the Ends: Use a lighter to lightly melt the ends of the cord. This prevents fraying. Be careful to let the ends cool before touching.
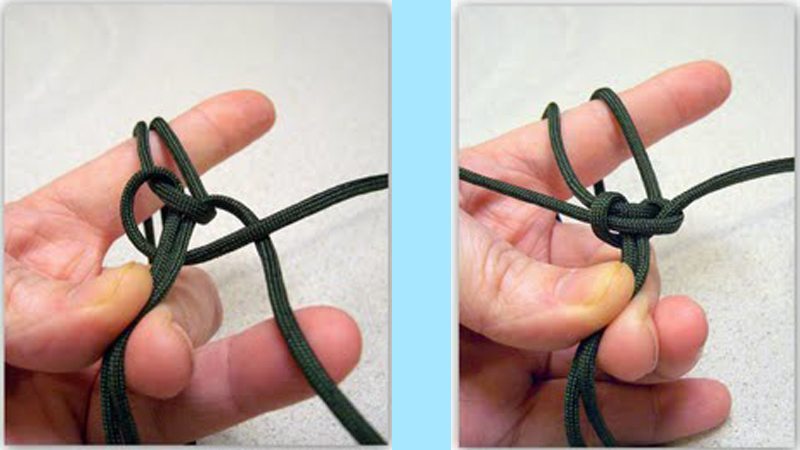
Step 2: Attach Paracord to Buckle
- Fold the Paracord: Fold the paracord in half evenly, creating a loop at the midpoint.
- Thread Through Buckle: Take the looped end and thread it through one side of the buckle, pulling the loop over the buckle bar and tightening it to create a secure cow hitch knot.

Step 3: Measure the Bracelet
- Attach the Other Buckle End: Thread the loose ends of the paracord through the other part of the buckle. Slide the buckle up to your desired bracelet length on your wrist. Remember to add about an inch to your wrist measurement for comfort.
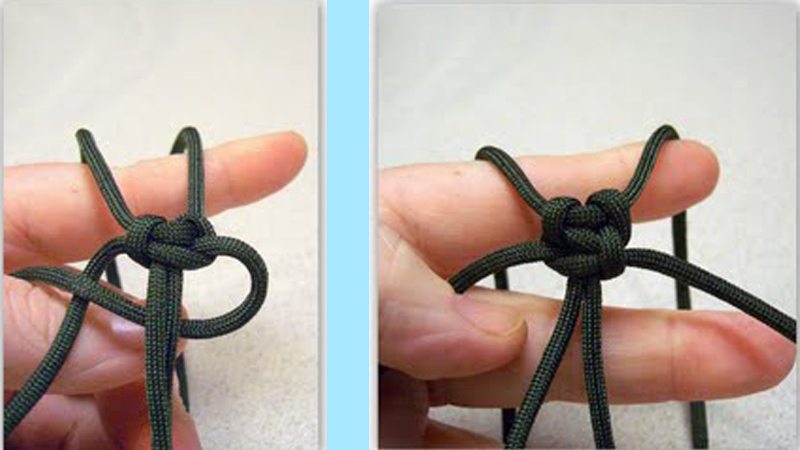
Step 4: Weave the Bracelet
- Start the Weaving: Arrange the cords to start the cobra weave. With the buckle clipped together, spread the two strands of paracord parallel to each other.
- The Cobra Weave:
- Take the right strand over the central strands and under the left strand.
- Now take the left strand under the central strands and up through the loop made by the right strand on the right side.
- Tighten the weave by pulling both ends while holding the buckle.
- Repeat this process, alternating the starting side (left then right, and so on), until you reach the end of the bracelet.
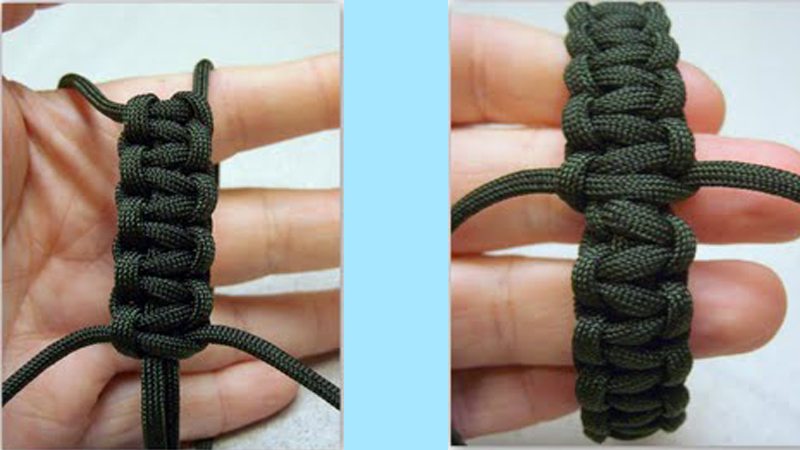
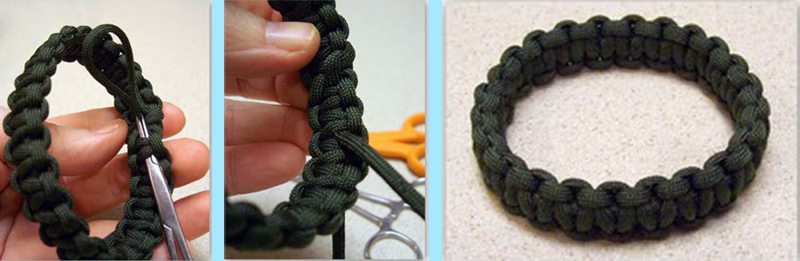
Step 5: Finish the Bracelet
- End the Weave: Once you are close to the buckle and no more weaves can be made, ensure the final weaves are tight.
- Cut the Excess: Use scissors to cut the remaining paracord as close to the weave as possible.
- Seal the Ends: Use the lighter to melt the ends of the paracord where you cut. While the plastic is still hot, use the small pliers to press the end into the bracelet for a neat finish.

Step 6: Final Adjustments
- Check the Fit: Ensure the bracelet fits comfortably on your wrist. Make any necessary adjustments to the buckle to ensure it is secure and comfortable.
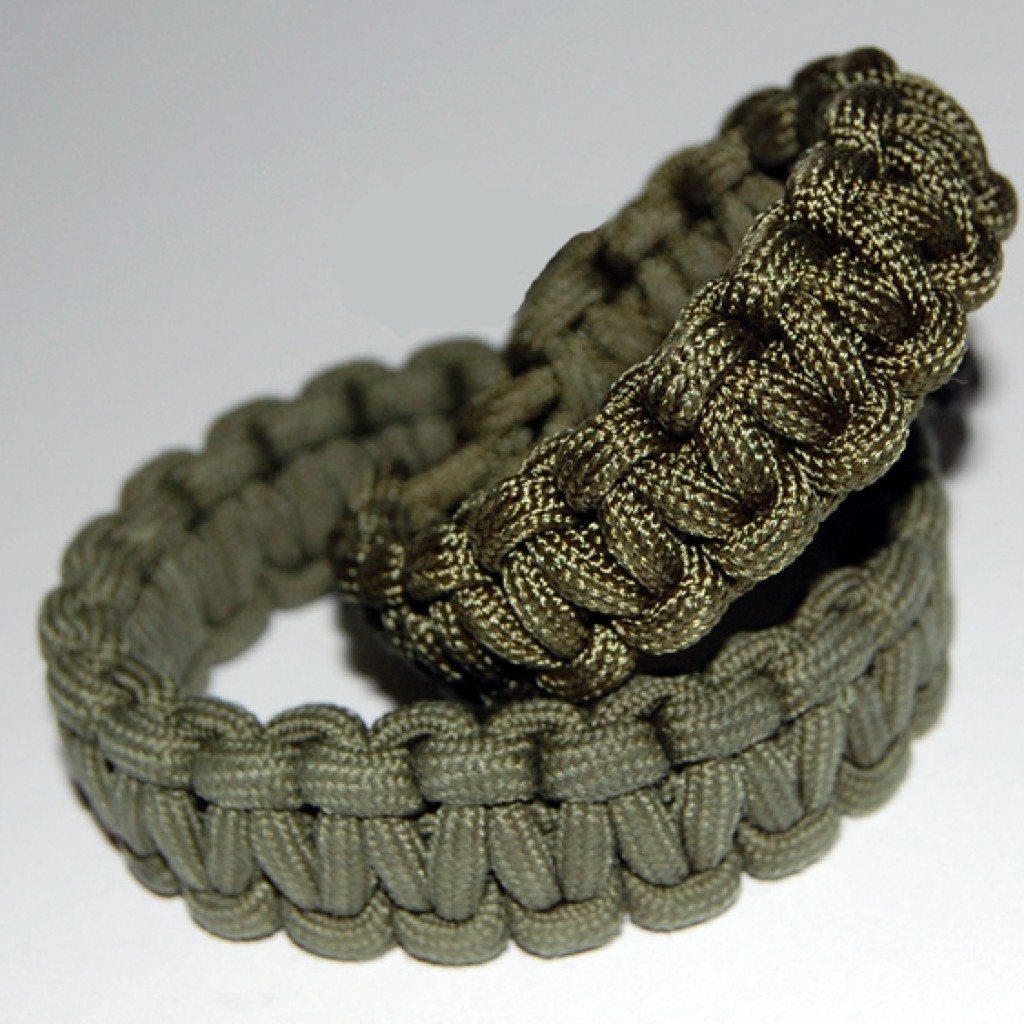
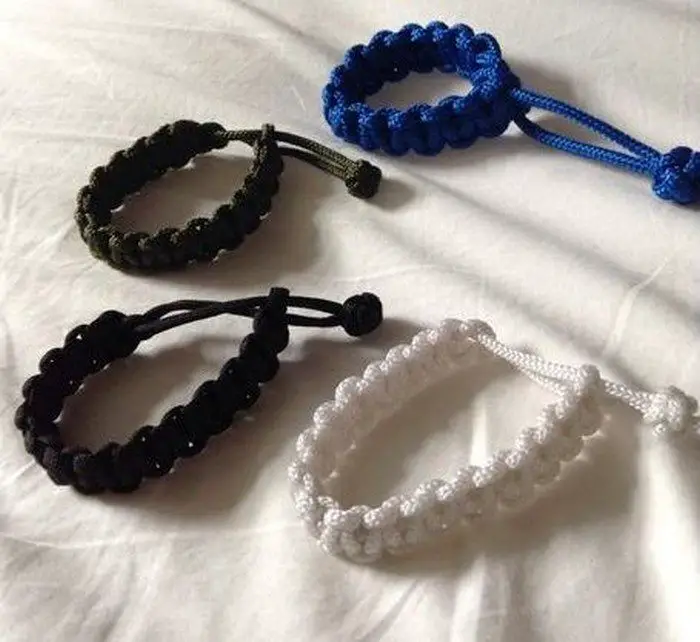
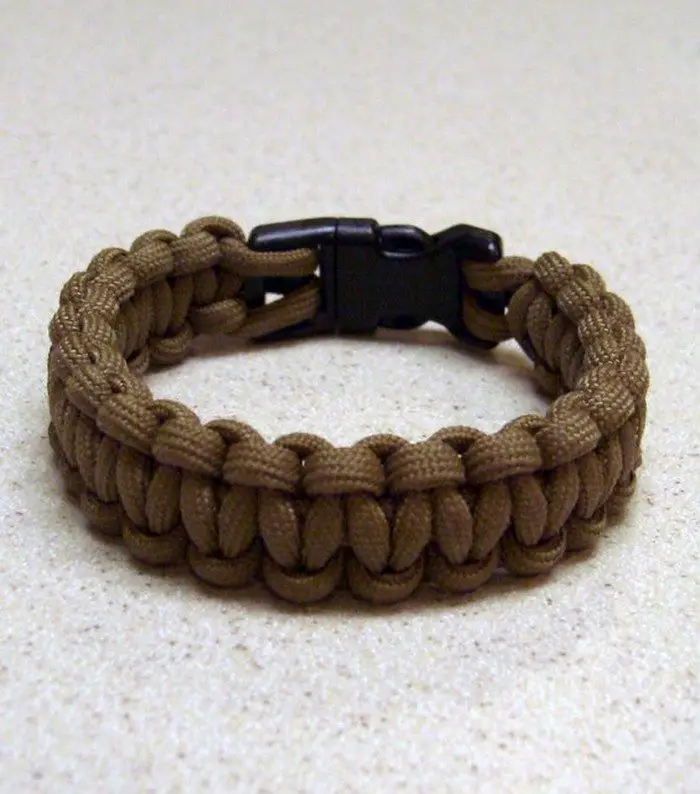
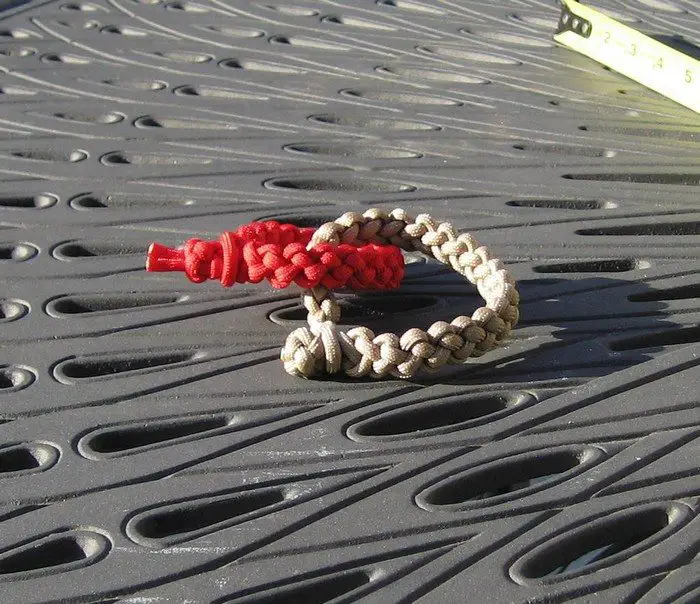
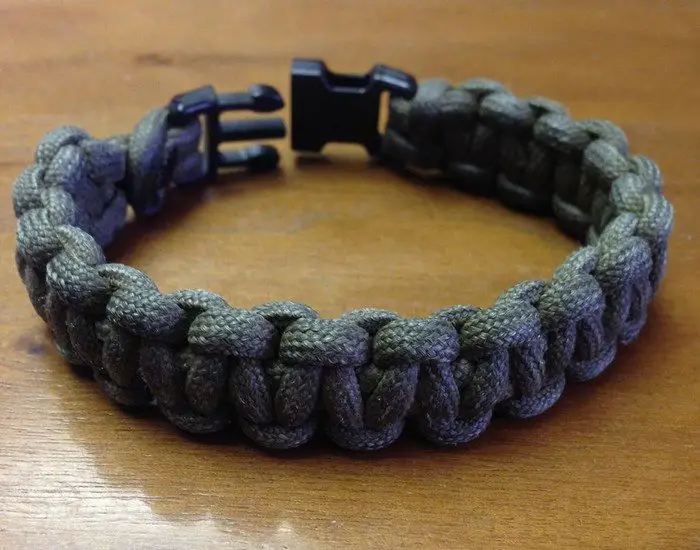
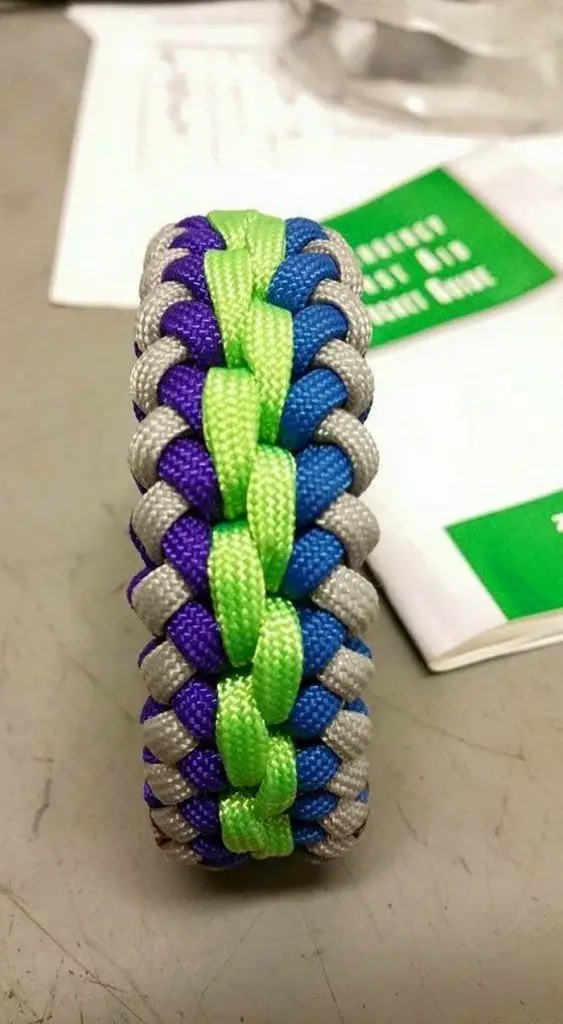
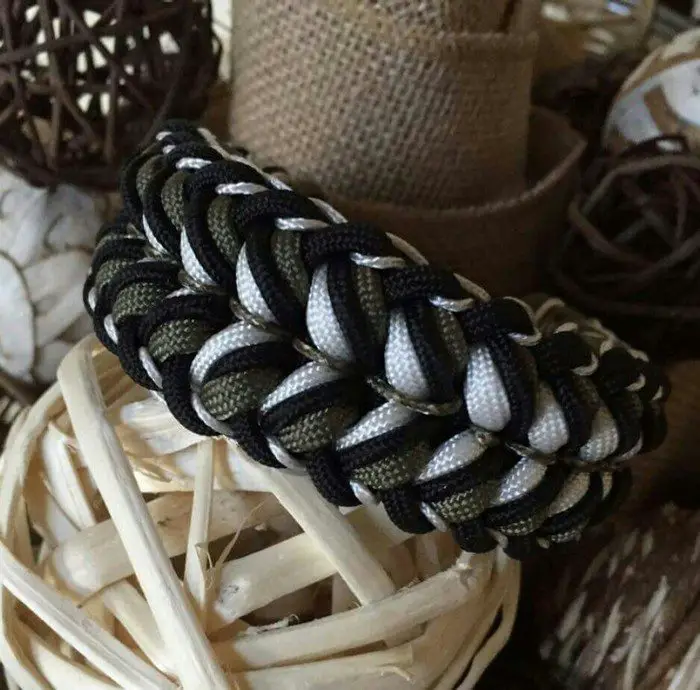
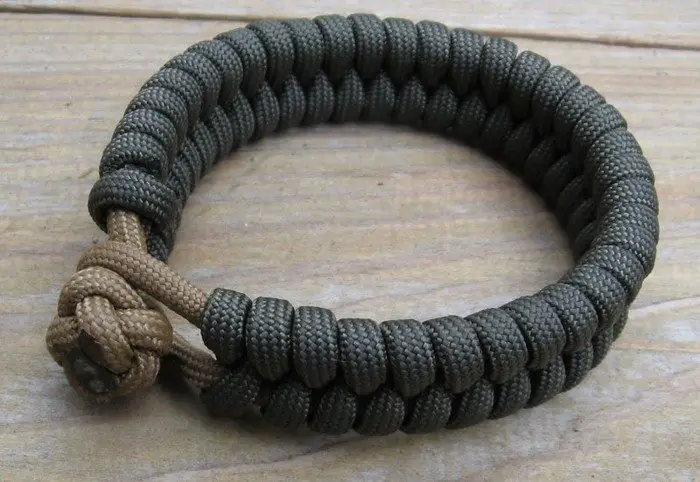
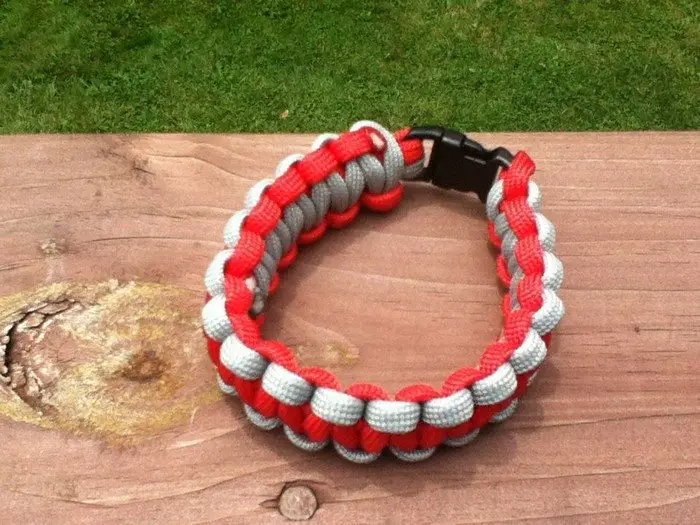
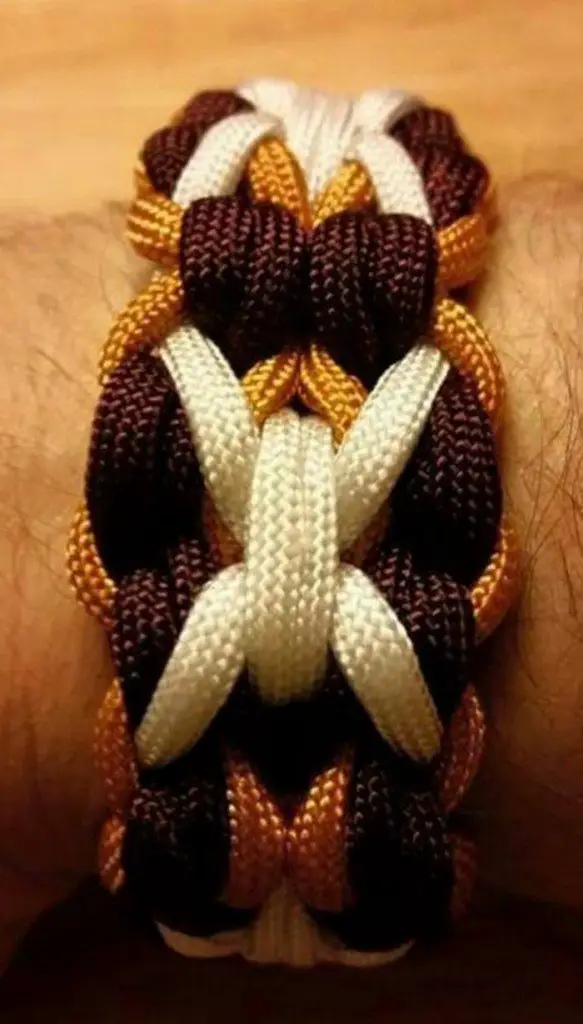
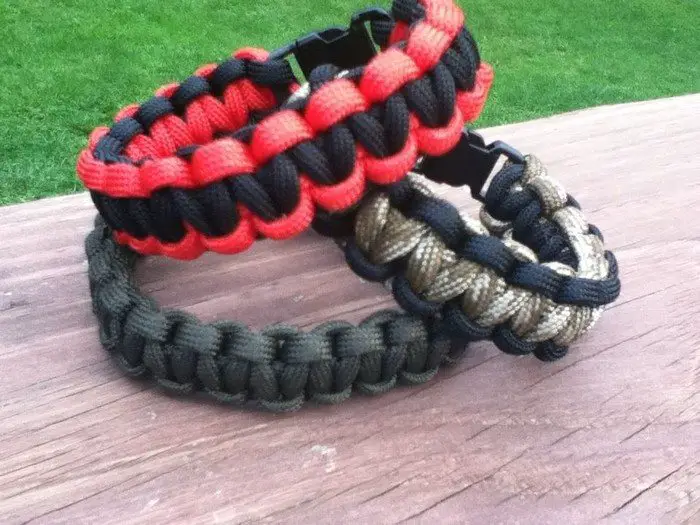
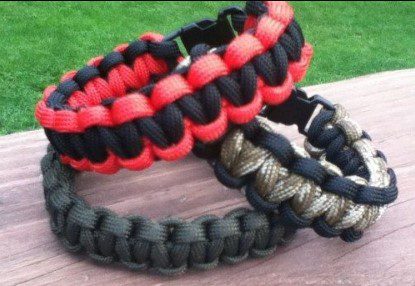
Below are the most lovely paracord bracelet design ideas that you can make for yourself or your friends.
Click on any image to start the lightbox display. Use your Esc key to close the lightbox.![]()

Uses of a Paracord Bracelet
A paracord bracelet is more than just a fashionable accessory; it’s a handy survival tool wrapped around your wrist. Crafted from strong 550 paracord, these bracelets are designed to be unraveled in a pinch, providing a robust and adaptable rope that you can rely on for a multitude of tasks. Let’s dive into some practical ways you can use a paracord bracelet in various situations:
Quick Fixes on the Go
Ever had a strap break on your backpack while hiking, or need to secure something in place? The durable cord from a paracord bracelet is perfect for tying up loose gear, fixing broken straps, or even patching up torn clothing. It’s the ultimate quick-fix solution when you’re in a bind.
First Aid in Emergencies
In emergency scenarios, the versatility of a paracord can literally be a lifesaver. It can be used to create a tourniquet to stop severe bleeding, make a sling to support an injured arm, or even secure splints to stabilize broken limbs.
Survival Made Simpler
Imagine you’re lost in the wilderness; a paracord bracelet becomes your best friend. Here’s what you can do with it:
- Shelter Building: Tie branches together with a paracord to craft a makeshift shelter, protecting yourself from harsh weather.
- Fishing and Trapping: Unravel the bracelet to form a fishing line or construct a snare, helping you catch food when it matters most.
Enhancing Outdoor Adventures
For the outdoor enthusiasts, whether you’re camping, hiking, or boating, having a paracord bracelet means having a multipurpose tool on hand. Use it to:
- Secure Outdoor Gear: Keep tents, backpacks, and boat gear tied down tight with a paracord.
- Setup for Comfort: Whip up a clothesline to dry your gear or create a hammock for a quick nap between the trees.
Daily Convenience
The uses of a paracord bracelet extend to everyday life too:
- Bundling Items: Whether it’s carrying books or groceries, you can wrap them up with a paracord for easy transport.
- Emergency Pet Leash: Need a quick fix for a broken pet leash or collar? A paracord is there to save the day.
For the Crafty and Creative
- Get Crafty: Ever think about making your own keychains or lanyards? Paracord’s perfect for that. Or get really into it and try your hand at making belts or even fancy knots for decorative items around the house.
- Jewelry on the Fly: Grab some beads and use the inner strands of your paracord to string them together. You could whip up a unique bracelet or necklace in no time.
Handy Car Fixes
- Keep It Together: If you’ve got stuff rattling around in the trunk or need to keep items secure on your roof rack, wrap some paracord around them. It’s surprisingly strong and will hold tight.
- Quick Fixes: Loose something under the hood? Paracord can tide you over until you get to a mechanic, whether it’s tying up a loose hose or even acting as a stopgap belt replacement.
Outdoor Smarts
- Don’t Get Lost: Mark your trail by tying little pieces of paracord to branches or bushes. It’s a bright breadcrumb trail you can follow back to camp.
- Measure Up: Need to know how far you need to set up from a water source or just measuring plots for a campsite? Lay out your paracord; it’s a handy makeshift ruler.
In a Pinch
- Break Out: Got stuck in a car or need to get out of a room with a jammed window? Wrap a rock in paracord, give it a swing, and you’ve got a make-do glass breaker.
- Pull to Safety: Whether someone’s stuck in a river or up a steep hill, throw them one end of your bracelet. Paracord’s tough enough to help haul them to safety.
Stay Safe
- Sound the Alarm: If your bracelet’s buckle has a whistle, don’t forget it can call for help in emergencies.
- Self-defense in a Snap: Loop your paracord through something heavy, and you’ve got a makeshift self-defense tool. Let’s hope you never need it, but it’s good to know it’s there.
Everyday Genius
- Tools Up: In the garage or at a campsite, hang your tools or cooking utensils off the ground with a bit of paracord.
- Weatherproofing in a Flash: Need to cover something up quickly when the weather turns? Snap a tarp over it and secure it with your paracord.
A paracord bracelet is a compact, versatile tool you can wear every day, ensuring you’re always prepared for the unexpected. With this bracelet, you’re carrying a piece of essential survival gear wherever you go.
Conclusion
In addition to being a terrific do-it-yourself project, making a paracord bracelet gives you a multipurpose survival gear. Every stage of the process promotes design innovation and usefulness in application. After learning the method, you’ll have a chic item that will come in very handy.
If you liked this project, you might also like to view 12 Bracelet Ideas and Paracord hanging pallet chair…


