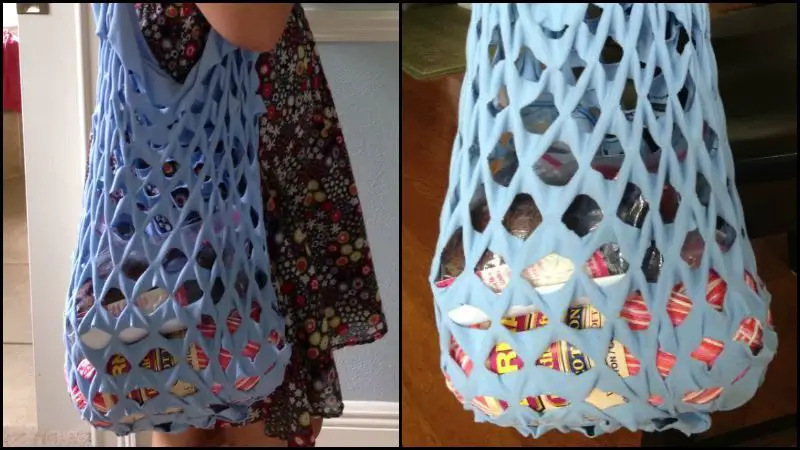
Last Updated on August 23, 2023 by Team Ideas24
Got shirts you don’t wear anymore? Here’s a quick and very useful upcycling project to reduce clutter in your closet!
I’m sure everybody has got heaps of T-shirts somewhere in their closet that they never wore ever again. Some are shrunken or small, some are “ugly” gifts from acquaintances, and some have holes or damages that we promised ourselves we’ll turn into something more beautiful and useful one day.

This is a good first project as it’s easy, quick, and requires very little sewing. I use my upcycled shirt bags when going to the farmer’s market or beach for carrying my clothes, towel, and other necessities. And I will definitely make some more to give as gifts to some people who I think could use this! I just have to think of a way to make it even more good-looking!
Why not clean up your closet and see what you can upcycle into these market bags?

Practical T-shirt market bag designs that will inspire you to make your own! These bags are perfect for carrying your groceries, or for using as a beach bag. They’re also great for carrying your things when you travel.
Contents
Practical T-shirt market bag designs
Click on any image to start the lightbox display. Use your Esc key to close the lightbox.![]()

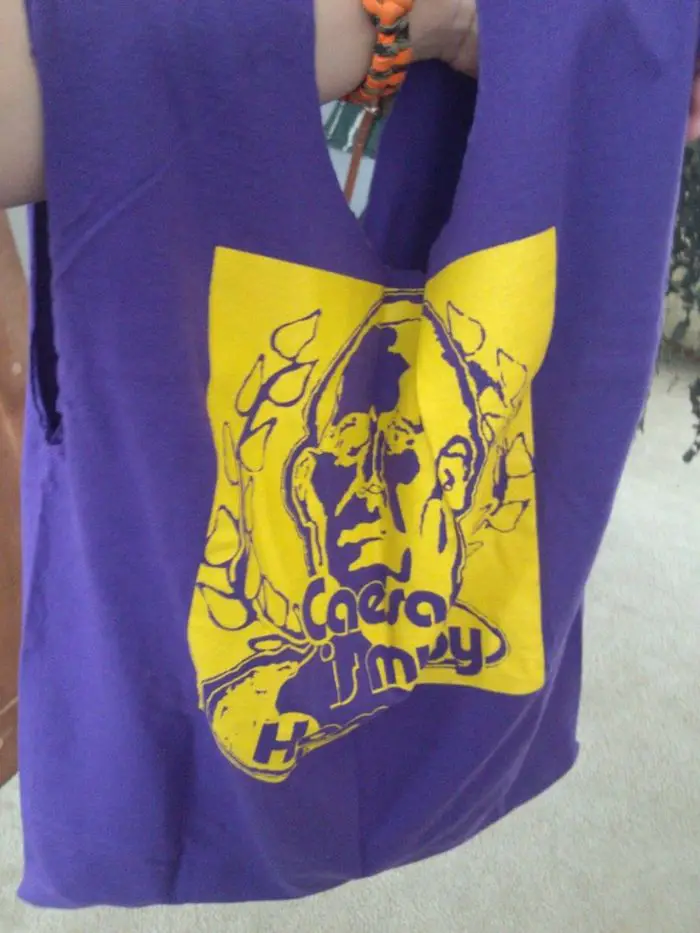
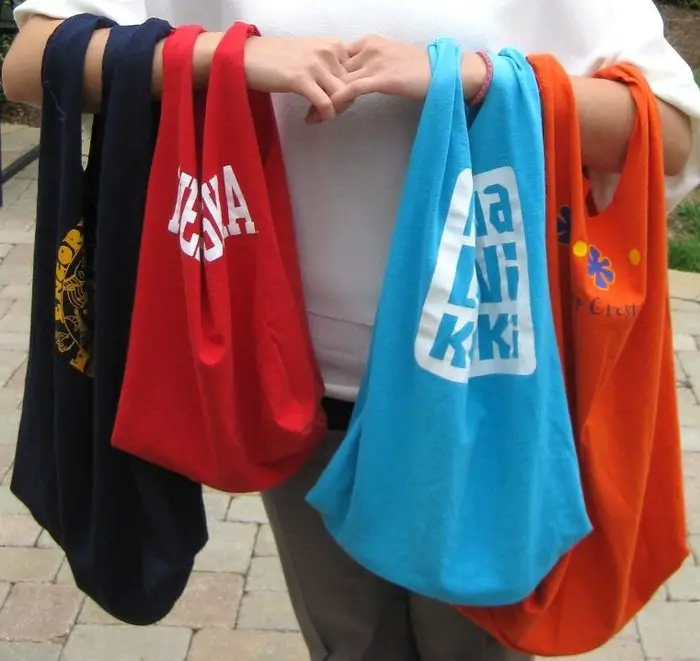

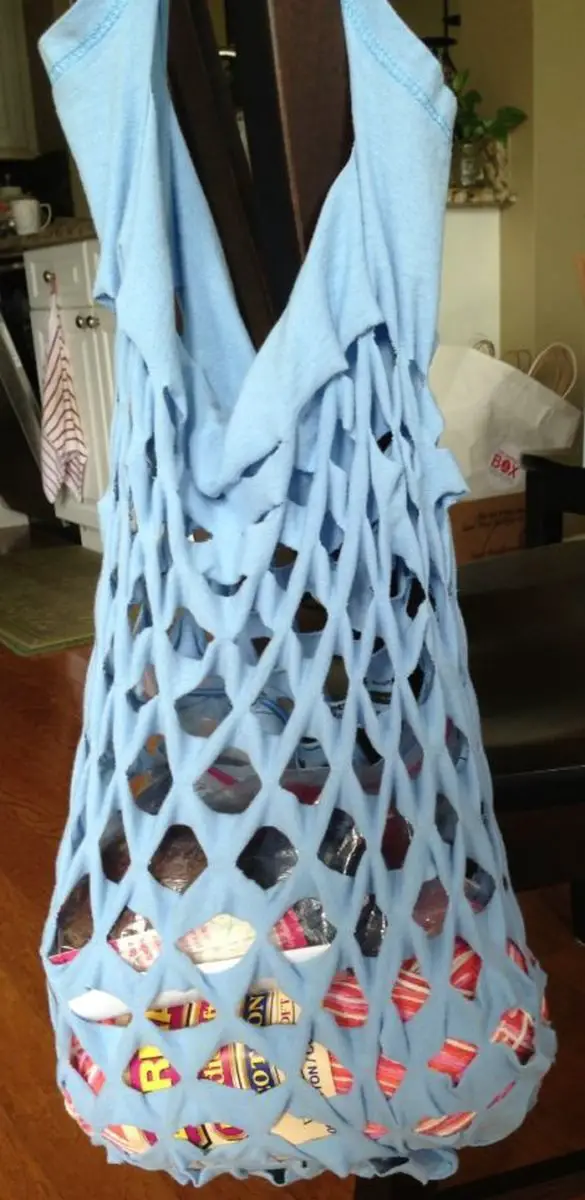
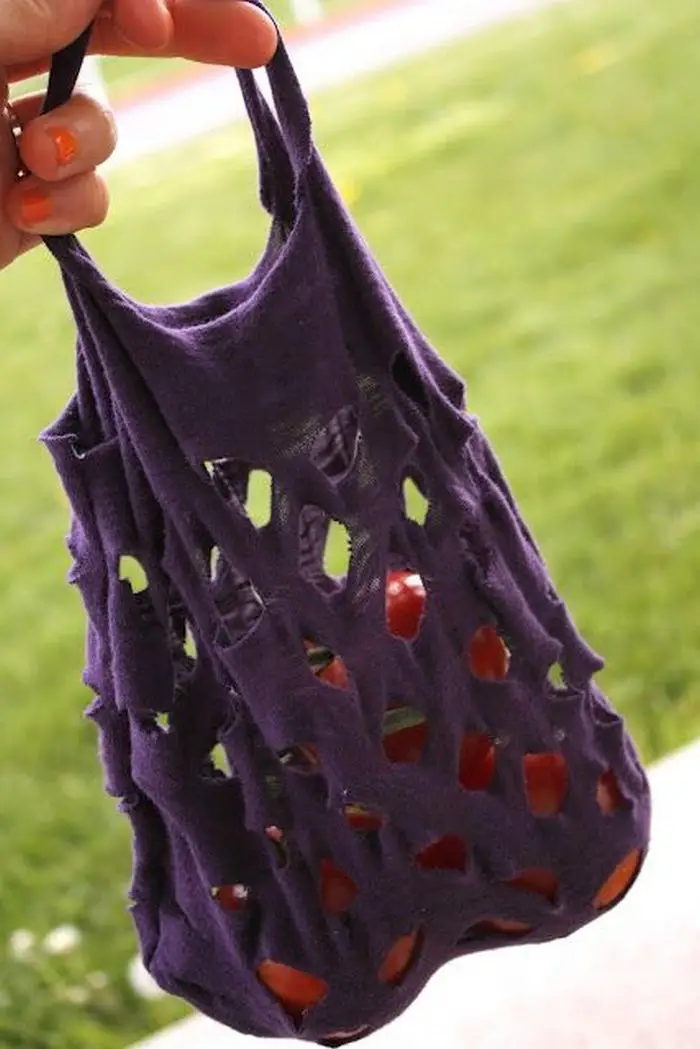
Upcycled t-shirt market bags are great for toting around your farmers market finds, or for using as a beach bag or carry-all. Plus, they’re easy to make and only require a few supplies that you likely already have on hand. Here’s what you’ll need to make your own upcycled t-shirt market bag:
Materials:
- T-shirt (don’t use super light-weight shirts, thick cotton would be nice)
- Cutting Mat
- Pen and Ruler
Tools:
- Sewing Machine
- Scissors
- Rotary Cutter
How to make an upcycled T-shirt market bag
We will be using the hem of the shirt as the top of the bag in this project, so we’ll need to cut away the top of the shirt to become the bottom of the market bag. Sounds a little confusing, but I promise it’s really simple!
1. Prepare the T-shirt
It’s better to wash and dry the shirt before you start – this will help to loosen up the fibers and make them easier to manipulate.
With the shirt right side out (words showing), fold the shirt in half lengthwise.

Note: I plan on using the inside of the shirt as the outside of the bag so that the words are not showing, so my directions reflect that choice. If you want the words to show (though they’ll be hard to read) then just reverse my directions.
2. Cut the T-shirt
Draw an arc and cut off the neck and sleeves (or you could be really wild and crazy and just cut away!)

Want a smaller bag? Sorry no pictures, but easy to do: Instead of cutting on the sleeves and neck away, trace a rectangle that is a little smaller than the size bag you want (because remember, it will stretch).
Have one long edge of the rectangle on the bottom hem and another, shorter edge along one of the folded sides to minimize sewing.
*Don’t throw your cut-off scraps away, you can turn them into a fun dog toy that will keep your furry friend entertained for hours!

3. Start sewing
Here comes the only sewing step — and it’s almost a french seam! Ooh, la la!
Pin the curved part that you just cut and sew it shut using the presser foot as your seam allowance.

Turn the shirt inside out (words on the inside now), and topstitch it down.
Alternate instructions for the smaller bag (sorry no pictures, but easy to do):
You will have one extra edge to sew — the side seam.

Flip the shirt around so that the hem is at the top and measure about 2 – 2.5 inches down from the hem to cut a long slit for the handle.

4. Make a handle
I made my cut about 6 inches at first (in this picture), but then decided that I’d like to be able to carry it on my shoulder, so I lengthened the cut to about 14 inches. You can cut the handle to be as long or short as you want.

5. Add the slits
Here’s where the fun begins.
You can either measure out your cuts or just start making slits in the shirt — this is a very forgiving project. Since I wanted to write instructions, I used a ruler and basically followed these guidelines:
– Start about 4 to 5 inches below the hem, and draw 1.5 to 2-inch lines with about half an inch of space in between the lines.
– Some of mine was right on the edge, so I made them about half the length of a regular line.
– Space the rows 3/4 to an inch apart.
– Try to stagger the lines in each row to make the bag pull apart more easily for a better market bag effect.
You will be cutting through both layers of the bag at once, so you can either use scissors to cut the lines or use a rotary cutter. I found the rotary cutter made it much easier and quicker.

*No brainer, but thought I’d mention it anyway… if you sewed up one of the side seams, make sure you don’t cut thru it!

Streeeeeetch the shirt lengthwise to help the shirt ravel up a bit. If you have time, it’s even better if you wash and dry the bag.
These market bags are perfect for carrying your groceries! They are easy to carry so you won’t have any trouble lugging them around.
Now you’re ready for a trip to the market! Make sure to bring a list of what you need so you don’t forget anything. Have fun!
Thanks to purelily for this great project.
If you liked this project, you might also like to view the Amazing T-shirt Quilt in 7 Steps!

