Last Updated on July 15, 2024 by Team Ideas24
Including individualized décor in your living area gives it a special touch that showcases your taste and originality. One of the easiest, cutest methods to accomplish this is to create a homemade chalk sign. These adaptable signs have many uses, from greeting visitors to showcasing everyday inspirations or commemorating important events. Experienced or inexperienced crafters will find this project to be enjoyable and satisfying.
Read on to know how to make your own DIY chalk sign board.
Contents [show]
Making a DIY Chalk Sign
Creating a DIY chalk sign is a delightful way to personalize your home decor. Chalk signs are versatile and can be used for various purposes, from displaying inspiring quotes to organizing household chores. This guide will walk you through the steps to craft your own charming chalk sign, perfect for any space in your home.
Materials and Tools Needed
To start, gather the following materials and tools:
- Chalkboard: Pre-made or DIY from a piece of wood or other material.
- Chalk or Chalk Markers: White or colored, depending on your design preference.
- Ruler or Measuring Tape: For precise measurements and straight lines.
- Pencil and Eraser: For sketching out your design.
- Stencils (optional): For easy, professional-looking letters and shapes.
- Decorative Elements (optional): Ribbons, frames, or embellishments.
- Spray Sealant or Clear Coat (optional): To preserve your design.
- Cleaning Cloth: To erase any mistakes or clean the board.
Instructions
Step 1: Choose Your Chalkboard
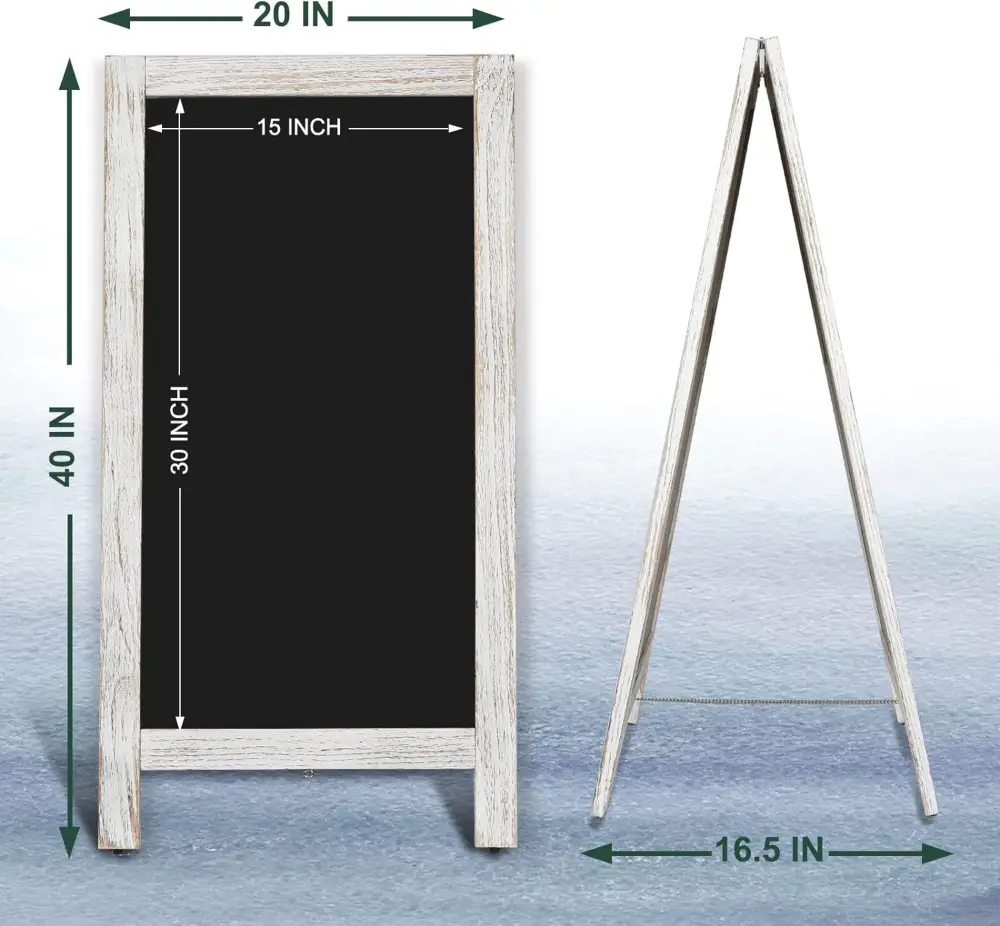
Begin by selecting your chalkboard. You can purchase a ready-made board or create one by painting a piece of wood or another suitable surface with chalkboard paint. Consider the size and shape that will best fit the intended space in your home. If making your own, ensure the surface is smooth and well-painted for the best writing results.
Step 2: Prepare Your Work Area
Set up a clean, well-lit workspace. Cover your work surface with newspaper or a drop cloth to protect it from chalk dust and any potential spills. Gather all your materials within reach, and ensure you have enough space to work comfortably.
Step 3: Design Your Chalk Sign
Before you start with chalk, sketch your design on paper. Decide on the message, layout, and any decorative elements you want to include. If you’re unsure about freehand drawing, use stencils to create consistent letters and shapes. Plan the placement of text and images to ensure everything fits well.
Step 4: Create Your Chalk Sign
Transfer your design to the chalkboard using a pencil. Lightly draw the outlines of your text and any decorative elements. This step helps guide you as you apply chalk. Then, follow these instructions:
- For Chalk: Hold the chalk at an angle to create bold lines. Start with larger shapes and letters, then fill in details.
- For Chalk Markers: Shake the marker well and test on a piece of scrap paper. Use smooth, steady strokes to apply your design.
- For Stencils: Position the stencil on the board and hold it securely. Fill in the stencil with chalk or a marker, and carefully lift it away.
Step 5: Fix Mistakes and Enhance Your Design
If you make a mistake, don’t worry. Use a damp cloth to gently erase errors and allow the area to dry before reapplying chalk. You can also add details like shading or extra color to enhance your design. Chalk markers are particularly good for vibrant, detailed work.
Step 6: Seal and Preserve Your Chalk Sign
To keep your design intact, especially if you want a permanent look, consider sealing your chalk sign. Use a spray sealant or clear coat, following the manufacturer’s instructions. For a temporary sign, skip this step so you can easily erase and update the design as needed.
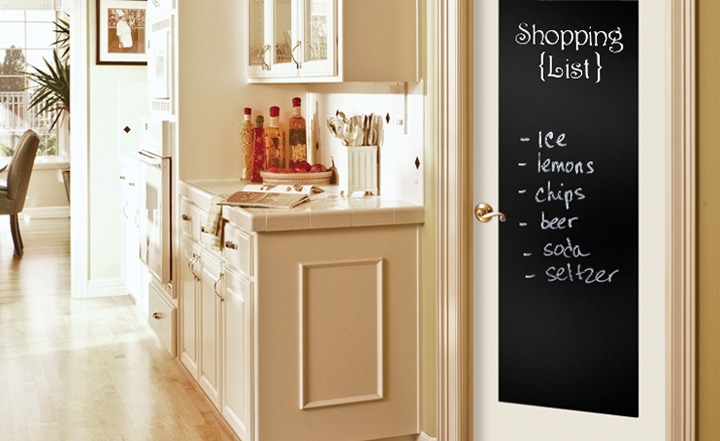
Step 7: Display Your DIY Chalk Sign
Find the perfect spot to showcase your chalk sign. Common display ideas include:
- Hanging: Use picture hooks, adhesive strips, or nails to hang your sign on the wall.
- Standing: Place your sign on a shelf, mantle, or easel.
Framing: Add a decorative frame to give your sign a polished look.
Choosing Your Chalkboard
Making a DIY chalk sign starts with choosing the correct chalkboard. As your canvas, the chalkboard should match your style and the place where you’ll show it. You can buy a blackboard or make one yourself. This section will help you choose or make the perfect chalkboard.
Types of Chalkboards
You can choose from many chalkboards. Popular DIY chalkboard options:
- Wood Chalkboards: Wooden chalk boards are the classic and sturdykind. You can buy pre-made wooden chalkboards or convert an old piece of wood into boards.
- Metal Chalkboards: Metal boards offer a sleek, modern look. Metal surfaces are easy to clean and can be magnetic. They add extra functionality to your DIY chalkboard.
- Framed Chalkboards: Framed boards are available in various styles and add a decorative touch. You can find frames in antique, rustic, or contemporary designs to complement your decor.
- Chalkboard Paper or Stickers: Ideal for temporary projects, chalkboard paper or stickers can be applied to walls or other flat surfaces to create a quick DIY chalkboard.
Each type has its own benefits, so consider how you’ll use your DIY chalkboard and where it will be displayed before making a decision.
Sizing Considerations
The size of your DIY chalkboard is another important factor. Here’s what to think about:
- Space Available: Measure the area where you plan to hang or place your chalkboard. This ensures it fits well without overpowering the space or looking too small.
- Intended Use: If your DIY chalkboard is for writing daily messages or lists, a smaller size might be sufficient. For larger, more detailed designs or quotes, opt for a bigger board.
- Portability: Consider whether you need to move your chalkboard around. Smaller boards are easier to handle and reposition, while larger ones might be better suited for a permanent display.
Balancing these considerations will help you choose a DIY chalkboard that perfectly fits your needs.
DIY Chalkboard Creation
Creating your own DIY chalkboard is a rewarding option if you enjoy hands-on projects. Here’s a simple way to make a DIY chalkboard from scratch:
- Select a Base Material: Choose a piece of wood, metal, or another smooth surface. Ensure it’s clean and free of dust or debris.
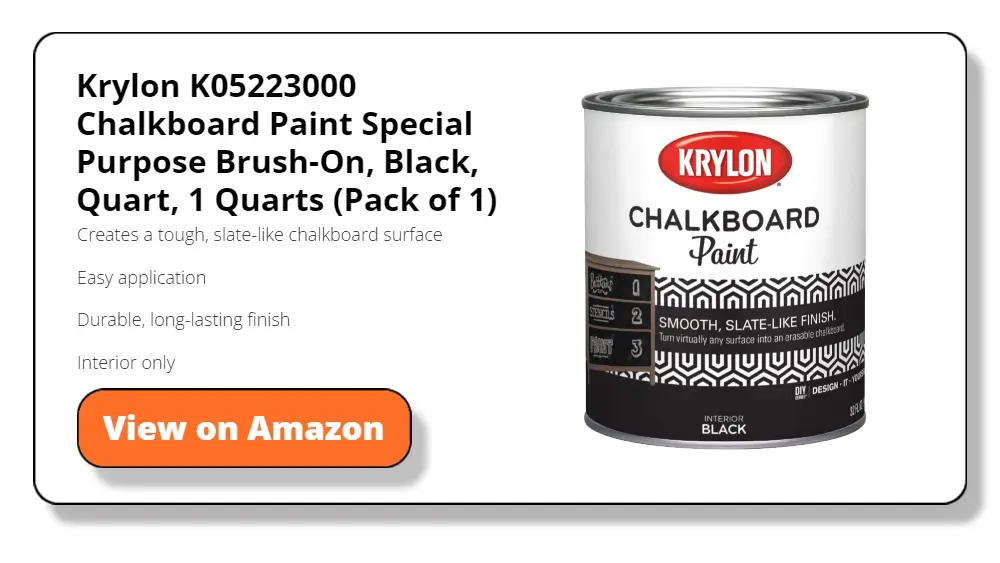
- Apply Chalkboard Paint: Purchase chalkboard paint from a craft store. Apply several coats to your base material, allowing each coat to dry thoroughly. This will transform your surface into a usable DIY chalkboard.
- Customize Your Chalkboard: Once the paint is dry, you can add a frame, hooks, or other decorative elements to make your DIY chalk sign unique.
Making a DIY chalk sign allows you to customize its size, shape, and finish to perfectly match your vision.
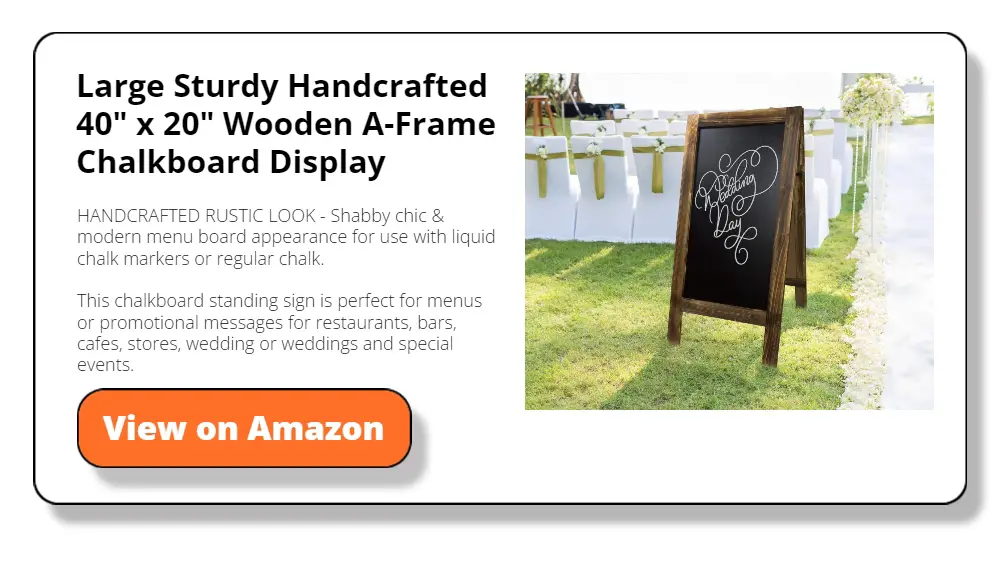
Where to Purchase a Chalkboard
If you prefer a quicker option, you can find a variety of chalkboards available for purchase. Here are some places to look for your DIY chalk sign:
- Craft Stores: Retailers like Michaels or Hobby Lobby often carry a range of chalkboards in different sizes and styles.
- Home Improvement Stores: Stores like Home Depot or Lowe’s offer materials for making your own DIY chalkboard, including wood and chalkboard paint.
- Online Marketplaces: Websites such as Amazon or Etsy have extensive selections of ready-made chalkboards and DIY chalkboard supplies.
With so many options, finding the perfect chalkboard for your project is easy and convenient.
The basis of any DIY chalk sign project is the chalkboard you choose. The secret is to choose a whiteboard that fits your size, style, and practical requirements whether you purchase one already created or make one yourself. Take your time looking over the possibilities and choose the ideal chalkboard to realize your artistic idea.
Sealing and Preserving Your Chalk Sign
After putting time and creativity into making your DIY chalk sign, you’ll want to ensure it stays beautiful and intact. Sealing your chalk sign helps preserve your design, especially if you want a long-lasting or permanent display.
This section will guide you through the different methods to protect your DIY chalk sign, ensuring it remains a cherished piece of decor in your home.
Why Seal Your Chalk Sign?
Sealing your DIY chalk sign has several benefits. It prevents smudging and fading, keeping your artwork or messages crisp and clear. This is particularly important if your sign is in a high-traffic area or subject to frequent handling. A sealed chalk sign is also easier to clean and maintain, as the protective layer guards against dust and moisture. Additionally, if you use chalk markers, sealing your DIY chalk sign will keep the colors vibrant and prevent them from rubbing off over time.
Choosing the Right Sealant
Selecting the appropriate sealant for your DIY chalk sign depends on your desired finish and how you plan to use the sign. Here are some common options:
- Spray Sealant: Spray sealants are convenient and provide an even, clear coat over your chalk sign. Look for matte or satin finishes to maintain the classic chalkboard look. Brands like Krylon or Rust-Oleum offer excellent options.
- Clear Acrylic Coating: This type of sealant comes in spray or brush-on forms and is ideal for both temporary and permanent designs. It provides a durable, protective layer without altering the appearance of your DIY chalk sign.
- Mod Podge: A popular choice for crafters, Mod Podge can be used as a sealant for your DIY chalk sign. It’s available in various finishes, including matte and glossy, allowing you to customize the look of your sign.
Consider the level of protection you need and the finish you prefer when choosing a sealant for your DIY chalk sign.

How to Apply Sealant
Applying sealant to your DIY chalk sign is a straightforward process, but it requires careful attention to detail to ensure a smooth, even coat. Follow these steps to seal your chalk sign effectively:
- Clean the Surface: Before sealing, make sure your DIY chalk sign is free of dust and chalk residue. Gently wipe it with a soft, dry cloth to remove any particles that could interfere with the sealant.
- Protect Surrounding Areas: If using a spray sealant, cover your work surface and nearby objects with newspaper or a drop cloth. This prevents overspray from damaging other surfaces.
- Apply in Light Coats: For spray sealants, hold the can about 12 inches from the surface and apply light, even coats. Allow each coat to dry thoroughly before applying the next. If using a brush-on sealant, use smooth, even strokes to cover the entire surface.
- Dry Completely: After applying the final coat, let your DIY chalk sign dry completely. This ensures the sealant cures properly and provides maximum protection.
Proper sealing will enhance the durability and longevity of your DIY chalk sign, making it a lasting piece of your home decor.
Temporary vs. Permanent Sealing
Decide whether you want your DIY chalk sign to be erasable for future updates or permanently fixed. For a temporary sign, apply a light coat of sealant that can be easily removed or cleaned off when you’re ready for a new design. For a permanent sign, use multiple coats of a durable sealant to lock in your artwork indefinitely. This flexibility allows you to customize the preservation of your DIY chalk sign according to your needs.
Maintaining Your Chalk Sign
Even after sealing, it’s important to maintain your DIY chalk sign to keep it looking its best. Regularly dust the surface with a soft cloth to remove any buildup. If your sign is in a humid area, consider placing it in a more controlled environment to prevent moisture from affecting the sealant. With proper care, your DIY chalk sign will continue to brighten your home for years to come.
Sealing and preserving your DIY chalk sign is the final step in ensuring your creative efforts are protected and admired over time. Whether you opt for a temporary or permanent finish, taking these steps will help your chalk sign maintain its charm and functionality in your home.
Fixing Mistakes and Enhancing Your Design
Creating a DIY chalk sign is a fun and creative process, but mistakes can happen, and sometimes you might want to improve your design. The good news is that chalk is forgiving, and there are many ways to fix errors and add enhancements to your sign. This section will guide you through correcting common mistakes and providing tips to take your DIY chalk sign to the next level.
Erasing and Redoing Parts of Your Design
Mistakes are part of the creative process, and with a DIY chalk sign, they’re easy to fix. Here’s how to correct errors without starting over:
- Dry Cloth or Eraser: For small errors, gently rub the area with a dry cloth or a soft eraser. This works well for minor smudges or uneven lines.
- Damp Cloth or Cotton Swab: For larger mistakes, use a slightly damp cloth or cotton swab. Lightly dab the error to lift the chalk without soaking the surface. Be sure to let the area dry completely before redrawing.
- Chalkboard Cleaner: If you’re using chalk markers, a specialized chalkboard cleaner can help remove stubborn marks. Apply the cleaner with a cloth and wipe away the mistake. Follow up with a dry cloth to remove any residue.
Taking your time to carefully erase and correct mistakes will ensure your DIY chalk sign looks clean and professional.
Using Chalk Markers vs. Traditional Chalk
Choosing between chalk markers and traditional chalk depends on the look and durability you want for your DIY chalk sign. Each has its pros and cons:
- Chalk Markers: These provide bold, vibrant colors and precise lines, making them ideal for detailed work. They are also less likely to smudge once dry. However, they can be harder to remove, so consider them for more permanent or semi-permanent designs.
- Traditional Chalk: Offers a classic, textured appearance and is easily erasable. It’s perfect for temporary designs or if you enjoy frequently changing your DIY chalk sign. Chalk allows for softer lines and shading, giving a rustic or casual feel.
Mixing both types can add depth and variety to your DIY chalk sign, allowing for creative combinations of textures and colors.
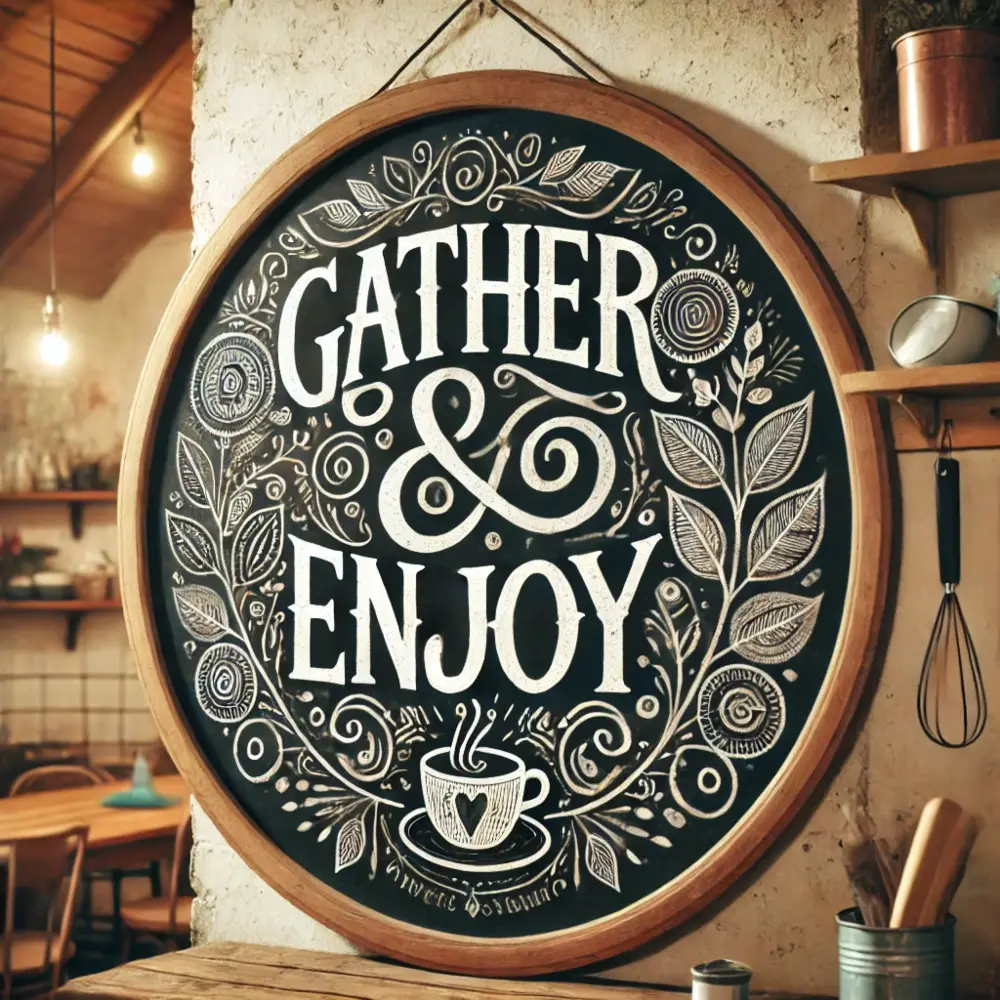
Adding Decorative Elements
Enhancing your DIY chalk sign with decorative elements can make it stand out and align with your home decor. Consider these ideas to embellish your sign:
- Borders and Frames: Draw decorative borders to frame your design. Use stencils for intricate patterns or freehand simple lines and shapes. Adding a physical frame can also elevate the look of your chalk sign.
- Color and Shading: Use colored chalk or chalk markers to add pops of color and dimension. Experiment with shading techniques to create depth and highlight key parts of your design.
- Drawings and Graphics: Incorporate small drawings, icons, or doodles that complement your message. These elements can add a playful or artistic touch to your DIY chalk sign.
Adding these enhancements not only makes your sign more visually appealing but also reflects your personal style and creativity.
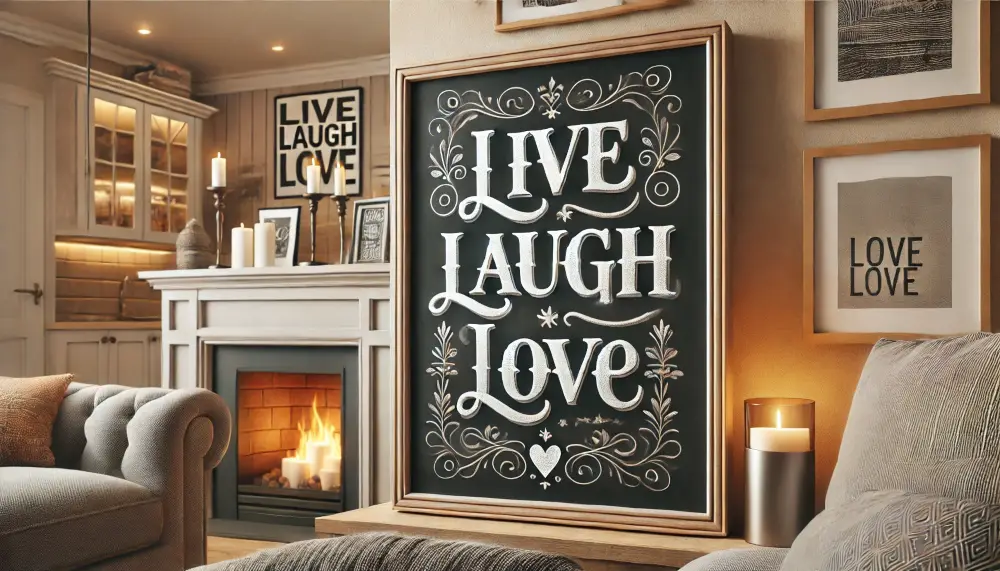
Perfecting Your Handwriting and Lettering
Good handwriting and lettering can transform your DIY chalk sign into a professional-looking piece. Here’s how to refine your technique:
- Practice on Paper: Before committing to the chalkboard, practice your design and lettering on paper. This helps you plan spacing and get comfortable with the shapes.
- Use Guidelines: Lightly draw horizontal lines on your chalkboard with a ruler to keep your letters straight and evenly spaced. Erase the lines after you finish.
- Vary Letter Styles: Mix different fonts and sizes to add interest. For example, combine cursive with block letters or bold with thin styles. This variety makes your DIY chalk sign more dynamic.
Taking the time to perfect your lettering can make a significant difference in the overall appearance of your chalk sign.

Final Touches for a Polished Look
After fixing mistakes and enhancing your design, give your DIY chalk sign a final review. Here are some finishing touches to ensure it looks polished:
- Clean Edges: Use a cloth or eraser to clean up the edges of your design. Sharp, clean lines give a neat and professional finish.
- Balance and Alignment: Step back and view your chalk sign from a distance. Check for balance and alignment, adjusting any areas that look off-center or uneven.
- Seal Your Work: If you’re happy with your design and want it to last, consider sealing your DIY chalk sign. A spray sealant or clear coat can protect your artwork from smudging and fading.
By paying attention to these details, you’ll create a DIY chalk sign that is not only beautiful but also showcases your artistic skills.
Fixing mistakes and adding enhancements are key steps in making your DIY chalk sign truly unique. With patience and creativity, you can turn any error into an opportunity for improvement and transform your chalk sign into a stunning piece of home decor.
Conclusion
Creating a DIY chalk sign is a fun and rewarding way to add a personal touch to your home. With just a few materials and some creativity, you can craft a beautiful and versatile piece of decor. Enjoy experimenting with different designs and techniques to make each sign uniquely yours.