
Are you thrilled about your upcoming adventure? Whether it’s a weekend escape or a month-long journey, having the right travel accessories can greatly enhance your experience. Discover some fantastic DIY travel accessory ideas to make your trip even better.
The best part? You can make these travel essentials yourself! Embarking on a journey opens up a world of thrilling and fulfilling adventures, yet the process of planning for a trip can often be overwhelming.
Having the right travel accessories can make a huge difference. Imagine if you could create these accessories yourself! With some creative DIY travel accessory ideas, you can make your trips smoother and more enjoyable.
Customizing your travel accessory is not only enjoyable but also an economical approach to ensure your belongings are unique and express your personal flair.
Let’s make some simple and creative DIY travel accessory ideas to make your journeys more comfortable and organized.
Contents [show]
Why DIY Travel Accessory Ideas?
When you’re on the go, convenience is key. Store-bought travel accessories can be pricey, and they don’t always meet your specific needs.
Designing your own travel accessories can be a game-changer for any adventurer. It gives you the freedom to customize items to your exact needs, ensuring each trip is as comfortable and enjoyable as possible.
Explore these DIY travel accessory ideas to enhance your travel experience. Plus, crafting your DIY travel accessory ideas adds a personal touch that store-bought products lack.
DIY Travel Pillow
A travel pillow is a must-have for anyone setting out on a long trip, whether you’re flying, taking a bus, or driving. It offers crucial neck and head support, making those extended hours on the road much more comfortable.
When thinking about DIY travel accessory ideas, crafting your own travel pillow can add a personal touch and ensure maximum comfort on your journeys.

If you’re interested in crafting your own personalized travel pillow, here’s an easy and cost-effective DIY travel accessory idea you can try.
Materials:
- Fabric (soft and comfortable, like fleece or cotton)
- Scissors
- Needle and thread or a sewing machine
- Stuffing (polyester fiberfill works great)
Instructions:
- Cut the Fabric: Begin by selecting a fabric that is soft and comfortable. Fleece or cotton are excellent choices. Cut the fabric into two identical U-shaped pieces. The size can vary based on your preference, but a standard travel pillow is usually about 14 inches wide and 18 inches long.
- Sew the Edges: Place the two pieces of fabric together with the right sides facing each other. Sew around the edges, leaving a small opening of about 3-4 inches on one side. This opening will be used to turn the pillow inside out and to insert the stuffing.
- Turn the Pillow Inside Out: Carefully turn the pillow inside out through the small opening. This will hide the seams and give your pillow a smooth finish.
- Stuff the Pillow: Fill the pillow with stuffing until it reaches your desired level of fluffiness. Polyester fiberfill is a great option as it is soft and easy to work with. Be sure to distribute the stuffing evenly to avoid lumps.
- Sew the Opening Closed: Once the pillow is stuffed to your liking, sew the small opening closed with a needle and thread. Make sure the stitches are tight and secure to keep the stuffing inside.
Your DIY travel pillow is now ready to accompany you on your journeys. It’s not only practical but also adds a touch of personal comfort to your travels.
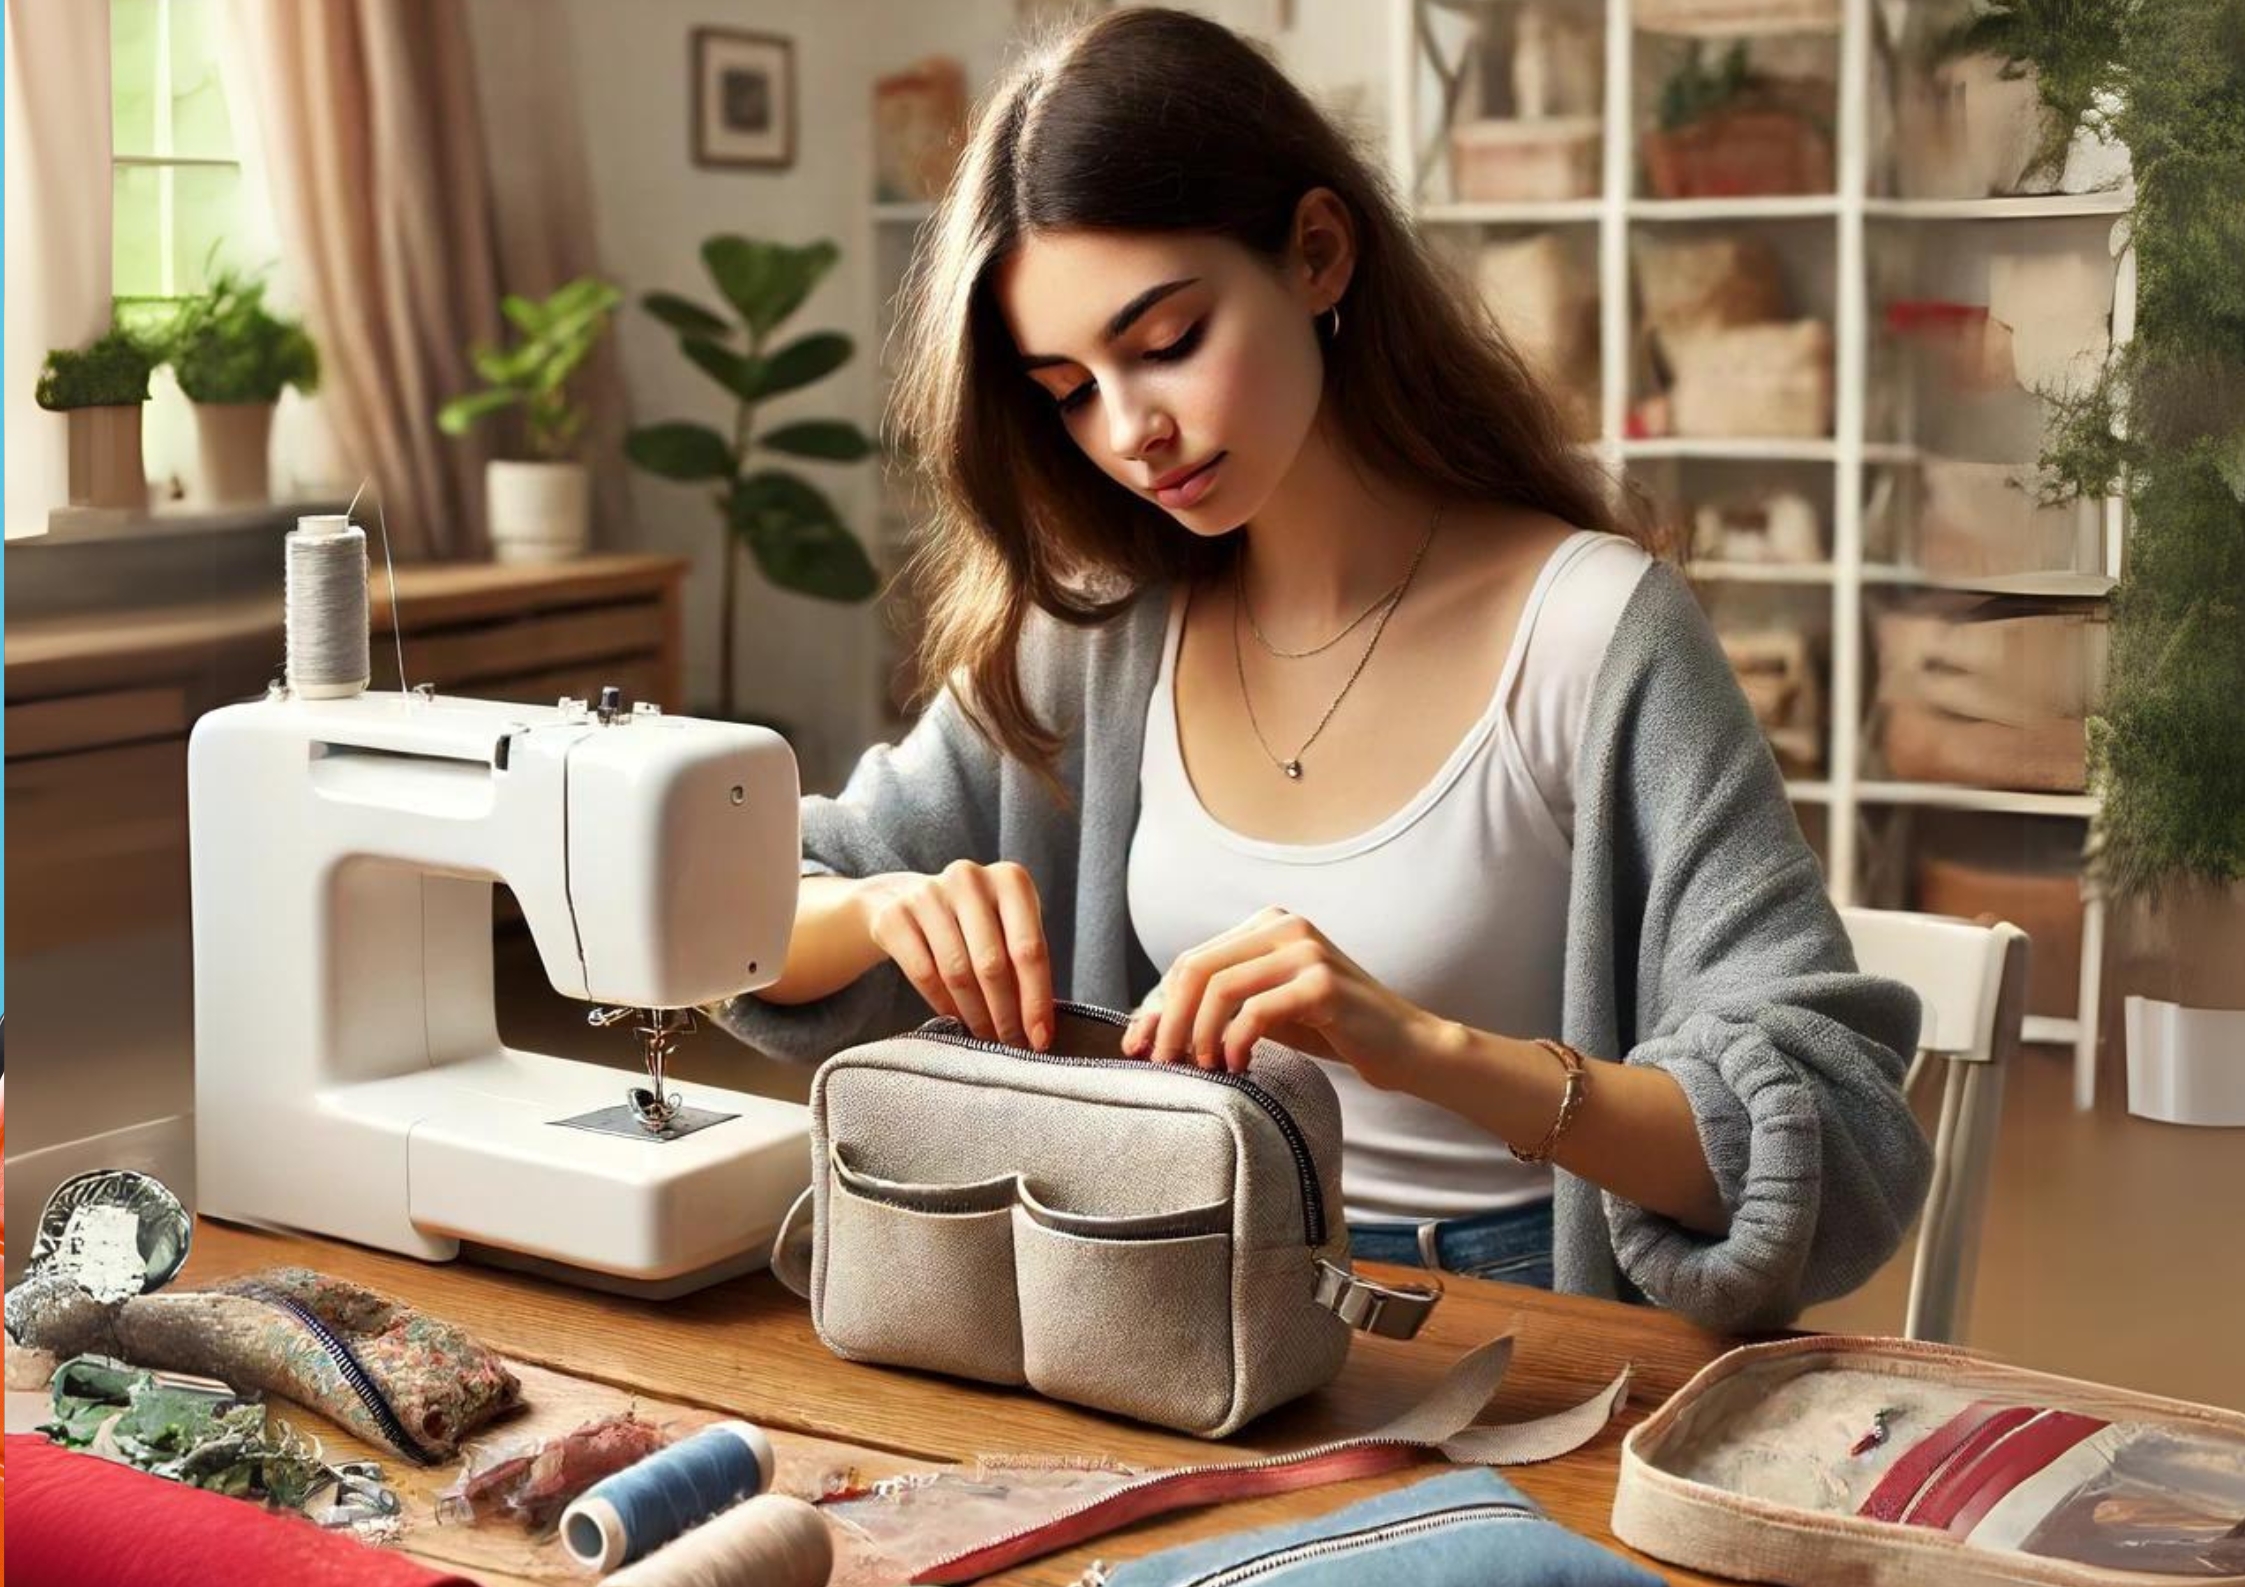
DIY Travel Toiletry Bag
Organizing your toiletries can be a hassle, but crafting your own DIY travel toiletry bag is the perfect solution. Explore more DIY travel accessory ideas to make your trips smoother and more enjoyable.
Materials:
- Waterproof fabric (like vinyl or oilcloth)
- Zipper
- Scissors
- Needle and thread or a sewing machine
Instructions:
- Choose the Fabric: Select a waterproof fabric such as vinyl or oilcloth. These materials are ideal because they prevent leaks and spills from damaging your other belongings. Cut two rectangles from the fabric, each measuring about 12 inches by 8 inches for a medium-sized toiletry bag.
- Attach the Zipper: Place the zipper face down along the top edge of one piece of fabric. Sew the zipper in place using a sewing machine or a needle and thread. Repeat this step with the other piece of fabric, ensuring that the zipper is aligned properly.
- Sew the Sides and Bottom: Once the zipper is attached, open it halfway to ensure you can turn the bag inside out later. Sew the sides and bottom of the bag together with the right sides facing each other. This will create the main compartment of the toiletry bag.
- Turn the Bag Inside Out: Carefully turn the bag inside out through the zipper opening. This will hide the seams and give the bag a clean finish.
- Add Final Touches: If desired, you can add a small loop of fabric to one side of the bag for easy carrying or hanging.
Your DIY travel toiletry bag is now ready to use. It’s practical, waterproof, and perfect for keeping your toiletries organized and accessible during your travels.
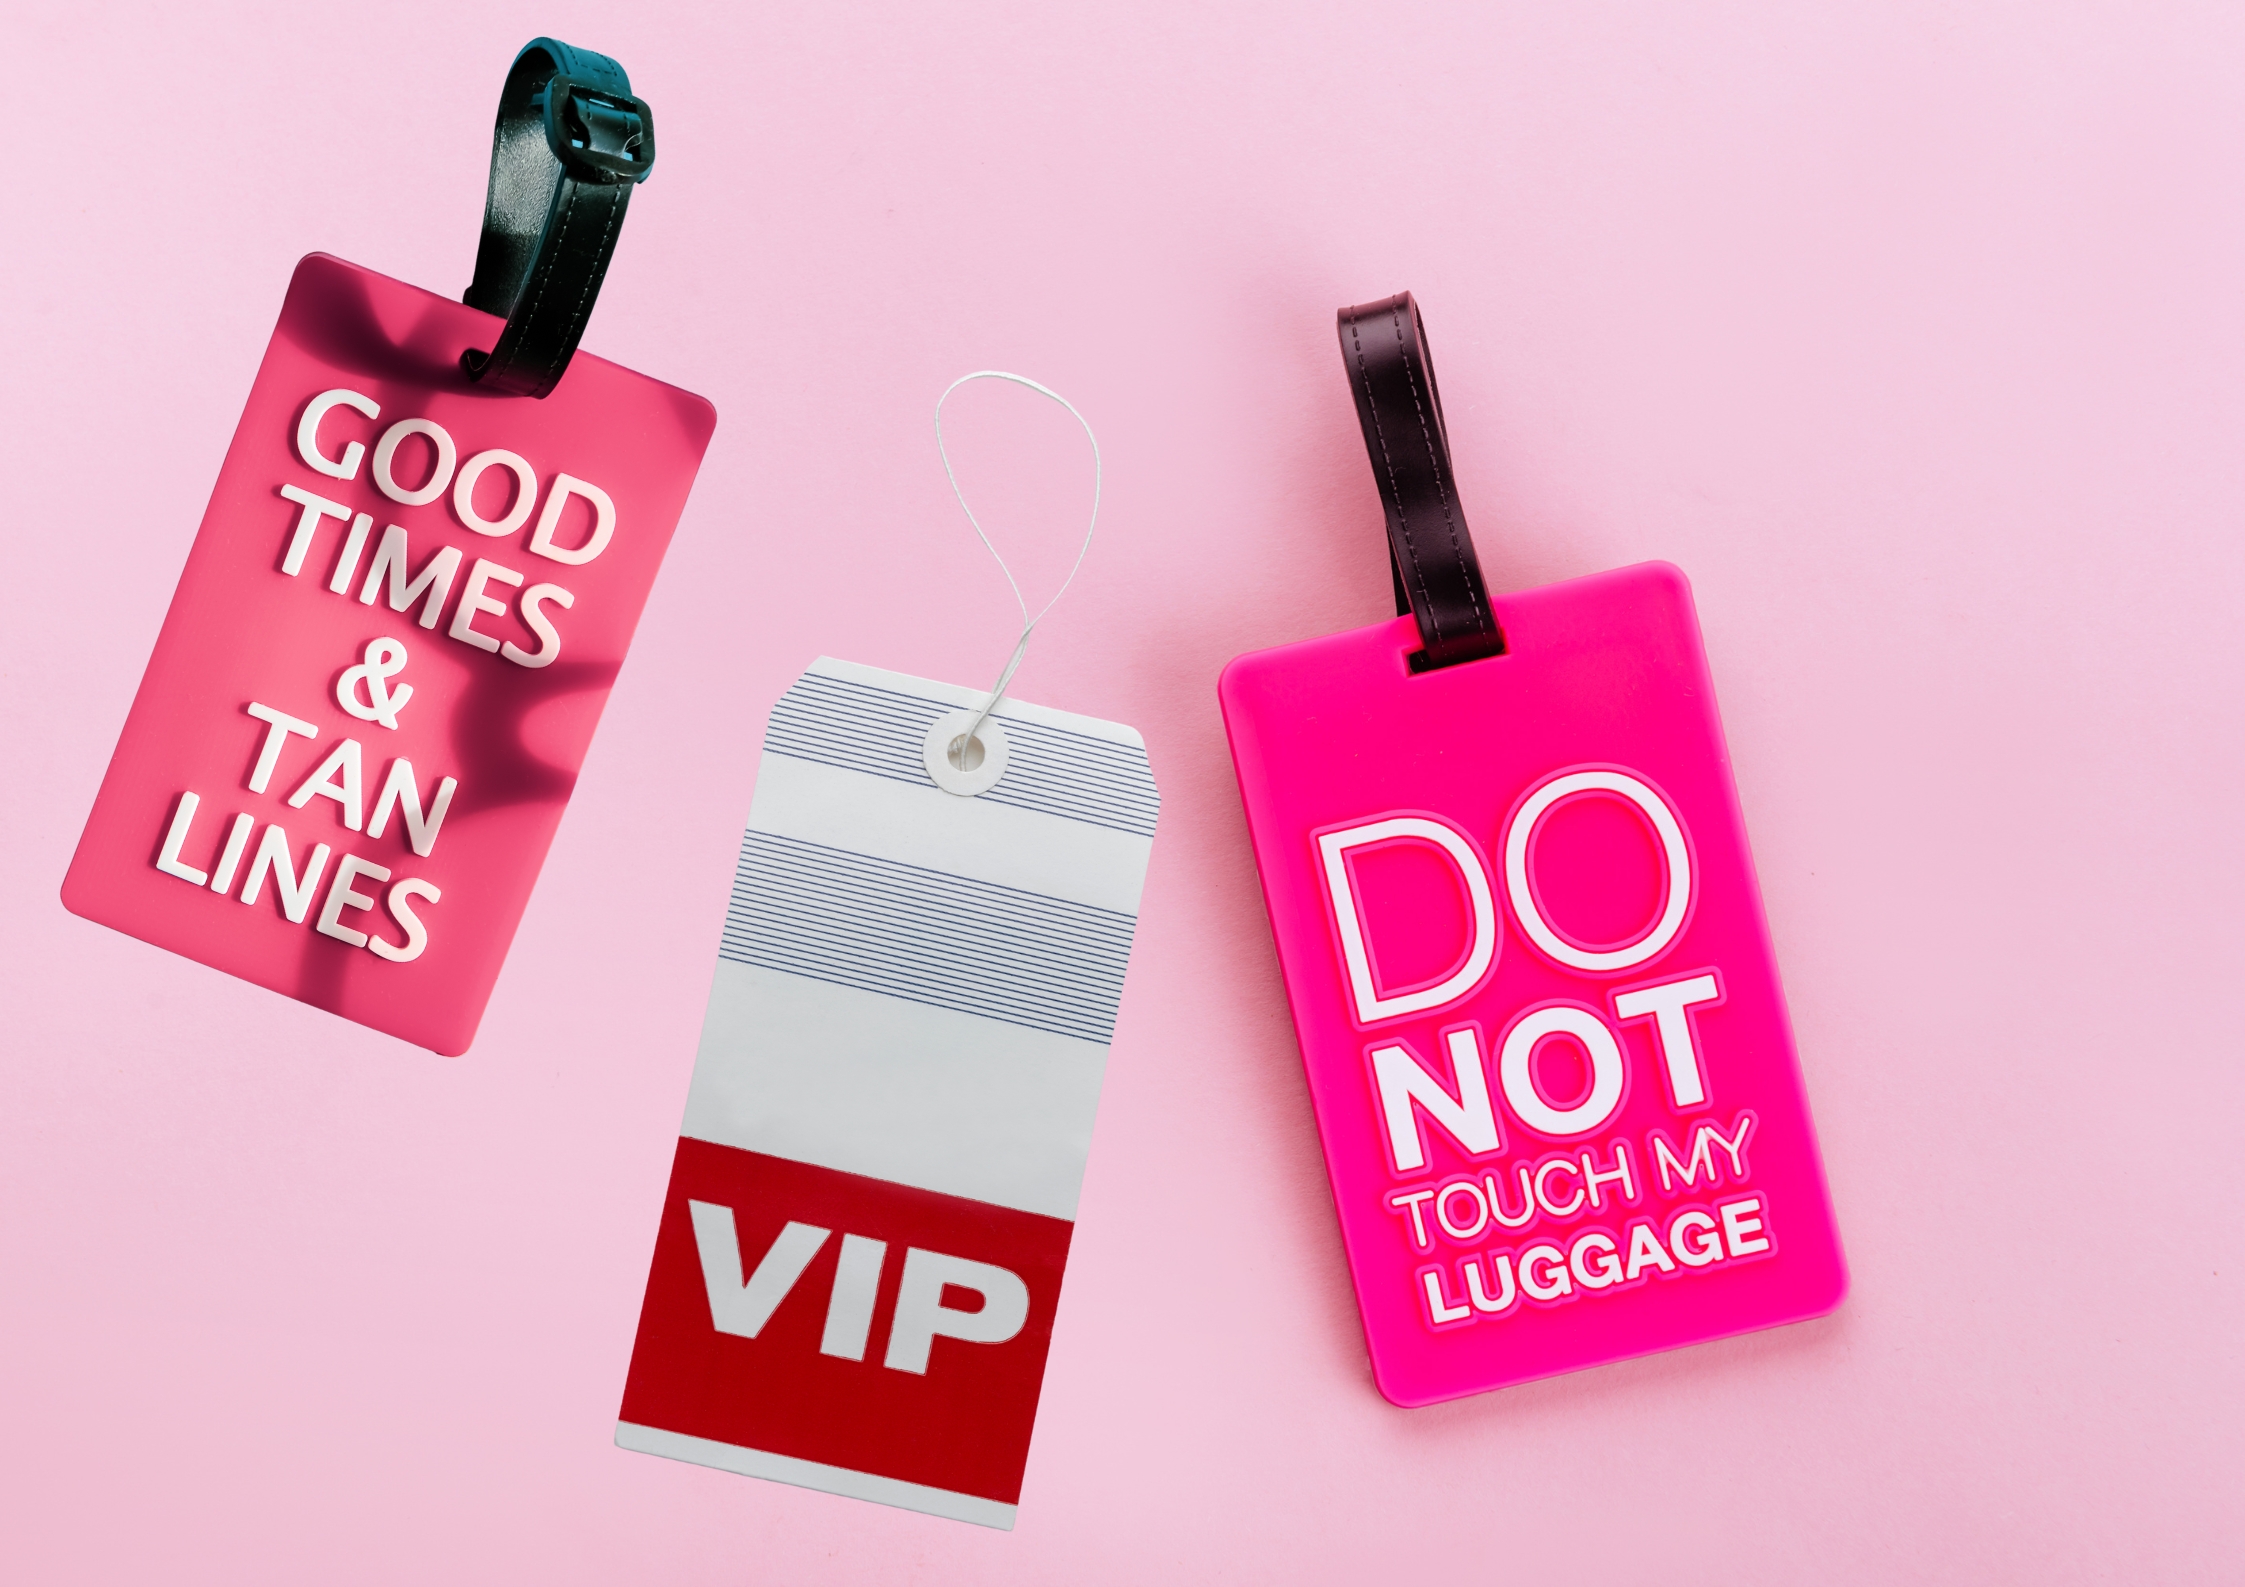
DIY Luggage Tags
Creating personalized luggage tags is one of those fantastic DIY travel accessory ideas that combines practicality with a personal touch. Customizing your tags with your name, initials, or a fun design makes it easy to spot your bags among the countless others at the airport. This not only helps prevent mix-ups but also ensures your luggage is easily identifiable if it gets lost or misplaced during your travels.
Additionally, creating personalized luggage tags is a great way to reflect your unique style and preferences. Whether you choose a classic monogram, a vibrant pattern, or a fun quote, your luggage tags can highlight your personality and make a statement about who you are.
These simple DIY travel accessory ideas can set your bags apart from others and showcase your individuality as a traveler.
Materials:
- Sturdy cardboard or plastic
- Decorative paper or fabric
- Clear plastic (from old packaging)
- Ribbon or string
- Glue
- Scissors
- Permanent marker
Instructions:
- Prepare the Base: Cut the cardboard or plastic into tag shapes. A standard luggage tag is about 2.5 inches by 4 inches. Ensure the material is sturdy enough to withstand the wear and tear of travel.
- Decorate the Tags: Cover one side of the tags with decorative paper or fabric. Use glue to secure the decoration, ensuring it is firmly attached. This is where you can get creative and add your personal touch.
- Add Contact Information: On the other side of the tag, write your contact information using a permanent marker. Include your name, phone number, and email address. This information will help someone return your luggage if it gets lost.
- Protect the Information: Cut a piece of clear plastic slightly larger than the tag. Glue this plastic over the side with your contact information. This will protect the information from getting smudged or damaged.
- Attach the Ribbon or String: Punch a hole at the top of the tag. Thread a ribbon or string through the hole and tie it securely. This will allow you to attach the tag to your luggage.
With these personalized luggage tags, you can easily identify your bags on the carousel and travel with peace of mind, knowing your contact information is secure.
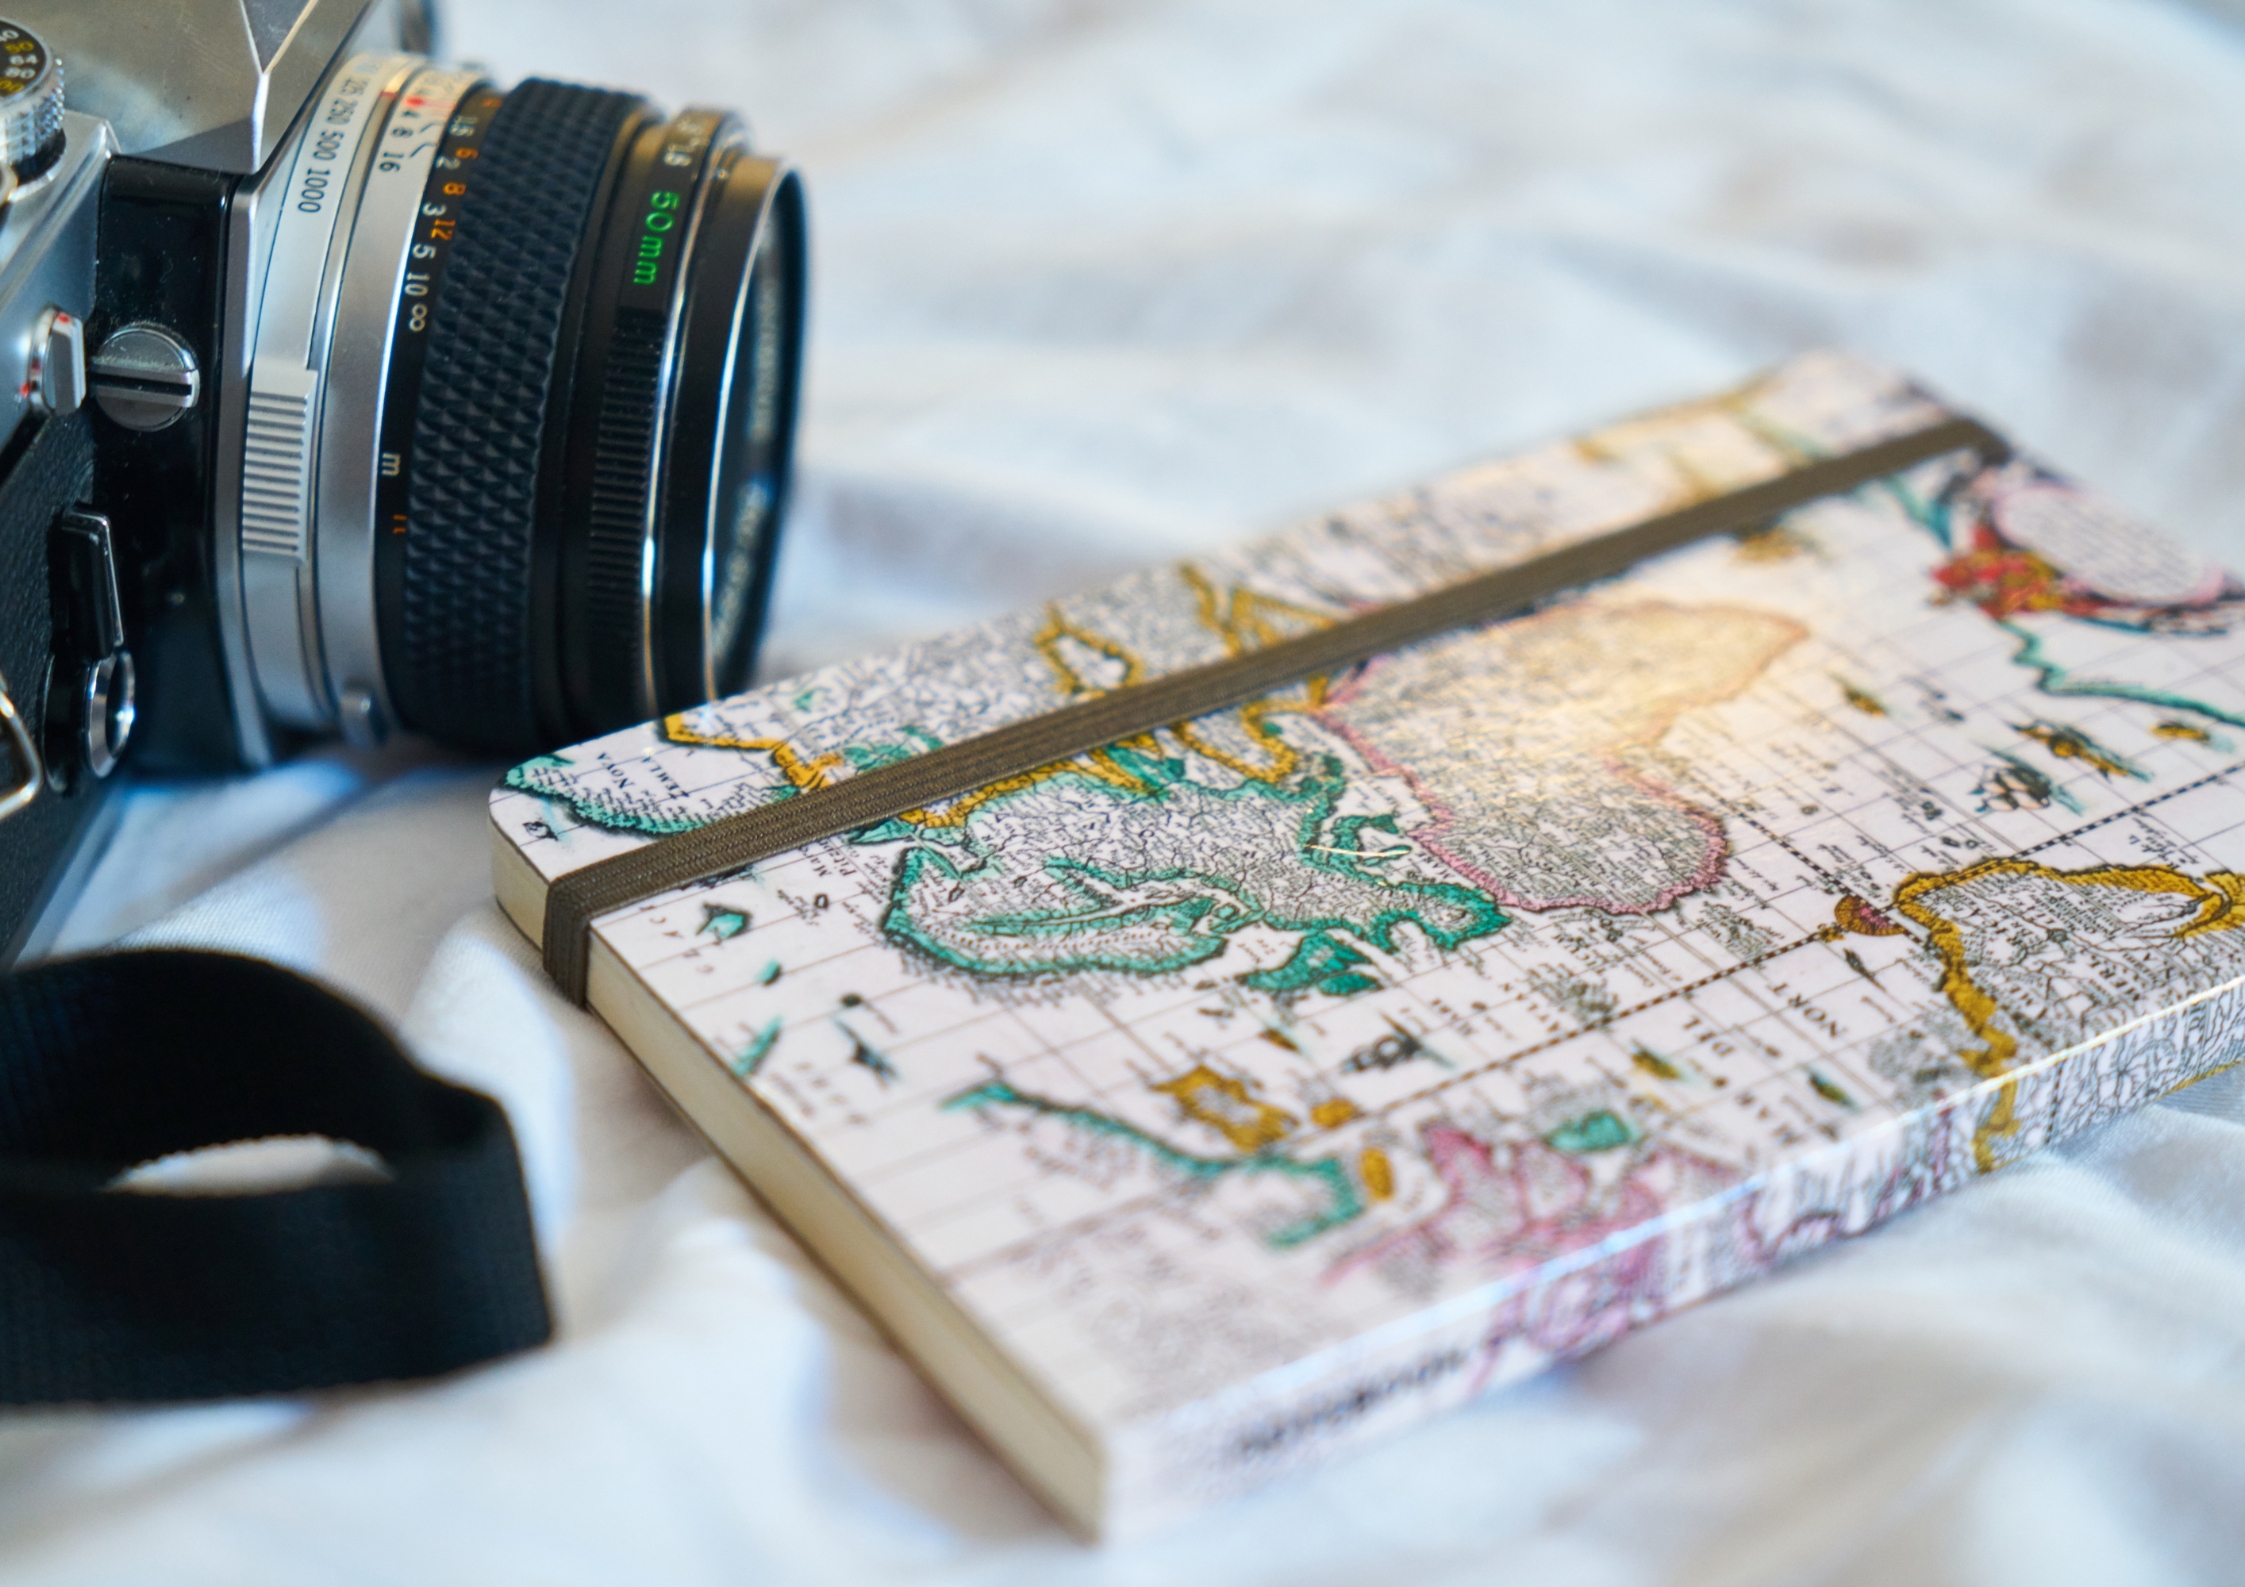
DIY Travel Journal
A travel journal is one of the essential DIY travel accessory ideas and a wonderful way to document your adventures. Here’s how to make one that’s truly your own.
Materials:
- Blank notebook
- Decorative paper, stickers, and photos
- Glue
- Markers or pens
Instructions:
- Select a Notebook: Choose a blank notebook that is the right size for carrying in your bag. A notebook with a sturdy cover is best to withstand travel conditions.
- Decorate the Cover: Personalize the cover with decorative paper, stickers, or photos. Use glue to attach these decorations firmly. This is your chance to make the journal reflect your personality and travel style.
- Add Pockets and Envelopes: Inside the notebook, add pockets or envelopes to store tickets, postcards, and other mementos. You can use pre-made pockets or create your own from paper or fabric. Glue them onto the pages in strategic spots.
- Create Fun Headers and Borders: Use markers or pens to create fun headers and borders on the pages. You can design sections for different types of entries, such as daily logs, memorable moments, and sketches.
- Include Prompts and Quotes: To inspire your writing, include prompts and travel-related quotes throughout the journal. These can be handwritten or printed and glued onto the pages.
Your DIY travel journal is now ready to accompany you on your adventures. It’s a special place to record your thoughts, experiences, and memories, making your travels even more meaningful.
DIY Packing Cubes
DIY Travel accessory ideas like packing cubes help keep your suitcase organized, making it easy to find what you need. These DIY packing cubes can transform your packing experience by ensuring everything has its place, making your travels more convenient and stress-free. Remember, incorporating this DIY travel accessory ideas into your packing routine can significantly improve your travel organization.
Materials:
- Lightweight fabric
- Zippers
- Scissors
- Needle and thread or a sewing machine

Instructions:
- Choose the Fabric: Select a lightweight fabric such as nylon or polyester. These materials are durable and easy to sew. Cut the fabric into rectangles, the size depending on your preference. A common size is 14 inches by 10 inches for medium packing cubes.
- Attach the Zippers: Place the zipper face down along one of the shorter edges of the fabric rectangle. Sew the zipper in place using a sewing machine or a needle and thread. Repeat this step with the other piece of fabric, ensuring the zipper is aligned properly.
- Sew the Sides and Bottom: With the right sides of the fabric facing each other, sew the sides and bottom of the packing cube together. Leave the zipper open so you can turn the cube inside out later.
- Turn the Cube Inside Out: Carefully turn the packing cube inside out through the zipper opening. This will hide the seams and give the cube a clean finish.
- Finish the Edges: If desired, you can finish the edges with bias tape or a zigzag stitch to prevent fraying.
These DIY packing cubes will keep your clothes and accessories neat and accessible. They are perfect for organizing your suitcase and making your travel experience more efficient.
Conclusion: Get Crafty and Travel Smart
Making your own travel accessories is not only fun but also practical. These DIY travel accessory ideas will help you stay organized, save money, and add a personal touch to your travel gear. So, grab your crafting supplies and start creating your own wanderlust essentials. Happy travels!
By using these DIY travel accessory ideas, you’ll be well-prepared for your next adventure. Remember, the keyword ‘DIY Travel Accessory Ideas’ ensures that this guide is easy to find for other travelers looking to add a personal touch to their journeys. Enjoy your crafting and your travels!