Last Updated on July 29, 2024 by Team Ideas24
Are you a tech enthusiast with a passion for crafting? Imagine blending the magic of technology with your DIY skills to create stunning, innovative projects!
Welcome to the world of Digital DIY Craft projects, where your gadgets become your best crafting tools. Whether you’re a seasoned crafter or just starting out, these creative ideas will inspire you to push the boundaries of traditional crafting.
Contents [show]
Inspiring Digital DIY Craft Projects to Try at Home
From enchanting LED light jars to high-tech smart mirrors, we’ll explore four exciting projects that bring together the best of both worlds.
Let’s dive in and discover how you can turn your love for tech and creativity into masterpieces that amaze and delight. Get ready to be inspired and start digital DIY crafting with a modern twist!
LED Light Jar
LED light jars are popular decorative items made of glass with various design possibilities. They emit a cozy glow and are energy-efficient, with the ability to customize the light color and intensity.
They can serve as night lights, centerpieces, or outdoor decorations, offering both practical and decorative uses.
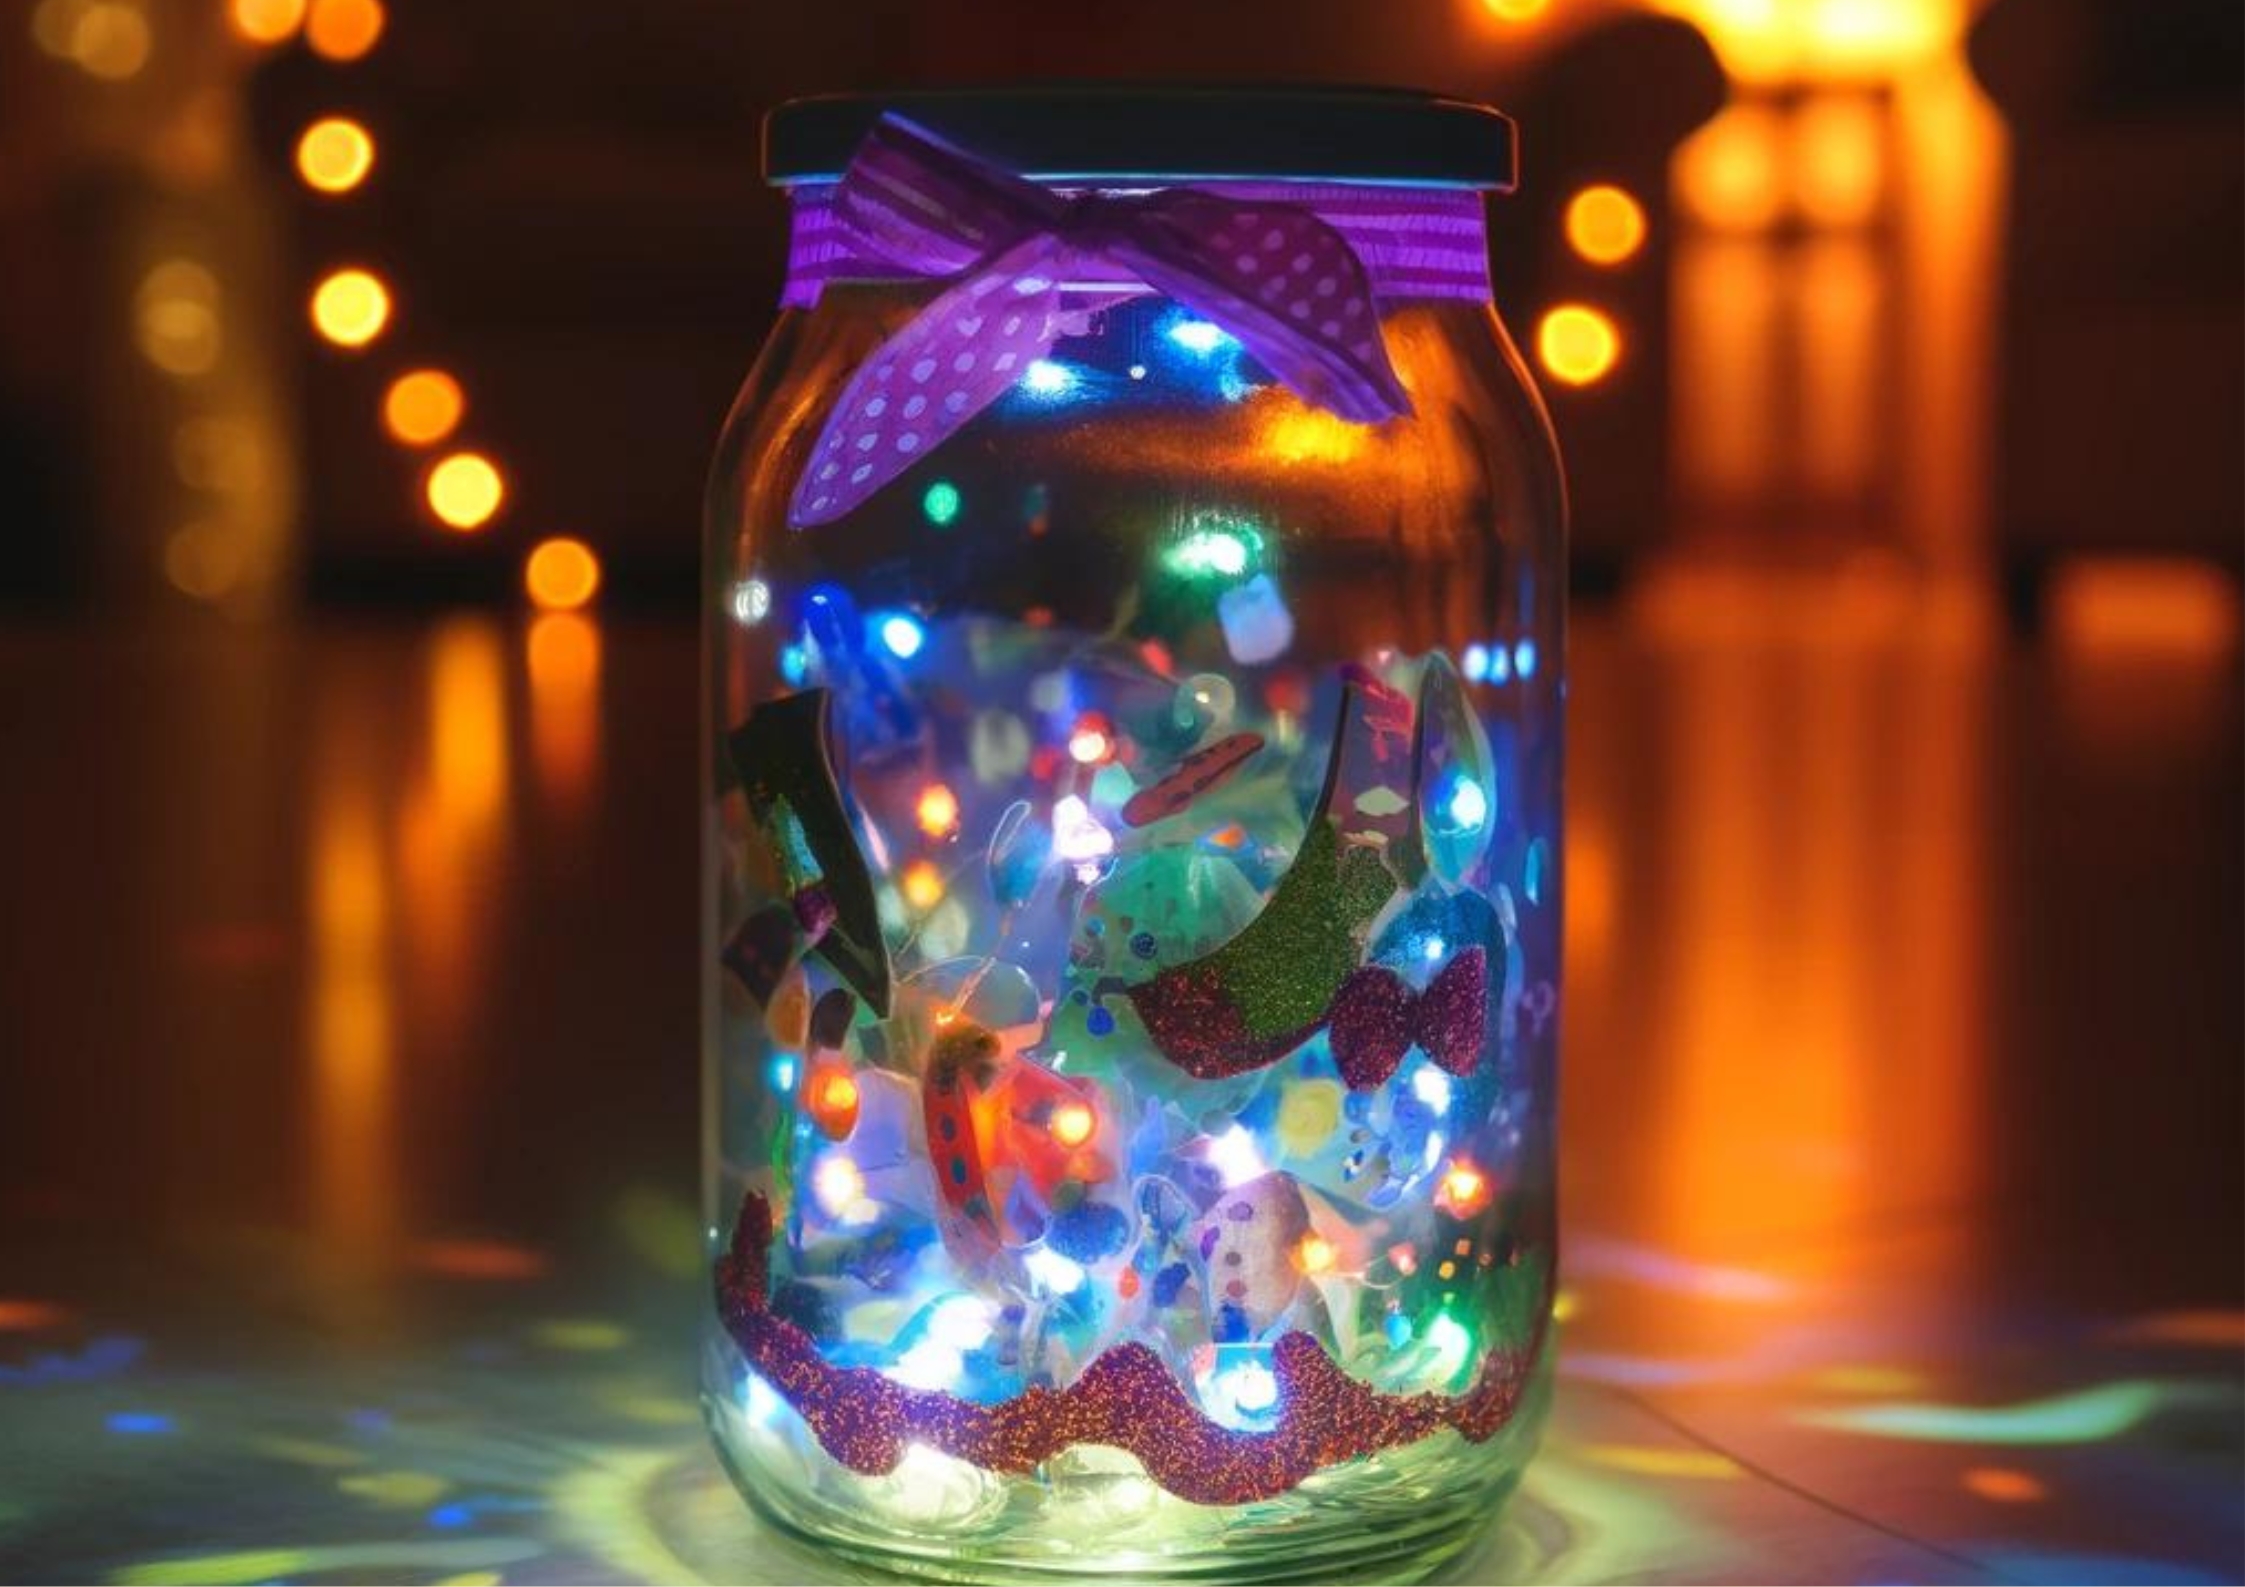
Creating LED light jars is a simple yet versatile digital DIY craft project that can elevate any space with a cozy and inviting atmosphere.
Materials Needed:
- A clean glass jar: Any size will work, but larger jars will hold more lights and create a brighter effect.
- LED string lights: Battery-operated lights are best to avoid cords. Choose a color that fits your theme.
- Battery pack: Most LED string lights come with a battery pack, but make sure you have the right batteries.
- Decorative items (e.g., glitter, stickers): These add a personal touch to your jar.
- Hot glue gun and glue sticks: Essential for securing decorations and the battery pack.
Process:
- Prepare the Jar
- Start by cleaning your glass jar thoroughly.
- Wash it with soap and water, then dry it completely.
- Any residue or moisture can affect the appearance and durability of your decorations.

- Decorate the Jar
- Use stickers, glitter, or even paint to decorate the outside of the jar. If you’re using glitter, apply a thin layer of glue to the areas where you want the glitter to stick.
- Be creative! This is your chance to make the jar truly yours. You can use themes like stars, hearts, or even holiday-specific designs.
- For a more sophisticated look, consider using metallic paint or decals.
- Insert the Lights
- Carefully place the LED string lights inside the jar. If the lights have a stiff wire, you can shape them to ensure they fill the jar evenly.
- For a more scattered light effect, simply drop the lights in and let them fall naturally.
- Make sure the battery pack remains accessible, either at the bottom or outside the jar.
- Attach the Battery Pack
- Use the hot glue gun to secure the battery pack to the bottom or back of the jar.
- If the battery pack is external, you can glue it to the jar’s base or create a small pouch using fabric or cardboard to keep it hidden yet accessible.
- Be cautious while using the hot glue gun to avoid burns.
- Light It Up
- Turn on the lights and watch your jar glow! These jars make excellent night lights, party decorations, or even gifts.
- You can place them on a bedside table, in a living room, or even outside for a magical garden light.
This simple yet enchanting digital DIY craft combines the charm of traditional crafts with the excitement of digital elements. Plus, it’s a great way to recycle old jars and give them a new life!
Custom Digital Photo Frame
A custom digital photo frame is a modern way to display cherished memories. It’s a digital screen that showcases favorite photos in a slideshow.
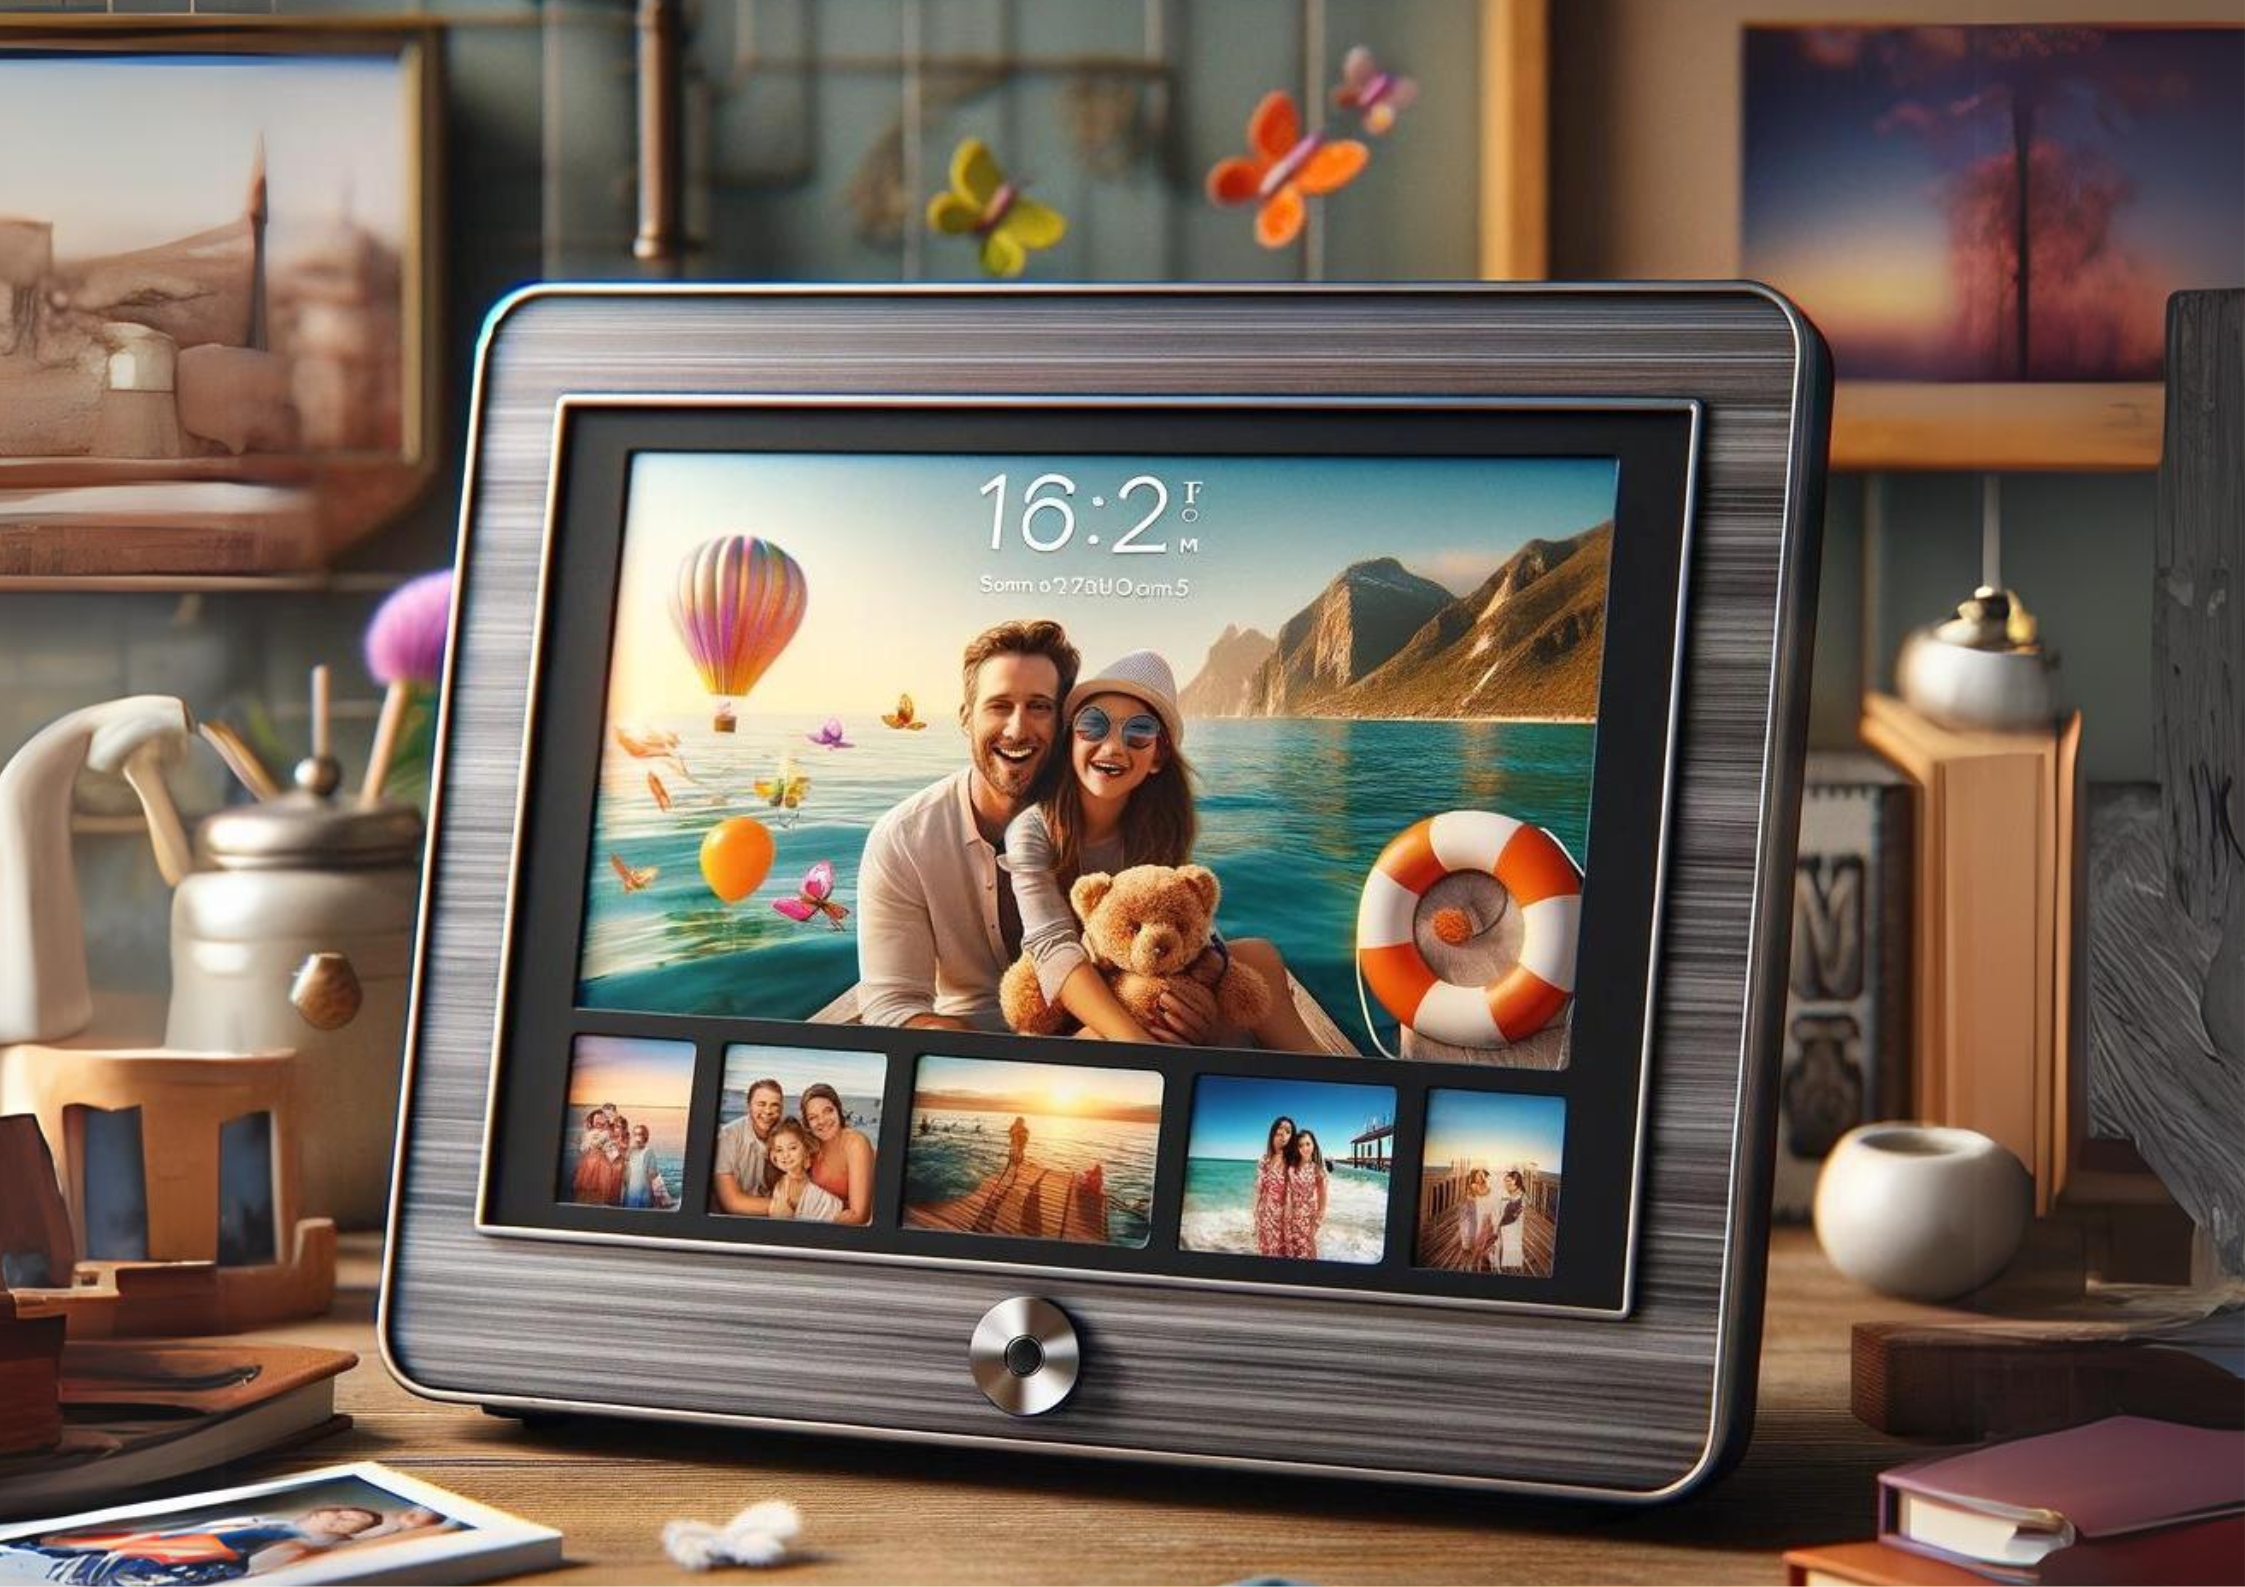
Versatile, it can cycle through multiple photos, making it perfect for special events. Some frames also play videos or show time/weather, with Wi-Fi for easy photo uploads.
Consider screen size, resolution, storage, and design when choosing a frame. It’s a stylish way to showcase photos, whether family memories or travel adventures.
Materials Needed:
- An old tablet or digital photo frame: Any device with a screen can work. Even older models that you no longer use are perfect for this project.
- A frame stand or wall mount: To display your digital photo frame.
- USB cable and charger: Ensure your device stays powered.
- Selection of digital photos: Choose a variety of images that you love.
- Frame decorations (optional): To personalize the look of your digital photo frame.
Process:
- Prepare the Device
- Begin by ensuring your tablet or digital photo frame is in good working condition.
- Charge it fully and reset it to factory settings if necessary.
- This will give you a fresh start and ensure the device runs smoothly.
- Install any required updates and necessary apps for displaying photos, such as a slideshow app.
- Load Photos
- Transfer your favorite photos to the device. You can do this via USB, cloud services, or even email.
- If you’re using a tablet, there are many apps available that create beautiful slideshows. Choose high-resolution images for the best display quality.
- Organize your photos into albums or playlists for themed slideshows, like vacations, family events, or seasonal celebrations.

- Mount the Frame
- Decide where you want to display your digital photo frame.
- If you’re using a stand, place it on a stable surface like a table or shelf.
- For wall mounting, use appropriate brackets and ensure the frame is securely attached.
- Make sure there’s easy access to power, so you can keep your device charged without unsightly cords.
- Decorate (Optional)
- To add a personal touch, you can decorate the frame itself
- Use paint, stickers, or even small craft items like shells or beads to create a unique border.
- This step is optional, but it can make your digital photo frame blend seamlessly with your home decor.
- Enjoy
- Turn on your device and enjoy your custom digital photo display!
- You can change the photos regularly to keep the display fresh and interesting.
- sSome apps allow you to add music to your slideshows, enhancing the viewing experience.
This digital DIY craft is a fantastic way to repurpose old technology and create a constantly evolving piece of home decor. It’s perfect for showcasing your favorite memories and keeping them alive in a modern, digital format.
Digital Embroidery Patterns
Digital embroidery patterns are files with instructions for embroidery machines, available online in various formats. Digital DIY crafters can find a range of designs, including custom options, with detailed guides.
These patterns can be resized and customized easily, fostering community sharing and collaboration among enthusiasts. They offer a versatile way to create beautiful and unique embroidered pieces for all skill levels.
Materials Needed:
- Digital embroidery software (e.g., Embird, Hatch): This software allows you to create, edit, and manage your embroidery designs. These programs offer various tools for drawing, importing images, and converting them into embroidery patterns. Features typically include stitch types, color palettes, and design resizing.
- Embroidery machine: A machine capable of reading and stitching digital patterns. Modern embroidery machines come with USB ports or Wi-Fi capabilities to import designs directly from your computer. Brands like Brother, Janome, and Bernina are popular choices among digital DIY crafters.
- Blank fabric: Choose a fabric suitable for embroidery, such as cotton, linen, or even specialized embroidery fabric like Aida cloth. The fabric’s weave and texture should complement the intricacy of your design.
- Embroidery thread: Available in a wide range of colors to match your design. Polyester and rayon threads are commonly used for their sheen and durability. Ensure you have enough thread to complete your project without running out mid-design.
- Stabilizer: To prevent the fabric from stretching or puckering during embroidery. Stabilizers come in various types such as tear-away, cut-away, and wash-away. The choice depends on the fabric and the complexity of the design.
Process:
- Create a Design:
- Open Your Software: Start by launching your digital embroidery software. Familiarize yourself with the interface and tools available.
- Start a New Project: Create a new project and choose the dimensions suitable for your fabric and embroidery machine’s hoop size.
- Design Your Pattern: Use the software’s tools to draw freehand, import clip art, or convert images into embroidery patterns. Many programs offer auto-digitizing features that simplify this process.
- Experiment with Stitches and Colors: Try different stitch types like satin, fill, and running stitches. Adjust the density and direction to enhance the design’s texture. Use the color palette to select thread colors, ensuring they match your vision.
- Save Your Design: Save your pattern in a format compatible with your embroidery machine (e.g., PES, DST, JEF). This ensures seamless transfer and correct stitching.
- Transfer the Design
- Connect Your Machine: Use a USB cable or a USB stick to transfer the design from your computer to your embroidery machine. Some machines offer wireless transfer options.
- Load the Pattern: Follow the machine’s instructions to load the pattern. Make sure the design is aligned and scaled appropriately for your fabric and hoop size.
- Prepare the Fabric:
- Cut the Fabric: Measure and cut a piece of fabric slightly larger than the design area. This allows for any adjustments and provides extra space for hooping.
- Attach the Stabilizer: Choose an appropriate stabilizer for your fabric and design. Attach it to the back of the fabric using adhesive spray or pins. This ensures the fabric remains stable during stitching.
- Hoop the Fabric: Place the fabric and stabilizer in the embroidery hoop. Ensure it is taut and secure to prevent shifting during embroidery. Check that the fabric is centered and flat.
- Start Embroidering:
- Position the Hoop: Insert the hoop into the embroidery machine. Align it correctly to match the design’s starting point.
- Select Your Design: On the machine’s interface, select the loaded design. Make any necessary adjustments to the settings.
- Begin Stitching: Start the machine and monitor the process. Watch for thread breaks or fabric shifting, and pause if needed to fix any issues.
- Change Thread Colors: If your design requires multiple colors, the machine will prompt you to change the thread. Follow the instructions and continue stitching.

- Finish Up:
- Trim Excess Stabilizer: Use scissors to trim any excess stabilizer from the back of the fabric.
- Remove the Fabric: Once the embroidery is complete, carefully remove the fabric from the hoop.
- Snip Loose Threads: Check for any loose threads on the front and back of the fabric and snip them with scissors.
- Iron the Fabric: Iron the fabric on the reverse side to remove any creases caused by the hoop. This also helps to set the stitches and give the design a polished look.
Digital embroidery seamlessly merges the timeless art of needlework with advanced technology, enabling the creation of highly detailed and precise designs. This innovative approach allows for intricate patterns and textures that are often challenging to replicate manually, enhancing both the efficiency and creativity of embroidery projects.
It’s a fantastic way to personalize clothing, home decor, and gifts with detailed, custom patterns, adding a unique touch to each item. Whether you’re a novice or experienced embroiderer, digital embroidery offers endless creative possibilities, allowing you to experiment with designs and techniques that bring your creative vision to life.
With practice, you can create stunning pieces that showcase your creativity and technical skills with this digital DIY craft.
Conclusion
There you have it – fantastic digital DIY craft projects to spark your creativity! These projects are perfect for anyone who loves to combine technology with hands-on crafting.
Whether you’re lighting up your room with an LED jar, showcasing your memories with a digital photo frame, creating a smart mirror, or designing custom embroidery patterns, these ideas will keep you entertained and inspired.
So, grab your tools and get started on your next digital DIY craft adventure today!