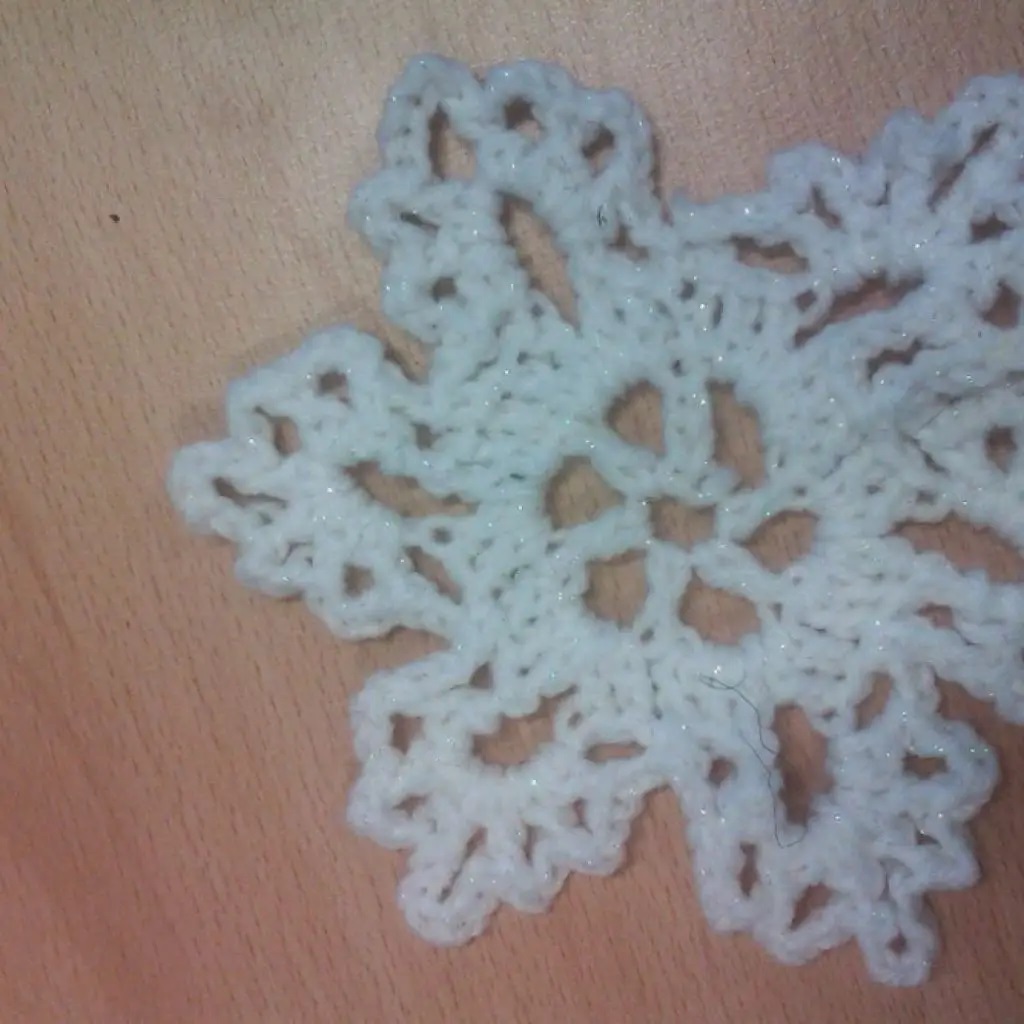
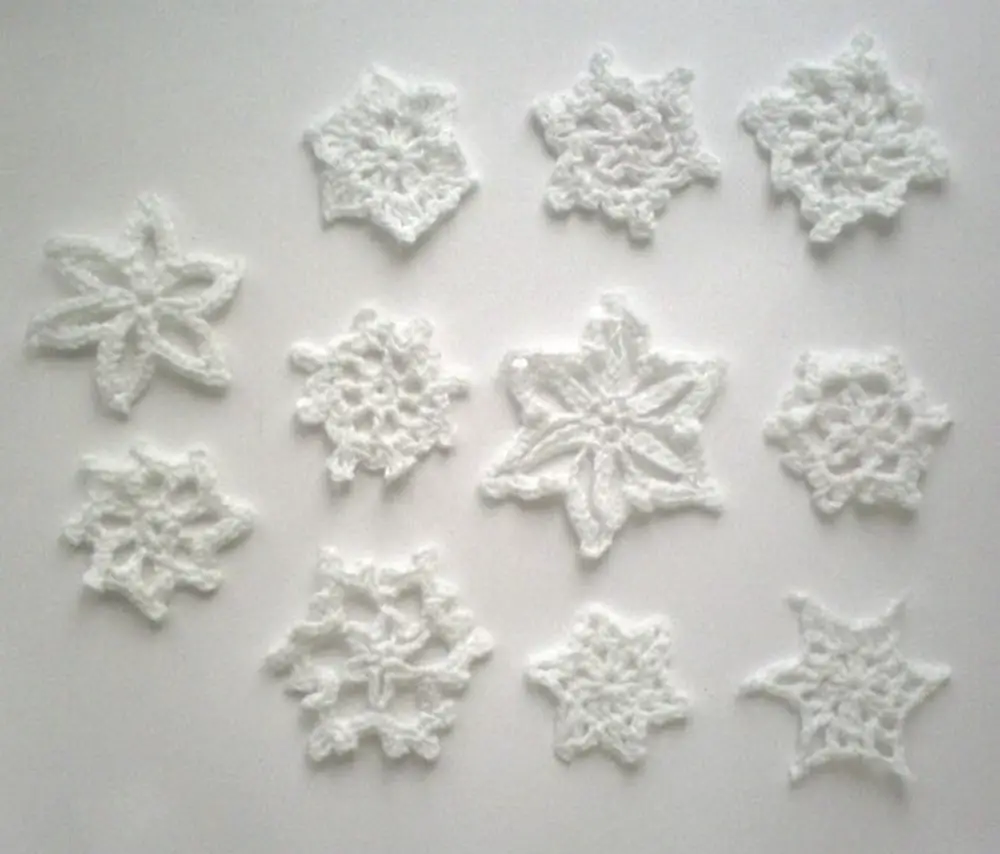
Crochet snowflakes bring a unique charm to winter decor. These delicate, lacy patterns capture the intricate beauty of nature’s ice crystals. In this guide, we’ll explore the art of creating crochet snowflakes. This process adds a personal touch to your holiday decorations and offers a satisfying creative experience. We’ll guide you through each step, ensuring your creations are beautiful and unique.
Contents
- 1 Essentials of Crocheting Snowflakes
- 2 Step-by-Step Guide to Crocheting a Snowflake
- 3 Selecting the Right Pattern
- 4 Customizing Your Crochet Snowflakes
- 5 FAQs about Crochet Snowflakes
- 5.1 What are the best yarns for crochet snowflakes?
- 5.2 How long does it take to crochet a snowflake?
- 5.3 Can I wash crochet snowflakes?
- 5.4 Do I need to block my crochet snowflakes?
- 5.5 What are some common mistakes when crochet snowflakes?
- 5.6 Can beginners crochet snowflakes?
- 5.7 How can I make my crochet snowflakes unique?
- 5.8 Is it necessary to use a magic ring to start a crochet snowflake?
- 5.9 What is the best way to display crocheted snowflakes?
- 5.10 Can I use crochet snowflakes for other crafts?
- 6 Conclusion
Essentials of Crocheting Snowflakes
Crocheting snowflakes is a delightful way to add a touch of winter wonder to your home. It is also an engaging hobby that has its mental benefits. The intricate, lacy designs are beautiful and offer a wonderful opportunity to enhance crocheting skills. First, you need the right tools and a basic understanding of crochet techniques.
Understanding the Basics of Crochet
Before diving into crocheting snowflakes, it’s crucial to grasp some fundamental crochet techniques. This includes basic stitches like the slip stitch, chain stitch, single crochet, and double crochet.
Mastering these will allow you to follow most snowflake patterns with ease. For beginners, numerous online tutorials and books provide step-by-step instructions on these basic stitches.
Tools and Materials Needed
Crochet Hooks: For delicate snowflakes, smaller hooks are ideal. Sizes ranging from 1.5mm to 3.5mm are typically used. These smaller hooks help create tight, fine stitches that define the intricate patterns of a snowflake. A complete set like the 14 Size Crochet Hooks lets you work on different patterns and stitches.
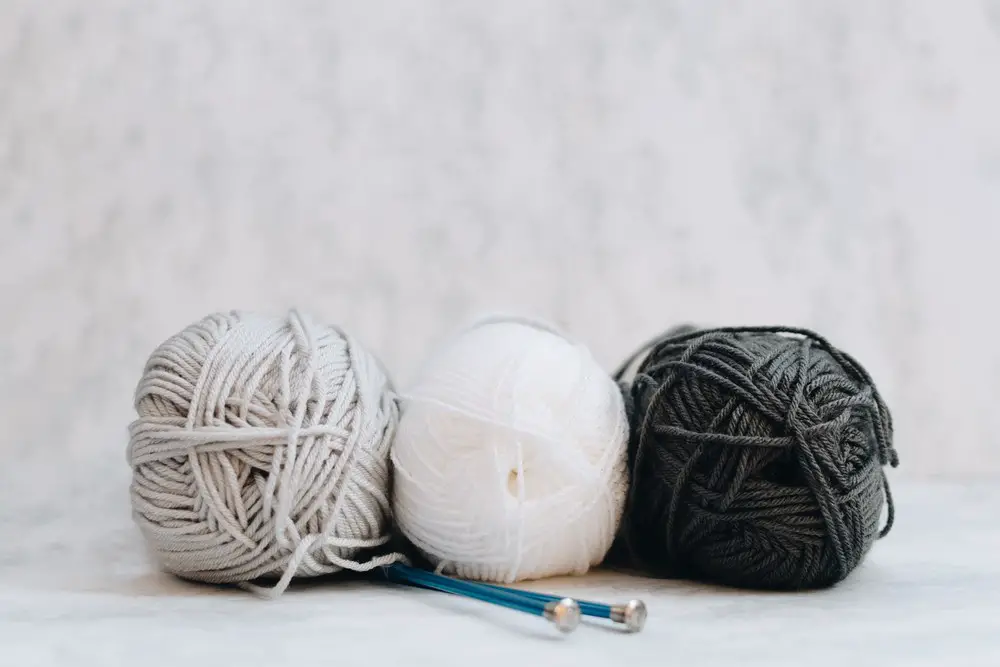
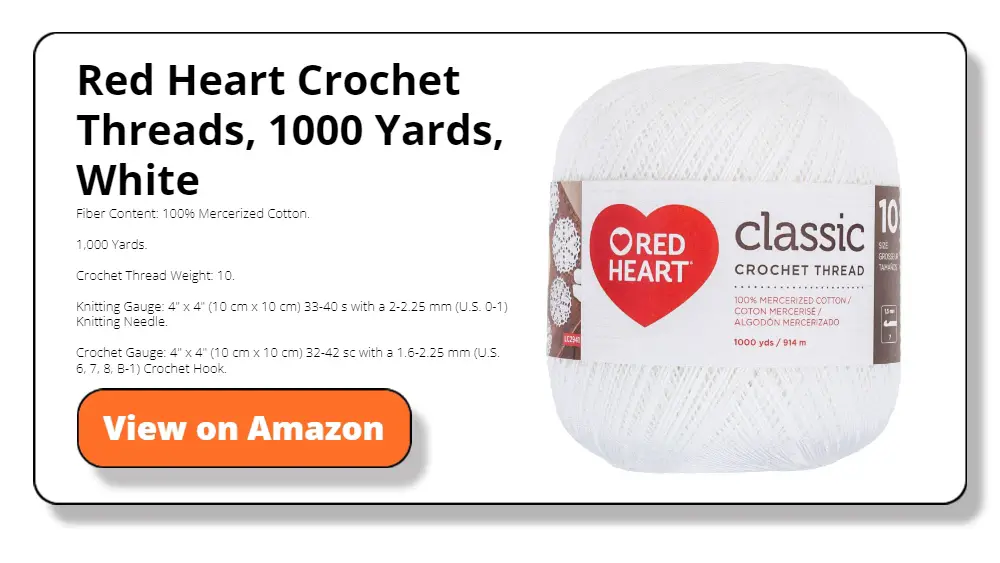
Yarn or Crochet Thread: Fine crochet thread is preferable for snowflakes. Threads labeled as size 10, 20, or 30 are excellent choices, with size 10 being the thickest. These threads are available in various colors, but white or off-white is traditional for snowflakes.
Scissors: A sharp pair of scissors is essential for cutting thread ends.
Stitch Markers: These help mark specific stitches or rounds, especially for beginners.
Blocking Mats and Pins: Snowflakes often need to be blocked to achieve their final shape after crocheting. Blocking mats and rust-proof pins are used for this purpose.
Fabric Stiffener: Snowflakes can be stiffened using fabric stiffener or a homemade glue and water solution to maintain their shape.
Selecting Quality Tools
While specific products from Amazon cannot be listed, choosing quality tools for the best experience is important. Look for ergonomic crochet hooks to reduce hand fatigue, especially with fine threads. High-quality crochet threads resist fraying and splitting, making your work smoother and more enjoyable.
Step-by-Step Guide to Crocheting a Snowflake
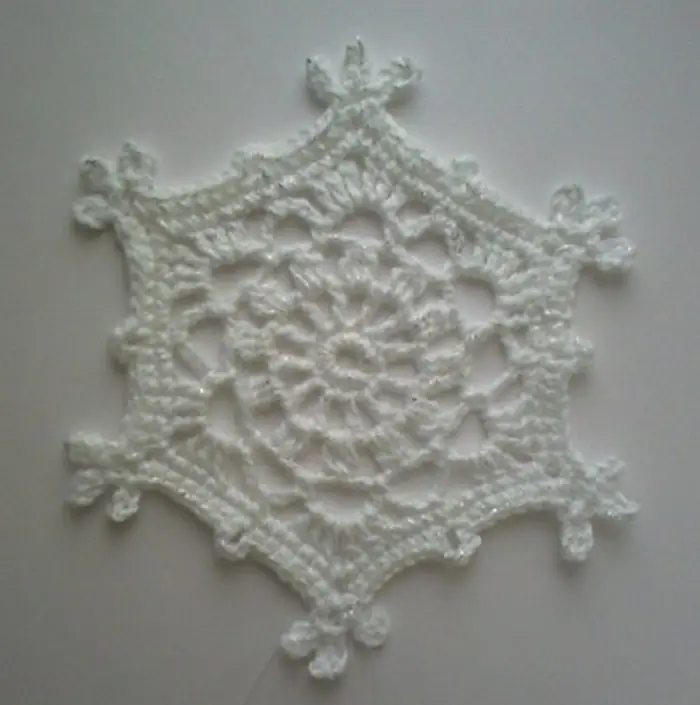
Crocheting a snowflake is a journey into delicate and detailed crafting. Each step brings you closer to creating a unique and beautiful piece. This guide will lead you through the process, from starting your snowflake to adding the final touches.
Starting Your Snowflake
Crocheting a snowflake begins with establishing a foundation from which intricate patterns can emerge. The key is to start small and build up, creating a delicate structure resembling a snowflake’s intricate beauty.
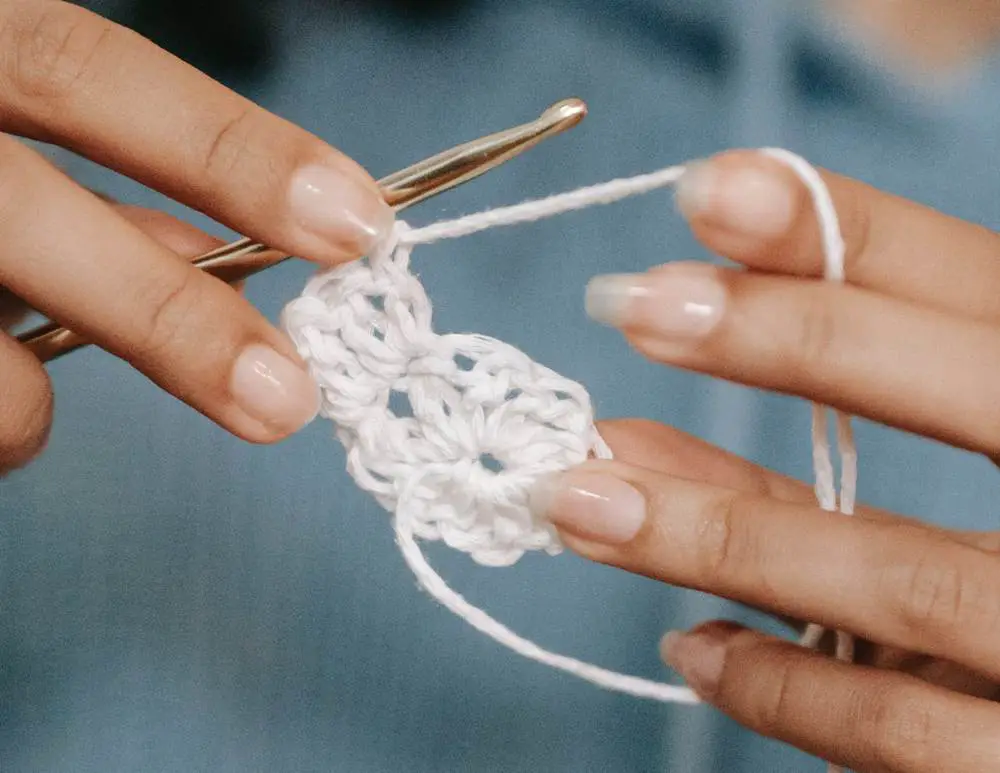
Creating the Magic Ring
- A magic ring is a popular starting point for crocheting in the round. It allows you to pull the center tight, eliminating any gap.
- To make a magic ring, loop the yarn over your fingers and insert the hook to pull up a loop. Secure this with a chain stitch.
- Practice making a magic ring until you can create a tight, neat center.
First Round Basics
- Your first round sets the stage for the entire snowflake. Begin with a series of chain stitches and double crochets (or the stitches specified in your pattern) into the magic ring.
- Pay attention to the number of stitches. Snowflake patterns often rely on symmetry, so accuracy in the first round is crucial.
- Once the first round is complete, pull the tail of the magic ring to close the center tightly. This step is essential for the snowflake’s final appearance.
Working the Pattern
Once your foundation round is set, it’s time to start working on the snowflake pattern. This step requires focus and attention to detail, as you’ll be following specific stitch sequences to create the snowflake’s intricate design.
Reading the Snowflake Pattern
- Patterns for crochet snowflakes can range from simple to complex. Take time to familiarize yourself with the pattern, noting any special stitches or techniques.
- Crochet patterns use a standard set of abbreviations. Understanding these abbreviations is key to following the pattern accurately.
- If you’re a visual learner, look for patterns with diagrams or find video tutorials demonstrating the pattern.
Techniques for Intricate Stitches
- Snowflake patterns often include intricate stitches like picots or popcorn stitches to add texture and detail.
- Take your time to master these stitches. They can be tricky initially but contribute significantly to the snowflake’s beauty.
- Remember to keep a consistent tension in your stitches. This ensures that the snowflake maintains its shape and symmetry.
Adjusting for Size and Complexity
- You can modify the pattern depending on your snowflake’s desired size and complexity. Adding or reducing rounds can change the size significantly.
- Consider repeating certain rounds or adding variations to the basic stitches for a fuller snowflake.
Maintaining Symmetry
- Symmetry is a key element in snowflake design. Ensure each segment of your snowflake mirrors the others.
- Count stitches regularly to maintain uniformity. This helps in achieving a balanced and harmonious pattern.
Incorporating Color Changes
- While traditional snowflakes are white, adding color can bring a unique touch.
- If you choose to incorporate colors, plan your color changes. This could involve changing colors at the start or within a round for a multicolored effect.
Completing the Rounds
By carefully working through and completing each round, your crochet snowflake will gradually take on its full, delicate form. This process requires patience and attention to detail, but the result is a beautiful, handmade creation that captures the essence of winter’s natural artistry.
Tips for Consistent Stitching
- As you complete each round, consistency in your stitching is key. This ensures that the snowflake lays flat and the pattern remains clear.
- If you notice the snowflake curling or warping, adjust your tension or the number of stitches.
Joining and Finishing Rounds
- Most snowflake patterns involve joining rounds with a slip stitch. This should be done neatly to maintain the snowflake’s appearance.
- When finishing a round, cut the yarn, leaving a small tail. Weave this tail back into the snowflake to hide it and secure the end.
Reviewing and Correcting Rounds
- After completing each round, take a moment to review your work. Look for any missed or extra stitches and correct them as necessary.
- It’s easier to fix mistakes as you go rather than after the snowflake is completed.
Adding Final Rounds for Detail
- The final rounds of your snowflake are where you can add detailed touches. This might include picots or spike stitches for a more intricate look.
- The last round often defines the outer edge of the snowflake, so choose stitches that give a crisp, defined border.
Adding Detail and Texture
To make your crochet snowflake shine, we will incorporate some details and textures into your creation. Below are techniques to consider:
Creating Points and Picots
- Snowflakes often feature pointed tips, which can be created using Picot stitches. A picot is a small loop formed by chaining a few stitches and then slip stitching back into the first of these chains.
- Work a picot at the end of a segment or between stitches to create a pointed tip. This adds a delicate, lacy effect, enhancing the snowflake’s texture.
Incorporating Advanced Stitches
- Incorporate advanced stitches like puff, cluster, or treble crochets for more texture.
- These stitches add depth and intricacy, making your snowflake more dynamic and visually interesting.
Variations for Unique Designs
- Experiment with different stitch combinations to create unique patterns within your snowflake.
- Try altering the number of stitches between picots or points, or vary the types of stitches used in different rounds to create a one-of-a-kind design.
Balancing Detail with Simplicity
- While adding detail is appealing, balance it with simplicity to maintain the delicate nature of a snowflake.
- Too much complexity can overwhelm the design, so aim for an intricate yet not overly busy design.
Layering Stitches for Dimension
- Layering different types of stitches can add dimension to your snowflake. For instance, placing a series of smaller stitches over a base of larger stitches creates a raised effect.
- Experiment with overlay crochet techniques, where stitches are worked over existing ones, adding depth to the design.
Creating Asymmetrical Patterns
- While symmetry is a hallmark of snowflakes, introducing slight asymmetry in some designs can add character. This could involve varying the length or style of points on different arms of the snowflake.
- Asymmetry should be intentional and controlled to maintain the aesthetic balance of the piece.
Experimenting with Textured Yarns
- Experiment with different textures of yarns or threads. Metallic or glitter threads can add a subtle sparkle, while a slightly thicker thread can give a bolder look.
- Be mindful of the yarn’s weight and texture, as it should complement the delicate nature of the snowflake.
Finishing Touches
The final steps in crocheting a snowflake are crucial in bringing out its beauty and ensuring its longevity. These finishing touches not only enhance the appearance but also prepare the snowflake for display
Blocking for Shape
- Blocking is essential for giving your snowflake its final shape. Pin the snowflake onto a blocking mat, stretching it gently to define the points and edges.
- Allow the snowflake to dry completely in this shape. This process sets the stitches and gives the snowflake a crisp, even appearance.
Stiffening for Durability
- Use a fabric stiffener or a homemade glue and water solution to keep the snowflake rigid and durable. Gently apply the stiffener to the snowflake, ensuring it saturates the fibers.
- Allow the snowflake to dry on the blocking mat. Once dry, it will hold its shape and can be used as a decoration.
Adding Embellishments
- Consider adding small beads, glitter, or sequins to your snowflake for extra sparkle.
- Attach these embellishments carefully with a needle and thread, placing them strategically to enhance the snowflake’s beauty.
Preservation and Storage
- Store your crochet snowflakes carefully to prevent them from losing shape. Lay them flat in a storage box, separating layers with tissue paper.
- Proper storage ensures that your crochet snowflakes remain pristine and can be used for many winters.
Adding a Loop for Hanging
- If you plan to hang your snowflake, create a small loop at one of the points. This can be done by chaining a few stitches and returning them to the point.
- Choose a point that allows the snowflake to hang evenly for a balanced display.
Enhancing with Surface Crochet
- Surface crochet involves adding stitches on top of your completed work. This can be used to outline certain snowflake elements or add new details.
- Use a contrasting color for a bold effect or a similar shade for subtle enhancement.
Use of Colorful Borders
- Adding a thin border in a contrasting color can define the edges of your snowflake and make the design pop.
- Be careful not to overpower the delicate nature of the snowflake; a single round of simple stitches often suffices.
Securing Ends and Cleaning Up
- Ensure all loose ends are woven in securely. This tidies up your work and ensures the snowflake maintains its shape.
- Trim any excess thread carefully, avoiding cutting too close to the stitches.
Troubleshooting Common Problems
Crafting crochet snowflakes can be a delightful experience, but it’s not without its challenges. From maintaining tension to correcting mistakes, crocheters face several common issues. This comprehensive guide aims to troubleshoot these problems, ensuring your snowflake-making journey is as smooth and enjoyable as possible.
Maintaining Consistent Tension
- Tension issues can cause your snowflake to curl or not lay flat. If your stitches are too tight, try relaxing your grip or using a larger hook. Conversely, use a smaller hook or tighten your yarn hold if they’re too loose.
- Practice makes perfect. Consistently working on your crochet will naturally improve your tension over time.
Dealing with Twisted Rounds
- Rounds can twist, especially in the beginning stages. To avoid this, ensure the chain is not twisted before joining it into a ring.
- If you notice a twist after a few rounds, unraveling and starting over is better. Twists will affect the final look of your snowflake.
Correcting Stitch Count Errors
- Incorrect stitch counts can throw off your pattern. Count your stitches regularly, especially at the end of each round.
- If you find an error, carefully undo your stitches (frogging) back to the point of the mistake and redo the section.
Managing Difficult Stitches
- Some stitches in snowflake patterns can be challenging. Practice these stitches separately before incorporating them into your pattern.
- Use online tutorials or crochet groups for help. Often, seeing a stitch being made can make it easier to understand.
Preventing Yarn Splitting
- Yarn splitting can be frustrating. Use a hook with a smooth tip and avoid overly sharp hooks, which can split yarn threads.
- If your yarn splits often, consider switching to a higher quality or a different thread texture.
Fixing Uneven Edges
- Uneven edges can occur if your tension varies or if you misplace stitches. Consistent tension and accurate stitch placement are key.
- Use stitch markers to mark the beginning and end of rounds, helping to maintain even edges.

Handling Joining Problems
- Joining rounds seamlessly is crucial for a neat finish. If your joints are noticeable, try different joining techniques like the invisible join or slip stitching into the back loop only.
- Practice these techniques on scrap yarn before applying them to your snowflake.
Working with Complex Patterns
- Complex patterns can be overwhelming. Break them down into smaller, manageable sections and work through them step by step.
- Don’t hesitate to write out the pattern in your own words or use diagrams if that helps you understand better.
Avoiding Pattern Confusion
- Misreading patterns is common. Double-check each line of the pattern as you work. Keep track of your rounds and stitches with a row counter or by making notes.
- If a pattern isn’t making sense, seek clarification from more experienced crocheters or from the pattern’s source.
Overcoming Frustration and Burnout
- Crocheting, especially intricate patterns like crochet snowflakes, can sometimes be frustrating. Take breaks when needed, and remember that it’s a process of learning.
- Celebrate small victories, like mastering a new stitch or completing a round without mistakes.
Adapting to Yarn Variabilities
- Yarns can vary in thickness and texture, even within the same brand. Be prepared to adjust your hook size or tension accordingly.
- Test a small sample before starting on your actual snowflake to see how the yarn behaves.
Ensuring Symmetry
- Asymmetry in a snowflake can be visually jarring. Pay close attention to the pattern to ensure each segment is identical.
- Use a physical or digital chart to track your progress and maintain symmetry.
Storing and Organizing Materials
- Organizing your crochet tools and materials can prevent issues like tangled yarn or lost hooks. Use a storage system that works for you.
- Regularly maintain your tools, such as sharpening scissors or cleaning hooks, to ensure they are in good working condition.
Selecting the Right Pattern
Choosing the right pattern is a crucial step in crocheting snowflakes. The pattern not only determines the complexity and style of your snowflake but also influences your crocheting experience. Selecting a pattern that aligns with your skill level and interests is essential for a successful and enjoyable project.
Understanding Pattern Difficulty Levels
Crochet patterns are often rated by beginner, intermediate, and advanced difficulty. As a beginner, start with simpler patterns that use basic stitches and minimal rounds.
Intermediate patterns may introduce more complex stitches and intricate designs, while advanced patterns require a strong understanding of various crochet techniques and may include very detailed work.
Considering Pattern Design and Style
Snowflake patterns vary greatly in design. Some mimic real snowflakes with intricate details, while others are stylized or whimsical. Consider the overall look you want to achieve. Do you prefer a traditional, delicate snowflake, or are you drawn to more contemporary designs?
Evaluating Pattern Clarity and Instructions
A well-written pattern is easy to follow and understand. Look for patterns with clear instructions, ideally with step-by-step guidance or diagrams. Patterns with charts or visual diagrams can be particularly helpful, especially for complex designs.
Sourcing Patterns
Patterns can be found in crochet books, online crochet forums, websites, and magazines. Online platforms often have reviews and photos from others who have tried the patterns, which can be very helpful. Crochet communities, online and in local craft groups, can be great sources for pattern recommendations and advice.
Matching Patterns with Your Yarn and Tools
Ensure the pattern you choose is suitable for the yarn and hooks you have. Substituting yarns or hook sizes can significantly alter the appearance of the snowflake. If you’re using a yarn different than recommended, test the pattern with a sample swatch to see how it works with your chosen material.
Experimenting with Pattern Modifications
Once you’re comfortable with basic patterns, don’t be afraid to modify them. This could include changing the size, adjusting the number of points, or adding decorative elements. Experimenting with patterns can be fun, creating unique crochet snowflakes and developing your crochet skills.
Time and Patience Considerations
Consider the time you have to dedicate to the project. Some patterns can be completed quickly, while others require several hours or more. Choose a pattern that fits your schedule, especially if you’re making multiple crochet snowflakes for decorations or gifts.
Learning from Each Pattern
Every pattern offers an opportunity to learn and improve. Reflect on what each pattern teaches you, whether it’s a new stitch, a better understanding of shaping, or patience and persistence. Keep notes on what works well and your challenges with each pattern. This can be a valuable reference for future projects.
Embracing Challenges as Opportunities
Don’t shy away from a pattern just because it seems challenging. Often, these patterns can be the most rewarding and help you grow as a crocheter. Approach challenging patterns with an open mind and be willing to take your time and possibly make mistakes. It’s all part of the learning process.
Combining Patterns for Unique Creations
As you gain confidence, consider combining elements from different patterns to create unique designs. This tests your understanding of crocheting techniques and allows you to express your creativity in new ways.
Customizing Your Crochet Snowflakes
Customizing crochet snowflakes is where creativity truly shines. Each snowflake you create can reflect your style, mood, or the theme you’re aiming for. Customization can range from simple color changes to incorporating different materials or even altering patterns.
Colors
Firstly, playing with colors is one of the easiest ways to add a unique touch. While traditional crochet snowflakes are often white, adding colors can bring a new dimension to your work. Soft blues, silvers, and pastels can mimic the icy hues of winter.
Reds, greens, or gold can be interwoven for a festive touch. If you’re adventurous, vibrant colors or variegated yarns can create eye-catching patterns. Remember, the thread’s color can change the snowflake’s entire mood.
Texture
Texture is another element that can be customized. By varying the thickness of the yarn or thread or by using textured yarns, you can give your crochet snowflakes a distinct feel. Thin, fine threads create delicate, intricate crochet snowflakes, while thicker yarns can be used for a bolder, more pronounced look. You can also experiment with metallic or glitter threads for a sparkling effect, perfect for holiday decorations.
Structure
The structure of the snowflake itself offers numerous possibilities for customization. If you’re comfortable altering patterns, you can experiment with the number of points on your snowflake, the intricacy of each arm, or even combine elements from different patterns to create something new. For example, you might add an extra round to make the snowflake larger or modify the edges to create a different shape.
Embellishment
Embellishments add a special touch to your crochet snowflakes. Small beads, sequins, or crystals can be sewn into the center or at the tips of the snowflake arms for added sparkle. Even the way you block and stiffen your snowflake can be a form of customization. Some might prefer a flat, rigid snowflake, while others might leave them slightly softer for a more natural look.
Uses
Finally, how you use and display your crochet snowflakes is part of their customization. They can be hung on a Christmas tree, used as window decorations, or strung together to create a garland. They can be attached to gifts as a charming addition or used in larger craft projects like wreaths or table centerpieces. The possibilities are truly endless.
FAQs about Crochet Snowflakes
What are the best yarns for crochet snowflakes?
The best yarns for crochet snowflakes are usually fine crochet threads in sizes 10, 20, or 30. Size 10 is the thickest and most manageable for beginners. Cotton or synthetic blends work well, offering a good balance of ease of use and durability.
How long does it take to crochet a snowflake?
The time it takes to crochet a snowflake can vary greatly depending on the pattern’s complexity and your skill level. Simple designs might take an hour or less, while more intricate crochet snowflakes can take several hours.
Can I wash crochet snowflakes?
Crochet snowflakes can be washed, especially if made from cotton or synthetic threads. Hand washing in mild detergent and laying flat to dry is recommended. If the crochet snowflakes are stiffened, be gentle to maintain their shape.
Do I need to block my crochet snowflakes?
Blocking is recommended to give your crochet snowflakes a defined shape and crisp edges. Pin them to a blocking mat and spray lightly with water or starch, then allow them to dry completely.
What are some common mistakes when crochet snowflakes?
Common mistakes include incorrect stitch counts, varying tension, and not following the pattern correctly. These can lead to asymmetrical crochet snowflakes or patterns that don’t look as expected.
Can beginners crochet snowflakes?
Beginners can start with simpler snowflake patterns and gradually move to more complex designs as they gain confidence and improve their skills.
How can I make my crochet snowflakes unique?
You can customize your snowflakes by experimenting with different colors, adding embellishments like beads or sequins, altering the pattern to change the size or shape, or using textured yarns.
Is it necessary to use a magic ring to start a crochet snowflake?
While a magic ring provides a tight, closed center ideal for snowflakes, you can also start with a small chain loop. The magic ring, however, is preferred for its neatness and adjustability.
What is the best way to display crocheted snowflakes?
Crocheted snowflakes can be displayed in various ways, such as hanging them on a Christmas tree, attaching them to windows, or stringing them into garlands. They can also be used as embellishments on gift packages or incorporated into other crafts.
Can I use crochet snowflakes for other crafts?
Crochet snowflakes are versatile and can be incorporated into various crafts. They can be added to homemade cards, used in scrapbooking, attached to clothing or bags, or even used to create unique jewelry pieces.
Conclusion
Crocheting snowflakes is a delightful and creative endeavor that adds a special touch to your holiday decor or crafting projects. With a wide range of patterns and customization options, each snowflake you create can be a unique work of art. The process is as rewarding as the beautiful results, from selecting the right pattern to adding those final embellishments.
Embrace the challenge, enjoy the process, and watch as each delicate snowflake adds a magical touch to your winter wonderland.


