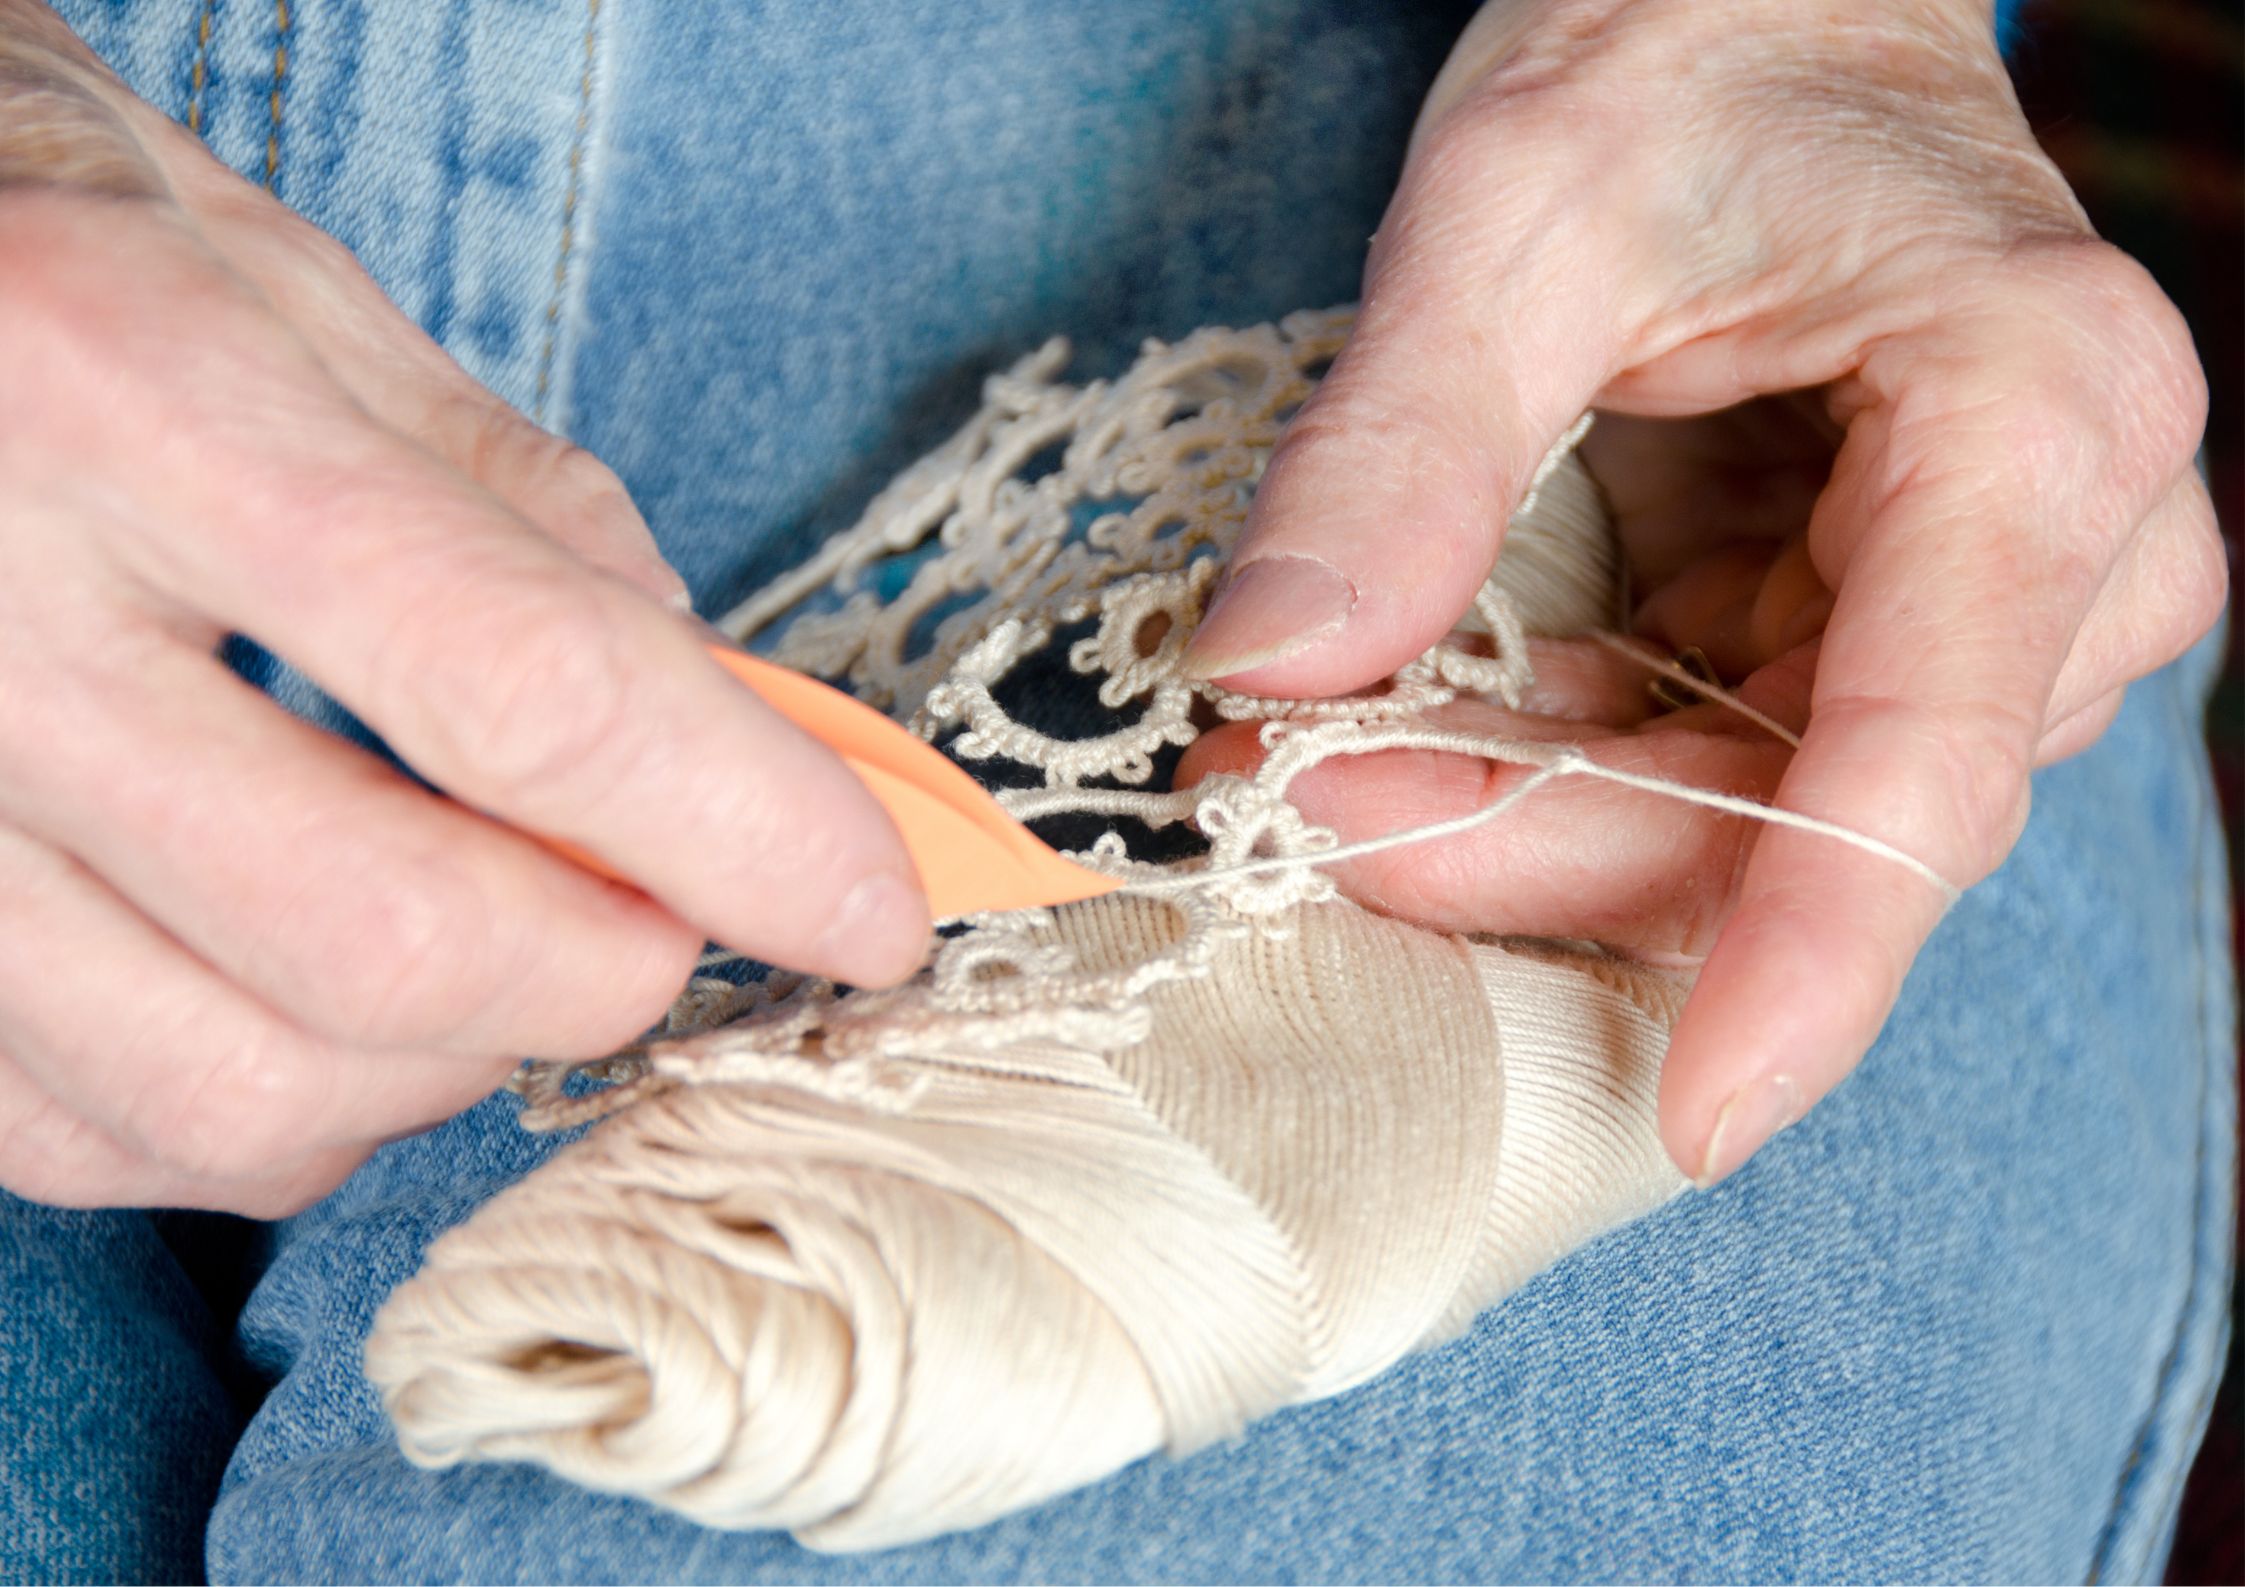
Needle tatting is a beautiful craft that has been enjoyed for centuries. It involves making intricate designs by hand using a needle and thread. However, needle tatting for beginners can seem overwhelming and daunting.
Fortunately, with the right guidance, you’ll discover secrets and tricks that’ll have you whipping up gorgeous creations easily. Get ready to become a needle tatting pro soon!
The goal of this blog post is to make a supportive and inclusive space where crafters can feel welcome and encouraged to explore their creativity. Whether you are a seasoned pro or a newbie to the craft, you’ll be provided with all that you need, from the basics to advanced techniques and everything in between.
Contents
Everything You Need to Know About Needle Tatting
We will provide valuable tips, strategies and tricks to help novices become proficient in needle tatting. We will cover the essential supplies needed to get started with needle tatting for beginners, the basic approaches that make the foundation for intricate designs, and how to troubleshoot common mistakes that novices typically encounter.
Additionally, we will dive into advanced methodologies for those who have already mastered needle tatting for beginners and are looking to take their needle tatting to the next level.
So, get started on this journey of needle tatting for beginners! Grab your needle, thread, and a cup of tea!
Basic Needle Tatting Supplies
When it comes to needle tatting for beginners, supplies are your new best friend! Don’t underestimate the power of the right tools in helping you make beautiful designs.
Here are some supplies you’ll need to get started with your adventure in needle tatting for beginners:
- Tatting Needle: This is the most important tool you will need. Tatting needles come in different sizes, so you can choose one based on the thickness of the thread you will be using.
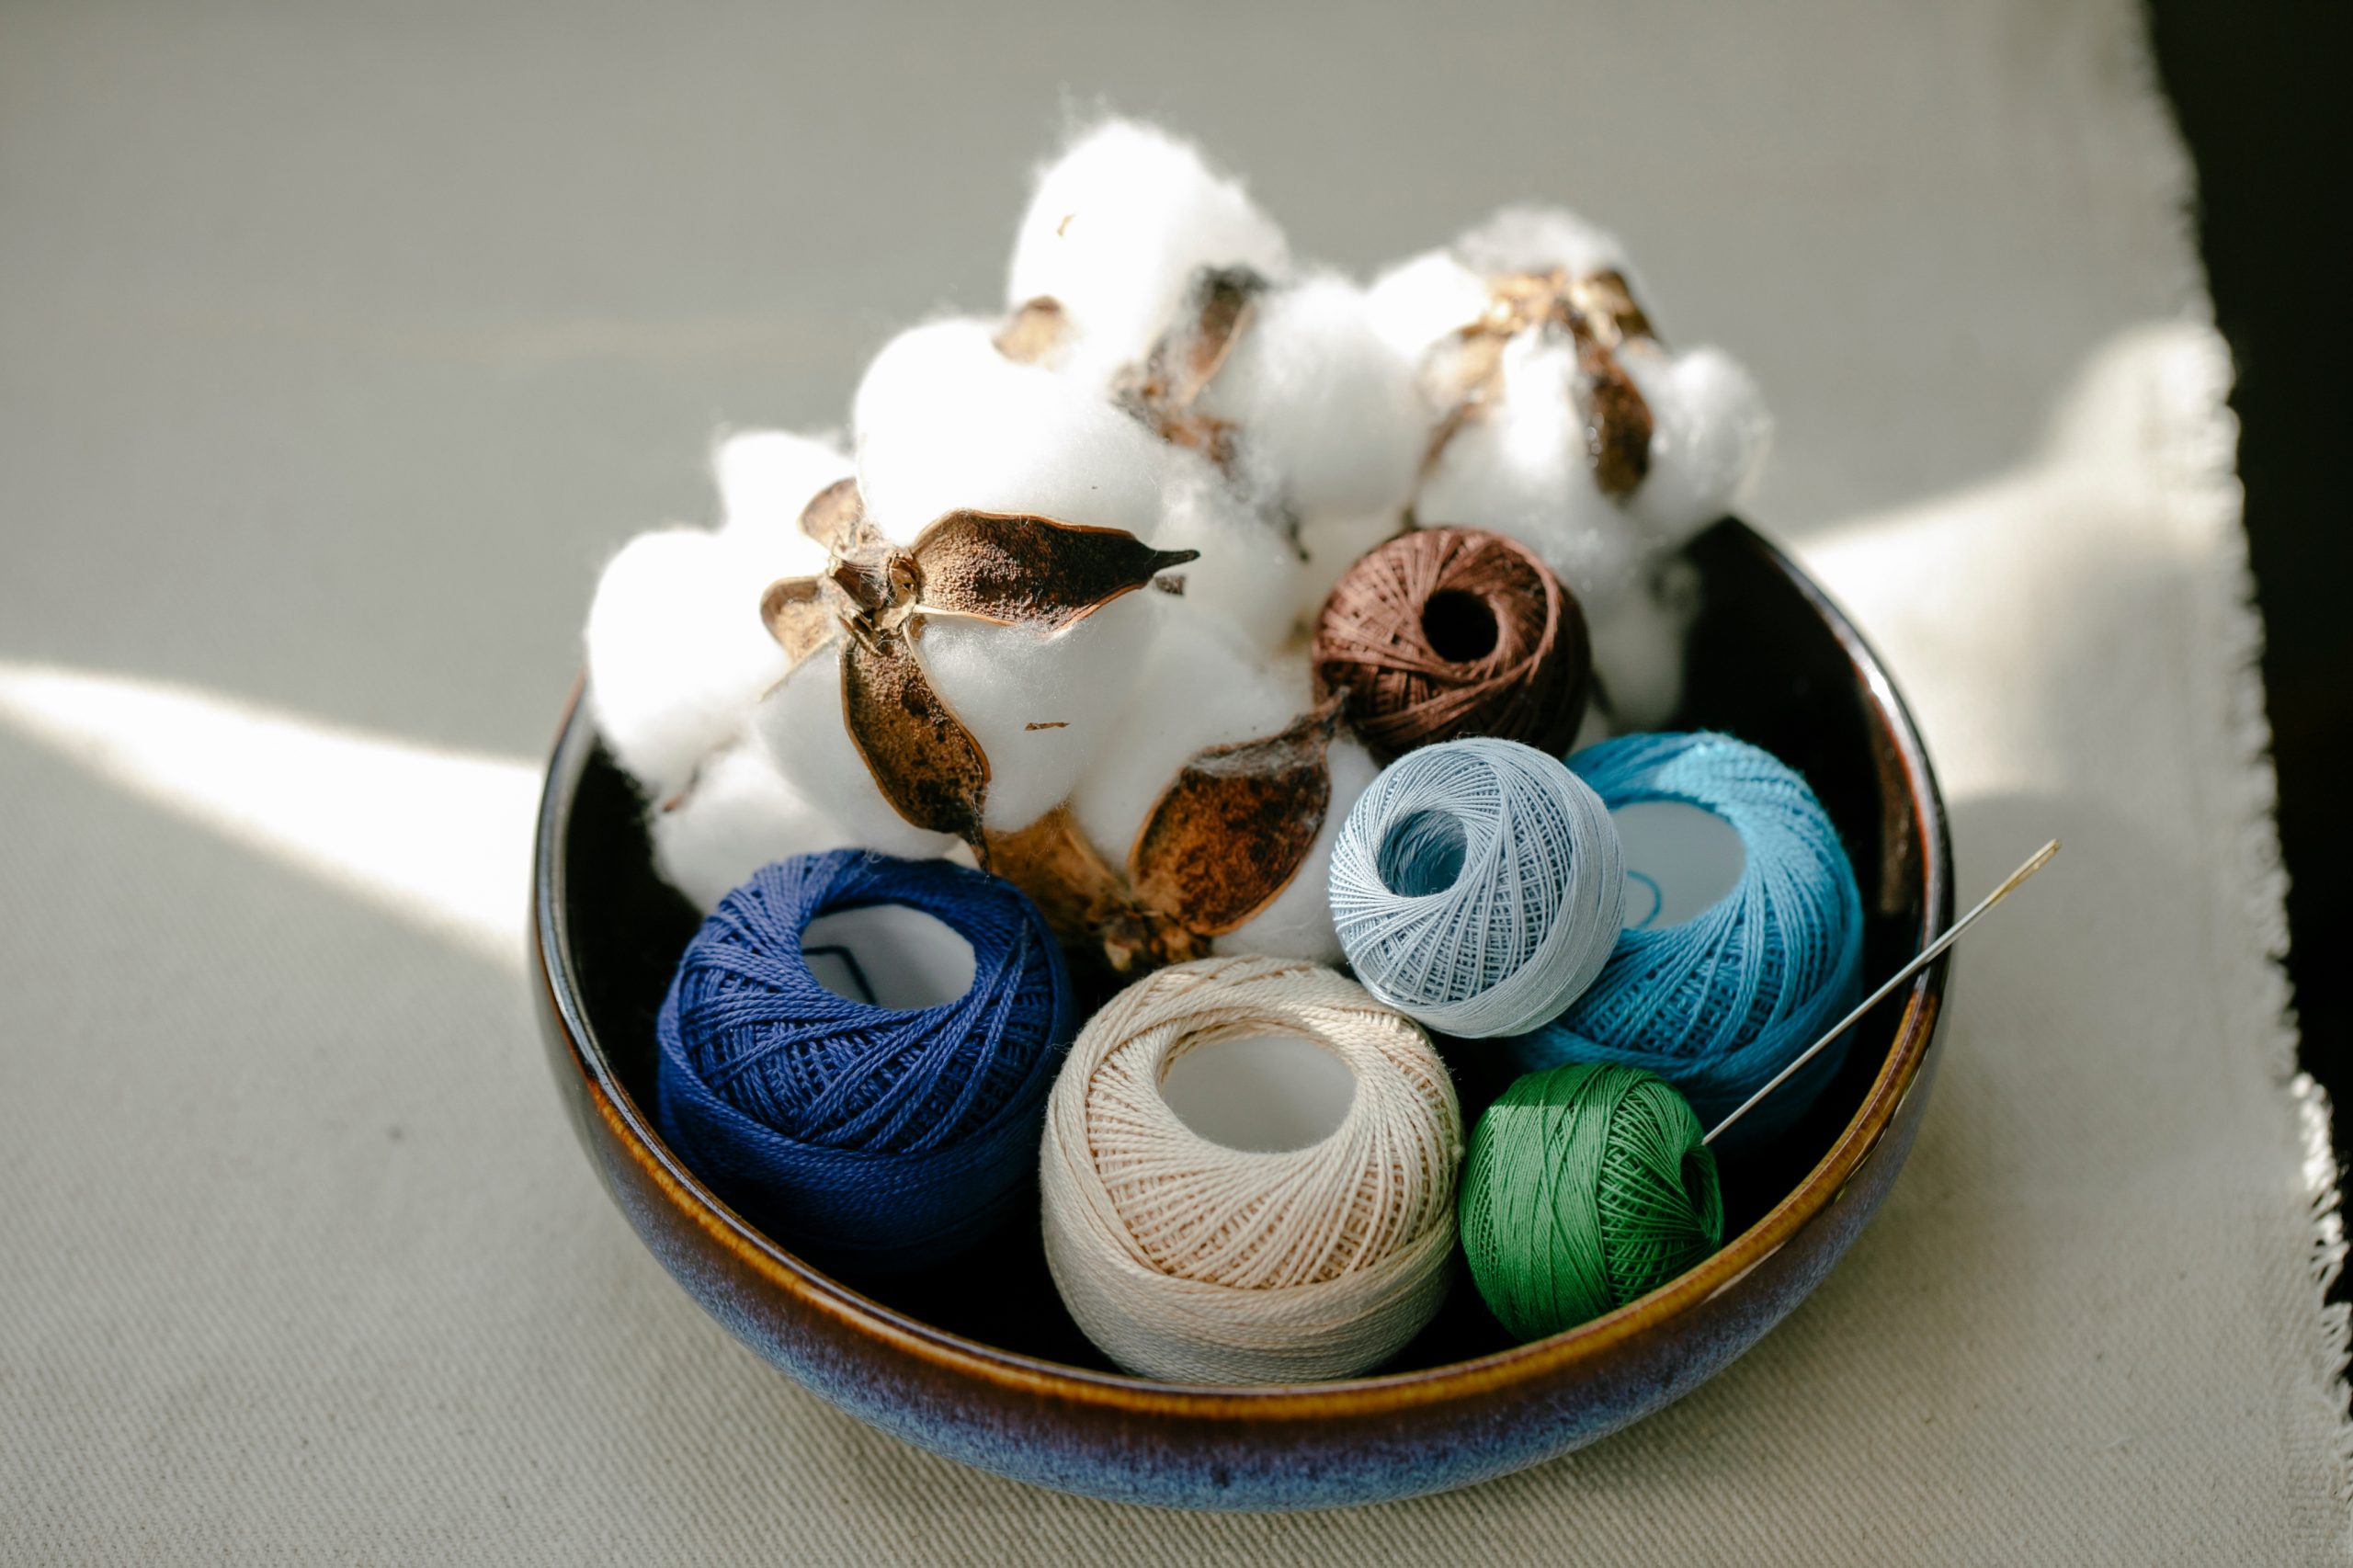
- Thread: This next must-have on your list of supplies. There are different types of threads available in the market like cotton, silk, nylon, and polyester. Choose a thread that is suitable for your project.
- Scissors: You will need a sharp pair of scissors to cut the thread.
- Beads: Beads can be added to your tatting project to give it an extra sparkle or texture. Choose beads that are small enough to fit through the eye of your tatting needle.
- Pattern Book: A pattern book helps make designs, but it is not mandatory. You can use it as a source of ideas most especially for needle tatting for beginners.
- Thread Conditioner: This can be used to help make the thread more manageable and easier to work with.
- Embroidery Hoop: An embroidery hoop can help keep your tatting in place while you work.
- Storage: A small container or pouch can keep your tatting supplies organized and in one place.
- Magnifier: A magnifier can be useful for working with small beads or intricate designs.
With these basic supplies, you can already make beautiful lace designs even if you are just at the needle tatting for beginners’ stage.
Novice Needle Tatting Techniques

Are you ready to get into the more important aspect of needle tatting for beginners? The tips and techniques to get your needle tatting skills on point. Here are some basic techniques for needle tatting:
Making a Double Stitch
One of the most basic techniques for needle tatting for beginners is the double stitch. To make a double stitch, insert the needle through the loop on the thread and pull it tight. Then insert the needle through the loop again and pull it tight to create a double stitch.
Adding Beads
To add a bead to your tatting, string the bead onto the thread before starting the double stitch. After making the double stitch, slide the bead up to the stitch and pull it tight.
Making Rings
To make a ring, make a double stitch, then slide the loop of the needle onto the working thread. Make another double stitch and slide it through the loop to make a ring.
Making Chains
To make a a chain, make a double stitch and slide the loop. Make another double stitch and slide it through the loop. Continue this process to a make chain of the desired length.
Joining Rings
To join two rings together, create a chain that is long enough to connect the two rings. Then, slide the chain through the first ring and create a new ring. Slide the second ring onto the needle and connect it to the chain by making a double stitch.
Finishing
To finish your tatting, cut the thread and thread it through a needle. Go through the needle and pull it tight. Trim any excess thread.
These are just a few basic techniques for needle tatting for beginners to be familiar with. There are many more advanced techniques and designs that you can explore once you have understood the basics of needle tatting for beginners.
Simple Needle Tatting Patterns (Flowers, Edgings, Jewellery, etc.)
When it comes to needle tatting for beginners, one of the best techniques to master is working with patterns. And what better way to practice your skills than by making beautiful and intricate pieces inspired by everyday objects? Patterns can range from jewellery designs, with delicate flowers and dainty earrings, to more whimsical motifs like angels and animals.
The possibilities are endless, and the beauty of needle tatting is that you can easily incorporate these patterns into your pieces, whether you are a beginner or a seasoned pro.
There are many different patterns and designs you can make. Here are a few examples:
Flowers
You can make a variety of different flower designs with needle tatting. Some popular options include daisies, roses, and lilies. Daisies, roses, and lilies are some of the most popular flower designs created through needle tatting.
To make a daisy, for example, a tatter can create several small loops that are connected together with knots to form petals, and then create a centre for the flower using a different thread colour. A rose can be created by forming spirals with the thread, while a lily can involve creating long, thin loops that are shaped and joined together to form the petals and stem of the flower.
Edgings
Needle tatting can be used to create beautiful edgings for items like handkerchiefs, tablecloths, and clothing. Some common edging designs include scallops, picots, and loops.
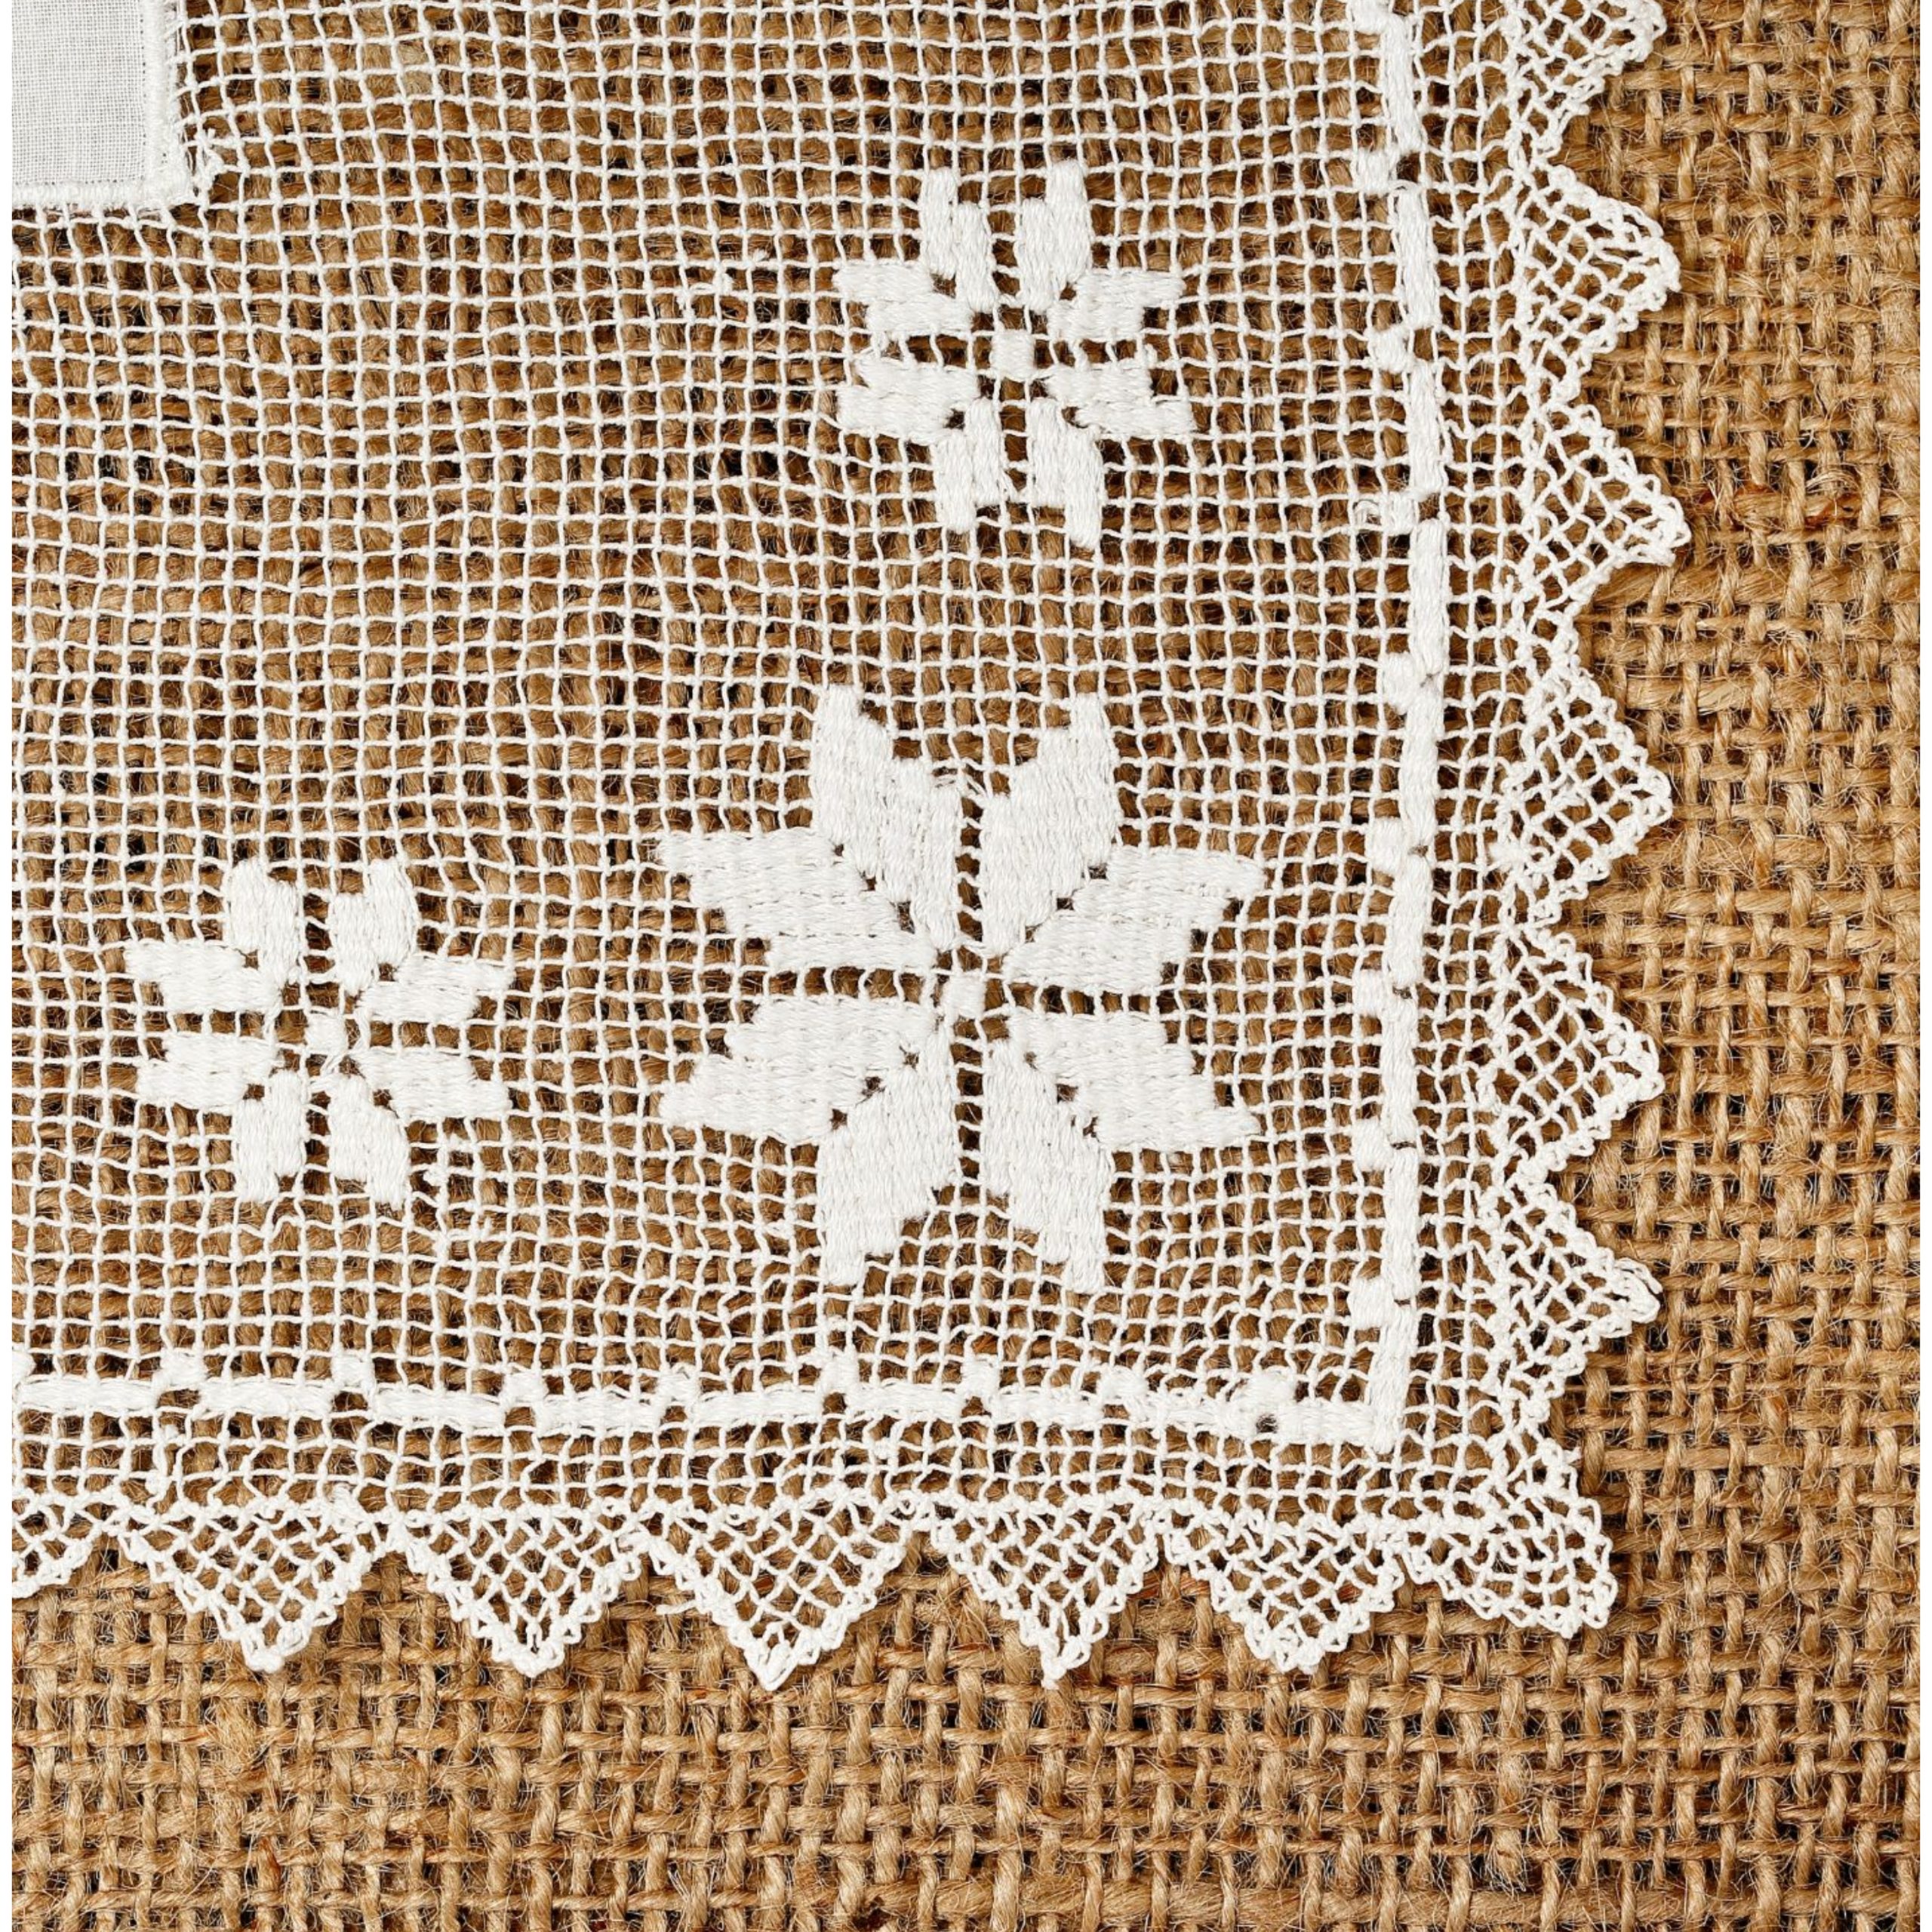
Scallops, picots, and loops are some common edging designs that can be created using needle tatting. Scallops are a series of small arches that create a decorative edge, while picots are small loops or points that are used to add texture and detail to the design. Loops can be a more intricate and delicate edge.
You can try making DIY throw pillows for couch and incorporate these edging techniques for a more unique and beautiful design. Immerse yourself in needle tatting for beginners and see how fun and rewarding it can be.
Jewellery
Needle tatting can also be for delicate and intricate jewellery pieces such as necklaces, bracelets, and earrings. Some popular designs for needle tatting for beginners include lace chokers, beaded bracelets, and tatted earrings.
To make a needle tatted jewellery piece, you will need a needle, thread, and beads (if desired). Start by making a series of knots and loops using the needle and thread, which can be shaped into a decorative pattern. The pattern can be as simple or complex as you like, depending on your skill level and creativity.
For example, to make a lace choker, you can make a series of loops and picots using the needle and thread. Adding beads to the thread before making knots and loops can also enhance the design.
To make a beaded bracelet, you can begin by making a foundation row of knots or loops, then add beads to the thread and make additional knots and loops to secure them in place. You can repeat this process to create a beaded pattern throughout the bracelet.
To make tatted earrings, you can make a pattern using knots and loops, and then add beads or other decorative elements to the design. The finished product can be attached to an earring hook or stud to create a beautiful and unique piece of jewellery.
Needle tatting allows for a wide range of creative possibilities when it comes to jewellery making, and the finished products are highly valued for their delicate and intricate beauty.
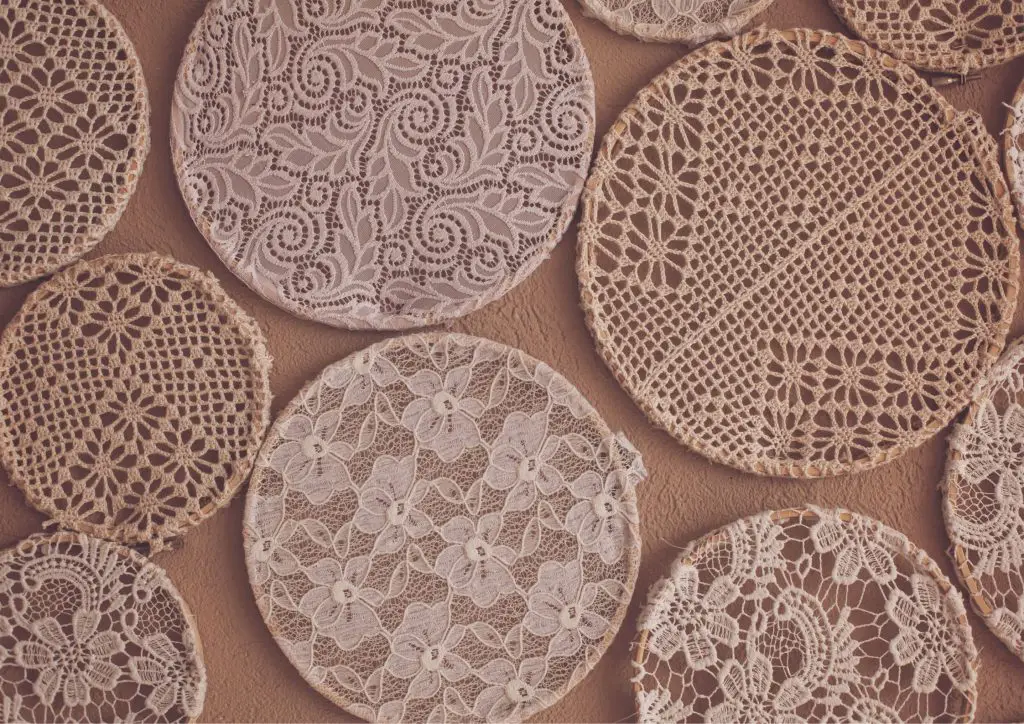
Doilies
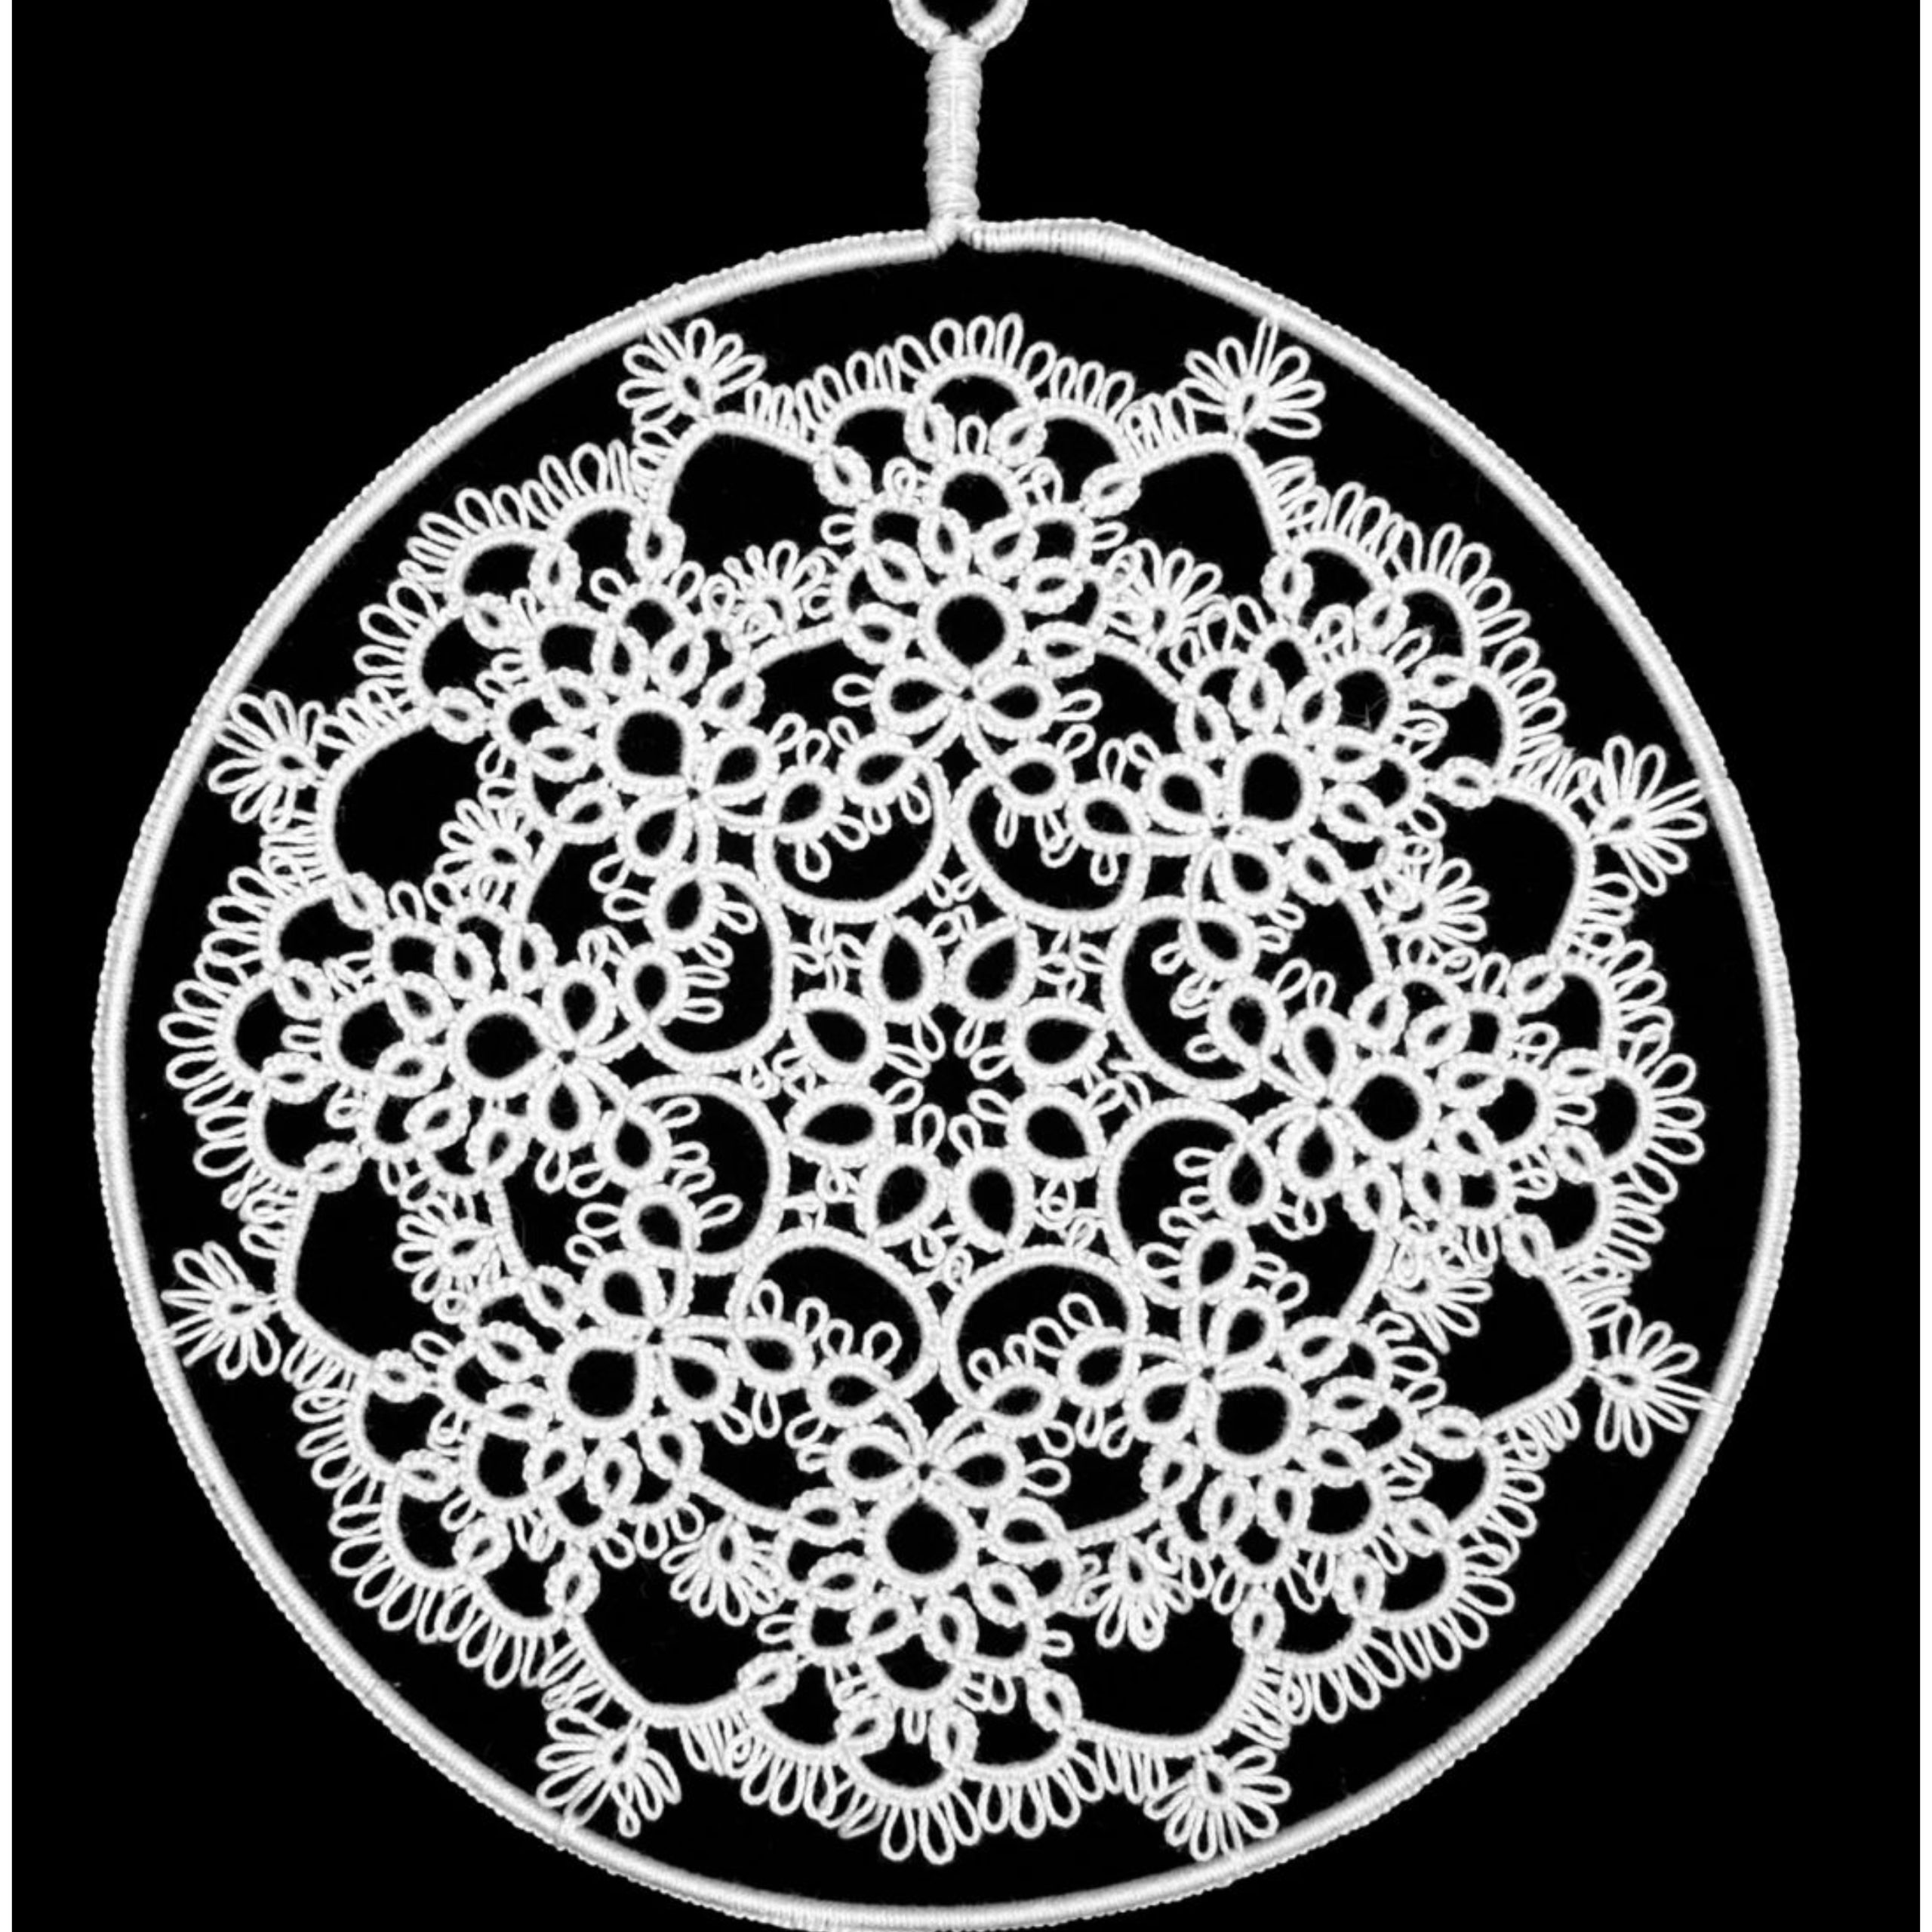
Needle tatting is a lace-making technique that can be used to create intricate and delicate doilies in various shapes and sizes. Doilies are decorative mats that can be placed on tables, dressers, or other surfaces to protect them from scratches or stains while adding a touch of elegance to the decor.
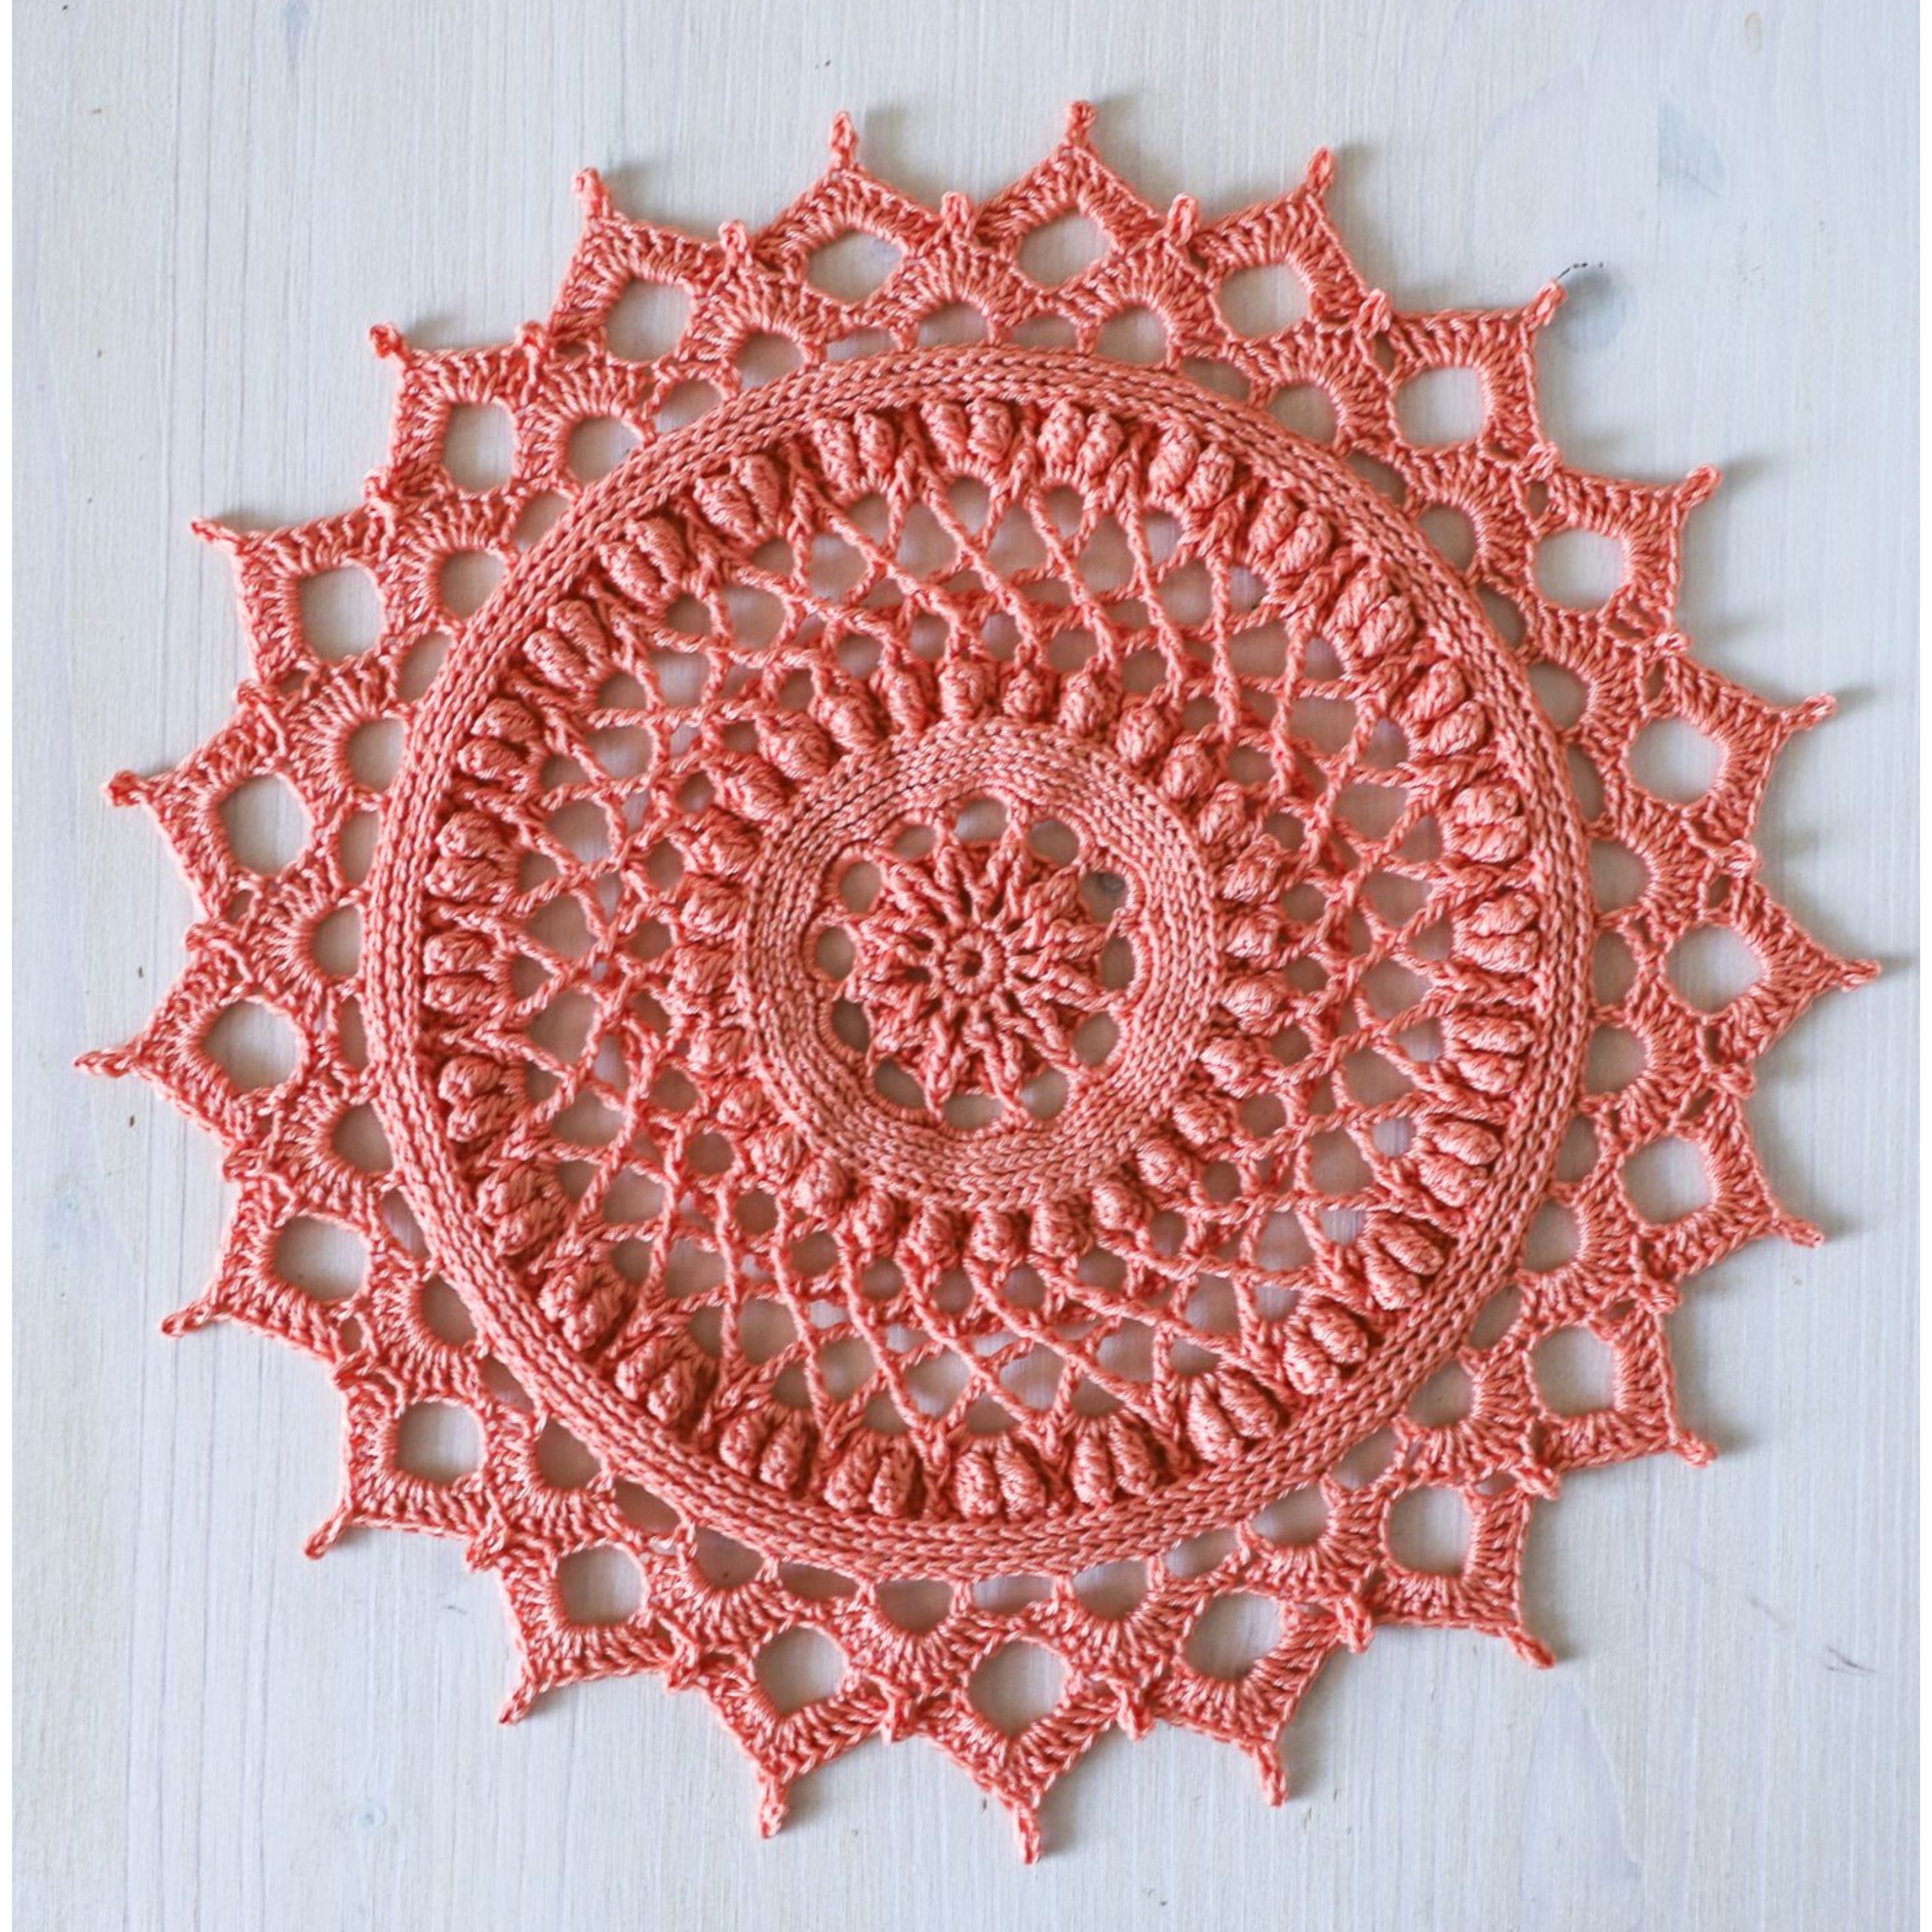
To make a needle-tatted doily, you will need a needle, thread, and a pattern. The pattern can be printed or drawn on paper or obtained from a book or online resource. Common shapes for needle-tatted doilies include circular, oval, and square, but other shapes such as triangular or hexagonal can also be used.
The process of creating a needle tatted doily involves creating a series of knots and loops using the needle and thread, which are then shaped into the desired pattern. The knots and loops are repeated around the centre of the doily, creating rows of exquisite lacework.
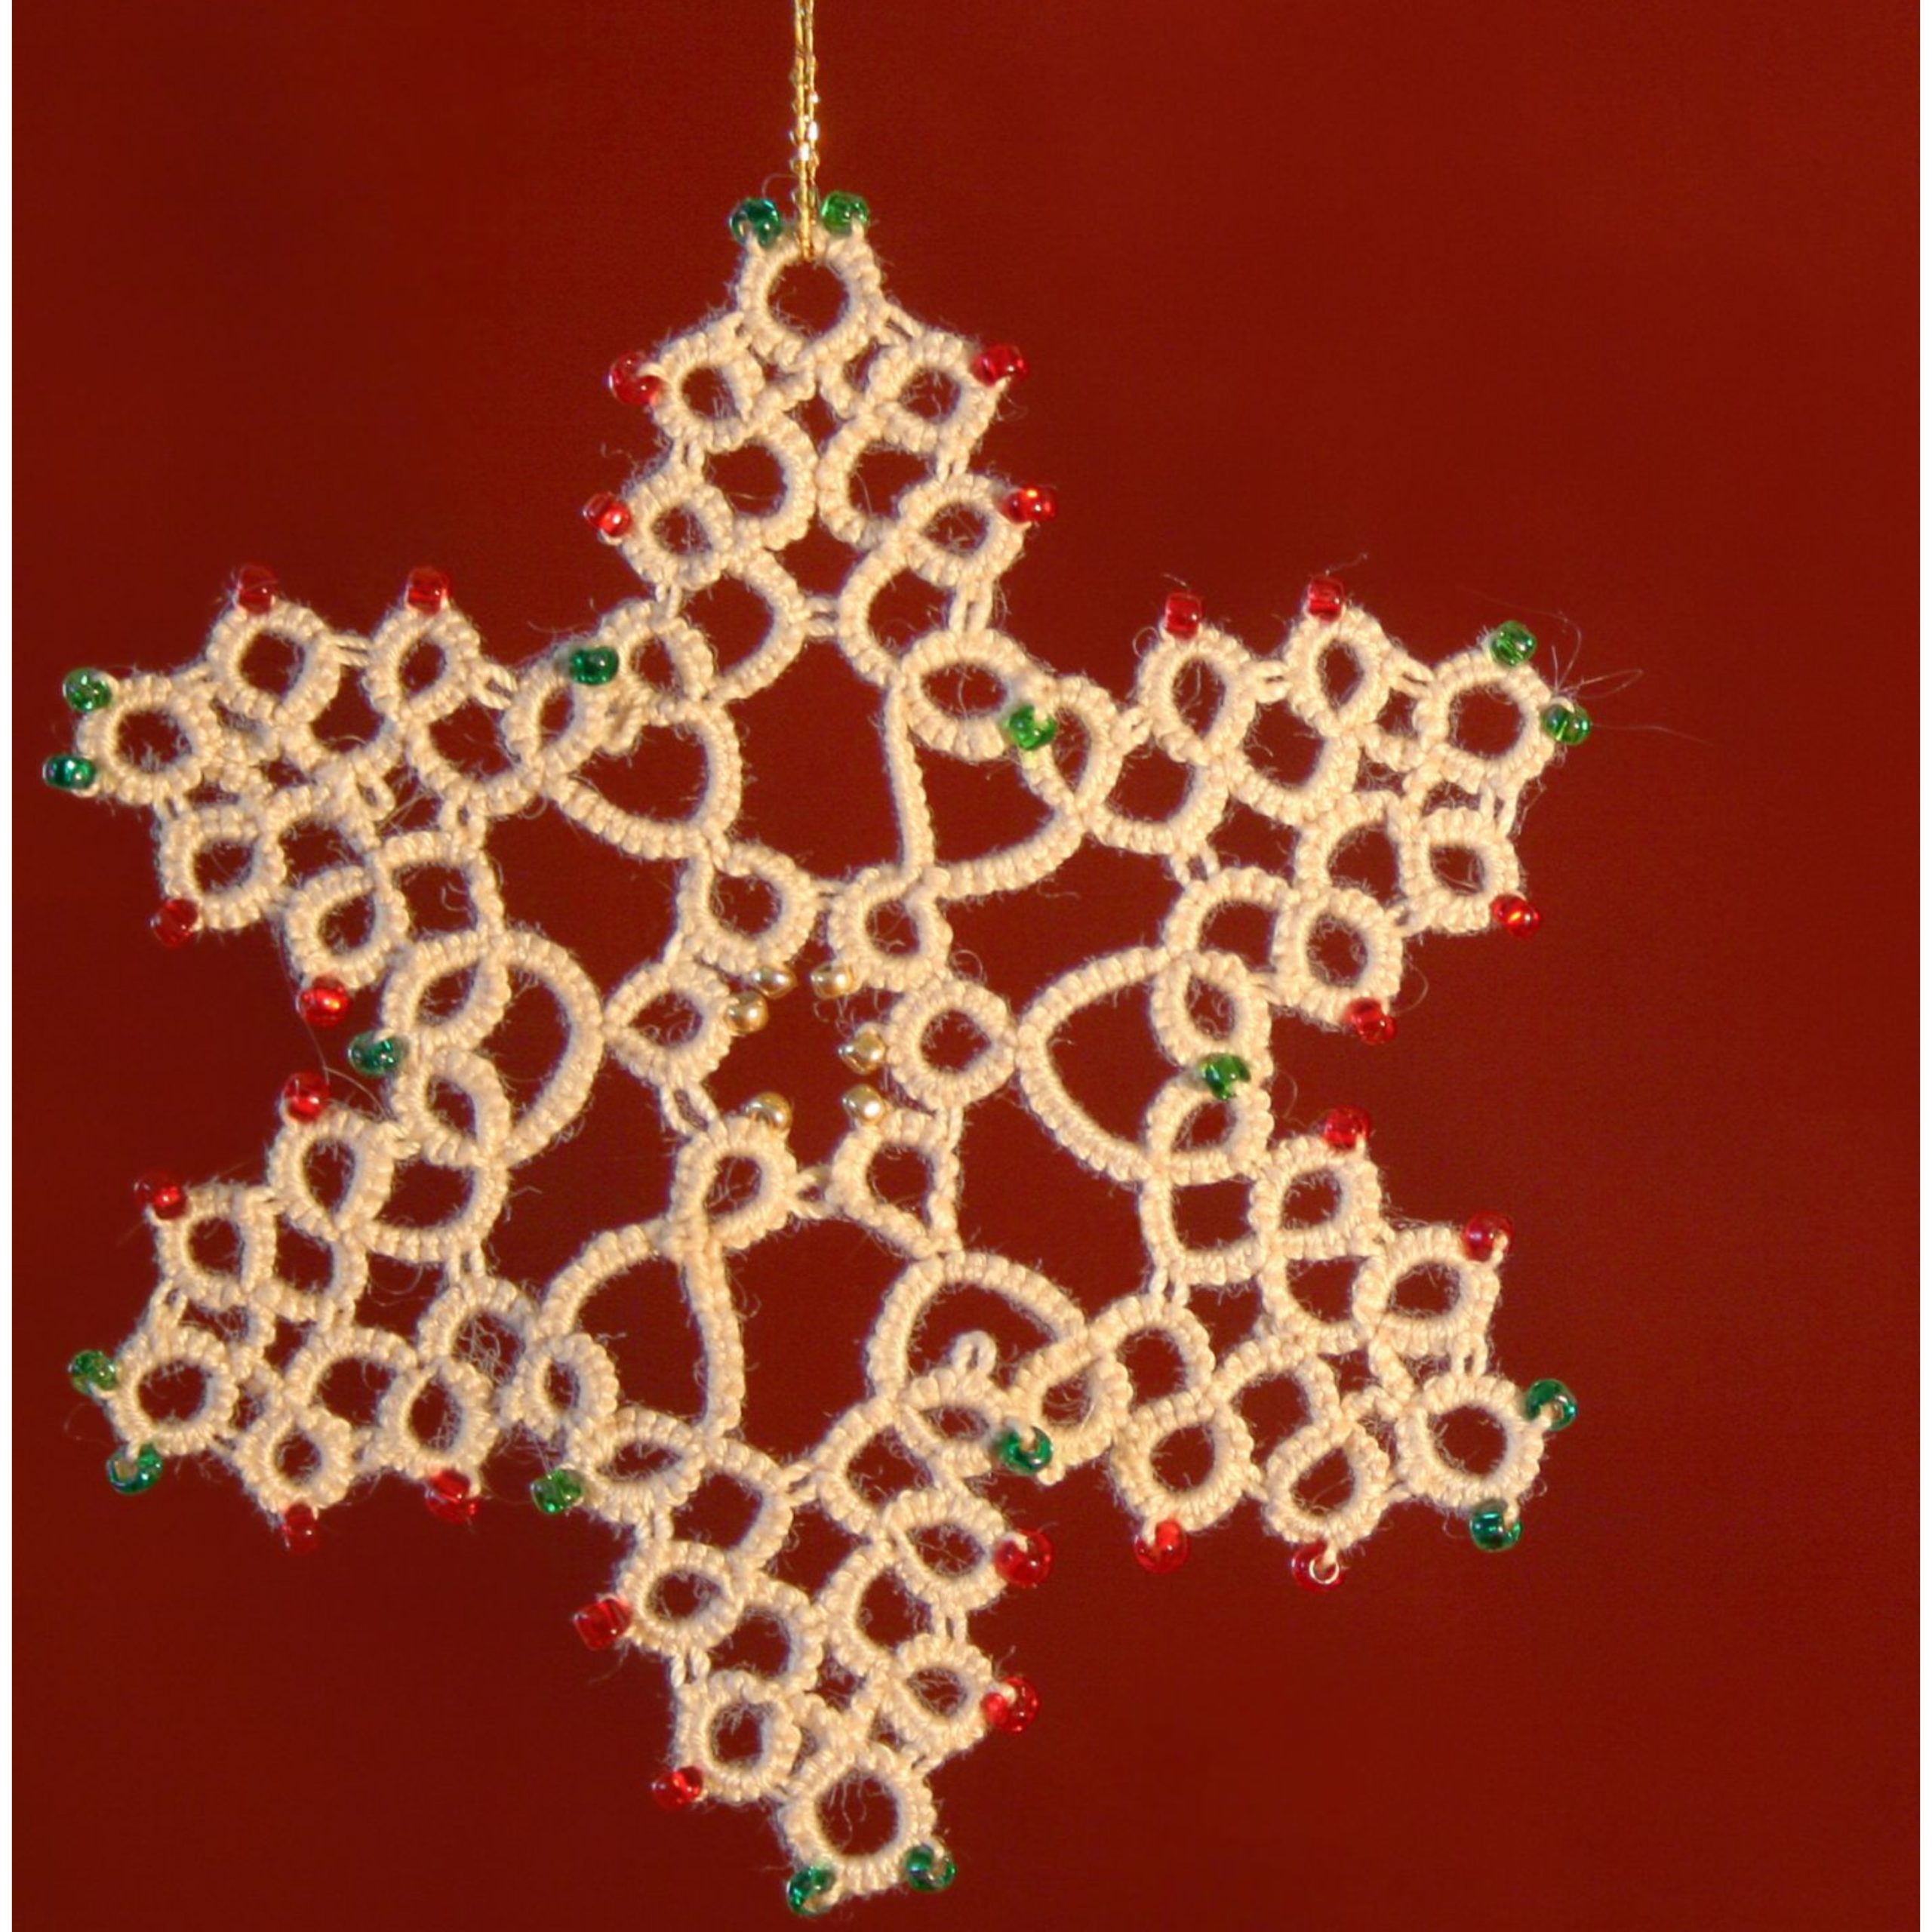
Snowflakes
Needle tatting is a popular technique for creating delicate snowflake designs, which can be used as ornaments or decorations during the winter months.
To create a needle-tatted snowflake, you will need a needle, thread, and a snowflake pattern. You can refer to a book or online resource for the pattern, or you can make your design. Snowflake patterns can vary in complexity, with some being simple and others requiring more advanced skills.
The process of creating a needle-tatted snowflake is basic when it comes to needle-tatting for beginners, creating a series of knots and loops using the needle and thread, which are then shaped into the desired pattern.
The knots and loops are repeated around the centre of the snowflake, making a beautiful and intricate lacework that resembles the structure of a real snowflake.
Motifs
Needle tatting can also be used to make various motifs, such as butterflies, hearts, and stars. The process of creating a needle-tatted motif involves making a series of knots and loops using the needle and thread, which are then shaped into your preferred pattern. The knots and loops are repeated around the centre of the motif, making a beautiful lacework.
Central to the creation of a needle-tatted motif is the repetition of these knots and loops around a central point. This repetitive action gradually builds the intricate lacework, with each knot and loop carefully placed to shape the motif’s desired pattern. Whether it’s the delicate wings of a butterfly, the gentle curves of a heart, or the pointed rays of a star, each motif takes shape through the precise arrangement of stitches.
Summary
To sum it up, mastering the art of needle tatting is a worthwhile pursuit for anyone looking to create delicate and intricate lacework. While it seems daunting at first, the tips and techniques mentioned in this article provide a helpful guide for needle tatting for beginners.
With practice and patience, even novices can create stunning lace designs using needle tatting. Whether it’s for personal enjoyment or to make unique gifts for loved ones, the skills learned through needle tatting for beginners are sure to impress.
Frequently Asked Questions
1. What is needle tatting?
Needle tatting is a technique used to create delicate lace-like designs using a needle instead of a traditional tatting shuttle. It involves making knots and loops with thread to form intricate patterns.
The technique demands both patience and precision, as artisans carefully orchestrate each stitch to achieve the desired effect. As the pattern unfolds, the intricate interplay of knots and loops gradually emerges, evoking a sense of timeless elegance and grace.
In essence, needle tatting stands as a testament to the enduring artistry of handcrafted lacework, where each stitch serves as a testament to the artisan’s skill and creativity. Through this delicate and intricate craft, enthusiasts find a means of expression that transcends time, weaving together threads of tradition and innovation to create timeless works of art.
2. Do you need any prior experience to start needle tatting?
While prior experience in crafting or needlework can be helpful, needle tatting can be learned by beginners with patience and practice. It’s a good idea to start with simpler patterns and gradually work your way up to more complex designs.
2. What supplies do you need to get started with needle tatting?
To begin needle tatting, you’ll need a tatting needle (available in various sizes), crochet thread or tatting thread, scissors, and a pattern to follow. You may also get a needle threader and a thimble helpful for certain techniques.
3. How do you thread a needle for tatting?
Threading a needle for tatting can be tricky due to the small eye of the needle. A needle threader can make this process easier. Simply insert the thread through the loop of the needle threader, then pull the loop through the eye of the needle, threading the thread through the loop and pulling it through.
4. What are some essential strategies for beginners?
- Practice holding the needle and tensioning the thread to achieve consistent knots.
- Start with simple patterns and gradually progress to more complex designs.
- Pay attention to the direction of your knots to ensure your work stays neat and uniform.
- Take your time and don’t get discouraged if it takes a while to get the hang of it.
5. Are there any common mistakes to avoid?
- Pulling the thread too tightly can distort the shape of your tatting or make it difficult to work with.
- Not securing your knots properly can cause your work to unravel.
- Skipping steps or not following the pattern closely can result in mistakes or an incomplete design.
- Taking on too many tasks or responsibilities can lead to burnout and reduced effectiveness. Learn to prioritize and say no when necessary to maintain a healthy balance in your life.
- Avoiding challenges due to the fear of failure can limit your potential. Embrace failures as learning experiences and opportunities for growth rather than setbacks.
- Focusing solely on career or personal goals without nurturing relationships can lead to loneliness and a lack of support. Allocate time for meaningful connections with family, friends, and colleagues.
These tips and techniques should help beginners get started with needle tatting and progress in their skills over time. Happy tatting!


