Last Updated on June 10, 2024 by Team Ideas24
Our tastes and reasons may vary, but – in a way – there are two types of readers: people who use bookmarks and people who dog-ear books. The feud between bookmarkers and dog ears is centuries old, and the arguments can get heated. As a bookmark user, I absolutely cannot understand why people dog-ear their books.

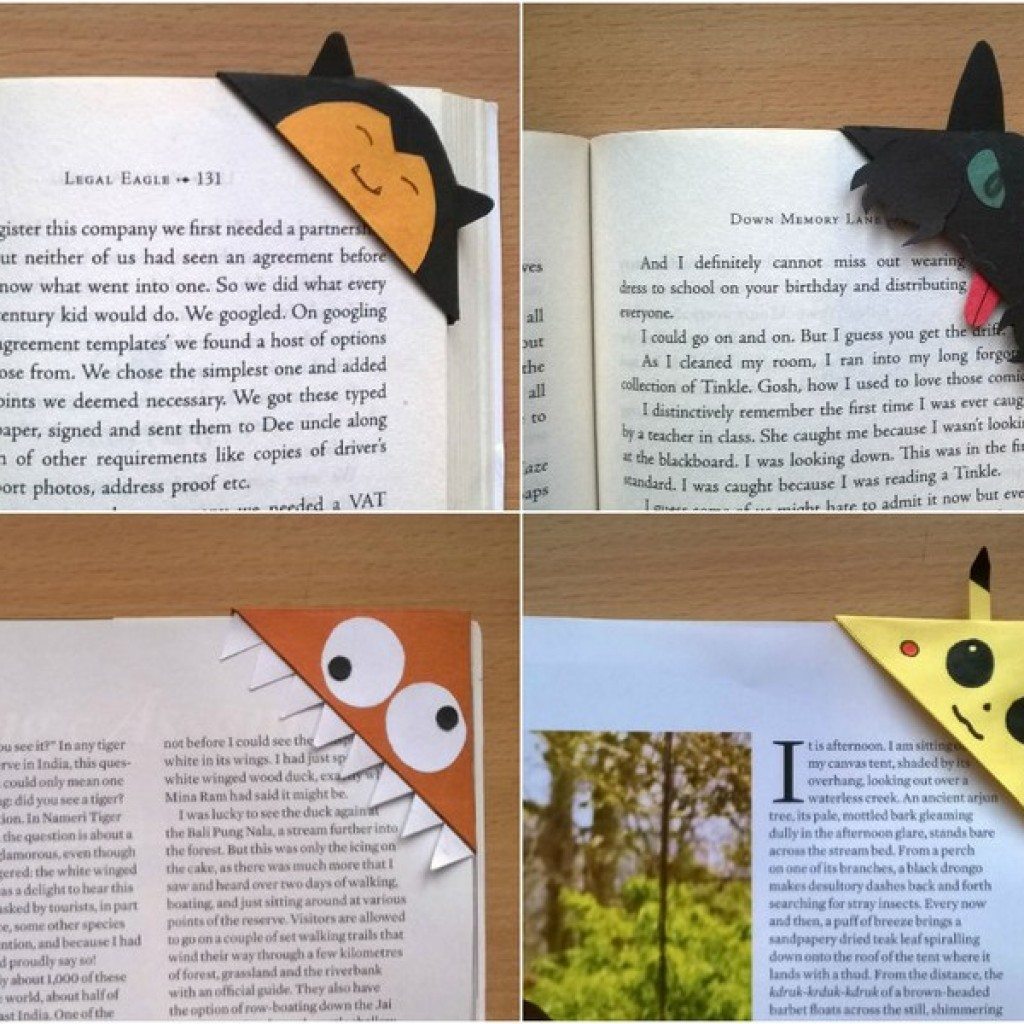
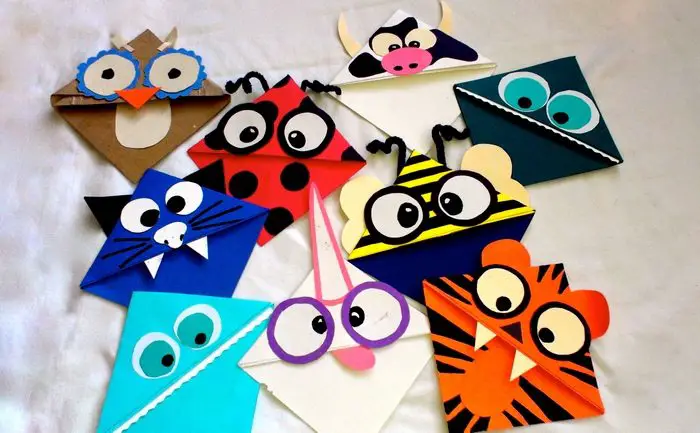
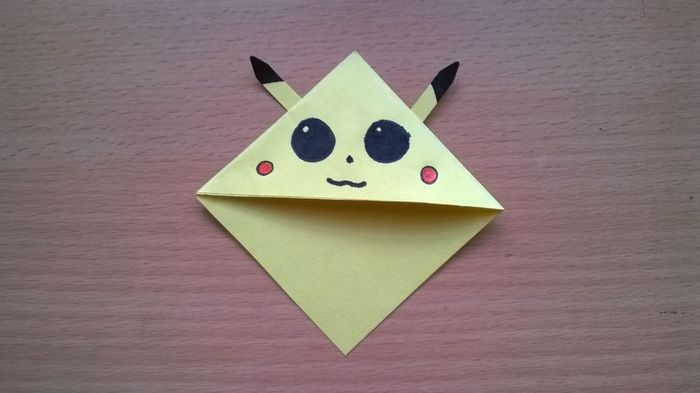
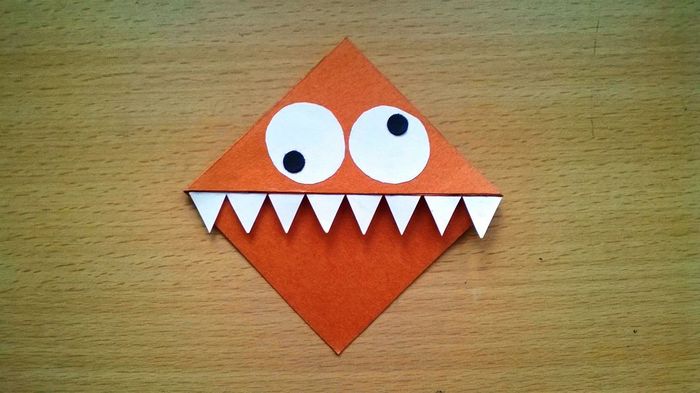
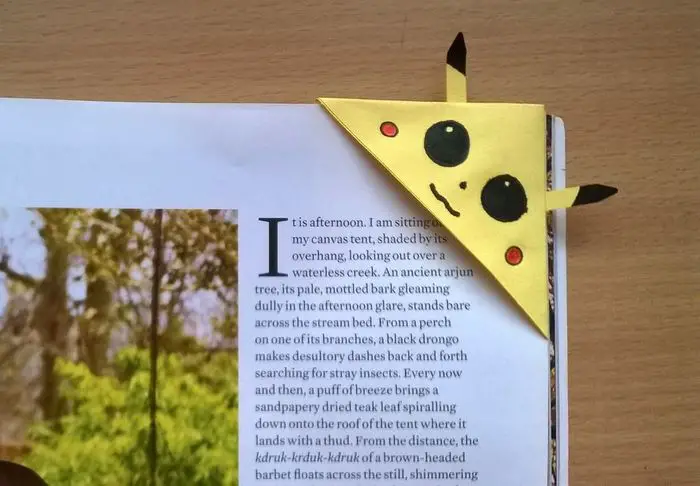
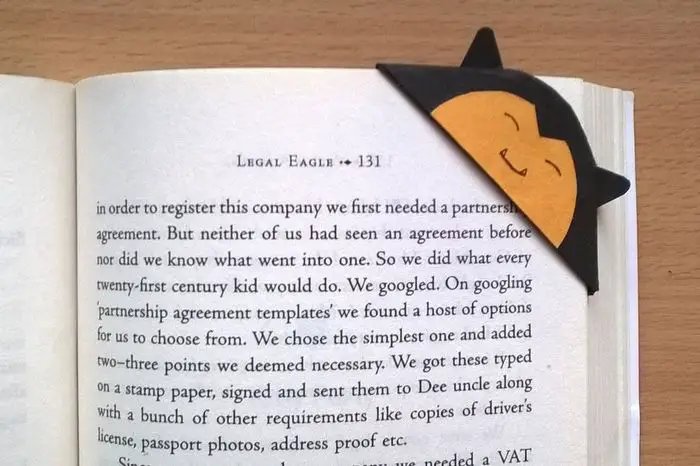
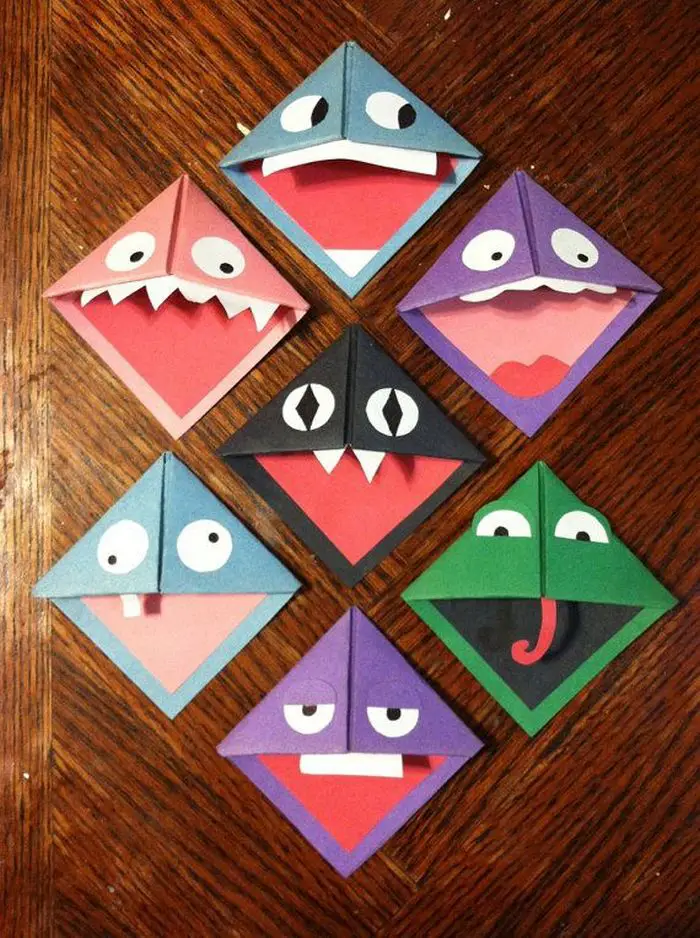
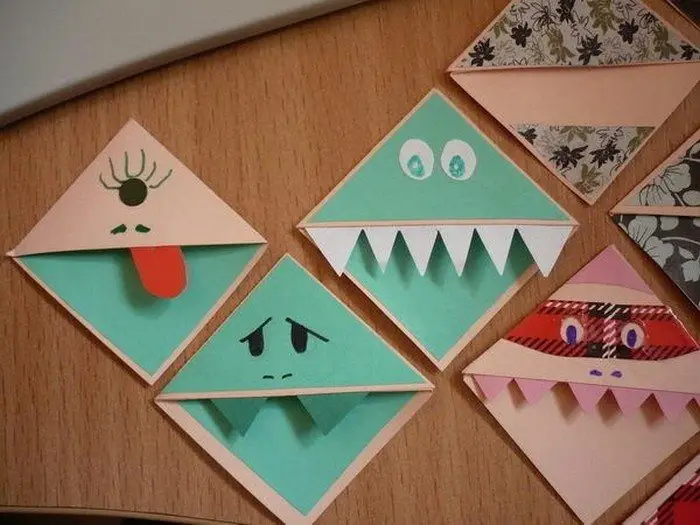
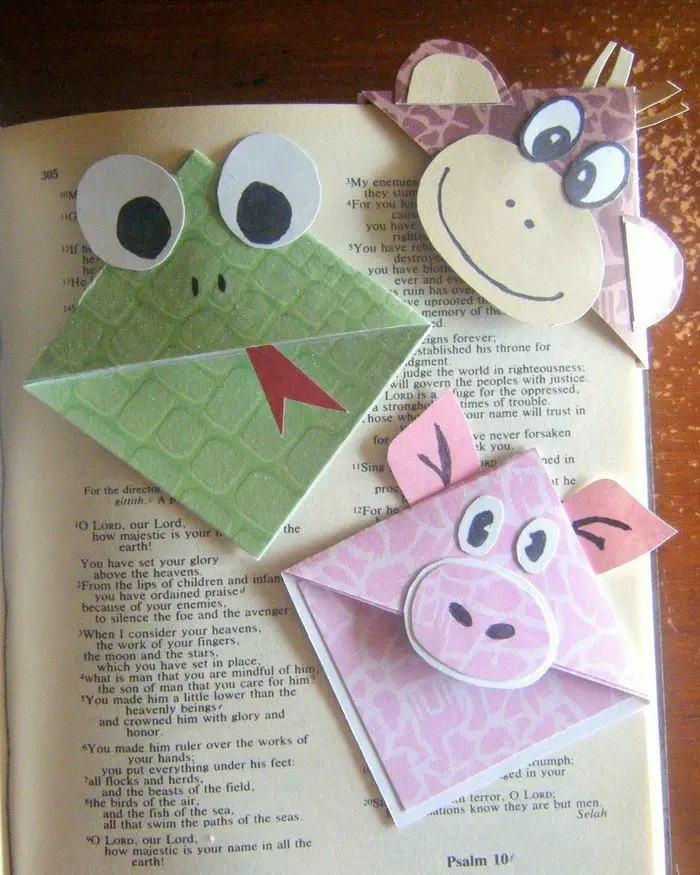
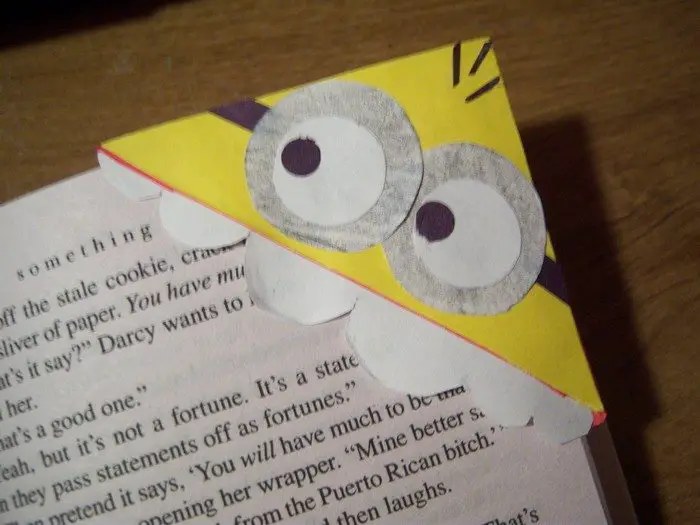
But then I have never been one to spend even a few coins on bookmarks. Why would you buy a bookmark when you can customize one for yourself? Aren’t these corner bookmarks cute? You can make one in less than five minutes. :)

Who is your favorite character? Start making one of these now!
Contents [show]
Making a Corner Bookmark
You’ll be needing these materials to create DIY corner bookmarks.
Materials
- Colored Paper
- Scissors
- Colouring Pens
- Pencil
- Ruler
- Glue
Click on any image to start the lightbox display. Use your Esc key to close the lightbox.


Instructions
1. Cut the paper
Cut the paper into a 12 cm x 12 cm square. Then divide it into 4 parts as shown.
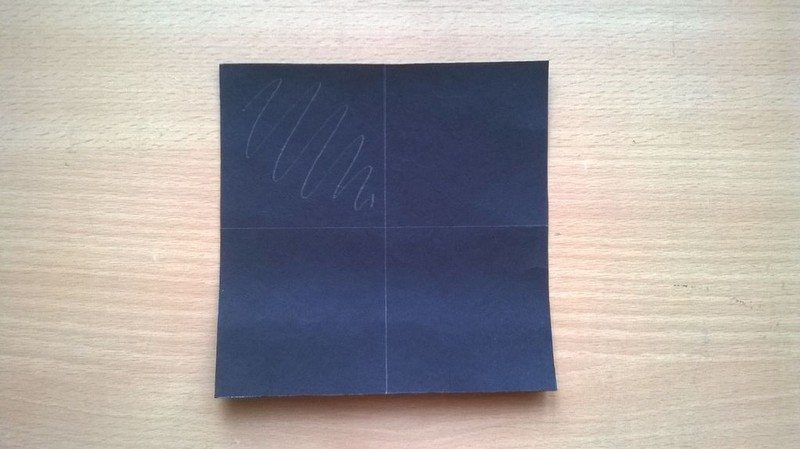
Cut out the part shaded with a pencil.

2. Fold the paper
Fold according to the pictures.

3. Apply the glue
Apply glue and fold the other part too.

4. Draw your favorite cartoon character
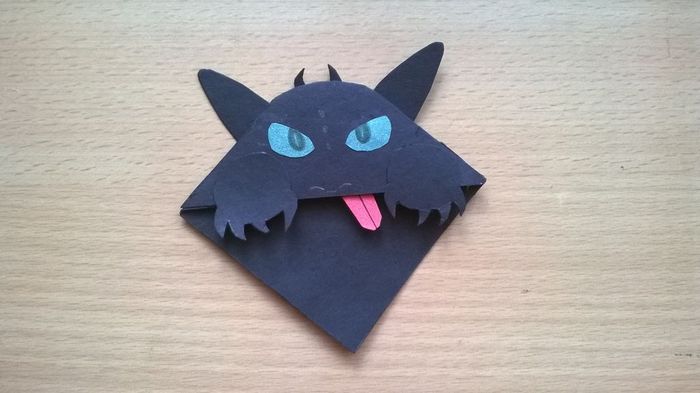
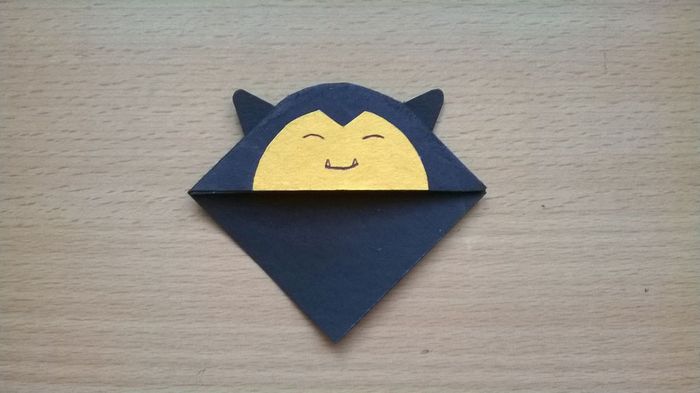
Let the inner artist in your work draw your favorite character, adding details to beautify your work. If possible add ears which could also serve as your tab when opening your book.
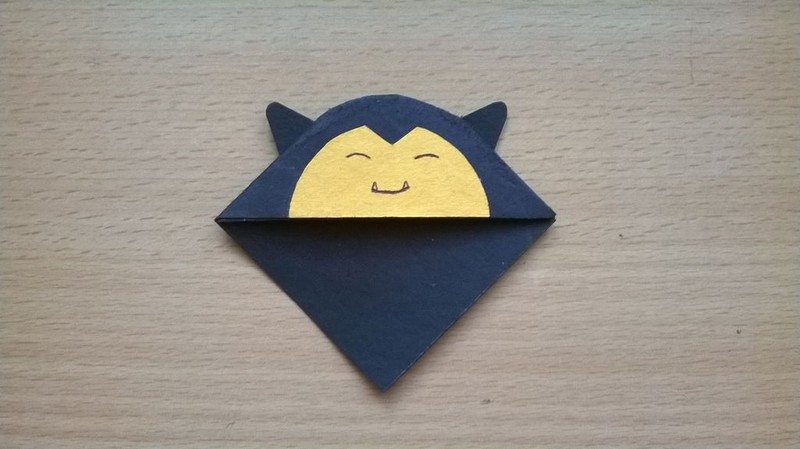
These can be made in all shapes, sizes, and colors and are perfect art projects or gifts!
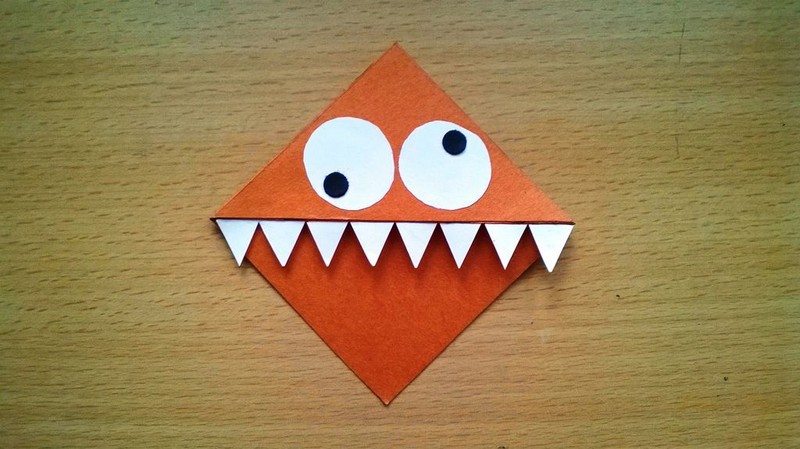
Do you have any other ideas for making a corner bookmark? Share it with us by creating a new project!
Source: advaym
Advanced DIY Corner Bookmark Designs
Try these sophisticated do-it-yourself page holder designs to up your creative game. For individuals who have mastered the fundamentals and are prepared to investigate more complex and imaginative choices, these concepts are ideal. Whether you’re an experienced maker or simply seeking a fresh challenge, these crafts will improve your abilities and give your reading accessories a sophisticated touch.
Multi-Layered Creations
Discover the technique of layering by putting together various paper colors and textures to make elaborate designs. Start by deciding on a theme, such as abstract art or nature. Cut out different colored papers into designs such as leaves, geometric patterns, or even waves. Use double-sided tape or foam spacers to layer these components to give the illusion that your design is three-dimensional. This process not only increases
Themed Designs for Special Occasions
Celebrate holidays and special events with themed designs. For Halloween, you could craft designs resembling pumpkins, ghosts, or witches’ hats. Use vibrant, festive colors and add elements like glitter or glow-in-the-dark paint for a spooky touch. For Christmas, think of Santa hats, Christmas trees, or reindeer. Incorporating elements like tiny bells or ribbons can make these gifts even more special.
Pop-Up Features
Take your designs to the next level with pop-up features. This technique involves cutting and folding parts of your design so that they stand upright when the page is opened. It’s perfect for creating a mini pop-up book effect. Imagine opening your book to a small pop-up butterfly or a blooming flower. The key here is precise cutting and folding, which can be achieved with a craft knife and a good scoring tool.
3D Characters and Scenes
Create characters from your favorite books or movies with a 3D twist as your corner bookmark. These require more detailed work and might involve elements like accordion folds or rolled paper to create body parts and other details. Adding movable parts, such as arms or heads that can pivot, will bring these characters to life. Not only are these fun to make, but they also engage with the theme of your reading material, enhancing your overall experience.
Incorporating Textures and Fabrics
Dive into a mix of mediums by adding textures like fabric, felt, or leather to your corner bookmark projects. This technique allows for a rich, tactile experience. Cut small pieces of fabric in shapes that complement your design, such as floral patterns or abstract shapes. Use fabric glue to attach these to your paper base, ensuring a seamless blend between the materials. You can also stitch details onto the fabric before attaching it for an added touch of handcrafted elegance.
Embellishing with Fine Arts Techniques
Combine fine arts techniques like watercolor painting or ink drawing into your corner bookmark designs. Begin with a simple watercolor wash in gradients or abstract blobs on watercolor paper. Once dry, cut this into your desired shape. You can enhance these with fine line drawings using ink pens or add metallic highlights with gold leaf or foil transfer. This approach not only makes each piece a mini artwork but also adds a personal touch that can’t be replicated.
Interactive Elements
Create corner bookmarks that feature interactive elements such as flaps or sliders. These can reveal different scenes or colors as you interact with them, adding an element of surprise and engagement. For instance, a flap could uncover a hidden message or a favorite quote from the book you’re reading. Sliders could change the scene from day to night or reveal character transformations.
Advanced Geometric Cuts
Try out some sophisticated geometric cuts using a precise cutting tool. Create elaborate designs like tessellations, starbursts, and mandalas. These patterns yield a visually arresting and extremely exact design, but they do demand careful planning and execution. To make the designs stand out, use contrasting colors behind the cutouts. Alternatively, layer several cutouts at different depths to produce an illusion of depth.
By experimenting with these sophisticated patterns, you’ll improve your creating abilities and produce stunning, useful artwork that enhances the pleasure of reading. These elegant designs are sure to make an impression, whether they are used for personal use or given as kind presents.
Gift-Giving and Personalization Options
Creating personalized corner bookmarks is a thoughtful and creative way to show appreciation or celebrate special occasions. With a few crafting skills and some imagination, you can tailor each design to reflect the personality and preferences of the recipient, making your gift both meaningful and unique.
Adding Personal Messages and Quotes
One of the most heartfelt ways to personalize a corner bookmark is to include a favorite quote or a personalized message. This could be a famous line from the recipient’s favorite book, a motivational quote, or a simple message expressing your thoughts. Use fine-tipped markers or calligraphy pens to write the message directly on the bookmark, or print it on a small piece of paper and attach it with decorative washi tape.
Themed Designs for Individual Interests
Tailor your corner bookmark designs to the interests or hobbies of the person receiving them. For a music lover, you might create a bookmark shaped like a musical note or a guitar. For avid travelers, a corner bookmark featuring famous landmarks or maps would be ideal. This customization shows that you’ve put thought into the gift, making it all the more special.
Incorporating Birthstones and Colors
Enhance your corner bookmarks by adding elements like birthstones or using the recipient’s favorite colors. You can attach small gemstones or beads that correspond to their birth month or include designs in colors they love. This not only personalizes the bookmark but also adds a touch of luxury and aesthetic appeal.
Custom Shapes and Initials
Cut bookmarks into shapes that are significant to the recipient, such as their initials, favorite animals, or objects that have a personal meaning. Using a craft cutter or a sharp pair of scissors, you can create detailed and precise shapes that make the corner bookmark uniquely theirs.
Packaging and Presentation
The way you present your personalized bookmark can enhance the gifting experience. Consider creating a custom sleeve or envelope for the bookmark, using matching or complementary papers. Add a wax seal or a ribbon for a touch of elegance. You can also pair the bookmark with a book you know they’ve been wanting to read, combining the personalized bookmark with a thoughtful companion gift.
Utilizing Photos and Collages
Make the bookmark even more personal by incorporating photos, especially for family members or close friends. Use a photo of a special moment, or create a collage of several images that tell a story. This can be particularly touching for commemorating events like graduations, weddings, or anniversaries. Ensure the images are printed on high-quality photo paper and sealed properly to protect them from wear and tear.
Engraving and Embossing
For a more sophisticated touch, consider engraving or embossing initials or special dates onto the bookmark. This can be done on metal bookmarks or those made from thicker materials like leather. Engraving adds a permanent and elegant personalization that is ideal for a high-end gift.
Crafting with Symbols and Icons
Include symbols or icons that have special meaning to the recipient. For example, if they love astrology, you might add zodiac signs, or if they have a spiritual inclination, religious or spiritual symbols could be included. These elements can be drawn, printed, or even stitched onto the bookmark, depending on the material used.
Interactive and Functional Features
Add functional elements that go beyond the corner bookmark’s primary purpose. Incorporate a small pocket for notes or a loop to hold a pen. These practical additions enhance the usability of the bookmark, making it not only a beautiful keepsake but also a handy tool for readers.
Seasonal and Holiday Themes
Tailor bookmarks to the current season or upcoming holidays. For instance, create bookmarks with a winter theme using blues and whites and snowflake designs, or vibrant floral patterns for spring. These themed bookmarks can be given as part of a seasonal gift package, perhaps alongside a seasonal blend of tea or a scented candle.
Artisan Techniques
Use artisan techniques such as water marbling, batik, or shibori to create unique patterns on fabric bookmarks. These techniques offer a chance to experiment with colors and patterns, resulting in one-of-a-kind pieces that can be very personal if you use colors or patterns that you know the recipient will love.
By incorporating these personal touches, your crafted bookmarks transform from simple placeholders to cherished keepsakes that the recipients will treasure every time they open their favorite books.
Conclusion
Crafting a corner bookmark is a delightful and creative project that combines artistry with functionality. These personalized bookmarks not only keep your place in a book but also add a personal touch to your reading experience. With endless possibilities for customization, each bookmark can be a unique reflection of your style or a thoughtful gift for a fellow book lover.
If you liked this project, you might also like to view DIY Bird Bookmarks…

