
Last Updated on March 31, 2025 by Team Ideas24
I have pieces of fabric in my closet which I have kept from way back. I did it even without fully knowing where to use them. They’re in excess fabric from making play costumes for the kids, from their school projects, and from when I was learning how to sew.
I opened my closet one time with the urge to do something about those. I searched for DIY projects on the Internet. There were too many DIYs needing fabric, but scissor holders were the perfect item because, coincidentally, teacher’s day is coming up.
Since this one’s pretty easy to work, I was able to finish all 5 in a day. I need not worry about what to give my kids’ teachers anymore. Also, I need not spend much on gifts just like last year. Such a lifesaver!

Contents [show]
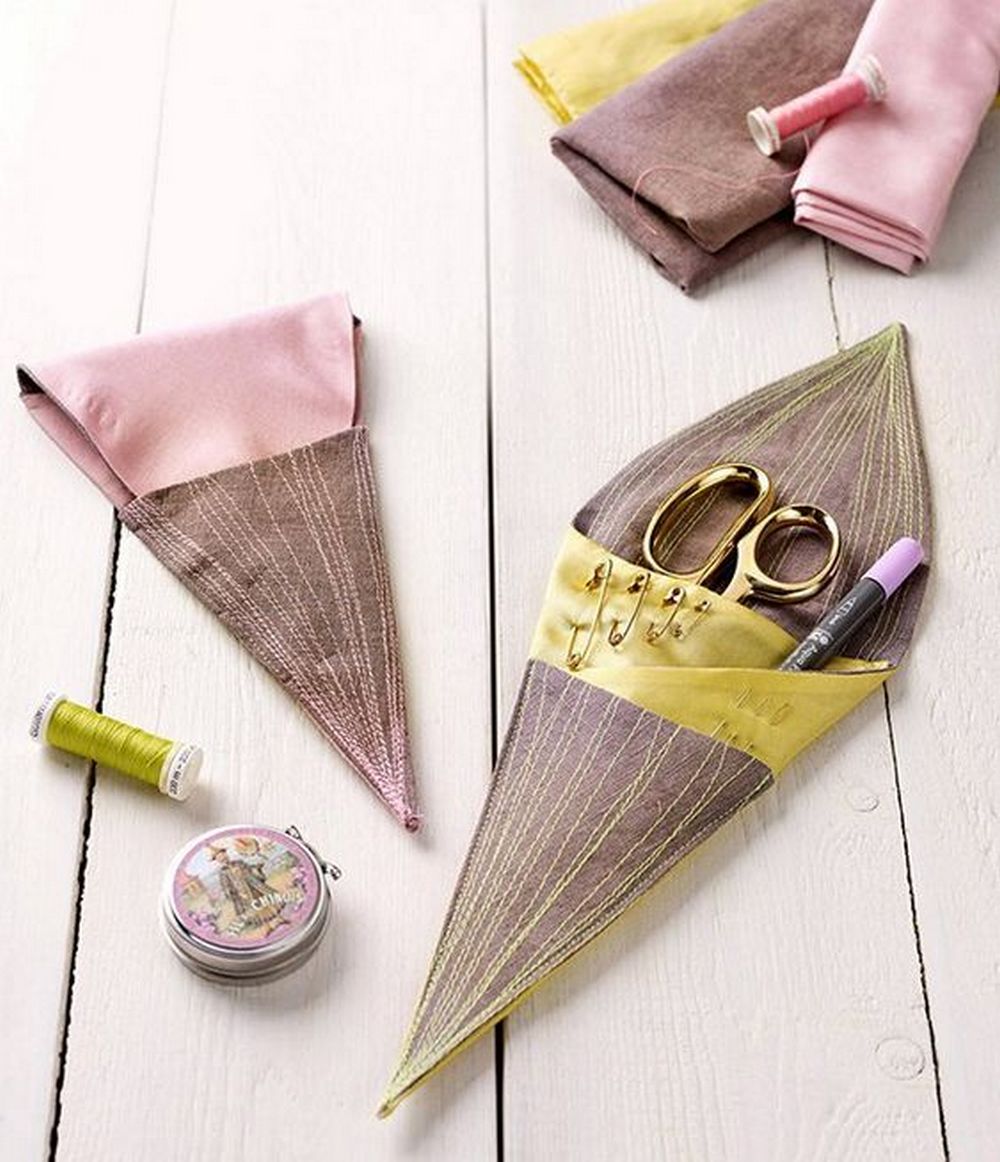
Crafting Scissor Holders
Materials:
- 1 81/2″ x 11″ plain piece of paper
- Two fat quarters of fabric (one for each side of the scissor/tool holder)
- One scrap of cotton batting 10″ x 12″
- Matching threads
Tools:
- Ruler
- Pencil
- Paper or craft scissors
- Sewing machine with a walking foot
- Rotary cutter, mat, and clear acrylic ruler
- Iron and ironing board
Steps:
Step 1: Create a Pattern Template
Take your 8½″ x 11″ sheet of paper and fold it in half vertically. Use a pencil and ruler to draw a triangle that resembles a pocket or cone shape. The base should be wide enough to fit your scissors and the length should give them full coverage. Cut out the shape with paper or craft scissors. This will serve as your pattern.
Step 2: Cut the Fabric and Batting
Lay your fabric flat on a cutting mat. Place the paper template on the wrong side of one fat quarter. Trace the shape using a pencil or fabric marker. Cut it out using a rotary cutter and acrylic ruler to keep edges clean. Repeat this for the second fabric and the cotton batting. You should now have three pieces—two fabric cuts and one batting layer—all in the same shape.
Step 3: Layer the Pieces
Layer the pieces in this order: batting on the bottom, then one fabric piece right side up, and the other fabric piece right side down on top. You’re creating a sandwich with the right sides of the fabric facing each other and the batting behind.
Step 4: Pin and Sew
Use pins or fabric clips to hold the layers together. Sew around the edge using a ¼″ seam allowance. Leave a 2″ opening along one side so you can turn it right side out later.
Step 5: Trim and Turn
Trim the seam allowance slightly, especially around the corners or curves, to reduce bulk. Turn the entire piece right side out through the opening. Use a blunt tool or your fingers to push out the edges and corners.
Step 6: Press and Topstitch
Use your iron and ironing board to press the holder flat, making sure the edges are crisp. Fold in the raw edges of the opening and press them as well. Topstitch around the entire piece, about ⅛″ from the edge. This will close the opening and give it a finished look.
Step 7: Fold and Sew Into Shape
Fold the bottom of the piece up to form a pocket. Adjust the height so your scissors sit snugly inside. Pin the edges in place. Sew along both sides of the pocket, reinforcing the bottom corners if needed.
Step 8: Final Press
Give your finished scissor holder a final press to set the seams. Your handmade scissor holder is now ready to use or give as a gift.
For a visual guide, check out the video below.
Best Fabrics and Materials for DIY Scissor Holders
Choosing the right fabric and materials makes a big difference when crafting a DIY scissor holder. While it’s tempting to grab any leftover fabric from your stash, some fabrics work better than others. The ideal fabric should offer a balance of durability, structure, and aesthetic appeal. You’ll want your holder to last, protect your scissors, and look good on your craft table or in your bag.
Cotton Fabric
Quilting cotton is one of the best options for scissor holders. It’s easy to sew, presses well, and holds its shape. Because it comes in endless patterns and colors, it lets you personalize your project. It’s also sturdy enough to handle frequent use. If you’re a beginner, cotton is forgiving and won’t slip around while you’re sewing.
Canvas or Duck Cloth
For extra structure and durability, consider canvas or duck cloth. These heavyweight fabrics are ideal if you’re making a holder for larger scissors or tools. They provide a firm outer layer and resist fraying. Just keep in mind that you might need a heavier needle and a walking foot to work with them easily on your sewing machine.
Denim
Old jeans make great scissor holders. Denim offers thickness and strength, which helps protect the blades. It’s also a fun way to recycle fabric you already have at home. Use the seams or pockets creatively to add visual interest without doing extra work.
Felt
Felt is a popular choice for no-sew or low-sew projects. It doesn’t fray, so there’s no need to finish the edges. While not as durable as cotton or canvas, it’s great for lightweight holders or when you’re crafting with kids. Layer it with other materials if you want extra padding or stability.
Batting or Fleece for Padding
A layer of cotton batting or thin fleece adds softness and protection. It keeps sharp points from poking through the fabric. Batting also gives your holder a quilted feel, which adds texture and makes the project look more polished. You can sandwich it between two fabric layers to create a soft, structured case.
Interfacing
If you’re using thinner fabric and want to give your holder more structure, interfacing helps. Fusible interfacing bonds to the wrong side of your fabric when pressed with an iron. It adds stiffness without extra bulk. Use medium-weight interfacing for a more professional finish.
Thread
While it’s easy to overlook, your thread matters. Choose a strong, high-quality cotton or polyester thread. Matching thread creates a clean look, while contrasting thread adds a decorative touch. Make sure it holds up well, especially around corners and stress points.
Scraps and Upcycled Materials
Don’t be afraid to mix in fabric scraps from other projects. Coordinating patterns can give your scissor holder a patchwork charm. Upcycled placemats, tote bags, or pillowcases can also become beautiful, functional holders with just a few cuts and stitches.
In the end, the best materials depend on your tools, your style, and how often you’ll use the holder. Stick with fabrics that are sturdy, easy to sew, and fun to work with. Your finished piece will not only be practical but also uniquely yours.
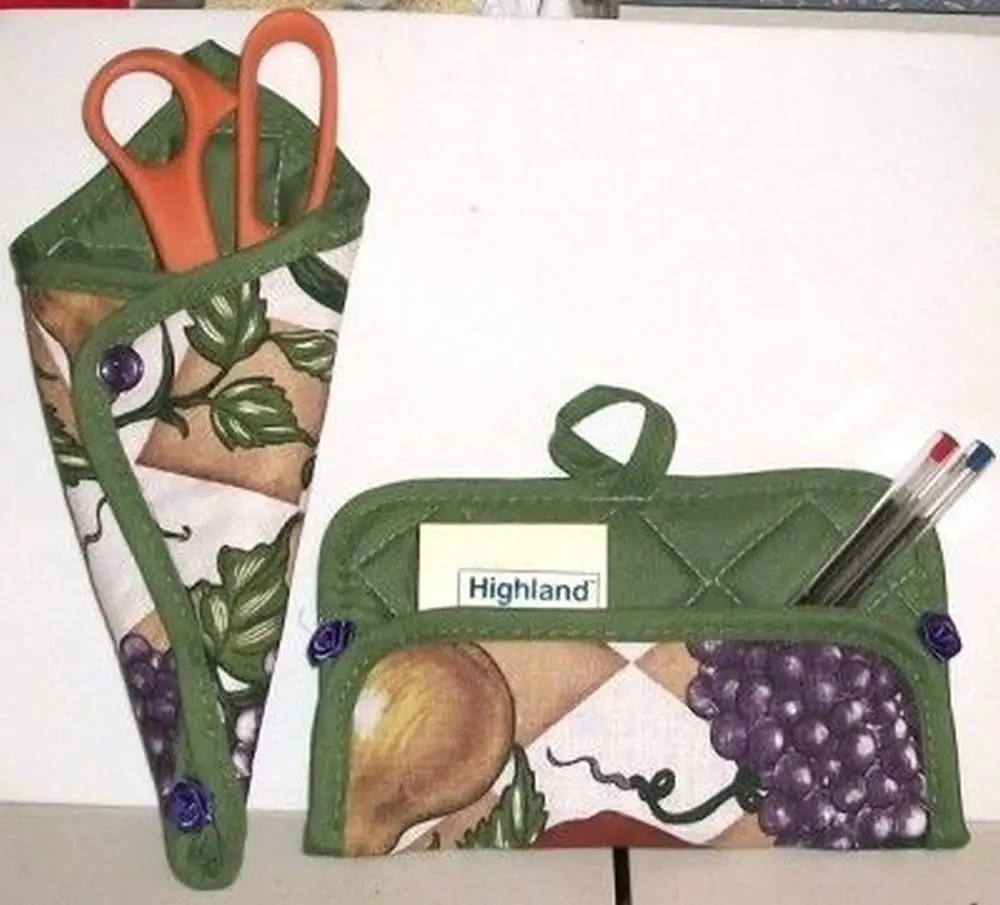
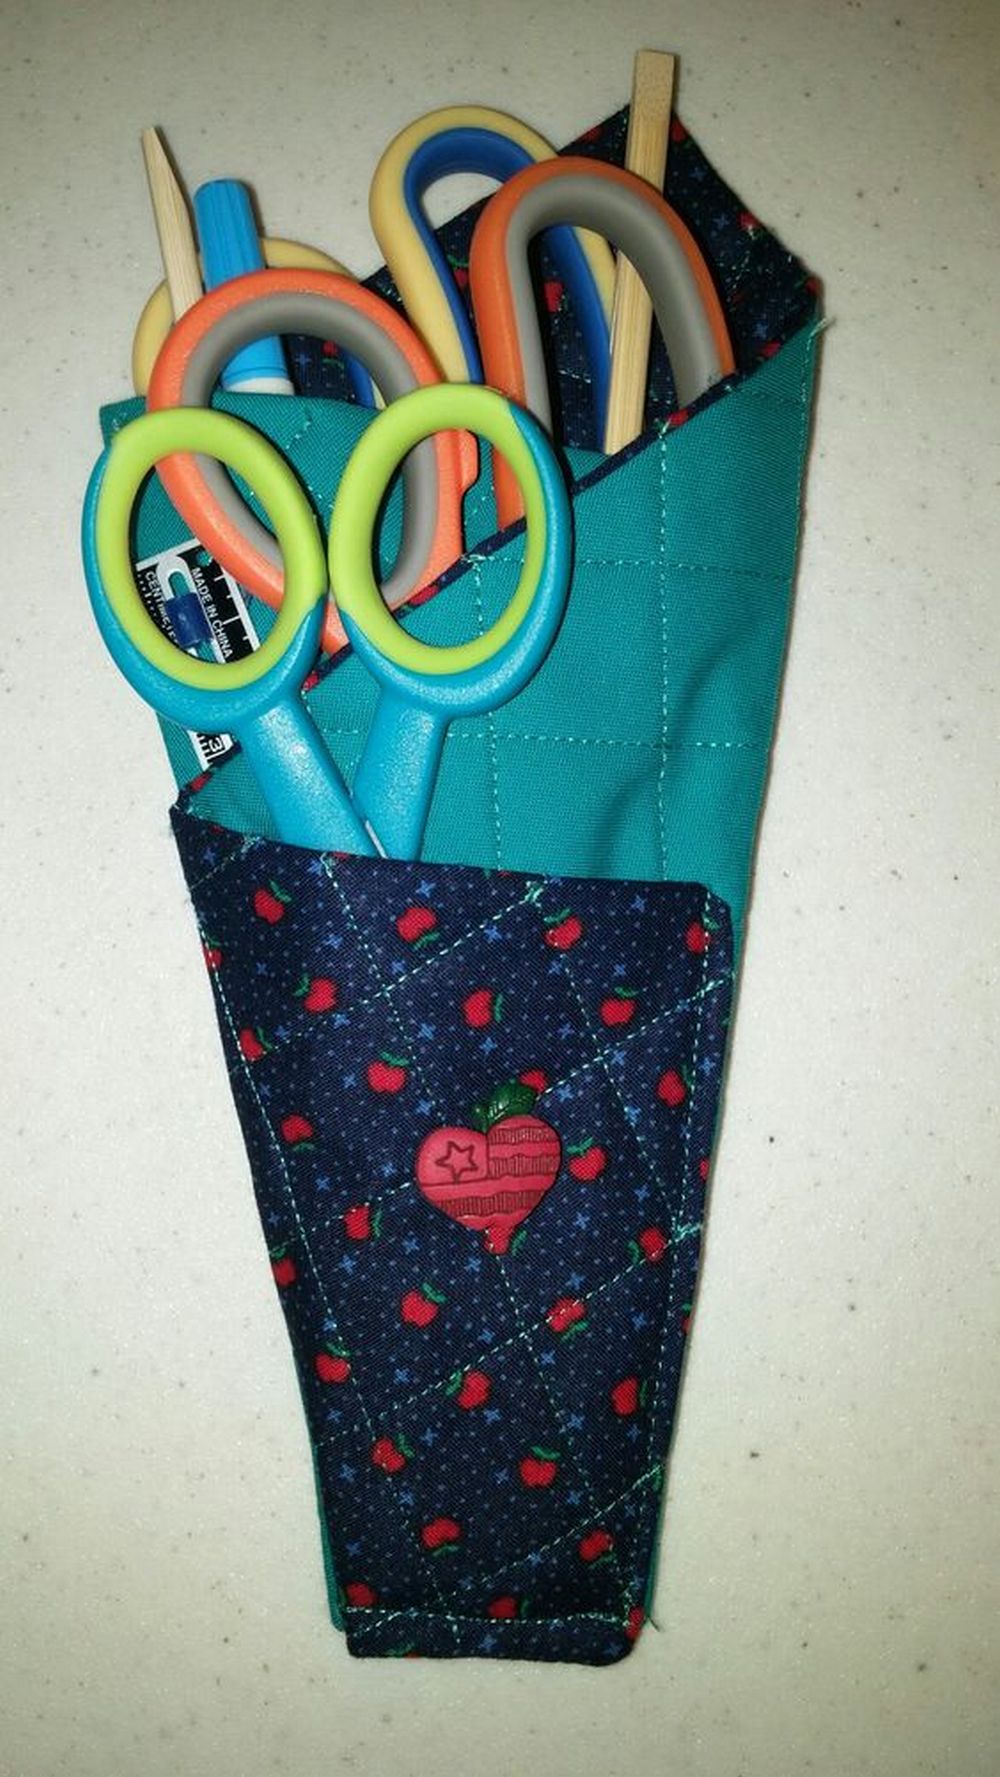
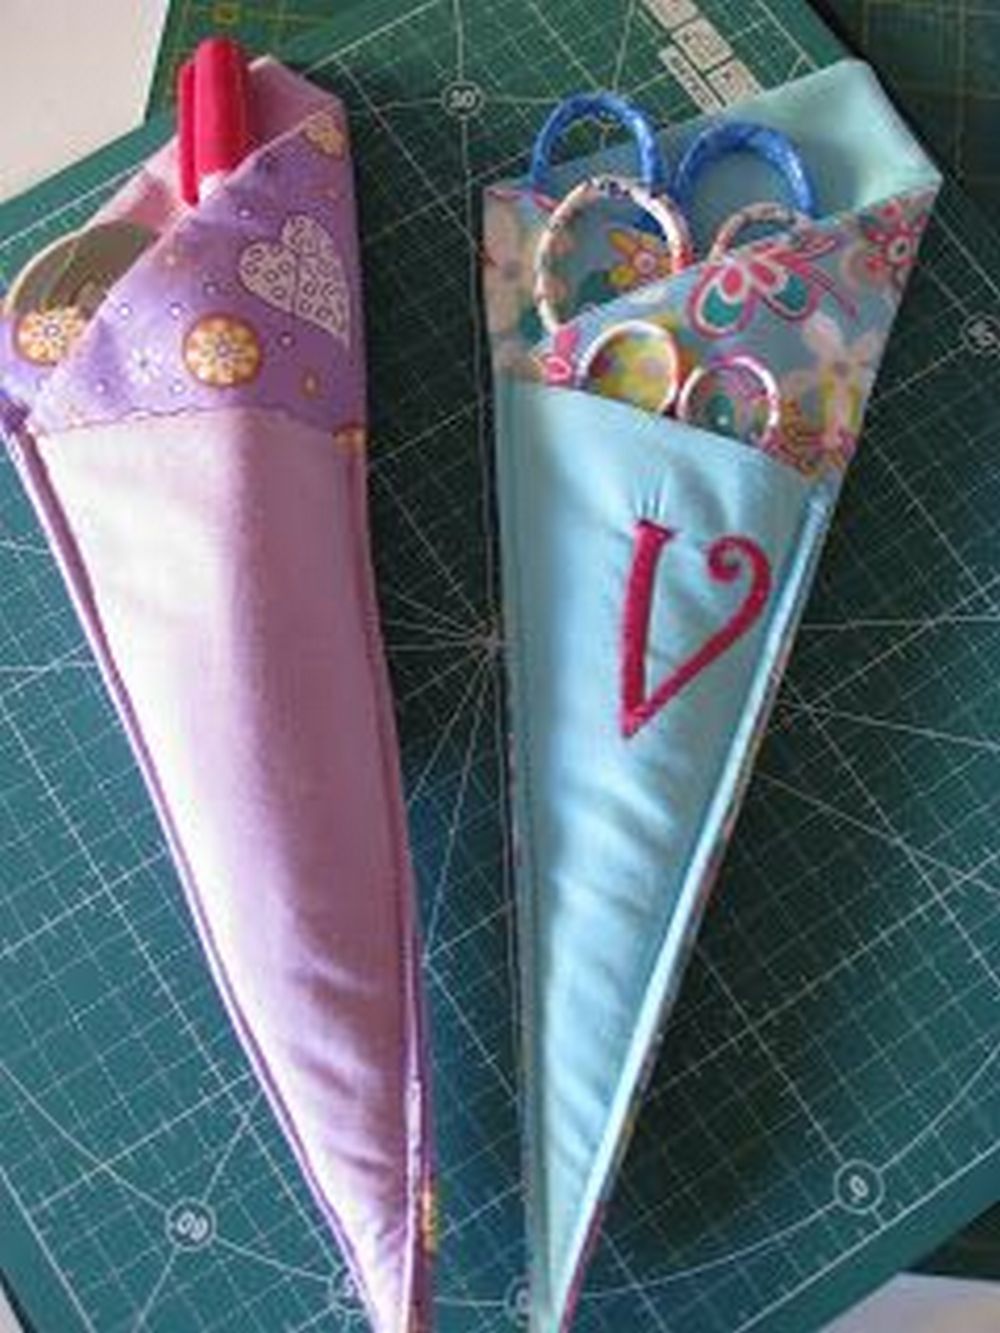
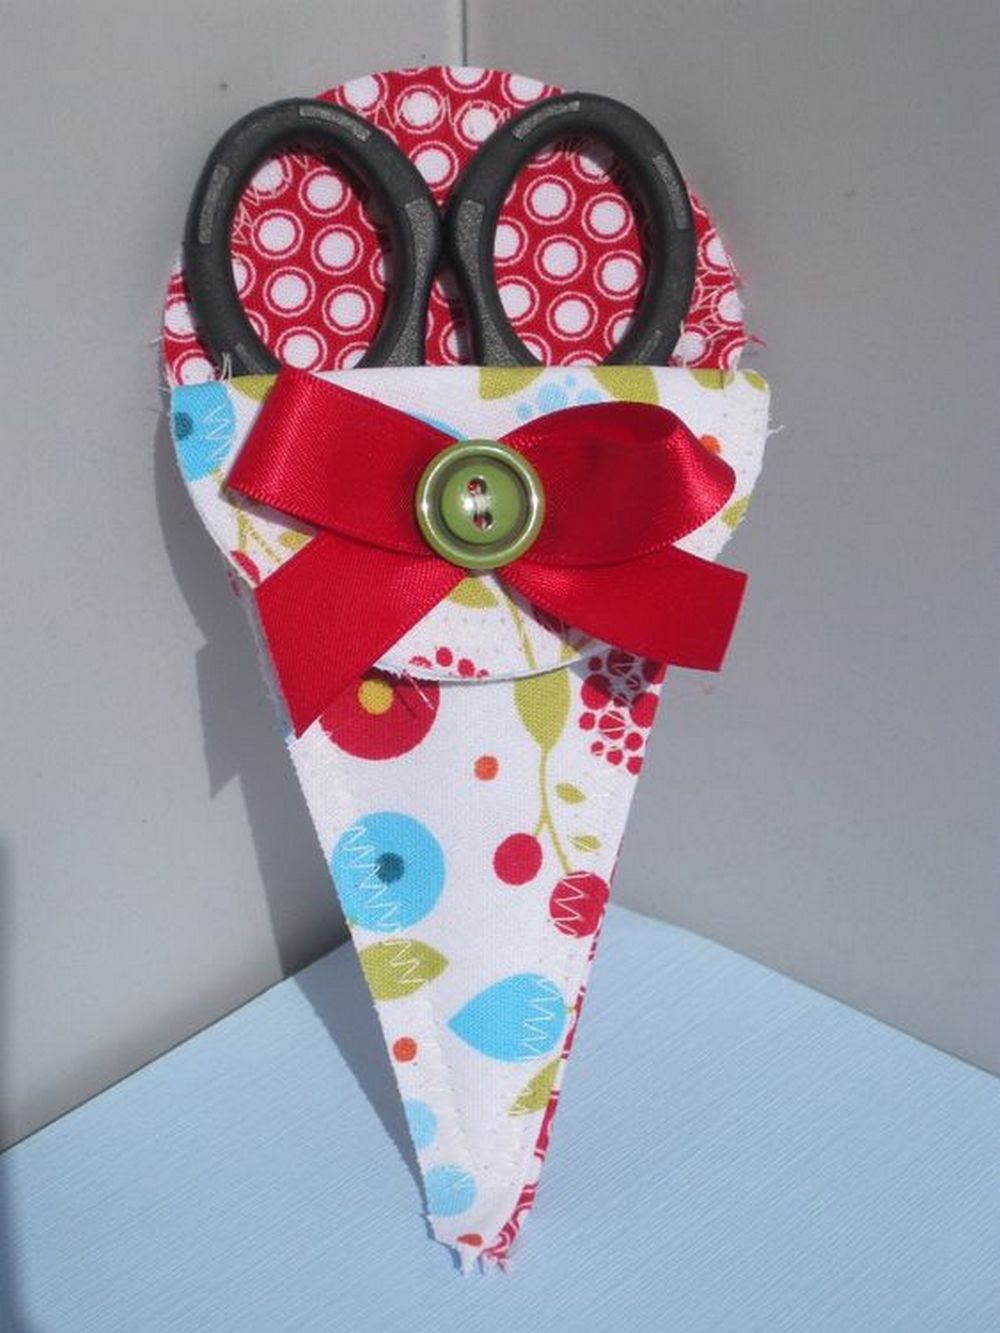
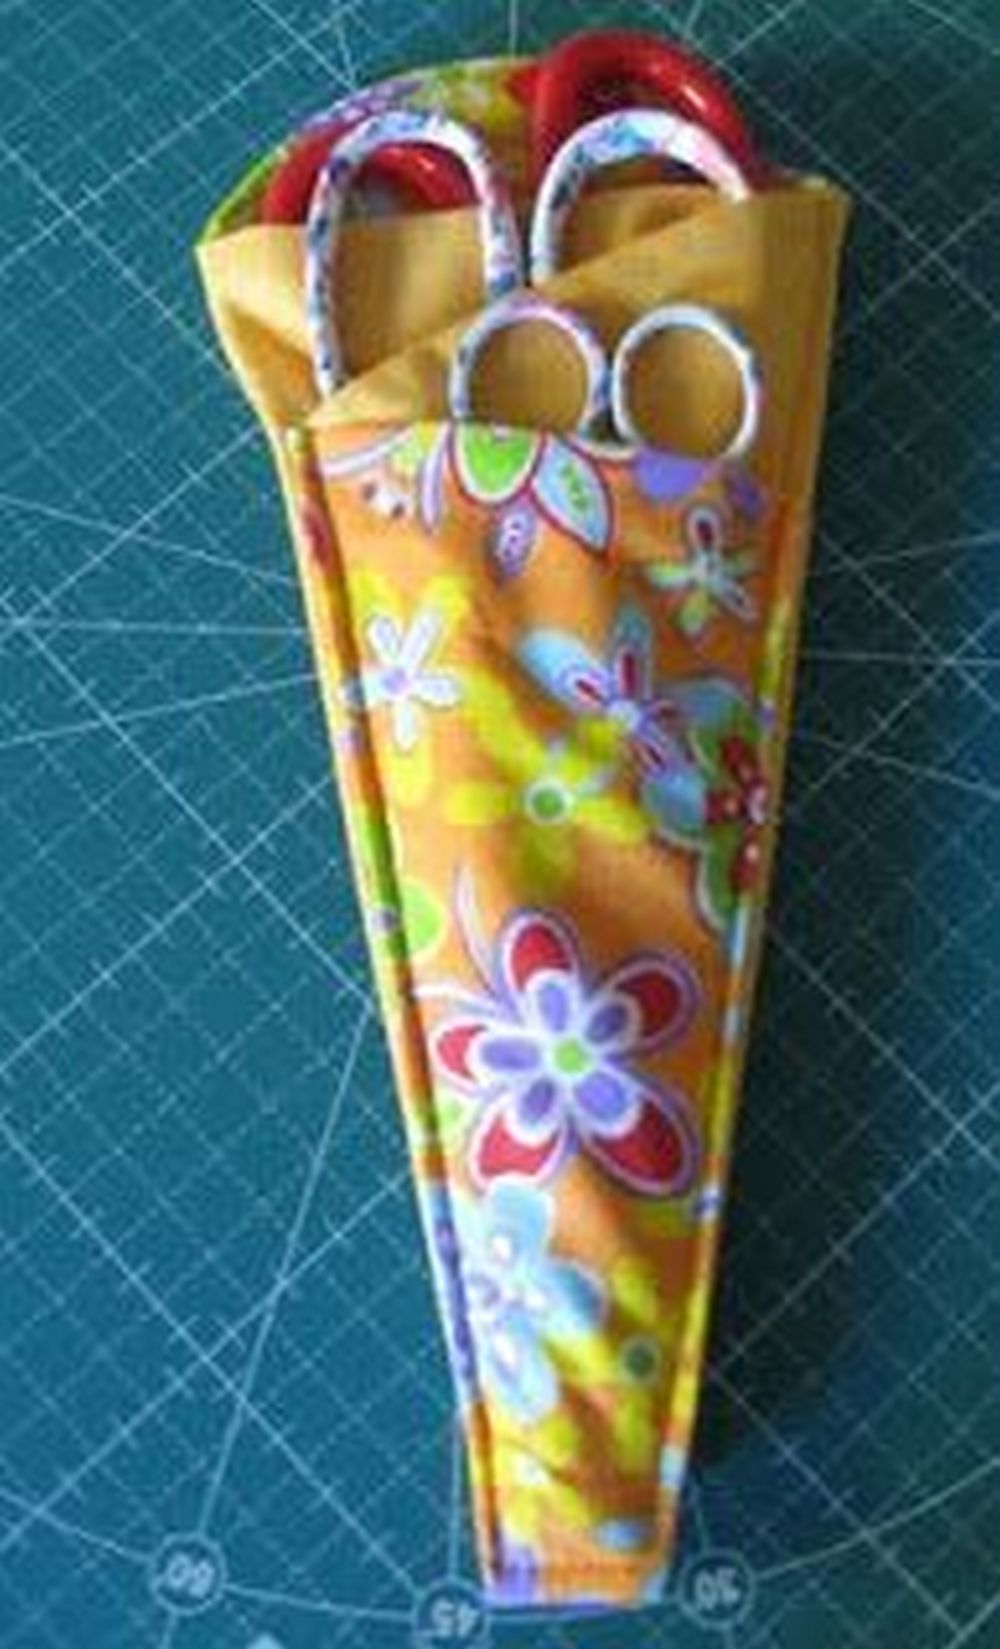
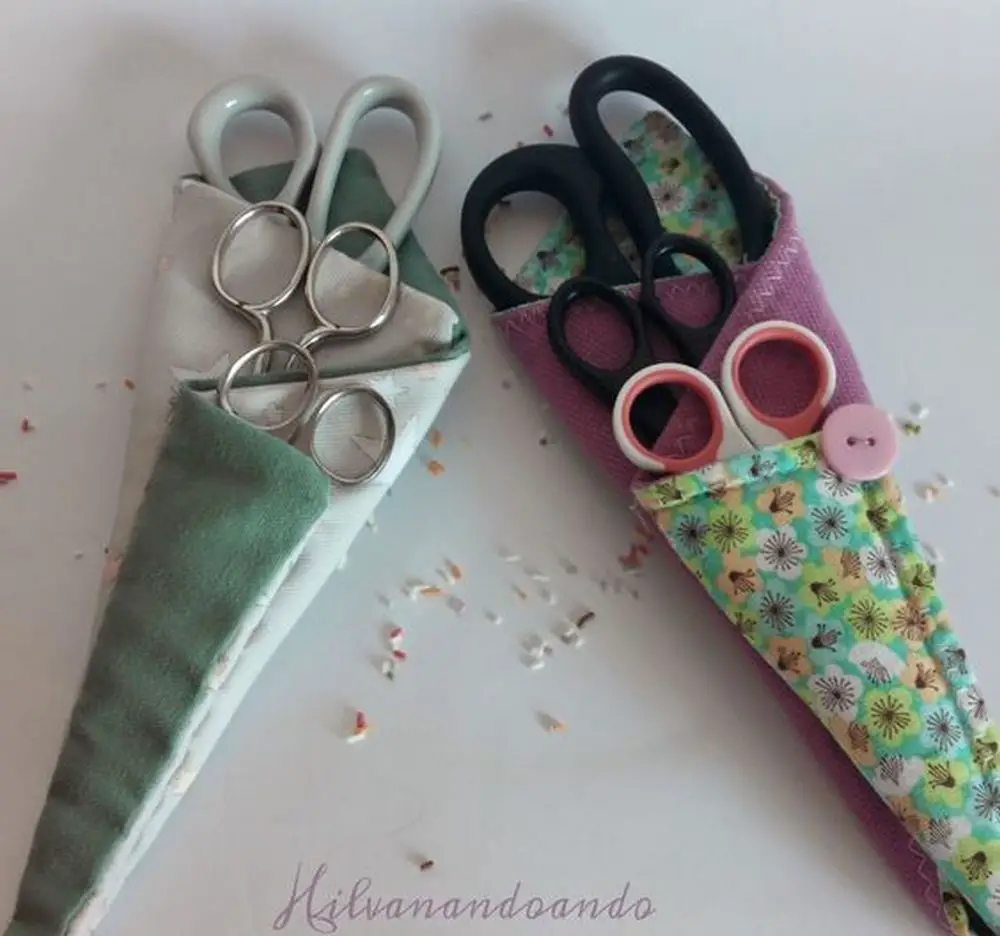
Scissor Holders Gallery
Click on any image to start the lightbox display. Use your Esc key to close the lightbox.

Safety Tips for Storing Scissors with DIY Holders
DIY scissor holders are a clever way to organize your crafting space while keeping sharp tools in check. But beyond just convenience, they also play an important role in safety—especially in homes with kids, pets, or crowded workstations. When scissors aren’t stored properly, they can pose a serious risk of injury or damage. That’s why it’s important to think about more than just aesthetics when making and using your scissor holders.
Cover the Blades Completely
Always make sure your DIY scissor holder fully covers the blades. The holder should be deep enough so the sharp ends don’t stick out. This helps prevent accidental pokes or cuts when you’re reaching into a drawer or bag. If your scissors have very long or pointed blades, consider adding a flap or snap closure at the top for extra protection.
Use Durable Materials
Choose sturdy materials when making your scissor holders. Thin fabric can wear out quickly, especially around the blade area. Over time, this can create holes or tears that expose the scissors and defeat the purpose of having a holder in the first place. Use cotton with batting, canvas, or even denim for a more reliable layer of protection.
Store Them in a Safe Spot
Keep your scissor holders stored in a designated space. Avoid tossing them loosely into bins or drawers with other tools. When multiple items get mixed together, even a well-made holder can shift around and expose the scissors. Use a basket, hanging rack, or a dedicated drawer to keep your holder and its contents in one secure place.
Label for Proper Use
Label your scissor holders if you have multiple pairs for different tasks. This helps prevent confusion and reduces the chances of someone accidentally grabbing fabric scissors to cut paper or wire. Using the wrong tool not only dulls the blade but can also lead to more forceful cuts, which raises the risk of slipping and injury.
Keep Out of Reach of Children
If children are present in your household, store your scissor holders out of their reach. Even blunt-ended craft scissors can cause harm if handled improperly. Hang holders high on a pegboard or store them inside a closed cabinet. Some people even add a Velcro strap or button to make it harder for little hands to access the blades.
Inspect for Wear and Tear
Check your holders regularly for wear and tear. Loose seams, thinning fabric, or exposed batting are signs it’s time for a quick repair or replacement. A small maintenance step can go a long way in keeping your scissors safe and sharp.
Scissor holders do more than keep your workspace neat. They reduce the risk of injury, protect your tools, and help maintain an orderly environment. With the right design and storage habits, they turn a sharp hazard into a safe and stylish solution.
Conclusion
Making your own scissor holders is a simple and practical project that turns scrap fabric into something useful. They keep your tools organized and safe while adding a handmade touch to your workspace. Whether for personal use or thoughtful gifting, scissor holders are a smart DIY addition to any craft setup.
We have more creative projects for beginners. Check out our needle tattling project next!


