
Last Updated on May 2, 2024 by Team Ideas24
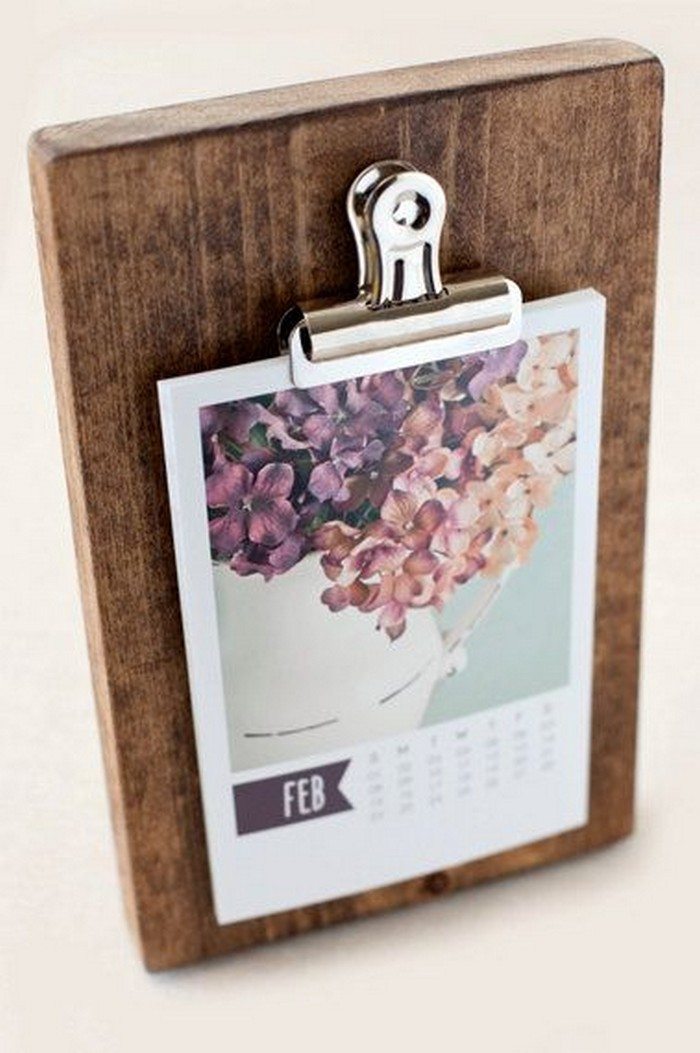
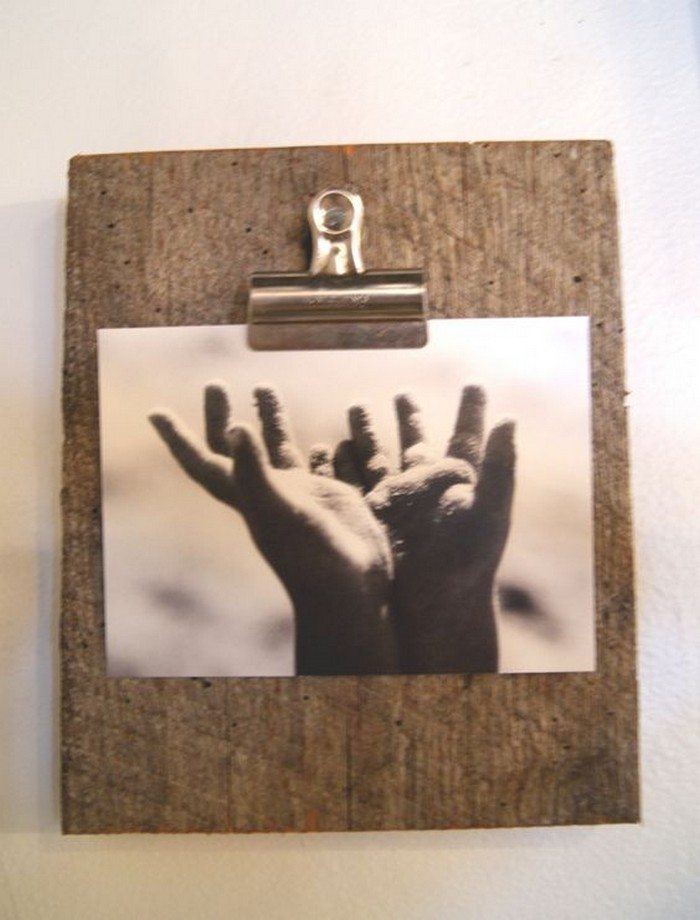
Want to display your photos in a chic and unique way? If you’re a fan of the rustic look, this DIY photo clipboard is definitely for you!

This photo display idea is not only easy yet artistic, but it’s also inexpensive to make! You can make one at a very low cost especially if you have some timber boards left from a previous woodworking project. You could also use ply or even MDF that you can then paint or stain to suit your decor. And even if you have to buy new materials for this craft project, it would still be cheaper – and of course, more personalized – than buying regular photo frames!
The benefits of these photo clipboards are that they won’t get damaged easily, since its made of wood and not some fragile materials like glass frames, where a small accident will totally break them. They are not expensive to make. And you can easily change whatever photos you would like to display from time to time.
We love that it’s very easy to replace the photos whenever you feel like it!

Which part of your home would you hang your DIY photo clipboards in?
Contents [show]
Making a Photo Clipboard
Materials
- 1″ thick Timber boards
- Dark Walnut Stain
- Paste Finishing Wax
- Sawtooth Hangers
- Photo Clips
- Super Glue
Tools
- Sander
- Hammer
- Marker
- Ruler
Instructions
You will be surprised at how easy to make this project. Gather all materials and follow the steps below to make your own fantastic and rustic photo clipboards!
1. Cut the boards
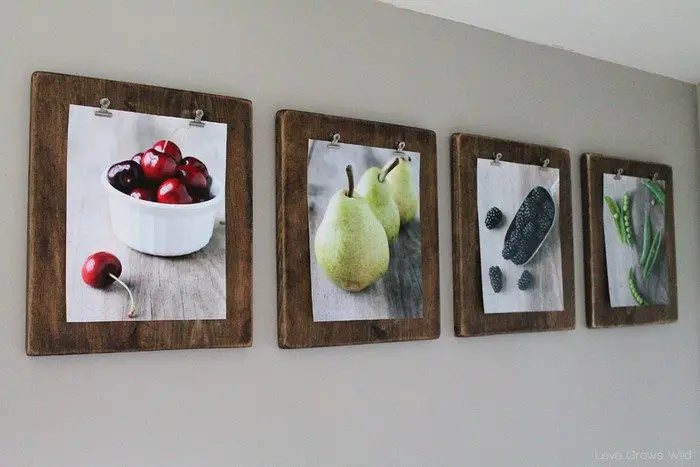
After gathering all the materials and tools you need, you may now cut the boards. Use a 1×12” board and slice it into 4 pieces of 13” boards. The quantity will certainly depend on how many pictures you would like to display.
2. Make the boards look rustic
To make the boards look rustic, sand the corners and edges. Remove all specks of dust then apply a dark walnut stain to your boards. Let it dry for about 15 minutes, then remove the unnecessary stains that didn’t soak into the wood. You can also use a sander to remove some stains on the corners and edges. After removing the dust, you can use a finishing wax to seal the boards.
3. Add the sawtooth hanger
For each board, mount a sawtooth hanger. These sawtooth hangers will be used to hang your clipboards. Remember to mark the centre of the board before mounting these sawtooth hangers.
4. Add the silver clips
Now you can add the silver clips to the upper centre of the boards’ front panel. Remember to mark the centre of the board before attaching these silver clips. You may glue or nail these silver clips to the boards. Then let it dry.
5. Hang your photo clipboards
Now, it’s ready to be hunged to your walls. You can now hang your photo clipboards using the sawtooth hanger at the back panel. Then add your beautiful photos by clipping them using the silver clips.
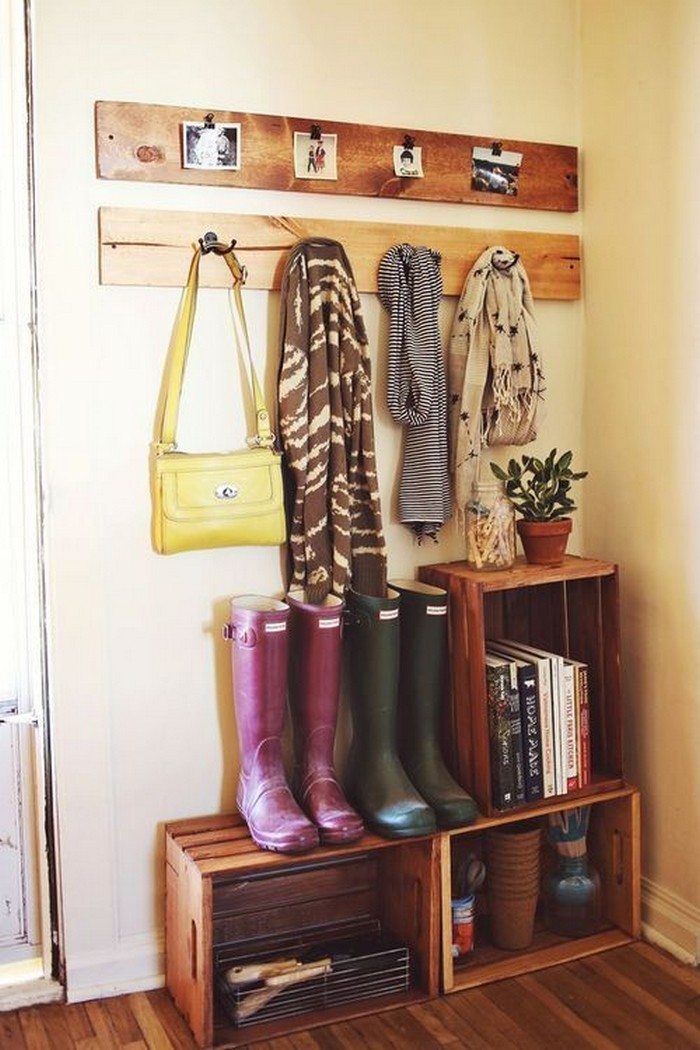
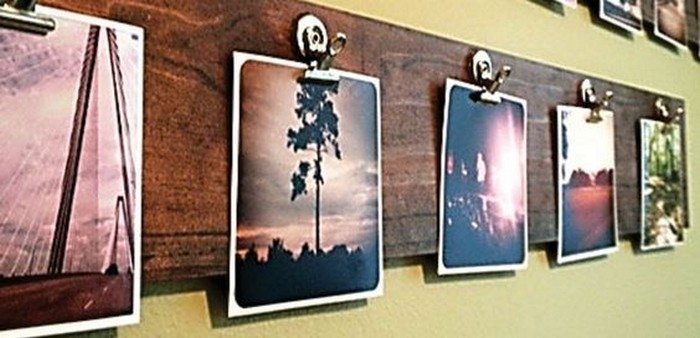
You can have these displayed in your living room, bedroom or dining area.
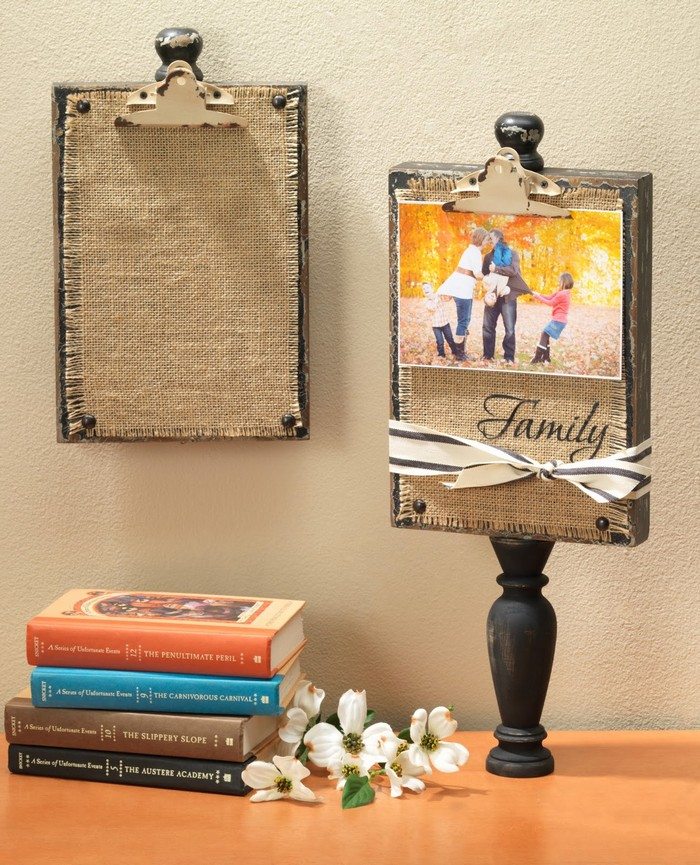
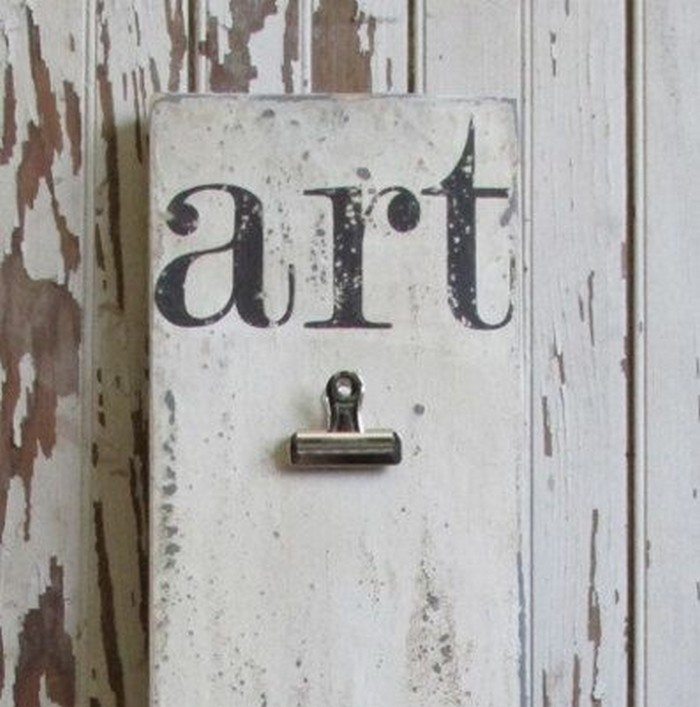
Take a look at more examples of a DIY timber photo clipboard in our album below for inspiration.
Click on any image to start the lightbox display. Use your Esc key to close the lightbox.![]()


Thanks to Love Grows Wild for this great project. You can get the detailed full step-by-step instructions here…
Choosing the Right Wood for Your Photo Clipboard
Creating a photo clipboard allows you to display your favorite memories in a unique and personalized way. The type of wood you choose not only affects the aesthetic of your clipboard but also its durability and the ease with which you can work on it.
Here’s a guide to help you select the best wood for your project.
Pine: Affordable and Lightweight
Pine is a popular choice for DIY projects due to its affordability and availability. It’s relatively soft, making it easy to cut and sand, which is great for beginners. Pine’s light color offers a neutral base, perfect for painting or staining. However, it can dent easily, so it might not be the best choice if you’re looking for something more durable.
Oak: Durable and Grainy
Oak is a hardwood that is known for its strength and durability, making it a perfect choice for a photo clipboard that will last for years. Its prominent grain pattern adds a rustic charm, which is enhanced when stained. Oak is harder to work with than pine, so it might require more advanced tools and techniques.
Reclaimed Wood: Eco-Friendly with Character
Reclaimed wood is not only an eco-friendly option but also brings unique history and texture to your project. Each piece has its own story, often featuring weathered surfaces, nail holes, and a patina that only time can create. This wood type is perfect for those who are eco-conscious and love a vintage or rustic look. However, make sure the wood is clean and free from pests before starting your project.
Bamboo: Modern and Sustainable
Bamboo is a fast-growing and sustainable alternative to traditional hardwoods. It offers a sleek, modern look with its fine grain and color consistency. Bamboo is also incredibly strong, making it suitable for a clipboard that needs to withstand frequent use. It’s a great choice for those looking for an environmentally friendly option with a contemporary twist.
MDF (Medium Density Fiberboard): Smooth and Uniform
If you prefer a more uniform look and a surface that doesn’t warp easily, MDF might be the right choice. It’s an engineered wood product that is smooth and consistent, ideal for painting. MDF is also affordable and can be cut to precise dimensions, though it’s not as strong as solid wood and doesn’t handle moisture well.
Selecting the right wood for your photo clipboard depends on your personal style, the function of the clipboard, and the overall decor of the space where it will be displayed. Whether you choose the natural beauty of oak, the affordability of pine, the character of reclaimed wood, the modern appeal of bamboo, or the uniformity of MDF, your photo clipboard is sure to be a standout piece in your home.
Customization Ideas for Photo Clipboards
Personalizing a photo clipboard is a fantastic way to express your creativity while showcasing your favorite photos. Whether you’re aiming for a minimalist look or something more elaborate, there are numerous ways to customize your clipboard to fit your style and décor. Here are some creative ideas to make your photo clipboard uniquely yours.
Paint Techniques
- Chalk Paint: Give your clipboard a shabby chic look with chalk paint, which adheres well to wood and can be distressed easily. Choose soft pastel colors for a gentle, vintage feel.
- Stencil Designs: Use stencils to add patterns or motifs to your clipboard. This is a great way to introduce visual interest without overwhelming the photos you display.
- Ombre Effect: Create a gradient effect by gradually blending two or more colors. This modern look adds a dynamic element to your clipboard.
Decoupage
- Map Overlay: Decoupage a piece of vintage map onto your clipboard for a travel-themed display. This is perfect for showing off travel photos or as a gift for a travel enthusiast.
- Comic Strips: For a pop art feel, cover your clipboard with comic strip cutouts. This adds a fun and colorful backdrop for your photos.
- Fabric Wraps: Glue fabric onto your clipboard for a textured background. Choose a fabric that complements your room’s decor or adds a contrast to make your photos pop.
Adding Embellishments
- Metal Accents: Attach small metal figures or decorative metal corners to add a touch of elegance and complexity to your clipboard.
- Wood Burnings: For a rustic touch, use a wood-burning tool to etch designs or lettering directly onto the wood.
- Rope or Twine: Wrap the edges or create a hanging loop with rope or twine for a rustic or nautical feel.
Functional Customizations
- Clipboard Stand: Attach a stand to the back of your clipboard so it can be displayed upright on a desk or shelf.
- Magnetic Surface: Apply a layer of magnetic paint before your final coat, allowing you to use magnets to attach your photos. This makes changing out images even easier.
- Chalkboard Section: Paint a section with chalkboard paint to jot down notes or labels related to the photos displayed.
Thematic Personalization
- Seasonal Themes: Decorate your clipboard according to the season with relevant colors, patterns, or motifs. For instance, use orange and black with Halloween decals in October, or floral patterns in spring.
- Event-Specific Themes: If the clipboard is for a special event like a wedding or anniversary, customize it with dates, names, or relevant quotes to make it a memorable keepsake.
These customization ideas allow you to tailor your photo clipboard to your liking, making it not only a functional piece but also a conversation starter in your home. Whether you choose to modify it subtly or go for bold changes, your clipboard can reflect your personal aesthetic and become a cherished part of your home décor.
Conclusion
Creating your own photo clipboard is a rewarding project that combines functionality with personal style. Each step offers a chance to infuse your personality, from choosing the wood to adding unique customizations. Once complete, your customized photo clipboard will not only enhance your decor but also keep your cherished memories within easy view.
If you liked these ideas, you will also like viewing these transfering photos on to timber.


