Last Updated on August 28, 2023 by Team Ideas24
It’s amazing what we can do with things that we’d otherwise consider trash. Equally amazing are the larger aspects of what we achieve when we recycle. Each piece of material you reuse makes a positive impact on the environment. For instance, according to the Pennsylvania Department of Environmental Protection (DEP), recycling in Pennsylvania in 2005 alone saved over 98 trillion BTUs of energy. That is enough to power nearly a million homes!
This is why we continuously look for projects that make use of recycled stuff. It’s hitting two birds with one stone.

We found this useful little project that turned discarded tuna cans into a storage tower. You can use this to store little trinkets, jewelry, and office supplies. If you have leftover beads, buttons, and other small what-not, store them here. Attach a label so it’ll be easier for you to find them.

This is a simple project that won’t require much of your time. Start by gathering all the materials and tools needed and you’re ready to go.
Not sure where to start? Check out these useful DIY swivel storage tower designs that will help you get the most out of your space. Whether you’re looking to add some extra storage to your kitchen, bathroom, or bedroom, these towers are a great option. And, since they swivel, you’ll be able to easily access whatever you’re looking for, without having to move everything around.

So, take a look at these towers and see which one will work best for you. With a little bit of time and creativity, you’ll have a beautiful and functional storage solution that will make your life much easier.
Contents [show]
Useful DIY swivel storage tower designs
Click on any image to start the lightbox display. Use your Esc key to close the lightbox.

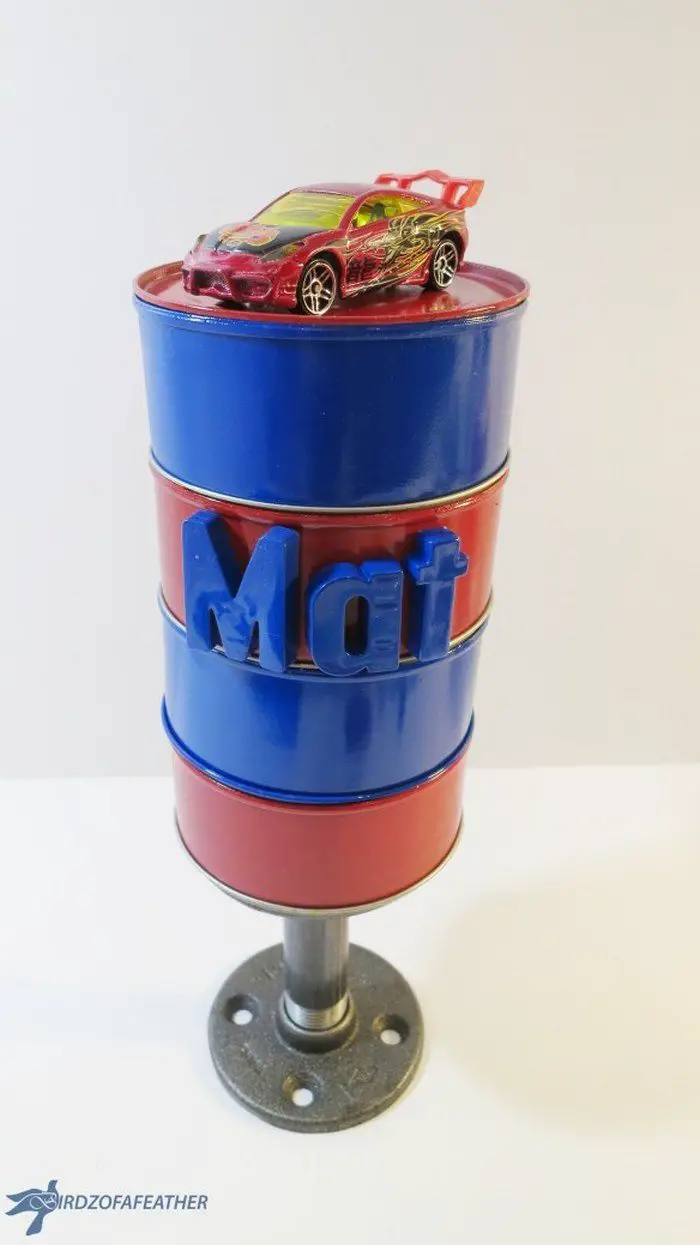
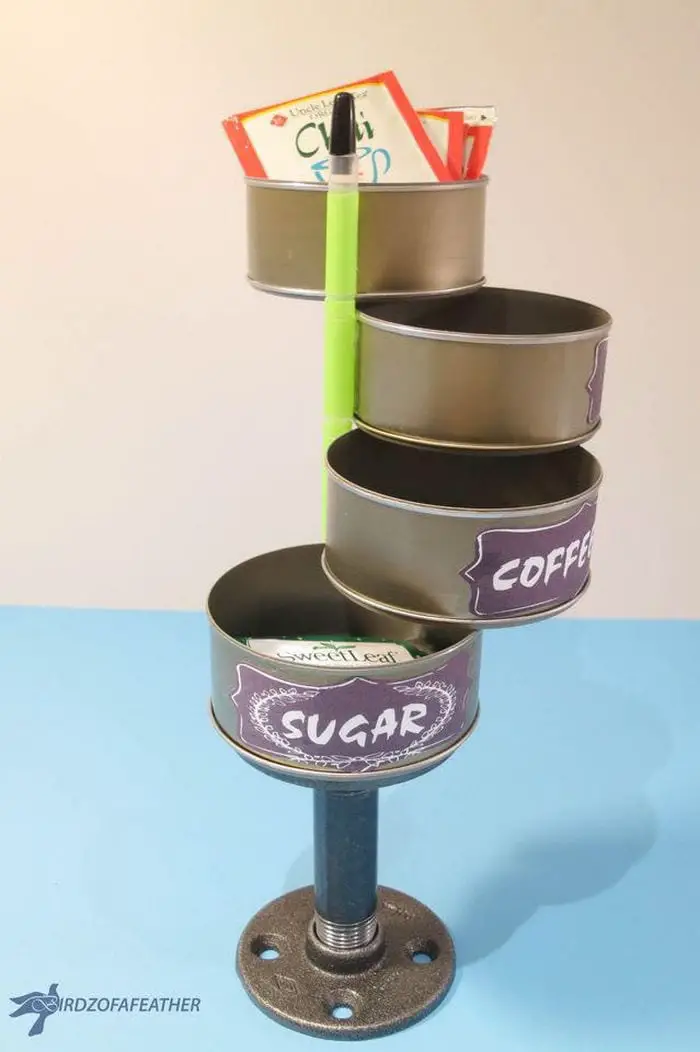
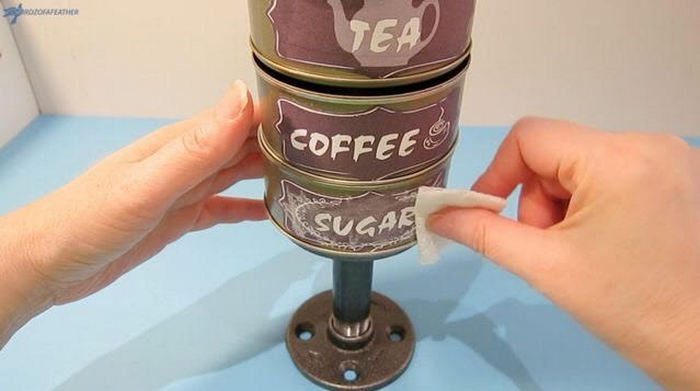


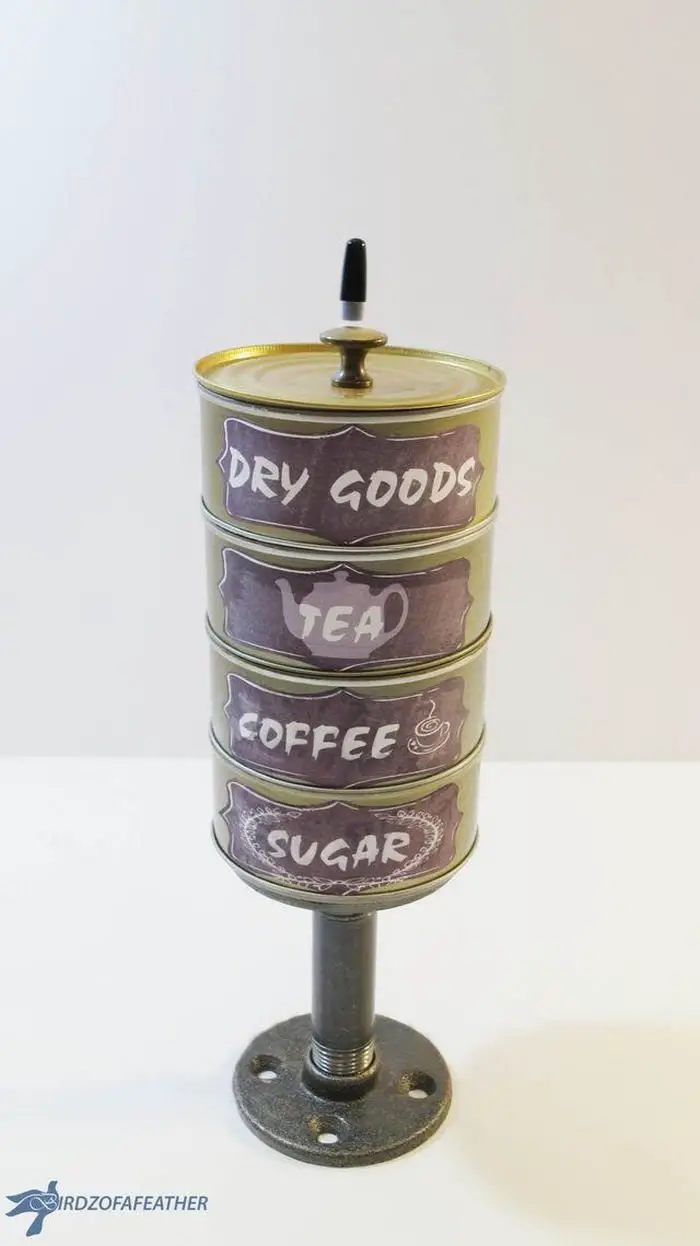

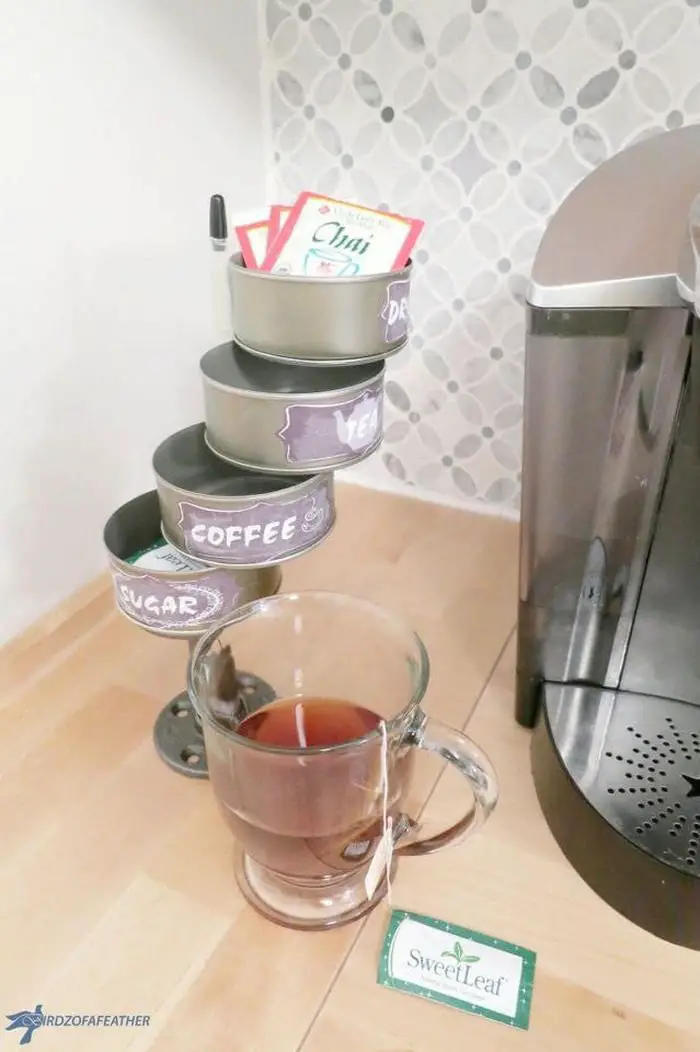
Whether you’re looking for a place to store your tea bags or want to find a new way to organize your office supplies, these DIY swivel storage towers are a great option! Not only are they functional, but they also add a touch of style to any space.
To get started, all you need is a few supplies and a little bit of creativity.
Here’s what you’ll need:
Materials:
- 4 tuna cans and 4 lids (plus one additional lid if you want a cover on top).
- 1 rigid plastic straw (inner post)
- 1 wide smoothie straw (outer sections)
- Hot glue/gorilla glue/E6000 industrial strength glue
- White glue
- White chalk
- Scrap paper
- 3/4″ black iron pipe (or whatever height you desire)
- 2 black iron flanges (make sure they fit the same thread as the iron pipe)
Tools:
- Can opener
- Scissors
- Hacksaw or bandsaw
How to make a DIY swivel storage tower
Making your own swivel storage tower is a great way to organize your home and save money. With just a few supplies, you can make your very own storage tower that will keep your belongings organized and within reach. Just follow the steps below.
1. Gather your cans
Bring out your saved cans, and select those tuna cans in good condition, ones with the smooth-edge opening. It’s always best to use a smooth-edged can opener when opening tuna cans and save them for DIY projects. Using a smooth-edge can opener will make the process much easier and produce cleaner results.
2. Make the swing-out feature
To make the swing-out feature work, use the extra wide smoothie straws.
These straws fit perfectly into the rigid straw, and they’re strong enough to allow the cans to swing freely.
Cut them into small pieces and glue them to your tuna cans.
3. Make the print labels
You can use your old mailing envelopes to create the print labels, or you could simply print on regular paper.
One great way to upcycle your old mailing envelopes is to use them to create print labels. You can either print directly on the envelopes or use regular paper and attach the labels with some white glue. Then, use chalk for the background.
4. Make the stand
To make the stand, first, measure the height of the inner post. This will be the length of your final product, so make sure to measure accurately!
Once you have the height, mark it off. You will want to make sure that the mark is level, so use a ruler or a leveler to create a perfectly straight line. The height of your inner post will depend on the number of tuna cans you will be using.
Using your black iron pipe and 2 black iron flanges, you can make the stand for your storage tower. Simply glue a lid and a rigid plastic straw. Cut the rigid plastic straw according to the height of your inner post.
5. Assemble your tuna cans
Finally, you can now assemble your tuna cans vertically. To assemble your cans, simply stack them on top of each other, then insert the smoothie straw (attached to your tuna cans) one by one into the rigid plastic straw.
Add a lid on top as the cover. You can make a small handle for this one.
And it’s done! Now you have your own swivel storage tower made from your recycled cans.
Great job! You’ve now got your own swivel storage tower, made entirely from recycled cans. This is a great way to upcycle those old cans, and it’s a perfect solution for storage in small spaces. Plus, the swivel feature makes it easy to access whatever you need, without having to move the entire tower.
We hope you enjoyed this project! We love hearing from our readers, so please let us know with a comment below how this project went for you. 
And here’s a quick video tutorial you can watch:
Thanks to Birdz of a Feather for this great project. You can get step-by-step instructions here…
If you liked this project, you might also like to view the Canned Food Dispenser and Potion bottles from tin cans…


