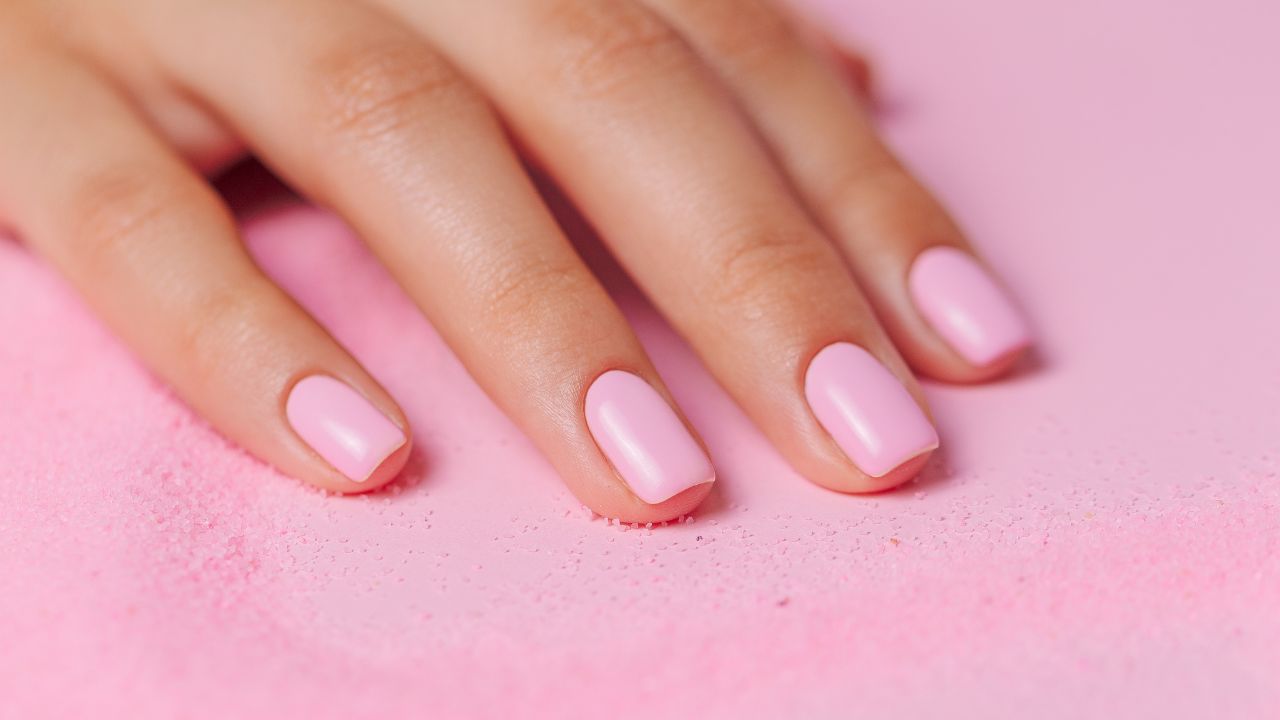
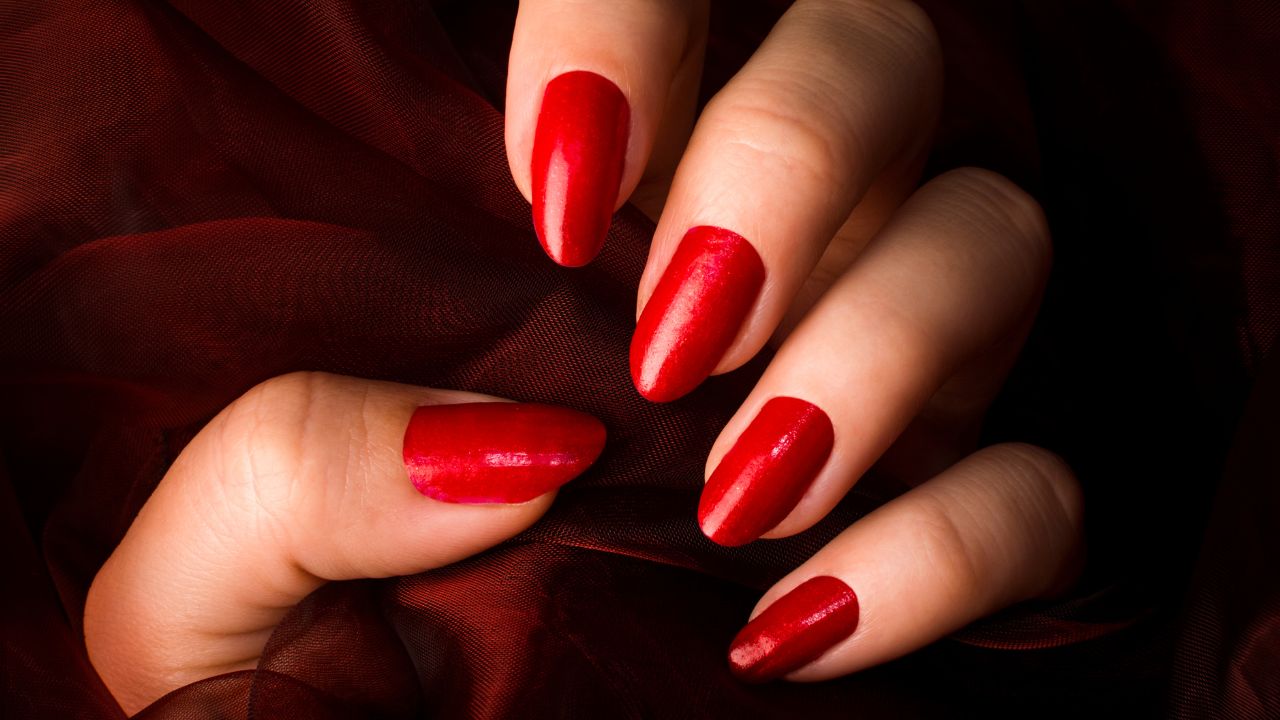
Dip powder nails are changing the at-home manicure game with their durability and flawless finish. This nail technique gives you the strength of acrylics without the strong smell or complex process. It’s easier than you think to master and doesn’t require UV light to cure. With the right tools and a few key tips, you can achieve a professional look right from your own vanity.
Contents [show]
What Are Dip Powder Nails?
Dip powder nails are a type of manicure that uses a colored powder to coat the nails and create a durable, long-lasting finish. The process involves dipping the nail into pigmented powder between layers of adhesive base and sealant. Unlike gel manicures, dip nails don’t require a UV or LED lamp to harden.
Once sealed with an activator and top coat, the result is a glossy, chip-resistant manicure that can last up to three weeks or more. Many people choose dip powder for its strength and ease of use, especially when compared to the more involved acrylic nail systems.
What sets dip powder apart from other manicure options is its unique combination of strength and flexibility. It’s less likely to crack than gel polish and doesn’t require the sculpting work that acrylics do. The layers bond to your natural nail without overly damaging it, making it a good option if you’re trying to grow your nails longer. You can find dip powders in a wide range of colors, finishes, and textures, giving you plenty of creative room while still maintaining a clean, salon-quality look.

What You’ll Need for a Dip Powder Manicure
Getting salon-quality dip powder nails at home calls just some basic tools and supplies. Though you may also purchase them separately if you wish to combine brands or colors, most of these are included in beginner kits. The correct configuration helps your manicure last longer without lifting or cracking and makes the application more seamless.
Here’s what you’ll need for a dip powder manicure:
- Dip powder in your chosen color
- Base coat (bond or resin)
- Activator liquid
- Top coat (for shine and protection)
- Nail file and buffer
- Cuticle pusher or cuticle stick
- Nail cleanser or rubbing alcohol
- Lint-free wipes or paper towels
- Nail brush (to remove excess powder)
- Optional: primer (for oily nail beds), nail dehydrator, and a soft nail drill for shaping
A clean and flat workspace also helps, especially when you’re working with powder. Make sure your hands are clean and dry before starting to ensure the best adhesion.
Step-by-Step Guide to Applying Dip Powder Nails at Home
Doing your own dip powder nails at home is easier than it sounds. Once you understand the steps, you can create a strong, glossy manicure that rivals what you’d get at a salon. Take your time with each layer for the cleanest and longest-lasting results.
Step 1: Prep Your Nails
Start with clean, dry hands. Gently push back your cuticles using a cuticle pusher and trim any excess. Shape your nails with a file and lightly buff the surface to remove shine. Wipe them clean with alcohol or a nail cleanser to remove dust and oils.
Step 2: Apply the Base Coat and Dip
Brush on a thin, even layer of base coat to one nail. While it’s still wet, dip the nail into your chosen dip powder at a 45-degree angle. Tap off excess powder and move on to the next nail. Repeat for all nails and let the layer set for a few seconds.
Step 3: Repeat the Dip Process
Apply a second layer of base coat, then dip again for added strength and color depth. You can repeat this process a third time if needed for extra durability or coverage. Make sure each layer is thin and smooth to avoid a bulky finish.
Step 4: Activate the Powder
Once you’ve applied your final dip layer, brush off any loose powder. Apply a generous layer of activator to all nails. This hardens the powder and locks everything in place. Let it dry completely—usually within one to two minutes.
Step 5: Shape and Buff
After the activator sets, file and shape your nails to your desired look. Buff the surface to smooth out any uneven areas. Brush away any remaining dust with a soft nail brush.
Step 6: Apply the Top Coat
Apply the top coat in quick, even strokes. Let it dry for about two minutes, then add a second layer for extra shine. Once it’s fully dry, your dip powder nails are complete.
Step 7: Finish with Cuticle Oil (Optional)
Add a drop of cuticle oil around each nail and massage it in. This keeps the skin hydrated and gives your manicure a polished finish.
Pro Tips for Best Results
Getting the most out of your dip powder manicure takes more than just following the steps. Small details during application can make a big difference in how long your manicure lasts and how smooth it looks. These pro tips can help you avoid common mistakes and achieve a finish that looks professionally done.
Apply thin, even layers
One of the most common mistakes with dip powder is applying the base coat too thick. Thick layers can cause the powder to clump or look uneven. Stick to thin, even coats so the powder adheres cleanly and doesn’t build up too much. This will also make the final shape easier to manage when it’s time to file and buff.

Brush off excess powder between layers
Always use a soft brush to remove loose powder after each dip. If you skip this step, leftover particles can get stuck in your next coat and cause lumps or streaks. It only takes a few seconds and helps each layer stay clean and smooth.
Cap the edges of your nails
When applying the base coat and top coat, brush a little over the tips of your nails. This seals the edges and helps prevent chipping or lifting. It’s a simple step that gives your manicure a longer life.
Let each layer dry completely
Even though dip powder sets quickly, give each layer of base, activator, and top coat time to dry fully. Rushing through can cause smudges or dull spots. Activator especially needs a full minute or two to harden the layers underneath.
Avoid touching your skin with product
Try not to get the base coat or powder on your skin or cuticles. Product on the skin can lead to lifting, and it makes your manicure look messy. If any does get on your skin, wipe it away before dipping.
Use a nail primer if your nails are oily
If your nails tend to be oily or your manicure lifts easily, apply a nail dehydrator or primer before the base coat. This helps the powder adhere better and can extend the wear time of your manicure.
Keep your tools clean
Powder and product buildup on your brushes can lead to clumpy application. Clean your tools between uses and store them in a cool, dry place.
With these tips, your dip powder manicure will look smoother, last longer, and feel more comfortable. It’s all about consistency and attention to detail.
Removing Dip Powder Safely
Removing dip powder nails the right way is just as important as applying them correctly. Pulling or peeling the layers off can damage your natural nails and leave them weak or brittle. A safe removal process helps maintain nail health and keeps your nails strong between manicures.
Never peel or force it off
It can be tempting to pick at your dip powder when it starts lifting, but doing so can take layers of your natural nail with it. This weakens your nails and can cause splitting or peeling. Always follow a soak-off method for safe removal.
File down the top layer
Start by gently filing off the shiny top coat with a coarse nail file. This breaks the seal and helps the acetone soak through more effectively. Be careful not to file too deeply—you just want to remove the glossy surface.

Soak in acetone
Pour 100% pure acetone into a small bowl or use pre-soaked acetone pads. If using the bowl method, place your nails in the acetone and let them soak for 10 to 15 minutes. For a neater process, you can wrap each fingertip with an acetone-soaked cotton ball and secure it with foil.
Gently push off the softened product
Once the powder has softened, use a cuticle pusher to gently scrape it off. The dip should come off easily. If it doesn’t, soak a bit longer and avoid forcing it. Pushing too hard can damage the nail surface.
Buff and moisturize
After removal, lightly buff your nails to smooth out any leftover residue. Wash your hands thoroughly to remove acetone, then follow up with cuticle oil or a rich hand cream. Acetone can be drying, so moisturizing is key to restoring hydration.
Taking your time with the removal process helps preserve your natural nails. If you’re planning to reapply dip powder right away, give your nails a day or two to rest and breathe. Proper removal ensures that each new application starts with a healthy, clean nail base.
How Long Do Dip Powder Nails Last?
Dip powder nails typically last anywhere from three to four weeks without chipping, depending on your nail growth and how well the manicure was applied. Unlike gel polish, which can start lifting after a week or two, dip powder creates a more solid and durable finish.
This makes it a great option if you’re looking for something that doesn’t require frequent touch-ups. People with fast-growing nails may see more noticeable gaps near the cuticle before any signs of wear on the tips.
Several factors can affect how long your dip nails hold up. These include how thoroughly you prepped your nails, how thinly you applied each layer, and how well you sealed the edges. Daily habits like frequent handwashing, using cleaning products without gloves, or picking at your nails can also shorten their lifespan. To extend the wear, avoid soaking your hands in water for long periods and apply cuticle oil daily to keep the skin and nail beds healthy.
Conclusion
Dip powder nails offer a strong, long-lasting alternative to gel and acrylic manicures. They deliver vibrant color without the need for UV light. With the right tools, you can achieve a salon-quality look at home.
We have more ways to boost the look of your nails. Check out our nail art 101 guide!


