Making homemade soap is a rewarding and creative activity that can produce beautifully crafted, skin-friendly bars. However, the traditional process involves lye, a caustic chemical that requires careful handling and precise measurements. For those looking to avoid lye, there are several alternative methods to create soap without compromising quality or safety.
This guide will explore how to make homemade soap without lye, including melt-and-pour techniques, natural ingredients, and reasons to avoid lye-based soap making. Whether you’re concerned about safety and accessibility or simply prefer a gentler approach, we will help you make soap without lye.
Contents [show]
Why Avoid Lye in Soap Making?
Lye, or sodium hydroxide, is a powerful chemical commonly used in traditional soap making. While it’s essential to create soap through saponification, handling lye requires strict safety precautions. For many, this can make the process feel intimidating. Opting to make soap without lye offers a safer, more accessible alternative, allowing you to enjoy the art of soap-making without the need for hazardous chemicals.
Here’s a closer look at why it’s worth learning How to make homemade soap without lye.
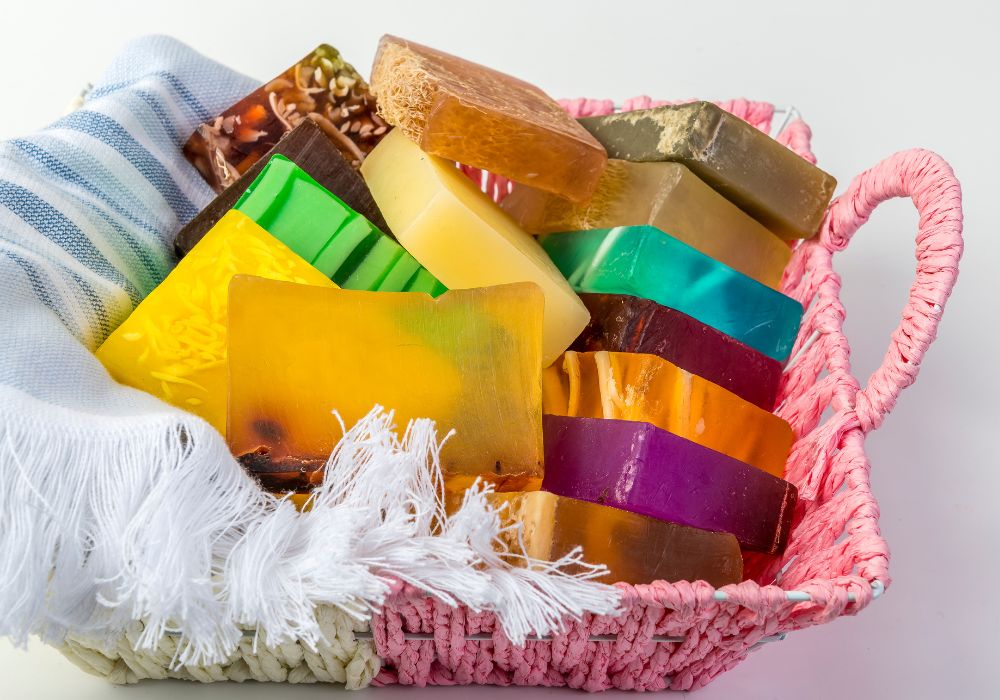
Health and Safety Concerns
Lye is a highly acidic substance. Even a minute touch of it can cause burns, and inhaling its fumes can aggravate your respiratory system. Making soap without lye reduces the possibility of unintentional lye exposure, improving the usability and safety of the process for homes with children or animals.
Simplicity and Accessibility
Working with lye requires exact measurements, protective gear, and careful handling, among other things. Beginners may find this daunting. However, a lye-free approach—such as the melt-and-pour technique—offers a simpler, more approachable process free of advanced methods or special handling. This makes knowing how to make homemade soap without lye worth it.
Steer clear of lye in soap-making to have a more fun, safe, and ecologically friendly encounter. Knowing how to make homemade soap without lye lets you concentrate on creating lovely, encouraging bars using natural ingredients you feel good about applying to your skin.
How to Make Homemade Soap Without Lye
Creating homemade soap without lye is safer and much easier, especially for beginners. Using a melt-and-pour soap base, you can skip the handling of harsh chemicals and enjoy a straightforward, customizable soap-making process. Follow these steps to make your own lye-free soap at home.
Materials Needed
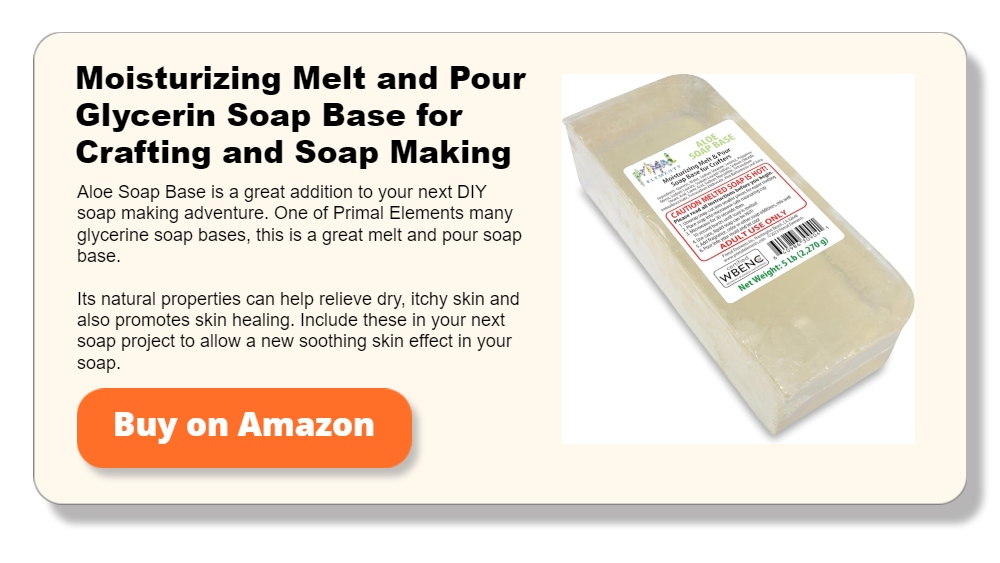
- Melt-and-pour soap base (glycerin, goat milk, shea butter, or your preferred type)
- Essential oils for fragrance (like lavender, peppermint, or citrus)
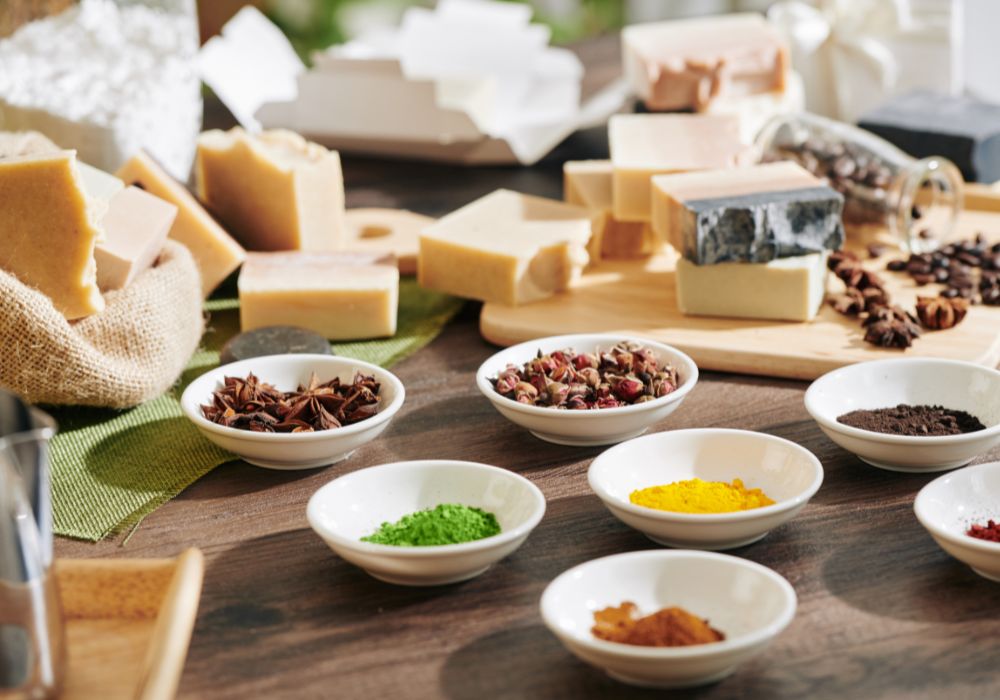
- Natural colorants (mica powder, clay, or activated charcoal)
- Additives (dried herbs, oatmeal, coffee grounds, etc.)
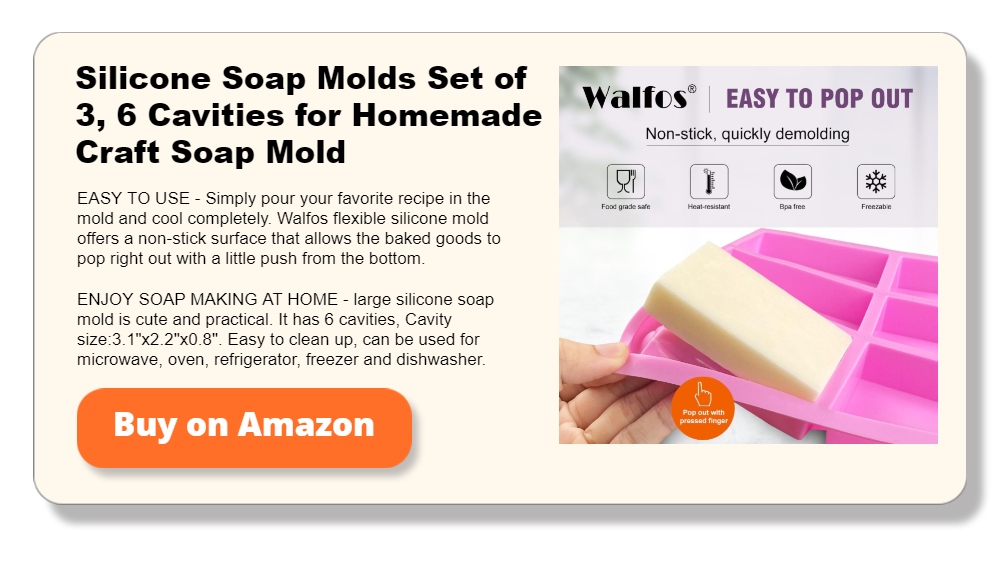
- Silicone soap molds in your desired shapes and sizes
Tools Required
- Microwave-safe bowl or double boiler
- Spatula or wooden spoon for stirring
- Thermometer (optional, for precise temperature control)
- Measuring spoons for adding essential oils and colorants
Instructions
Step 1: Get Your Workspace Ready
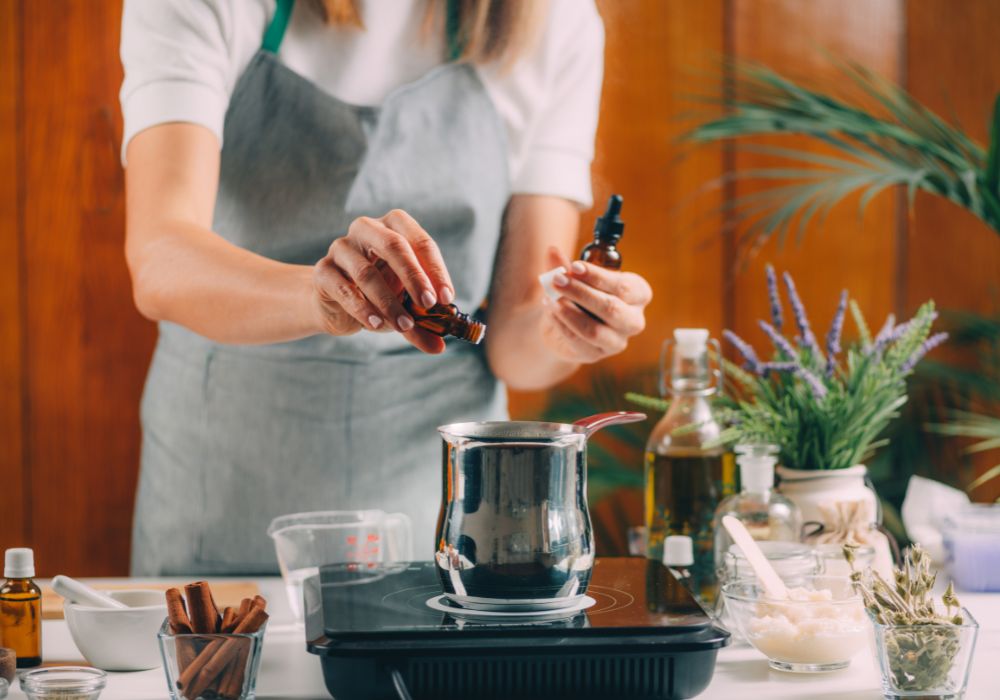
Clear a workspace first, then compile all of your tools and supplies. To streamline cleanup, cover the surface with newspaper or a protective cloth. Prepare your molds clean, dry, and ready.
Step 2: Melt the Soap Base
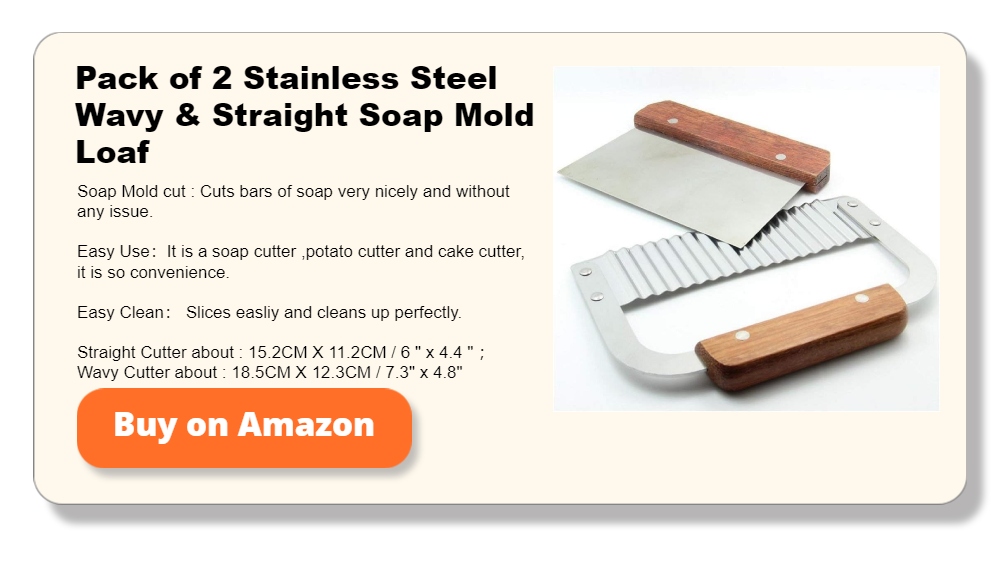
Cut the soap base into small cubes. This will help it melt quickly and evenly:
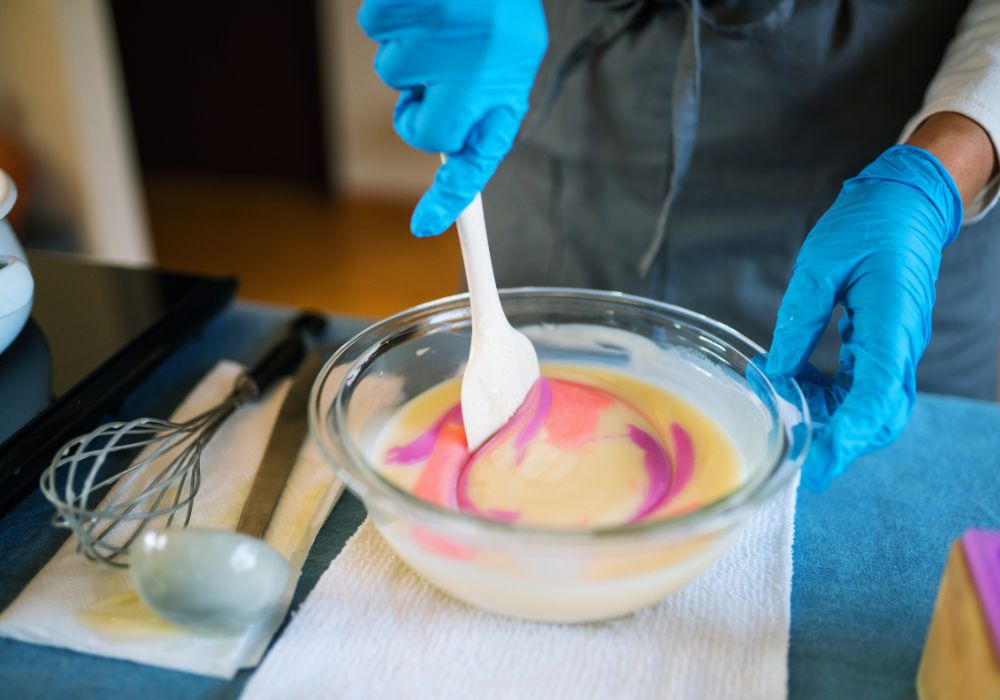
- Microwave Method: Place the cubes in a microwave-safe bowl and heat on medium power for 30-second intervals. Stir in between each interval until melted.
- Double Boiler Method: Add the cubes to top of a double boiler and gently heat, stirring until melted. Just fully melt the soap base; avoid boiling it.
Step 3: Add Fragrance and Color
Once melted, remove the soap base from heat. Now you can customize the scent and color:
- Essential Oils: Add about 10–15 drops of your chosen essential oil per pound of soap base. Stir well to mix evenly.
- Natural Colorants: Add a small pinch at a time of the colorant, stirring as you go until you reach the shade you want.
Step 4: Customize with Additives
If you’d like to add texture or exfoliating ingredients, this is the perfect time:
- Oatmeal or Coffee Grounds: Add 1–2 tablespoons for a gentle exfoliant.
- Dried Herbs or Petals: Mix in a teaspoon of dried herbs, like lavender or rose petals, for a lovely look and feel. Be sure everything is well distributed.
Step 5: Pour the Soap into Molds
Spoon your soap mixture gently into the molds. A quick spritz of rubbing alcohol will help bubbles on the surface vanish, so leaving the surface smooth.
Step 6: Let the Soap Set
Let your filled molds sit until the soap sets. Usually at room temperature, this takes one to two hours; but, refrigeration will hasten things. Softly remove the soap from the molds when it is firm.
Step 7: Cure and Store
Melt-and-pour soap doesn’t require conventional curing; but, leaving it out for a day or two will help it firm up even more. To keep your soaps fresh, keep them cool, dry.
Creative Additions for Your Homemade Soap
One of the best parts about learning how to make homemade soap without lye is the endless ways to personalize each bar. By adding natural colors, scents, and textures, you can craft soaps that not only look beautiful but also feel amazing on your skin. Here are some fun and creative ideas to elevate your homemade soap without lye and give it a unique touch.
Natural Scents with Essential Oils
Adding essential oils is a great way to incorporate natural, soothing scents into your soap. Essential oils allow you to enjoy aromatherapy benefits while making each bar smell wonderful.
- Lavender Essential Oil: Known for its calming properties, lavender makes an ideal addition to bedtime soaps.
- Peppermint Oil: For a refreshing, cooling effect, add a few drops of peppermint oil to your soap mixture.
- Citrus Oils: Lemongrass, sweet orange, and grapefruit oils add an energizing burst that’s perfect for morning showers.
Feel free to blend different oils to create your own signature scent! The melt-and-pour method is perfect for experimenting with these fragrances as you make homemade soap without lye.

Natural Colorants and Botanicals
Adding color to your soap doesn’t require artificial dyes. Natural colorants not only enhance the look of your soap but can also provide gentle benefits to your skin.
What makes learning how to make homemade soap without lye is the opportunity to use natural colors. Ordinary materials you can find in your kitchen or grocery lets you add color to your soap without resorting to any chemicals.
- Activated Charcoal: A small amount of charcoal can give your soap a chic, black hue and is known for its detoxifying properties.
- Spirulina Powder: This green powder adds a vibrant color and is rich in nutrients, making it ideal for skin-nourishing soaps.
- Turmeric: A small amount of turmeric will give your soap a warm, golden hue and can even offer anti-inflammatory benefits.
Each bar can have a lovely texture from botanicals including dried lavender buds, rose petals, or calendula petals. Making homemade soap without lye allows you to really be creative using these natural ingredients!
Exfoliating Additives
Adding an exfoliant is a simple way how to make homemade soap without lye feel luxurious. Exfoliants help scrub away dead skin cells, leaving skin smooth and refreshed.
- Oatmeal: Ground oatmeal is a gentle exfoliant that also helps soothe dry or sensitive skin.
- Coffee Grounds: Coffee grounds give your soap a great texture and can help boost circulation. They’re perfect for a morning scrub!
- Sea Salt: Adding a pinch of fine sea salt to your soap gives it a gritty texture that works well for foot and hand scrubs.
These simple yet creative additions can enhance both the appearance and feel of your soap, making it uniquely yours. By using melt-and-pour bases and natural ingredients, you’ll be able to craft one-of-a-kind soaps that skip the harsh chemicals and showcase the beauty of handmade, lye-free soap.
Curing and Storing Your Soap
Once you’ve mastered how to make homemade soap without lye, the final steps are curing and storing your creations. While melt-and-pour soap doesn’t need the lengthy curing time of traditional lye soap, a few extra steps can ensure your bars last longer and maintain their quality.
Here’s how to make homemade soap without lye that’s fresh, long-lasting, and ready to use whenever needed.
Curing Your Lye-Free Soap
Even though melt-and-pour soap bases don’t technically need curing, letting them sit for a day or two after they harden can improve their durability and give them a firmer texture.
- Air Dry: Place your soaps in a cool, dry area with good air circulation. This extra drying time helps ensure they’re fully set, making them last longer when you start using them.
- Avoid Humidity: Humid environments can cause your soap to sweat due to the glycerin in the melt-and-pour base. Try to store them in a low-humidity space to keep them looking fresh and prevent a sticky surface.
By allowing this brief curing time, you’ll ensure your homemade soap without lye has a firmer finish that feels great in the shower and won’t dissolve too quickly.
Storing Your Soap
Proper storage is key to making sure your lye-free soap bars stay in perfect condition, especially if your learning how to make homemade soap without lye when thinking about gifts..
- Use Airtight Containers: If you’re storing your soap for an extended period, place them in airtight containers. This prevents exposure to air and moisture, which can make the soap soften or lose its fragrance over time.
- Keep Away from Direct Sunlight: Prolonged exposure to sunlight can fade colors and cause essential oils to lose their scent. Store your soaps in a cool, dark place to maintain their quality.
- Wrap in Wax Paper or Plastic Wrap: If you plan to gift or sell your soap, wrapping each bar individually in wax paper or plastic wrap can help lock in its scent and keep it looking fresh. It’s also a good way to prevent dust or moisture from affecting your bars.
These storage tips will help your homemade soap without lye retain its fragrance, color, and shape for longer periods. Knowing how to make homemade soap without lye includes understanding how to care for it, so you can enjoy the fruits of your labor even longer. Proper curing and storing will help you preserve the look, feel, and quality of each bar, giving you beautifully crafted soap whenever you need it.
Benefits of Homemade Soap Without Lye
Learning how to make homemade soap without lye offers more than just a safer soap-making experience. Lye-free soaps can be gentler on your skin, environmentally friendly, and perfect for beginners or families with kids.
Here’s why making soap without lye is popular among DIY soap makers.
Safer and Easier to Make
When you make homemade soap without lye, you avoid handling caustic chemicals that require special safety precautions. Traditional soap making involves lye, which can irritate the skin and eyes and requires protective gear. With melt-and-pour soap bases, you can skip the lye and jump straight to the creative part, making it a fun and safe project for everyone, including kids!
Gentle on Sensitive Skin
One of the top benefits of learning how to make homemade soap without lye is that you can create soap that’s exceptionally gentle. Melt-and-pour bases are often crafted with mild, skin-loving ingredients like glycerin, shea butter, or goat milk. These ingredients create a nourishing lather that’s suitable for even the most sensitive skin. You can add natural oils, colorants, and botanicals, all while knowing you’re avoiding the potential irritants found in lye-based soap.
Environmentally Friendly Options
When you choose to make homemade soap without lye, you’re also choosing a more eco-friendly option. Melt-and-pour bases often feature biodegradable ingredients, reducing the impact on the environment. Additionally, you can select sustainably sourced additives, like essential oils and plant-based colorants, making your homemade soap an environmentally conscious choice. You can make a soap that is safe for both you and the environment when avoiding any harsh chemicals.
Perfect for Beginners
Making lye-based soap can be frightening. However, the process is considerably easier when you know how to create handcrafted soap without lye. You can start making soap immediately without considering measuring or handling caustic components. Melt-and-pour techniques are a great option for everyone new to soap making or for those who just want an easier process since they require only a few tools and a basic knowledge of melting and mixing.
From safety and simplicity to skin-friendly ingredients and environmental conscience, learning how to make homemade soap without lye offers many advantages. Lye-free soap making is a great option whether your search is for a family-friendly project, an eco-friendly substitute, or a means of personalizing skincare products. Discover the simplicity, inventiveness, and gratification of making your own natural, beautiful soap right at home.
Conclusion
Knowing how to make homemade soap without lye is an easy and creative way to enjoy custom soap without the risks of handling harsh chemicals. With a melt-and-pour base, you can explore endless scents, colors, and textures while crafting gentle bars on the skin. This simple process allows you to produce beautiful, personalized soaps perfect for everyday use or thoughtful gifts. It is also a much safer project too!
We have more fun ways to make sanitation products. Check out our handmade bath bombs and soaps!


