Last Updated on April 10, 2024 by Team Ideas24
Create your own masterpiece! Crafting paper flowers is a fun and easy craft that anyone can do. Add a beautiful, personal touch to your living space or celebration with handmade paper flowers. All you need are the right materials and a few simple steps and you’ll be a paper flower pro in no time!
So don’t miss out on the opportunity to make something beautiful – learn how to make paper flowers paper flowers today!
In this blog post, we will go over the basics of how to make paper flowers and provide a step-by-step guide for crafting your own. Whether you’re a beginner or an experienced paper crafter, this guide will help you make beautiful paper flowers with ease.
With the tips and tricks we provide, you’ll be able to learn how to make paper flowers that you can proudly display in your home or give away as gifts. So without further ado, let’s dive into the world of paper flower crafting!
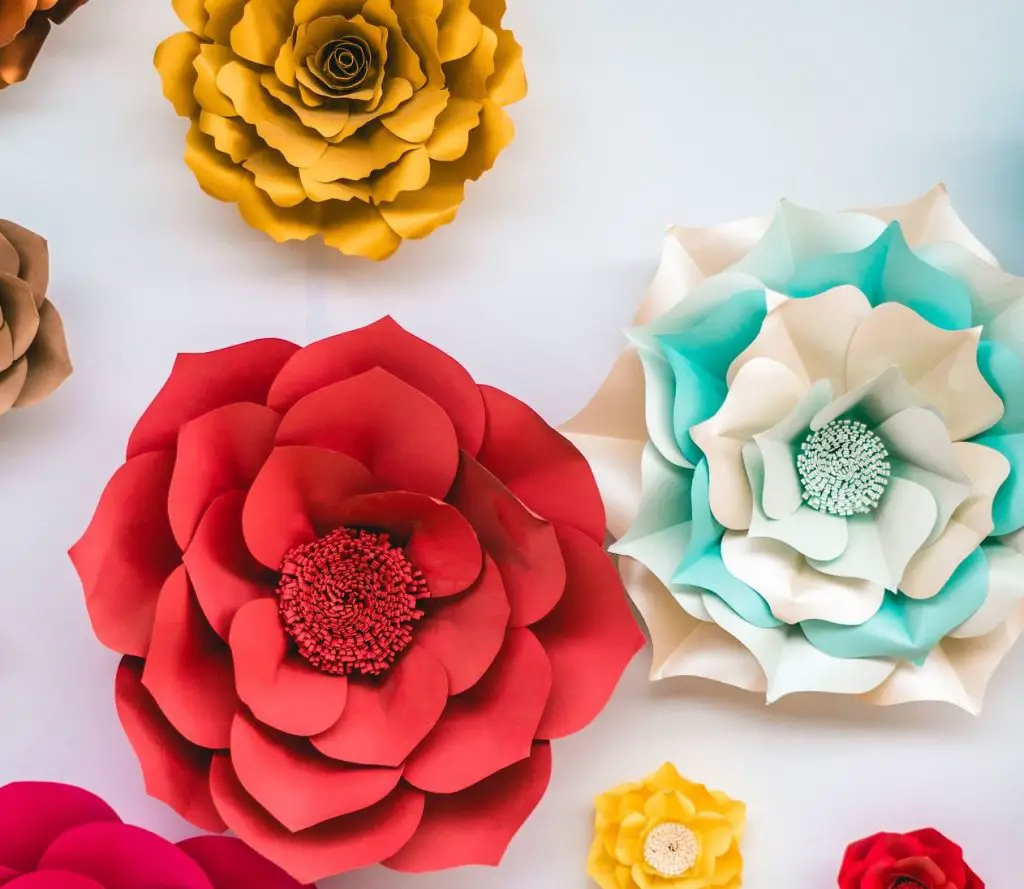
Contents [show]
Learn How to Make Paper Flowers in 8 Easy Steps
Making paper flowers is a fun and creative craft project that can add a beautiful touch to any event or decoration.
The most common types of paper flowers are paper roses and peonies because they are both popular and recognizable flowers that are often used in floral arrangements for special events such as weddings, birthdays, and other celebrations. They are also visually striking and add a touch of elegance and sophistication to any decoration or setting.
Another reason why paper roses and peonies are popular is that they are relatively easy to make and require minimal materials. With just some simple materials and steps, you can create beautiful and realistic-looking flowers that can be customized to fit any colour scheme or theme.
Ready to get crafty and create gorgeous paper flowers? Follow these 10 easy steps on how to make paper flowers and you’ll soon bring your creative vision to life. Let’s begin with step one! Gather your materials to get started!
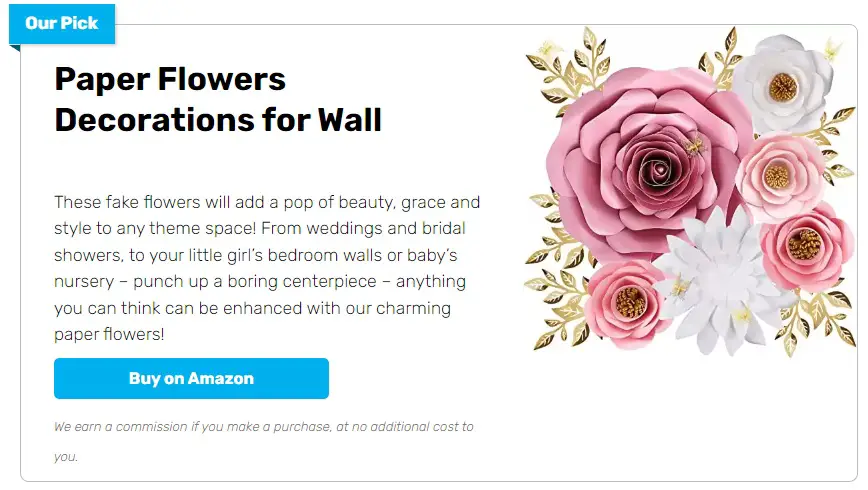
Paper Roses
Materials:
- Large sheets of coloured paper (at least 12×12 inches)
- Scissors
- Glue gun or strong adhesive
- Pencil or pen
- Rose template (optional)
Steps:
- Cut a circle out of a sheet of paper with a diameter of about 6-8 inches. This will be the centre of your rose.
- Cut large petals out of your coloured paper. To do this, fold a sheet of paper in half and draw half a petal shape along the fold. Cut out the petal, then unfold the paper to reveal a full petal shape. Repeat this process to create multiple petals.
- Starting with one petal, use the glue gun to attach the pointed end to the circle you cut out earlier. Make sure the petal is slightly overlapped on the circle. This will be the centre of your rose.
- Add more petals, one at a time, in a circular pattern around the center, gluing each petal to the previous one. As you add more petals, make sure to overlap them slightly to create a natural-looking rose shape.
- Continue adding petals until your rose is the desired size. For a larger rose, use larger petals and continue to add more layers.
- Once you have added all of your petals, use the scissors to trim any excess paper from the bottom of the rose so that it sits flat.
- If desired, add leaves or additional petals to the outside of the rose.
- Allow the glue to dry before displaying your paper rose.
With practice and patience, you can create beautiful and impressive paper roses to decorate your home or events.
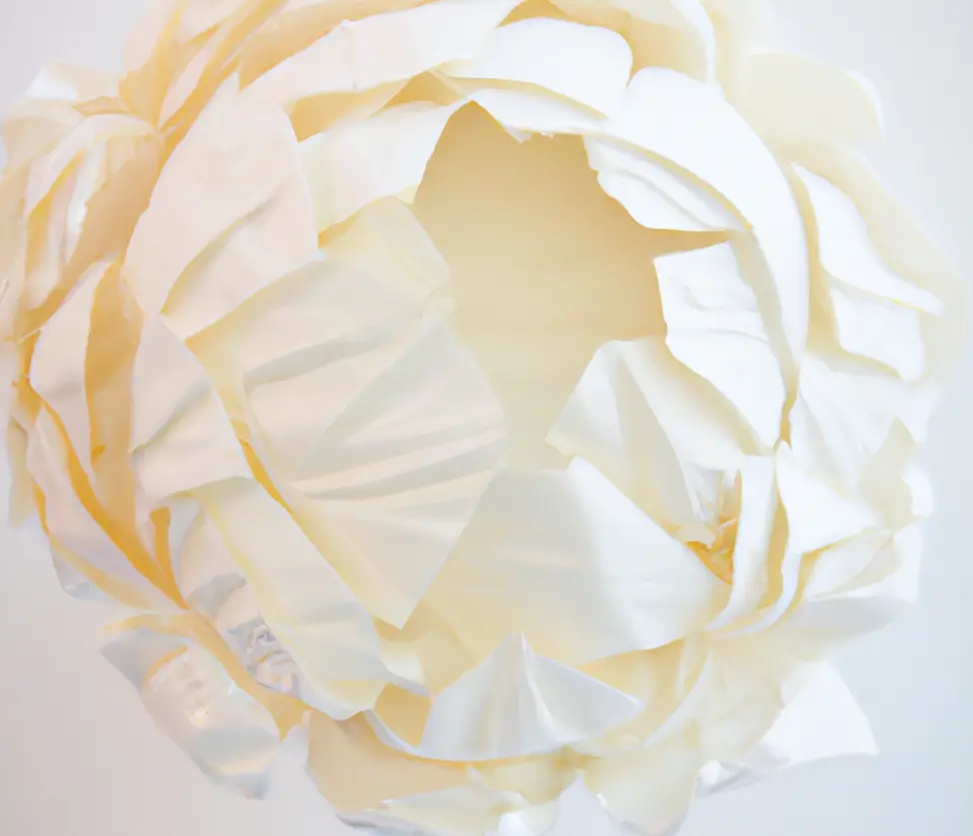
Materials:
- Coloured paper (at least 8.5×11 inches)
- Scissors
- Glue gun or strong adhesive
- Pencil or pen
Steps:
- Cut out a large square piece of paper. Fold it in half, then fold it in half again. Unfold the paper to reveal four creases.
- Cut along each crease, stopping about 1 inch from the centre of the paper.
- Cut out a small circle from a different coloured paper. This will be the centre of your peony.
- Use the glue gun to attach the small circle to the centre of your large piece of paper.
- Starting with one petal, fold it upwards and glue it to the centre circle.
- Continue folding each petal upwards and glueing it to the center circle. Make sure to overlap each petal slightly to create a natural-looking peony shape.
- Once you have added all of your petals, use the scissors to trim any excess paper from the bottom of the peony. If desired, add leaves or additional petals to the outside of the peony.
- Allow the glue to dry before displaying your paper peony.
Steps on how to make paper flowers are quick and easy, and for peonies, you can make a lot of these in different colors to create a beautiful display.
There are some variations in the specific techniques used for each type of flower. But, by carefully following the steps on how to make paper flowers, you can create both beautiful and unique paper roses and peonies to decorate your home or events.
Learning how to make paper flowers is easy and incredibly rewarding. From the moment you start folding your first petal, you’ll be in awe of the transformation that takes place as you create these delicate blooms from plain paper. There are also several places online where you can find intricate paper flower templates.
You can make paper flowers of various sizes, from tiny buds to giant blooms, and you can even put together a whole bunch to create gorgeous bouquets for special occasions
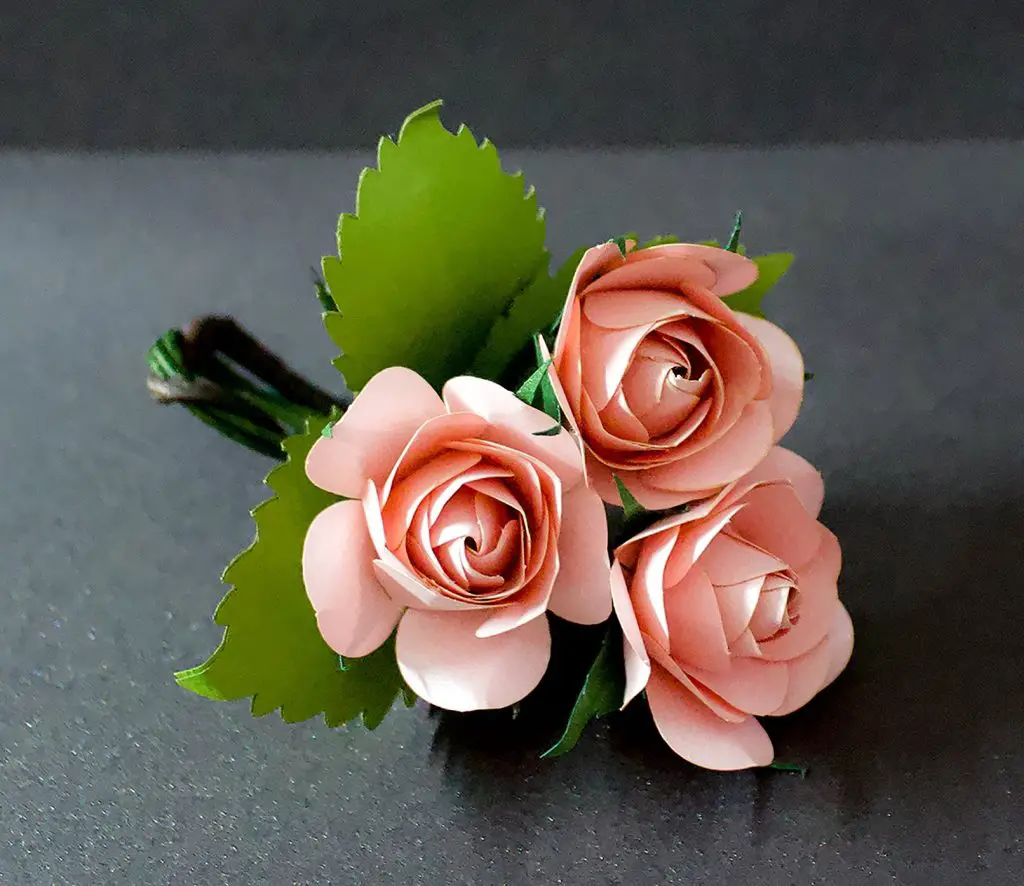
Tips and Tricks for Making Paper Flowers
Now that you know the basics of how to make paper flowers, here are more tips and tricks to help make your paper flowers the talk of the town!
- Choose the right paper: It is important to choose high-quality paper that is strong enough to hold its shape and can withstand being manipulated. Cardstock or heavy-weight crepe paper are good options.
- Use a template: You can find templates online for a variety of flower shapes that will help you achieve consistent petals and a uniform look.
- Invest in good tools: A sharp pair of scissors and a hot glue gun will make the process easier and more efficient.
- Experiment with colour: Don’t be afraid to mix and match different colours to create a unique look. Consider using shades of the same colour or complementary colours.
- Add texture: You can add texture to your flowers by using a scoring tool to create lines or patterns on the petals or by layering different types of paper.
- Create depth: To create depth and dimension, bend the petals upward or downward and curl the edges.
- Practice and be patient: Making paper flowers can be time-consuming and requires patience, but the more you practice, the better you will become.
With these tips, you learn how to make paper flowers easily and impressively. And these flowers will surely add a special touch to any event or decoration.
How to Arrange Paper Flowers
Learning how to make paper flowers can be a great way to explore your creativity and brighten up any room! But what good are these beautiful blossoms if you don’t properly arrange them?
Arranging paper flowers can be a fun and creative way to create a stunning and unique atmosphere at your home or special event.
Here are a few tips to help you make your flower arrangements pop:
- Create a focal point: Choose one or two larger flowers to be the focal point of the arrangement. Place them towards the centre and ensure they are at varying heights to create visual interest.
- Add smaller flowers: Once you have your focal point flowers in place, add smaller flowers around them. Vary the sizes and shapes of the flowers to create a more organic look.
- Add greenery: To give your arrangement a more natural look, add some greenery. You can use artificial leaves, ferns, or other foliage to fill in gaps and create a more balanced arrangement.
- Adjust and balance: Take a step back and look at the arrangement from different angles to make sure it is balanced and visually appealing. Adjust the flowers and greenery as needed to create the desired look.
By following these tips, you can create a beautiful and eye-catching arrangement of paper flowers that become a special decor for any room or event.
If you still want to add a more exquisite touch, you can also learn how to make pistachio shell flowers. Their unique style and undeniable beauty will add more style to the theme.
Enjoy the beauty of your handmade paper flowers!
After following these steps on how to make paper flowers and how to make them look perfect, you can sit back and admire your masterpiece! Take a step back and enjoy the beauty of your handmade paper flower.
The delicate petals, the vibrant colours, and the effort you put in make this a truly unique and beautiful creation. You can even make a few more and use them as decorations or give them away as gifts!
You can now proudly say that you know how to make paper flowers!
The Takeaway
Learning how to make paper flowers is a great way to create beautiful decorations for your home or special occasions. With just a few simple supplies, you can make a variety of gorgeous paper flowers that you can use to adorn your walls, decorate gifts, or simply enjoy as a fun craft.
Whether you are wanting to add a hint of brightness to your living room or create a stunning centrepiece for a dinner party, learning how to make paper flowers is a great way to show your creative flair.
Crafting paper flowers is a surprisingly easy process with limitless possibilities! The steps on how to make paper flowers are simple, you can easily create beautiful, vibrant blooms that will brighten up any room!
Best of all, learning how to make paper flowers is something that you can do with friends and family. It’s a great way to get creative and have fun!


