Last Updated on August 2, 2024 by Team Ideas24
I was doing some window shopping with my daughters one day. We passed by a store with a stack of adorable drawstring bags on display. They came in different shades of pastel colors and we immediately fell in love.
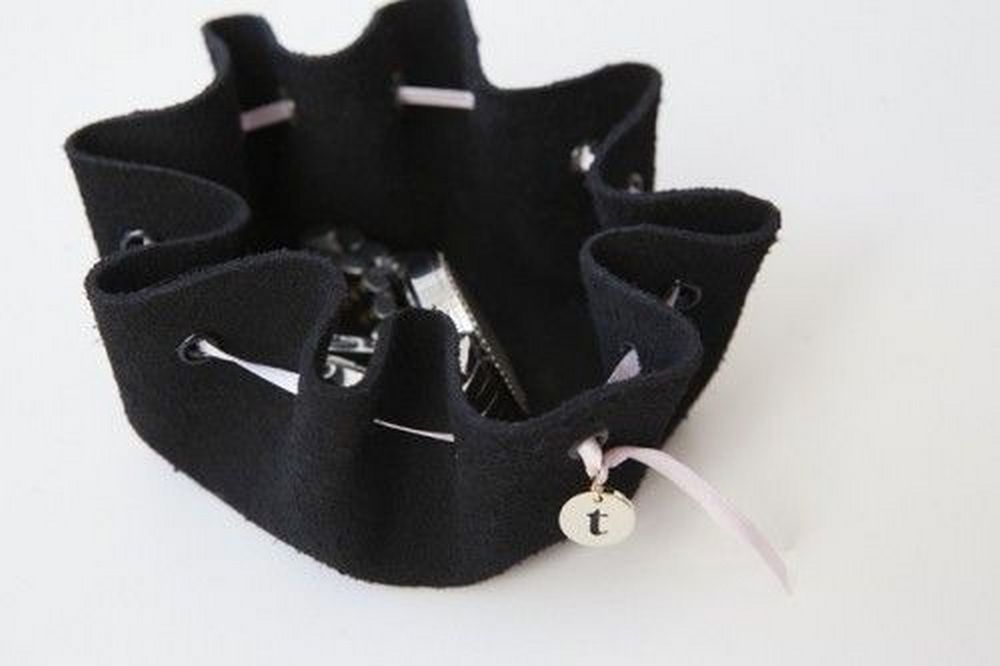
When we got home, my daughters told me they wanted a smaller version of the drawstring bag. They wanted a small pouch where they could put trinkets in. Since my sewing machine was out for repair, I searched for no-sew drawstring projects. No-sew pouch projects are fun because you can involve the family in it. Fortunately, I found one.

Depending on how big you make it, these no-sew pouches can hold various items. You may use it for your jewelry, phone, camera, keys, and many more. Because this is so easy to make, these are perfect as gifts, too.

Contents [show]
Crafting a No-Sew Pouch
Materials
- Fabric
- Ribbon or cord
Tools
- Scissors
- Ruler
- Pencil
Instructions
Step 1: Choose Your Fabric
- Select a piece of fabric that fits your needs. Lightweight fabrics like cotton or felt are ideal for easy handling and durability.
Step 2: Measure and Cut the Fabric
- Using your ruler and pencil, mark a rectangle or square on the fabric based on the desired size of your pouch.
- Cut the fabric along the marked lines with your scissors.
Step 3: Mark the Ribbon Holes
- Fold the fabric in half to form the pouch shape, with the inside of the pouch facing outward.
- Along the two top corners of the folded fabric, mark points for holes about half an inch from the top edge, ensuring they are evenly spaced.
Step 4: Cut the Ribbon Holes
- Use the tip of your scissors to carefully make small cuts at each marked point. Ensure the holes are large enough for your ribbon or cord to pass through easily but not so large that the fabric frays excessively.
Step 5: Attach the Ribbon or Cord
- Cut a piece of ribbon or cord long enough to go around the width of your fabric with extra length to tie a knot or bow.
- Attach a safety pin to one end of the ribbon or cord to help thread it through the holes. Start on one side of the fabric, threading outward through the first hole and inward through the second hole on the same side.
- Pull the ribbon or cord until both ends meet. If your design allows, you can thread the ribbon or cord through a second set of holes at the bottom of the pouch for added closure security.
Step 6: Tie Off the Ribbon or Cord
- Once the ribbon or cord is threaded through all the holes and the fabric is gathered to your satisfaction, tie the ends in a secure knot or bow. This not only secures the pouch but also adds a decorative touch.
Step 7: Turn the Pouch Right Side Out
- Carefully turn the pouch right side out, ensuring that the corners are fully extended.
- Adjust the fabric so the ribbon or cord evenly gathers the fabric, and the pouch holds its shape.
Step 8: Final Touches
- You can personalize the pouch by adding additional decorations such as beads on the cords, fabric paint designs, or iron-on patches.
No-sew pouch design ideas
Click on any image to start the lightbox display. Use your Esc key to close the lightbox.

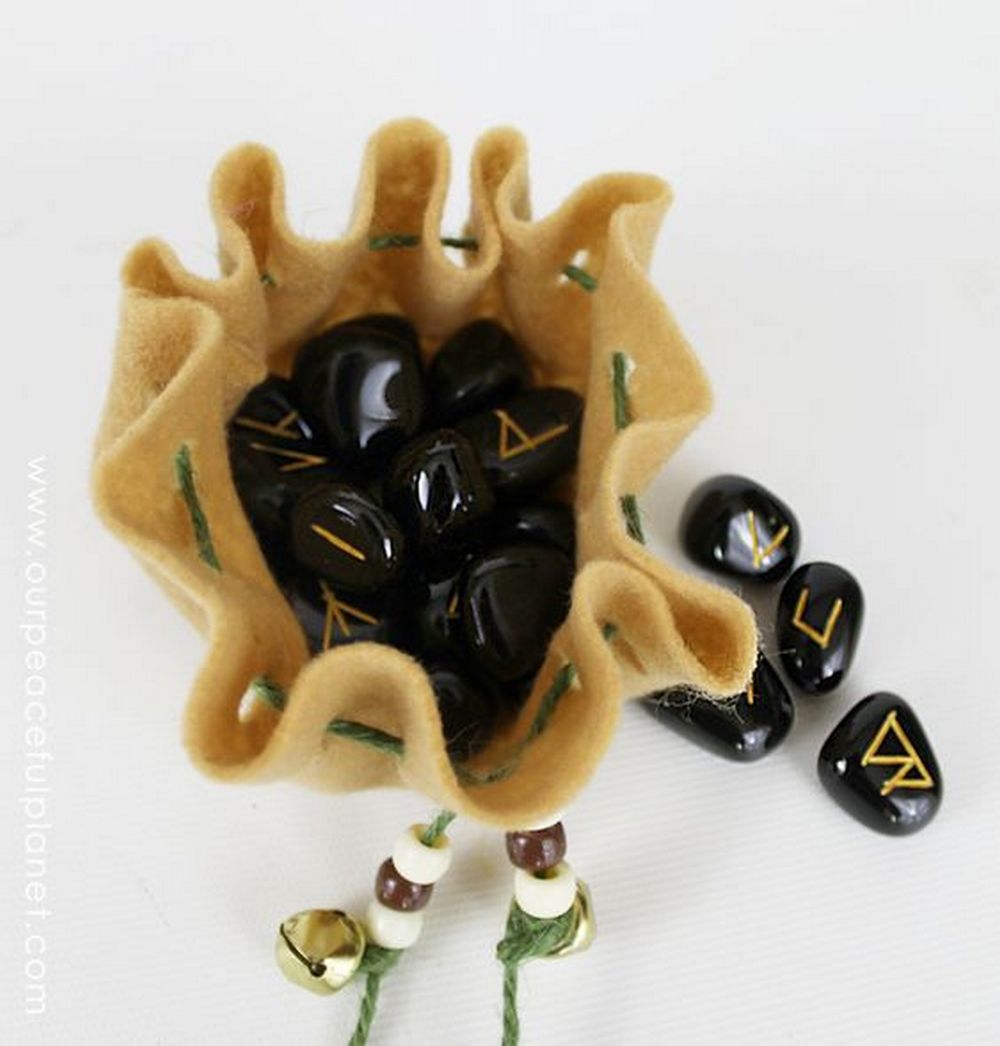
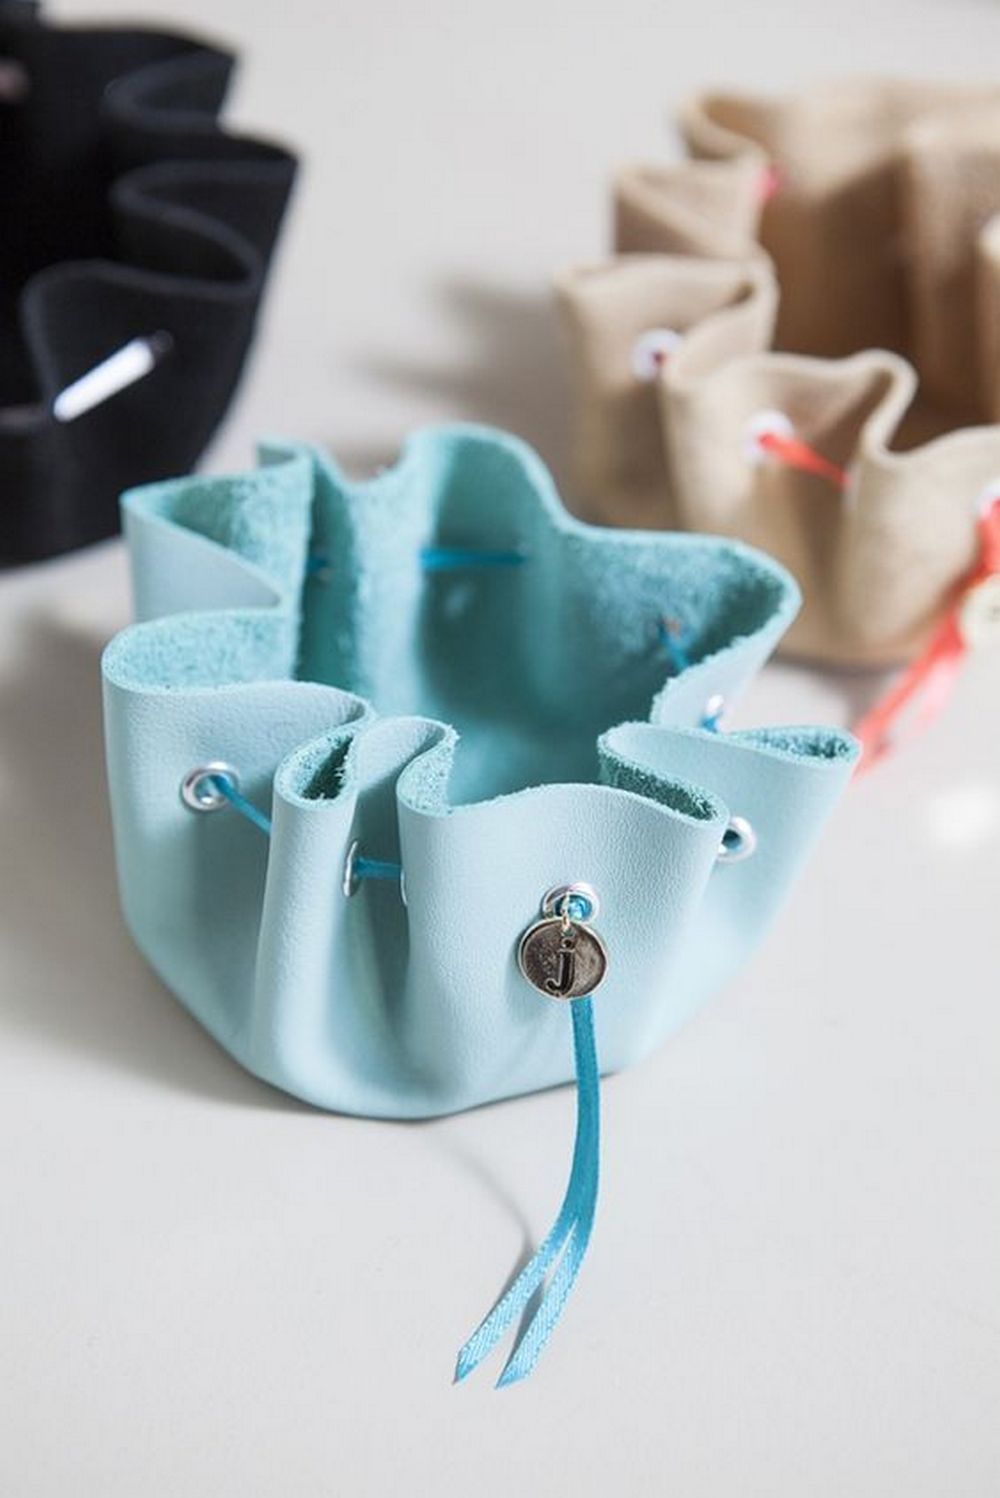
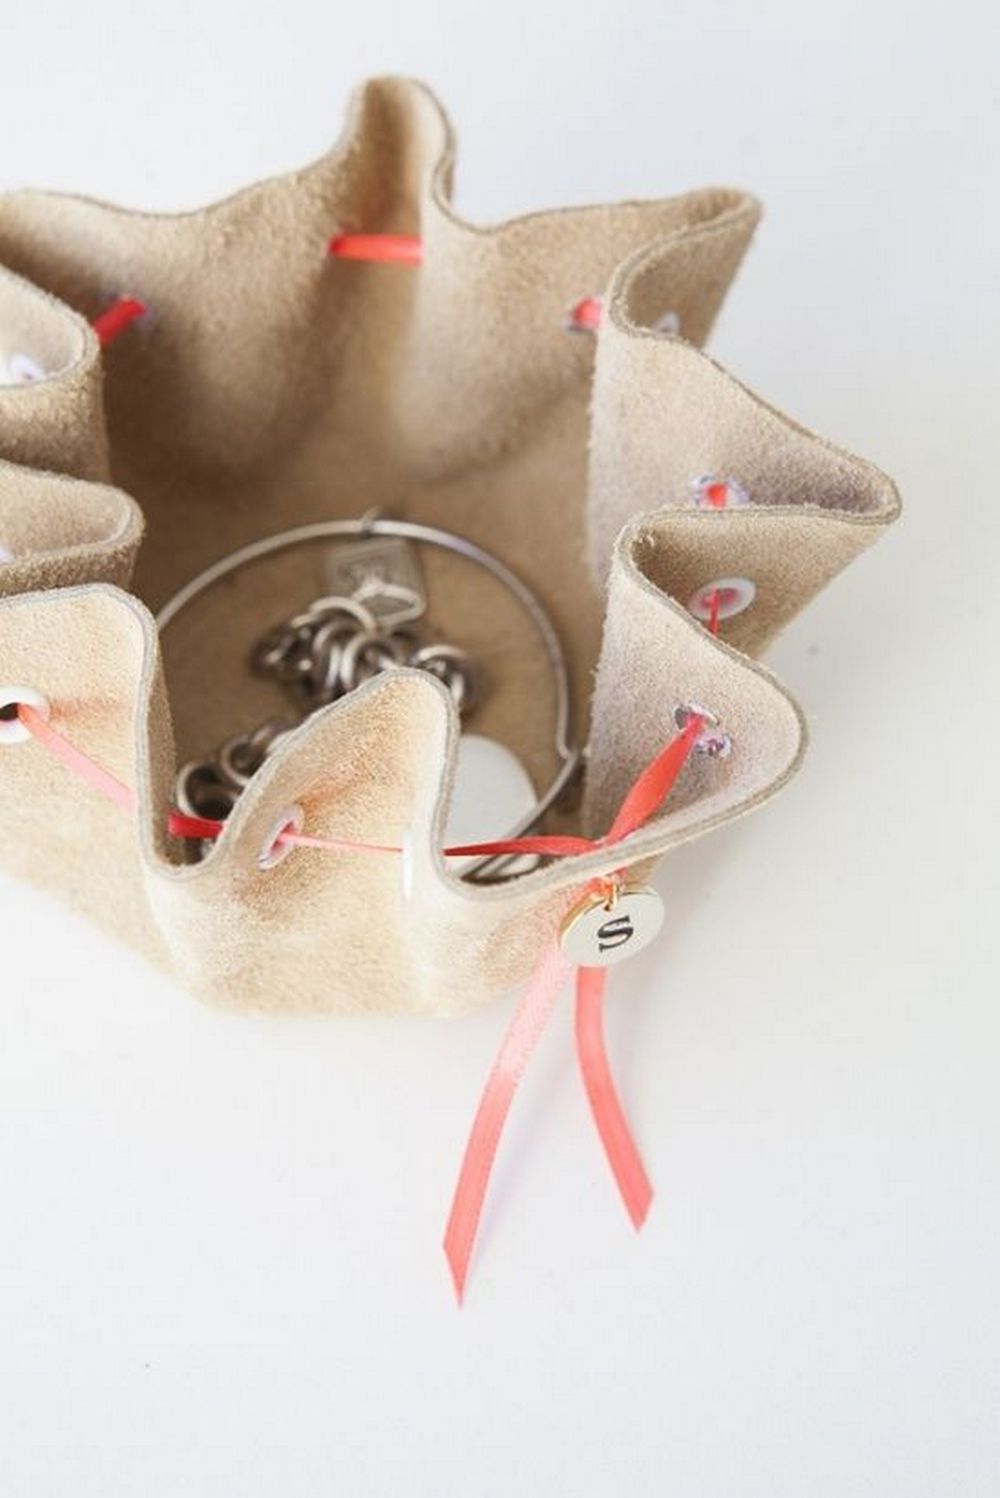

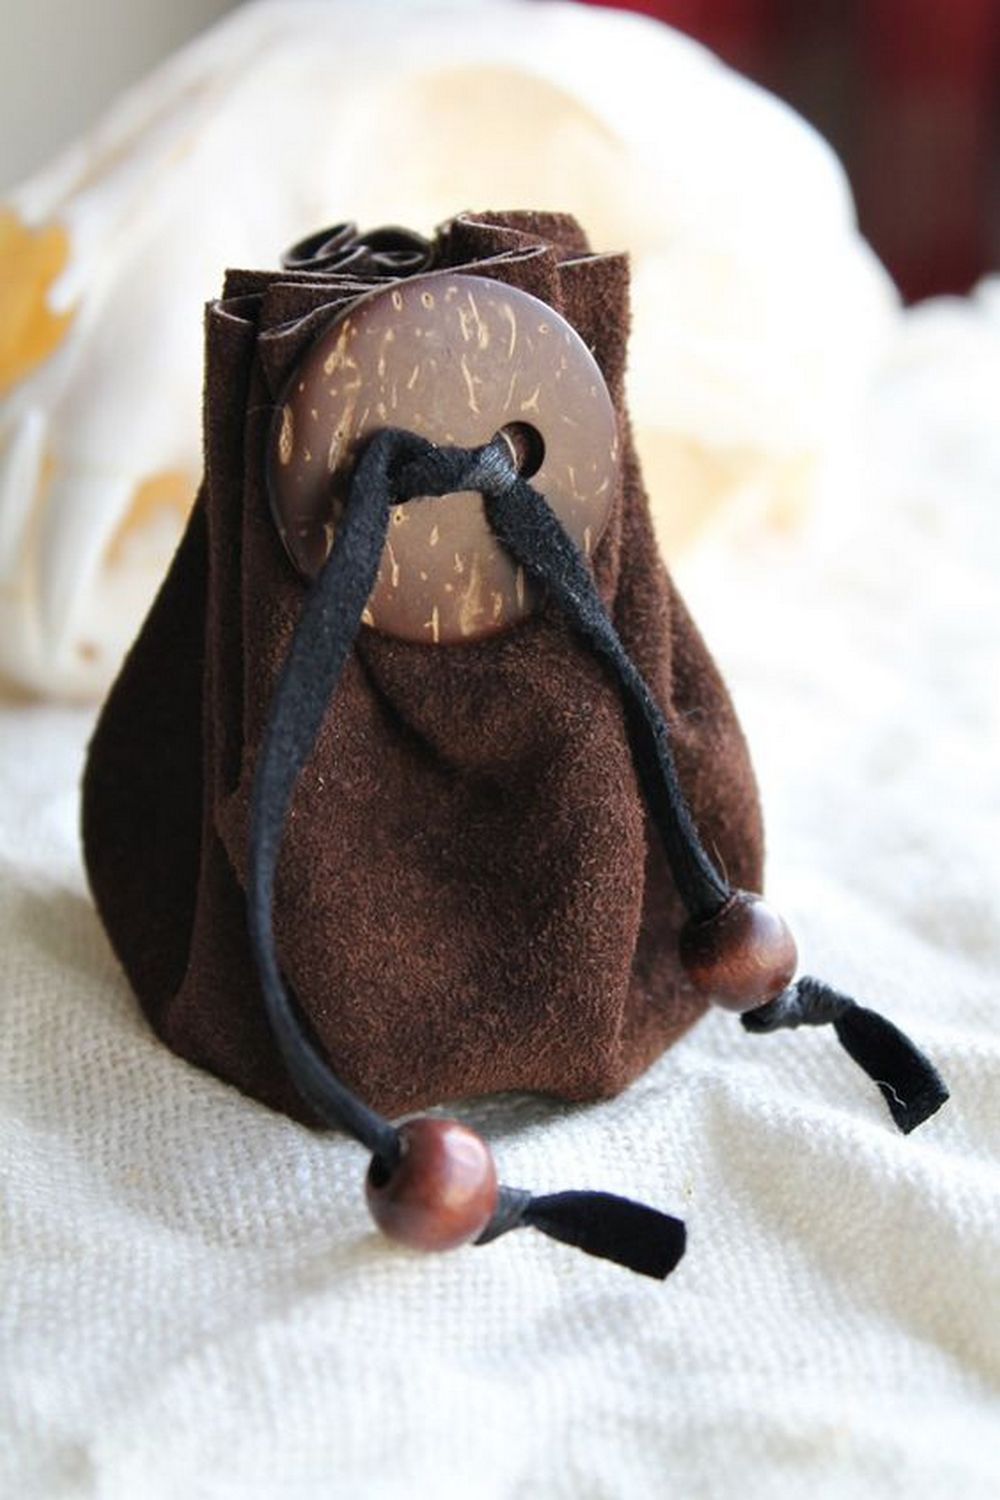
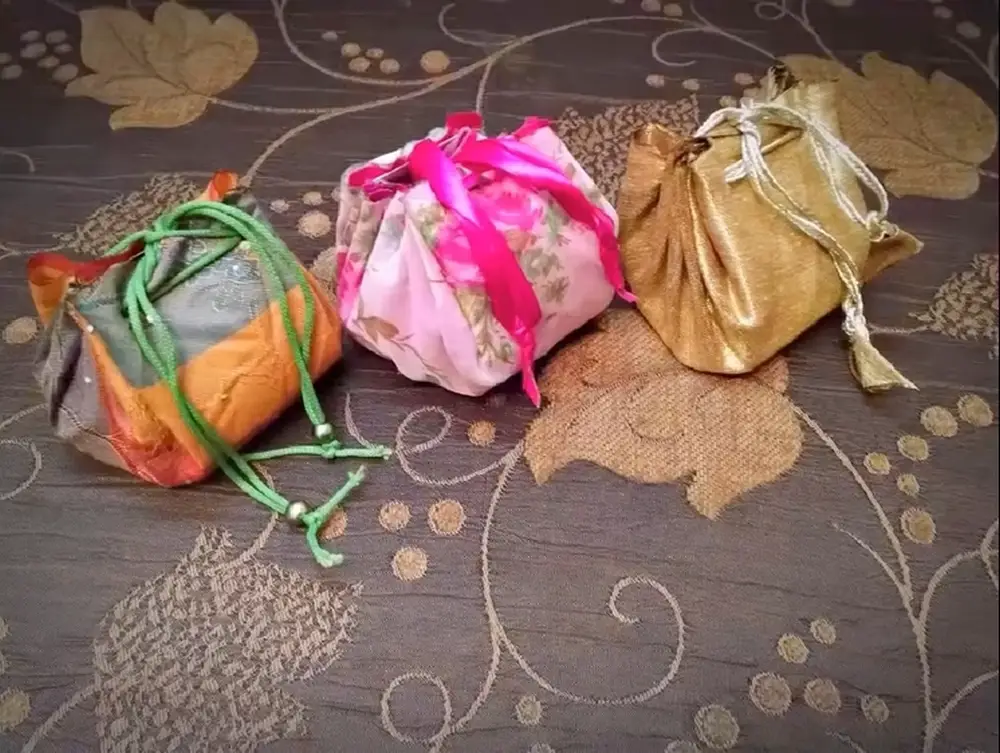
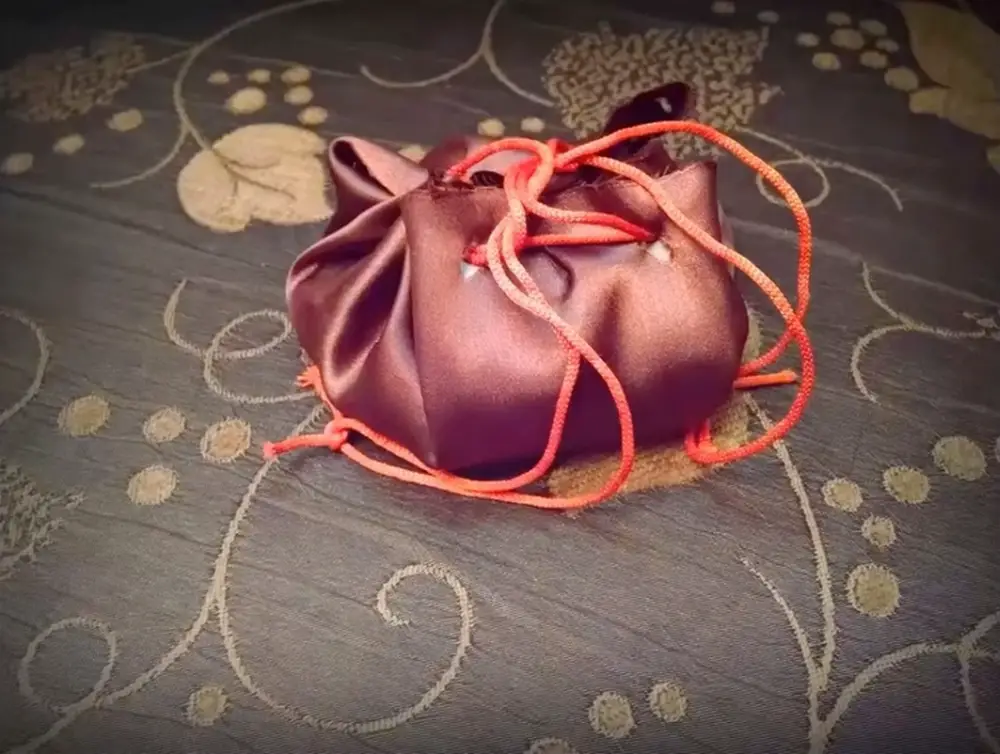

Wanna learn how to make a no-sew pouch? Check out the video below.
Customizing Your No-Sew Pouch
Creating a no-sew pouch is not only a fun and easy craft project but also a versatile addition to your collection of handmade items. These pouches can be customized in countless ways to reflect your personal style or to create thoughtful, personalized gifts for friends and family. Below are some creative ideas to help you customize your no-sew pouch.
Choose Unique Fabrics
The fabric you choose is the base of your no-sew pouch and sets the tone for its final look. Opt for patterns and textures that stand out. Consider using themed fabrics for special occasions, like floral prints for spring or spooky motifs for Halloween. Mixing and matching different fabrics can also create a visually appealing design.
Add Colorful Embellishments
To elevate the simple design of your no-sew pouch, consider adding embellishments. You can glue on sequins, beads, or rhinestones to create patterns or initials. Fabric glue is a reliable tool for securing these additions, ensuring your designs stay intact with regular use.
Paint and Stencils
Fabric paints and stencils open up endless possibilities for personalizing your no-sew pouch. Use stencils to apply geometric shapes, letters, or intricate designs. For a more free-handed approach, you can use fabric markers to draw directly on the fabric, adding names, quotes, or hand-drawn illustrations. This method allows for a high level of customization and can be a great way to involve kids in the crafting process.
Iron-On Transfers
Iron-on transfers are an excellent way to add professional-looking graphics to your no-sew pouch. You can purchase pre-made designs or create your own with transfer paper and a printer. This technique allows you to add detailed images or custom artwork, making your pouch truly one-of-a-kind.
Textural Techniques
Incorporating different textures can add depth and interest to your no-sew pouch. Techniques like fabric layering, where you layer different types of fabric, or creating ruffles and pleats, can enhance the tactile quality of the pouch. Consider using materials like lace, denim, or velvet to achieve these effects.
Closure Variations
While the typical no-sew pouch might use a simple ribbon or cord for closure, you can experiment with different types of closures to add both functionality and style. Magnetic buttons, snaps, or even zipper strips can be attached with strong fabric adhesive to create a more secure or sophisticated closure system.
Eco-Friendly Options
For those interested in sustainability, customizing your no-sew pouch with recycled materials is a great approach. Old t-shirts, jeans, or fabric scraps can all be repurposed into unique pouch designs. This not only reduces waste but also gives a new life to materials that might otherwise be discarded.
Customizing your no-sew pouch is a fantastic way to express creativity and make a functional item that stands out. Whether you’re crafting for yourself, as a fun family activity, or for gifting, each no-sew pouch you create can be a unique reflection of personal style or sentiment.
No-Sew Pouches for Different Uses
No-sew pouches are not only a delightful craft project but also a practical solution for organizing and storing various items. With no sewing required, these pouches can be customized to suit a wide range of purposes, from travel accessories to home organization. Here’s how you can adapt the versatile no-sew pouch to meet different needs, enhancing both functionality and style in your everyday life.
Travel Organizers
When traveling, keeping your essentials organized and accessible can make your journey smoother. Customize no-sew pouches to store travel documents, currencies, and small travel essentials like earphones, charging cables, and personal care items. Use waterproof or durable materials to protect your belongings. Adding labels or using different colors for each type of content can help you quickly find what you need without rummaging through your luggage.
Cosmetic Bags
A no-sew pouch makes an excellent cosmetic bag, ideal for holding makeup, brushes, and skincare products. Opt for materials that are easy to clean, such as vinyl or laminated fabrics, to protect against spills. Consider adding compartments by using additional pieces of fabric glued inside to keep items separate and organized.
Gadget Cases
Protect your electronics with custom-sized no-sew pouches. Whether for smartphones, tablets, or e-readers, you can create a pouch that fits each device snugly. Use padded materials like neoprene or felt for cushioning to prevent scratches and damage from impacts. Adding a flap over the opening can provide extra security.
Reusable Gift Bags
No-sew pouches can be turned into lovely gift bags. Tailor them to the occasion—pastel hues for weddings, vivid prints for birthdays, or holiday patterns. These reusable bags not only accentuate the presentation but also act as a gift that will be much valued long after the event.
Craft Supply Storage
No-sew pouches are ideal for storing and sorting creative items for people who enjoy working on projects. For buttons, threads, or beads, make little pouches; for tools and supplies, make bigger ones. Customizing the size and adding clear portions created from plastic sheets will enable you to quickly view the contents, therefore improving the organization and enjoyment value of your work.
Snack Bags
A fantastic substitute for throwaway plastic, no-sew pouches may be fashioned into reusable snack packs. Select food-safe materials or line your pouches with a washable lining. These pouches help save waste and are ideal for packing food for trips, the office, or the classroom.
Pet Accessory Pouches
Create no-sew pouches to hold pet accessories like treats, waste bags, or grooming supplies. Use durable fabrics to withstand frequent use and easy-to-clean materials in case of spills. These pouches can be clipped to a leash or tucked in a bag, making pet outings more convenient.
Jewelry Pouches
Protect your jewelry when traveling or at home with soft, padded no-sew pouches. Materials like velvet or satin can prevent scratches on delicate items. Adding compartments or pockets can help keep jewelry organized, preventing tangles and damage.
By exploring these various uses for no-sew pouches, you can tailor each pouch to specific needs, enhancing its utility and appeal. Whether you’re making a travel organizer, a snack bag, or a stylish gadget case, no-sew pouches offer a creative and practical solution that can be adapted for countless purposes.
Do you have socks that have lost their pair? Don’t throw them out. Instead, turn them into adorable sock bunnies that you could put inside Easter baskets.


