Last Updated on October 22, 2024 by Team Ideas24
Making these super squishy stress balls can be a great bonding activity with your kids, but how to make a stress ball? If you’re constantly stressed out, I have a treat for you. This DIY super squishy stress ball is super easy to make – and it’s very addicting, too!
So far, I have made about a dozen pieces and given them away to family and friends.

I’ve always been a fan of making slime. My kids love them! Playing with them is very relaxing. But I was curiuos when one f my kids asked me how to make a stress ball never thought of putting them inside a balloon to make stress balls. I think it’s a brilliant idea. Plus, these super squishy stress balls are very easy to make.
Contents [show]
Stress-Free Crafting: How to Make a Stress Ball
There’s nothing quite like a colorful, squishy stress ball to help you relieve tension and anxiety. And with so many fun designs available, it’s easy to find one (or a few!) that inspires you to make your own DIY.

From simple and soothing to downright whimsical, these stress balls are sure to put a smile on your face and help you de-stress in no time. So take a deep breath, grab your favorite design, and let the squeezing project begin!
You can actually do this project with your kids. It’ll be a great way to bond with them. You can make them using different colors for variety. Try it out today, and you can squeeze your worries away.

How to Make a Stress Ball With Glue and Liquid Starch?
Here’s what you’ll need to get started:
Materials:
- Elmer’s glue
- Liquid starch
- Food coloring
- Balloon
- Fishnet
- Funnel
Tools:
- Mixing bowl
- Fork
- Scissors
If you’re looking for a fun and easy way to relieve stress, then why not try making your own stress ball? Super squishy stress balls are a great way to help you relax, and they’re also really easy to make! Just follow these simple steps:
1. Mix the ingredients
To answer your question how to make your own stress ball, you’ll need the mixing bowl for your Elmer’s glue, food coloring, and liquid starch. For this step, you can use any type of glue you prefer. Add the glue to the bowl, then drop in a few drops of food coloring. Add the liquid starch and mix thoroughly until the mixture becomes soft and elastic.
2. Insert the mixture into the balloon
To add the mixture to the balloon, simply insert it using a small flask or a funnel and a soft or round pen. You’ll want to add more mixture until it becomes about the size of a tennis ball. Now that you’ve added the mixture to the balloon, it’s time to close it off by tying a knot. This will keep the mixture inside the balloon so you can use it later.
3. Add the fishnet stocking
Once you have your super squishy stress ball, you can wrap it with a fishnet stocking. Then, close it with a small button or simply tie it up. This will preserve the shape of the ball and add an extra layer of scratch protection. Plus, it’ll look really cool! You can then repeat the process until you have the desired number. Just remember to be patient and take your time with each step for the best results!
And that’s it! Your super squishy stress ball is done! Now you can start squishing to your heart’s content. If you find that your stress ball is getting too squished, you can always add more stuffing to it. But be warned – once you start squishing, it’s hard to stop! 
Here’s the full video tutorial on how to make a stress ball:
Colorful super squishy stress ball designs
Click on any image to start the lightbox display. Use your Esc key to close the lightbox.

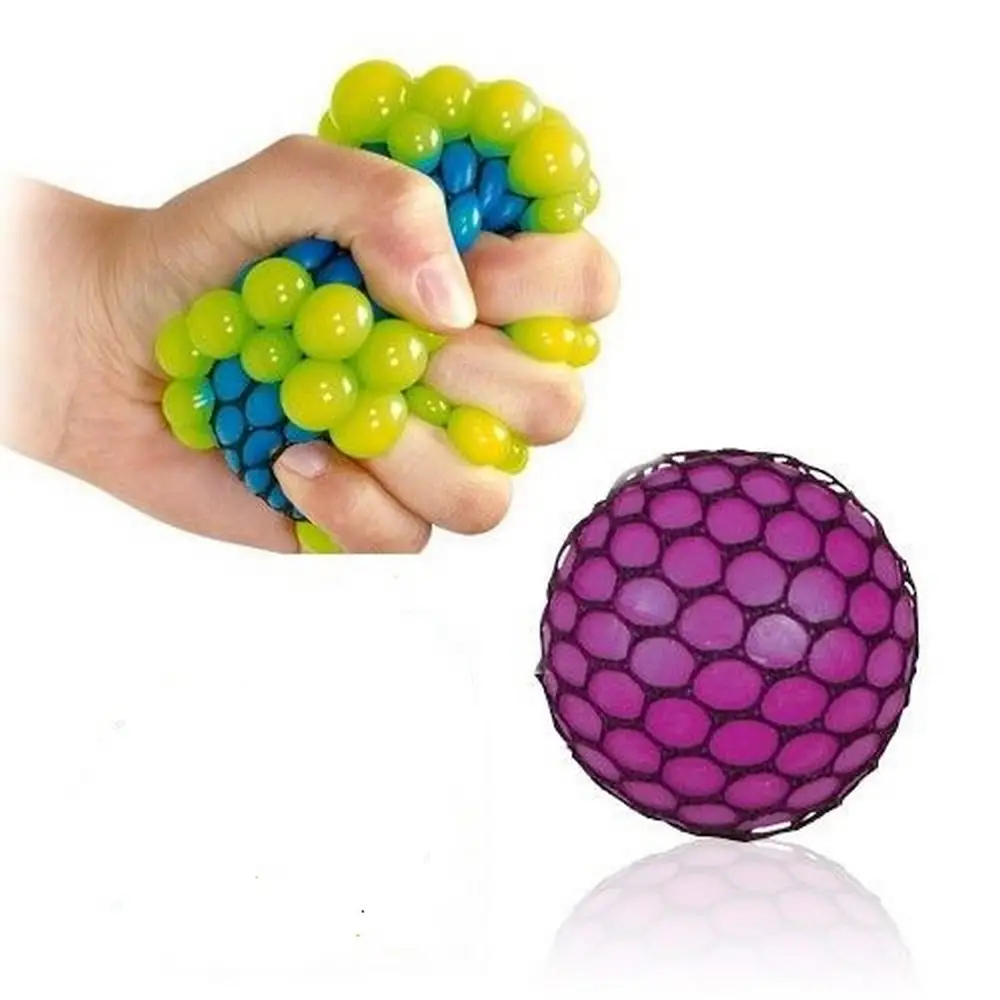

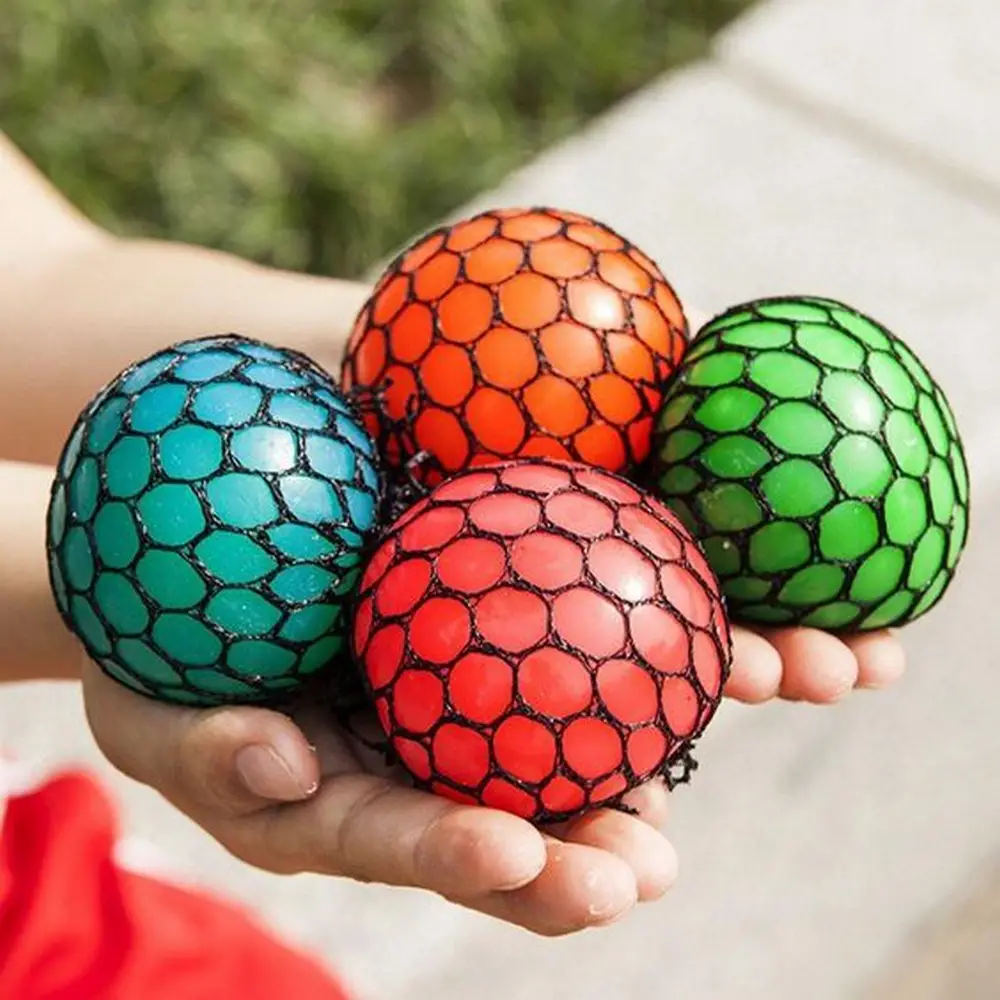
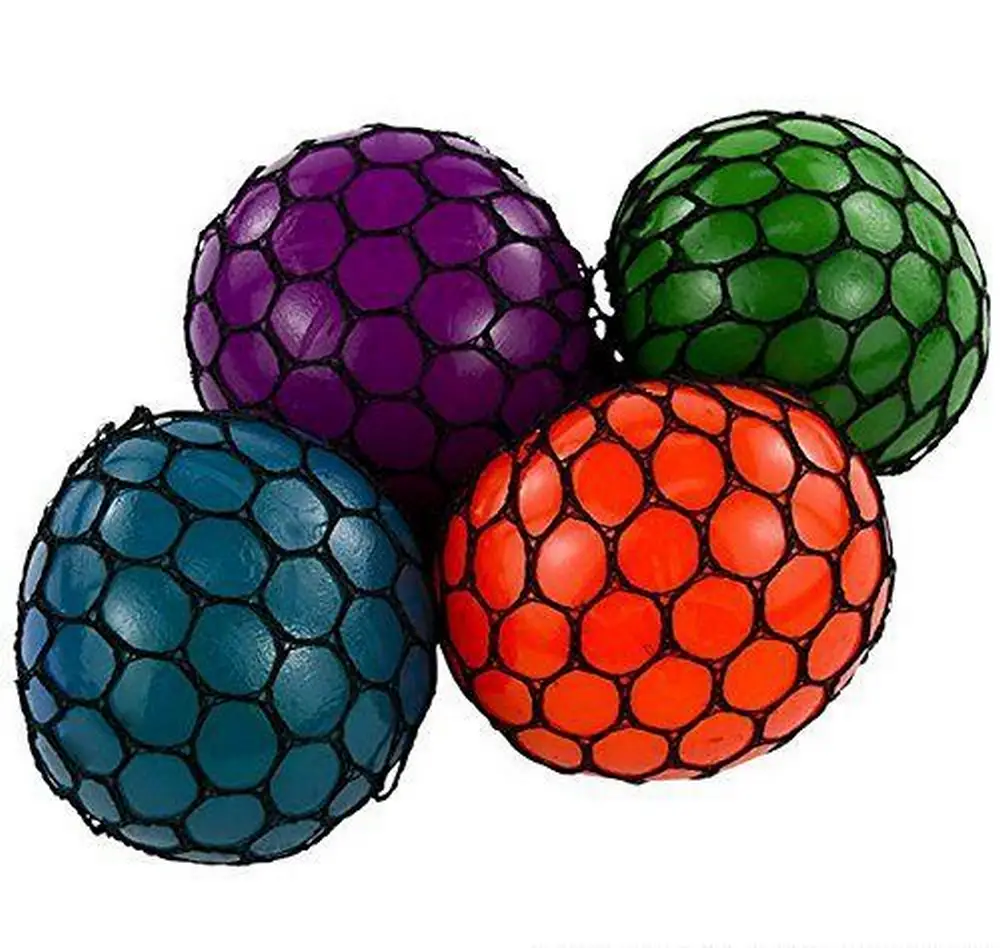
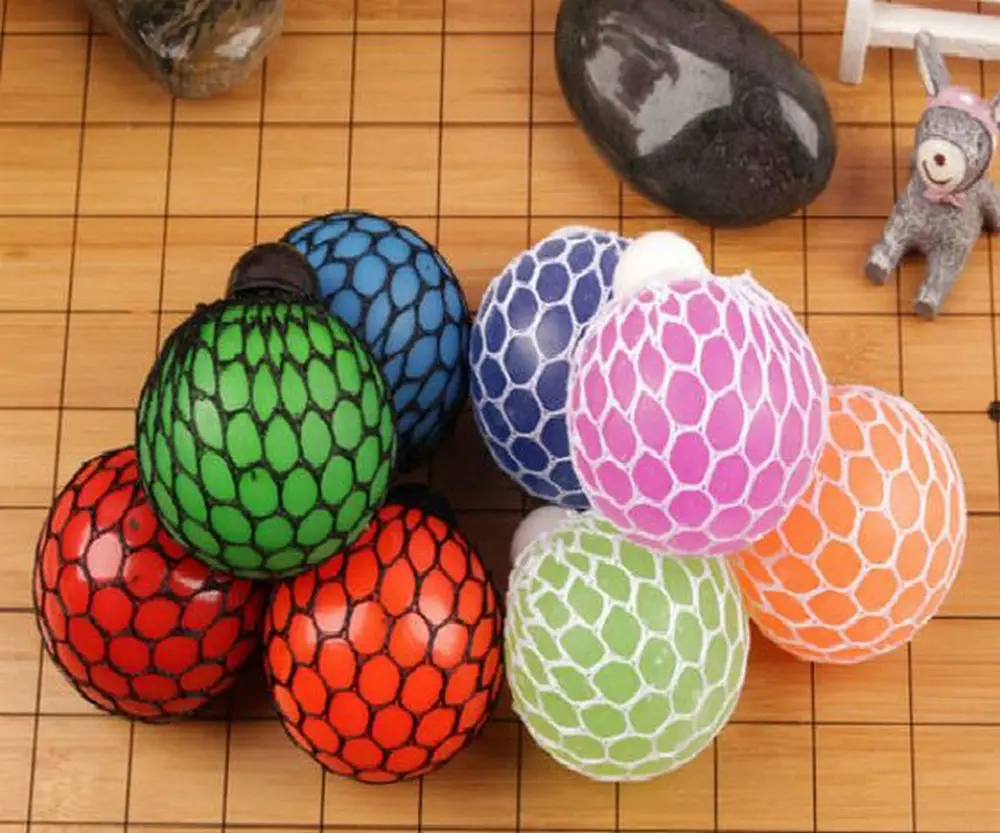
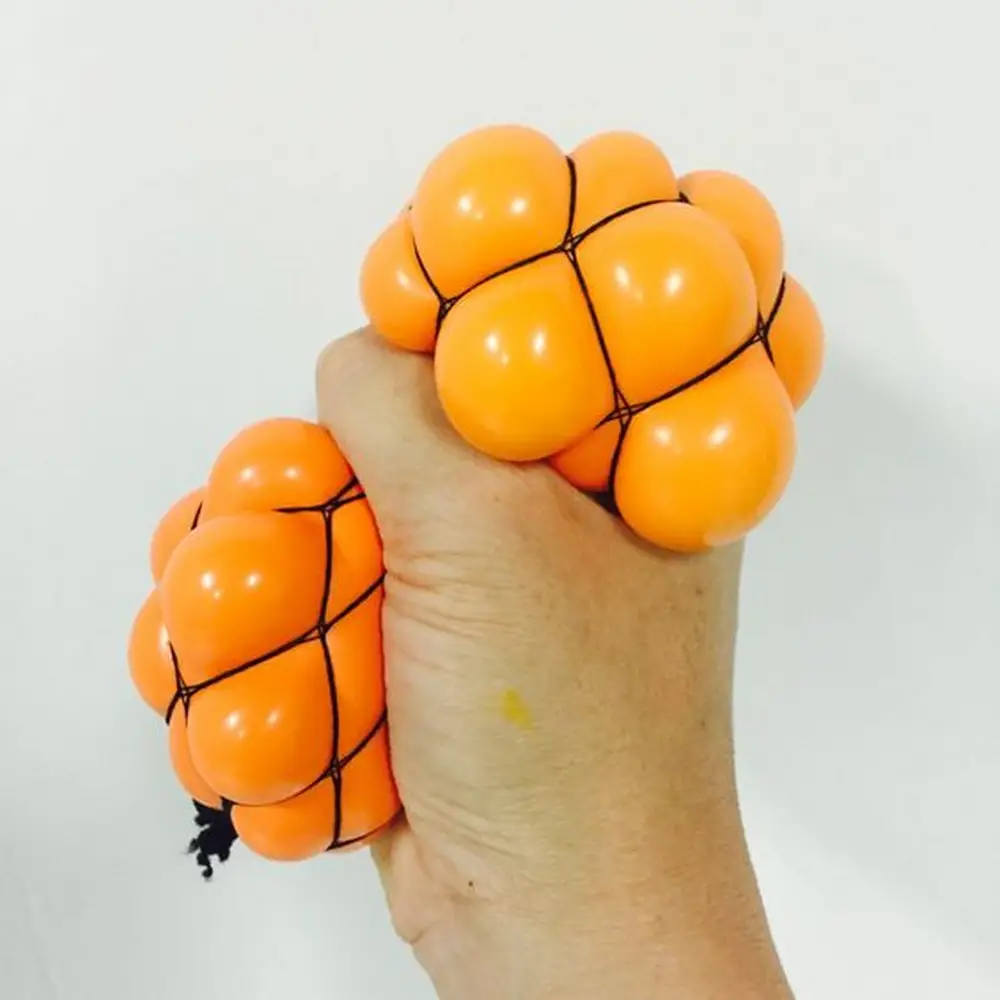
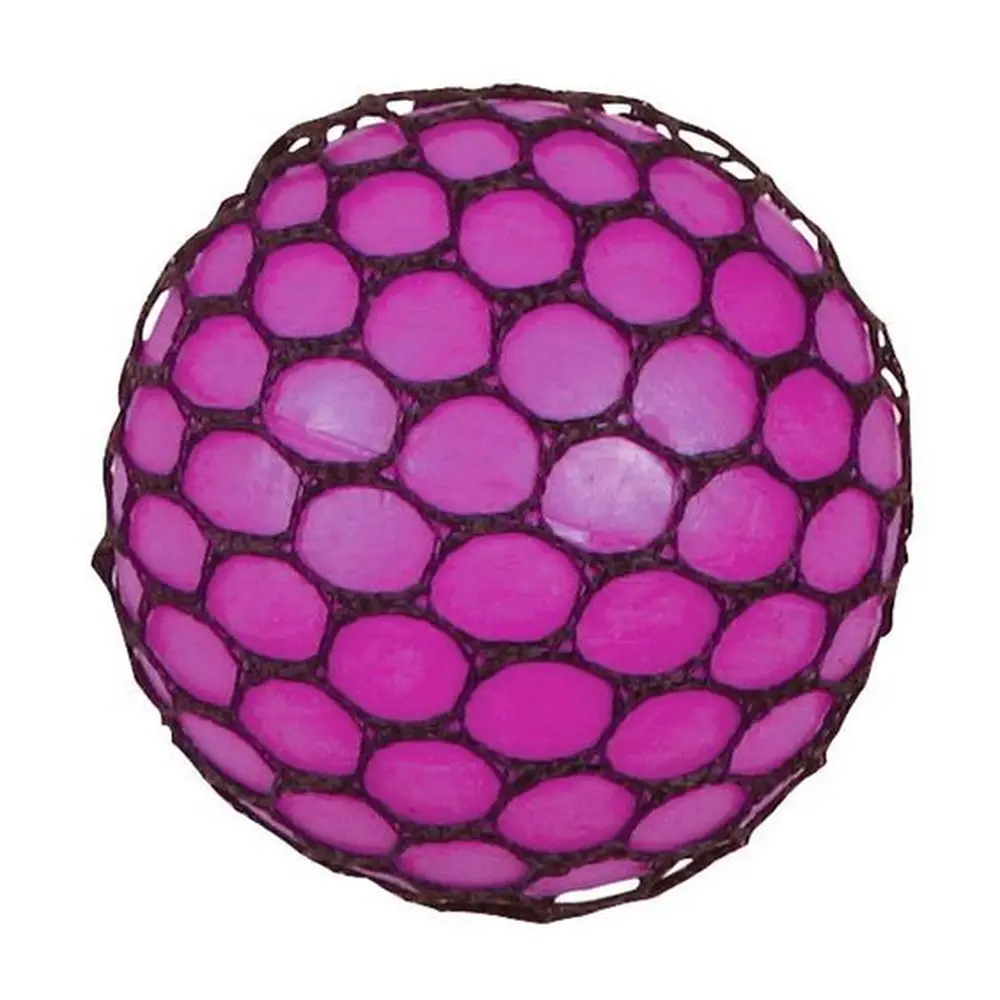

How to Make a Stress Ball with a Balloon and Flour
Creating a stress ball using a balloon and some flour is a fun and easy craft project. Follow these simple instructions to make your own stress-relieving tool at home.
Materials Needed
- Balloon: Any color of your choice.
- Flour: The filling for your stress ball. The amount depends on how big you want it.
- Small Plastic Bottle: Acts as a funnel to transfer flour.
- Paper Funnel: Optional, but helpful for pouring flour.
- Decoration Supplies: Pens and wool for adding personal touches.
Step-by-Step Instructions
- Prepare the Funnel:
- Optionally, create a paper funnel if you don’t have one. This will help guide the flour into the bottle efficiently.
- Fill the Bottle:
- Pour flour into your plastic bottle using the paper funnel. You can adjust the amount of flour depending on how firm or soft you want your stress ball.
- Attach the Balloon:
- Blow up the balloon slightly, but don’t tie it. Secure the balloon’s neck around the top of the plastic bottle, ensuring a tight fit.
- Transfer the Flour:
- Invert the bottle and balloon, allowing the flour to slowly spill into the balloon. Gently squeeze and shake the bottle to aid the process. Use a pencil or chopstick if necessary to ensure the flour flows smoothly.
- Release Air:
- Once the flour is in the balloon, carefully remove the balloon from the bottle. Hold the opening tightly and slowly let the air escape to avoid flour spilling out.
- Seal the Balloon:
- With all the air out and the flour settled, tie a knot in the balloon to secure your creation.
- Decorate Your Stress Ball:
- Use pens and wool to decorate your stress ball, adding a personal touch and making it unique.
How to Handle Flour Stuck in a Funnel
If you find that the flour isn’t passing easily through the funnel into the bottle, don’t worry—it’s a common issue and easily solved. Here’s what you can do:
- Tap the Funnel
- Gently tap the sides of the funnel. This motion can help loosen any clumps making it easier for the flour to flow through.
- Use a Tool
- If tapping doesn’t work, take a pencil or a chopstick and gently stir or prod the flour in the funnel. This will break up any compacted bits and allow it to move freely.
- Check for Moisture
- Ensure that both the funnel and the flour are completely dry. Moisture can cause the flour to clump up and block the funnel.
- Sift the Flour
- If you’re still having trouble, pour the flour back out, sift it to remove any larger clumps, and try again.
- Widen the Passage
- If the funnel opening is too narrow, consider using a funnel with a larger spout to prevent future blockages.
These simple techniques should help you transfer the flour smoothly every time.
Tips on how to make a stress ball extra squishy.
- Control the Consistency
- For a softer stress ball, use less flour. For a firmer texture, add more.
- Handle with Care
- When releasing air, go slowly to prevent any mess.
- Have Fun Decorating
- Get creative with decorations to make your stress ball more enjoyable and personalized.
Enjoy your handmade stress ball and the peace of mind it brings!
Preventing Mess When Making Stress Balls
Creating stress balls can be fun, but it’s essential to follow some handy tips to minimize any mess. Here’s how you can keep things tidy:
Watch a Tutorial on How to Make a Stress Ball
First, carefully follow a detailed tutorial. A comprehensive guide on how to make a stress ball will highlight critical steps to take for a mess-free experience.
Prepare Your Workspace
- Cover the Area
- Consider using a disposable tablecloth or newspaper to protect your workspace.
- Keep Supplies Nearby
- Ensure all necessary materials are within reach to avoid unnecessary spills.
Take it Slow
- Follow the Steps on How to Make a Stress Ball Carefully
- Pay close attention to each step. Crafting stress balls seems simple, but missing a step could lead to spills or leakage.
- Don’t Rush
- Rushing often leads to accidents. Take your time to ensure every component is properly secured.
Use Tools Wisely
- Funnels and Spoons: Make use of a funnel to avoid spills when filling the balloon. Spoons can help in controlling the amount being added.
- Wipe as You Go: Keep a damp cloth handy for quick clean-ups if any substance lands where it shouldn’t.
By following these strategies, you can enjoy making stress balls without the hassle of a big cleanup afterward.
Therapeutic Uses of Stress Balls
Stress balls are not just a fad; they’re surprisingly beneficial for your health and mind. Let’s dive into why keeping one on your desk or in your bag isn’t just for fun but can actually help you in more ways than you might think.
- Boosting Focus in Work and Study
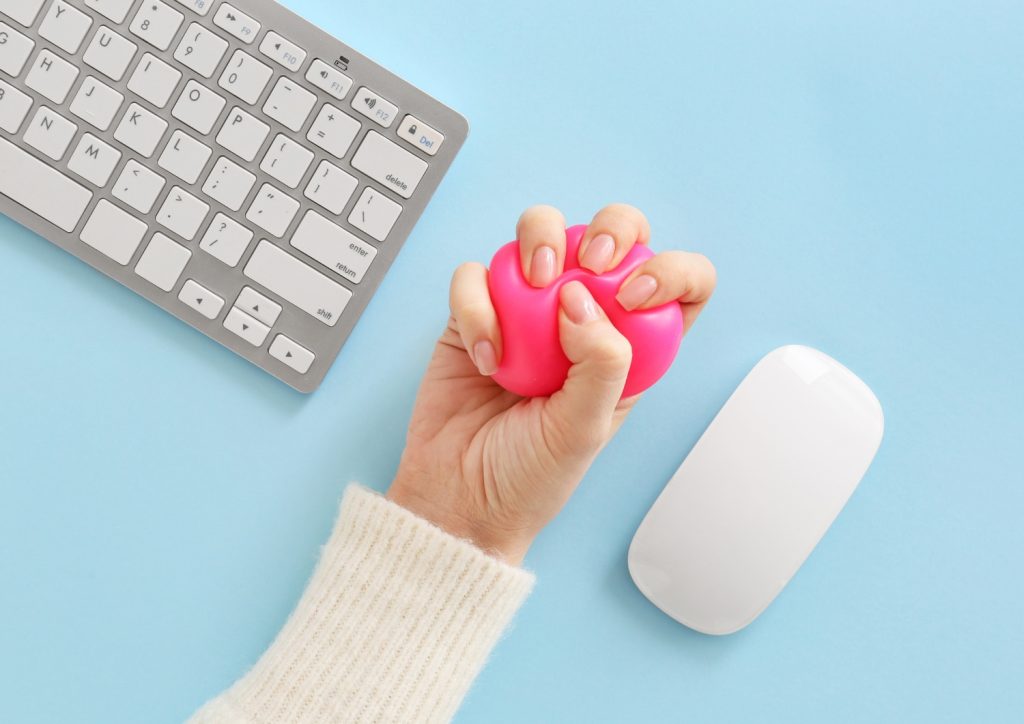
- A stress ball can help keep students and desk warriors focused during long meetings or study sessions. Squeezing it in your hand can prevent daydreaming and improve concentration in classes or Zoom meetings.
- Healing and Strengthening Hands
- Use stress balls to relieve hand pain and improve strength for those recovering from injuries or conditions that weaken their hands. They’re not just rehab tools but also preventive measures against the desk-job curse of carpal tunnel syndrome.
- Calming the Storm of Stress and Anxiety
- A stress ball can be a mini escape from sudden stress and anxiety, acting as a pressure valve to release tension and provide silent support in challenging moments.
- Getting That Blood Moving
- A Stress Ball: Relieves numb hands from scrolling or typing for long hours by boosting circulation. Helps shake off numbness caused by lack of movement at a desk job.
- A Tool for ADHD and Autism
- For people with ADHD or autism, a stress ball is a vital tool for focusing and calming. The tactile sensation helps ground them when overwhelmed, discreetly managing energy and emotions in public spaces.
- Leading to Better Sleep
- Struggling to sleep? Try using a stress ball before bed. It helps work through stress and promote relaxation for better sleep. Consider it like decluttering your mind for a peaceful night.
Stress balls are more than just a playful distraction. They’re tools for better health, focus, and well-being. So, the next time you pick one up, remember it’s not just about the squeeze; it’s about the release — of tension, of distraction, of all those little worries that pile up through the day. Give it a try; your mind (and hands) might thank you.
Customization Ideas for Your Stress Balls
Learning how to make a stress ball is not just an enjoyable DIY project; it’s a chance to inject a bit of personal flair into an everyday stress relief tool. Whether you’re crafting for yourself, making a thoughtful gift, or even preparing a fun activity for a party, customizing your squishy stress ball adds that special touch.
Here are some inventive ideas to make each squishy stress ball uniquely yours.
- Choose Your Color Palette
- Maximize your stress ball’s potential by dyeing its filling with food coloring to create a colorful rainbow effect. Mix colors for unique shades or layer them for a marbled look. Each squeeze becomes a visual treat, turning your stress ball into both a relaxation tool and a work of art.
- Get Creative with Fillings
- Create custom squishy stress balls by exploring various fillings like sand, beads, or rice for a unique feel. Combine different materials for a truly one-of-a-kind experience, ensuring the outer layer is strong enough to hold them together.
- Personalize with Patterns and Designs
- Customize stress ball with markers or fabric paint for unique design. Great for events or gifts.
- Make It Wearable
- Turn your stress ball into a stylish accessory by covering it with fabric and attaching a keychain. This allows for easy access to stress relief wherever you are. Practical and always available for a quick squeeze.
- Glow in the Dark
- Ever wonder how to make a stress ball glow in the dark? Try adding glow-in-the-dark elements to a stress ball for a calming night-time companion. Use paint or filler to create a soft, glowing orb for relaxation in the dark.
- Seasonal Themes
- Customise squishy stress balls for each season with themes like pumpkins and ghosts for Halloween, snowflakes and reindeer for winter, or flowers and butterflies for spring. These themed stress balls can also be used as decorations to bring joy and relaxation throughout the year.
Learning how to make a stress ball allows you to have a personal stress relief tool that suits your preferences and personality. From scents to colors to textures, a personalized stress ball can be a valuable addition to your stress management routine.
Conclusion
Learning how to make a stress ball offers a creative outlet and a personalized way to manage stress, blending fun with functionality. Each customized squishy stress ball not only serves as a unique expression of the maker’s personality but also provides a tactile tool for relaxation and focus.
Engaging in this DIY project can turn an ordinary day into an opportunity for mindful crafting and stress relief, proving that sometimes the best remedies are in our own hands. If you liked this project, you might also like to view another stress reliever DIY Play Foam…


