Last Updated on November 25, 2024 by Team Ideas24
Don’t know what to do with excess chicken wire? Don’t worry, we’ve got lots of creative ideas for it not to go to waste!
There’s always something you can make out of chicken wires, no matter how little or how much you have left in storage.
You do not have to be a farmer to find uses for this material. Because it’s galvanized wire, it holds up well against the elements. You’ll often unearth pieces used decades ago if you dig around old homestead sites.
Chicken wire is a type of wire mesh used most often for chicken coops, but it has a variety of other uses as well. It’s also known as poultry netting or hardware cloth, and it’s made from thin, flexible wire that’s formed into a hexagonal or diamond-shaped mesh.
Chicken wire is available in a variety of gauges, from very fine mesh to heavy-duty fencing.
You can use chicken wire to upcycle old furniture, mirrors, windows, and picture frames. Securing flowers and other accents to a chicken wire is a breeze, so you can change your decorative accents each season. The material is equally good for larger projects like lampshades and smaller ones like jewellery organizers.
7 Common Usage for Chicken Wire
- Building chicken coops
- Fencing in gardens to keep out pests
- Building chicken coops
- Hanging pictures or other wall decors
- Making wreaths
- Storing firewood
- Craft projects
Besides durability, craft chicken wire boasts flexibility, too – and that makes them perfect for a DIY craft!
Most of these craft projects can easily be done by anyone while some would be a great challenge to improve your creative craft skills. :)
Contents [show]
9 Cute Chicken Wire Craft Ideas
Whether you’re looking for a fun weekend project or a unique way to spruce up your home décor, chicken wire crafts are a great option! There are tons of different ways to use it to create beautiful and useful items for your home. Here are just a few of our wire projects:
Get these great ideas from our list below and be inspired to create your decorative chicken wire!
Click on any image to start the lightbox display. Use your Esc key to close the lightbox. ?
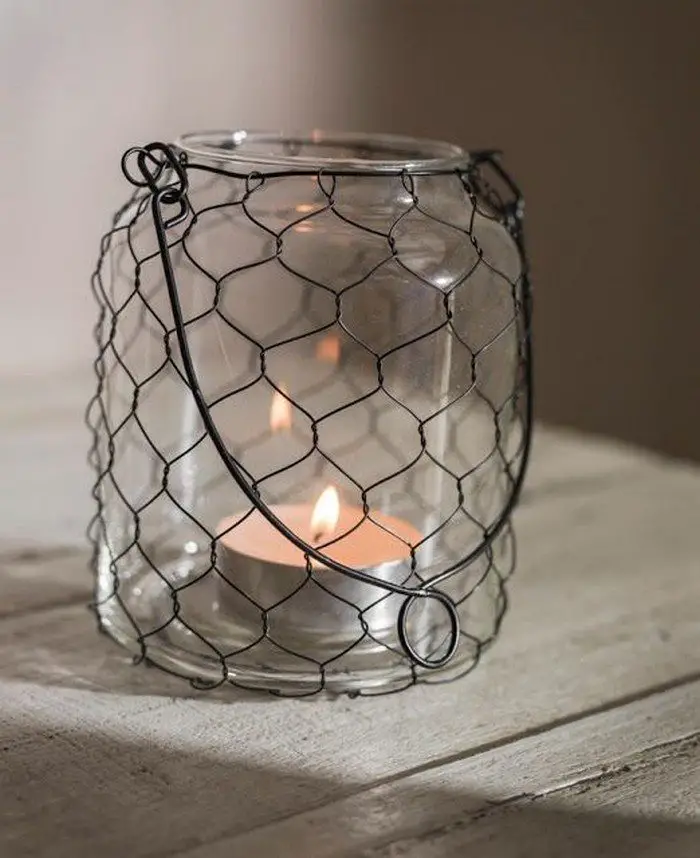
1. Candle Lantern
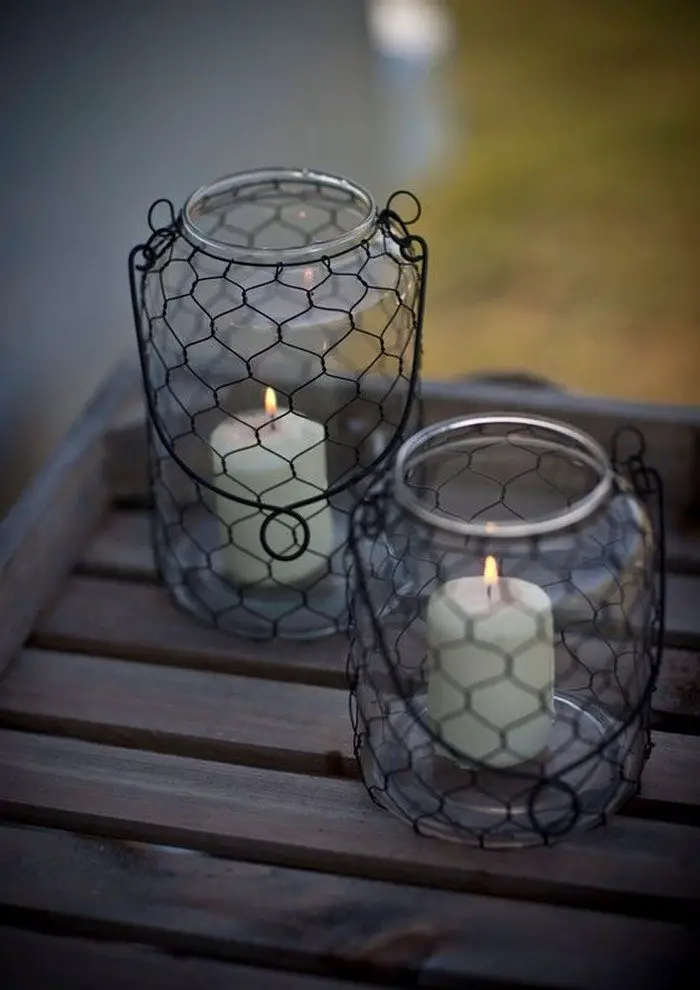
Searching for a unique design to light up your home? Why not try a DIY candle lantern! These charming lanterns are easy to make and add a touch of rustic charm to any room.
To make your own DIY lantern, start by cutting a piece of chicken wire to fit around a glass jar. Use a thin, flexible wire to secure the chicken wire to the jar. Wrap the wire around the jar and twist it tightly to hold the chicken wire in place.
Or instead of attaching it to the jar, twist the cut ends of the chicken wire to secure it snugly around the jar. Once the chicken wire is in place, insert a candle into the jar. That’s it!
If you want to get really creative, you can decorate your chicken wire lanterns with paint or fabric. Just let your imagination run wild!

2. Floral Wall Sconces
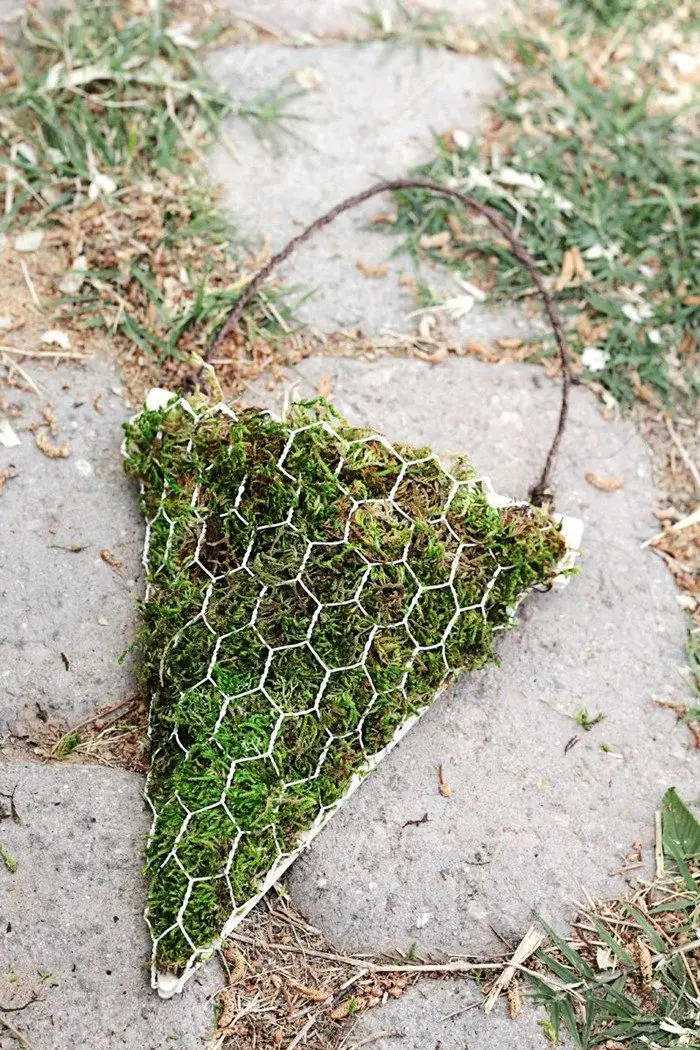
Add some rustic charm to your home with these DIY floral wall sconces! They’re easy to make, and they’ll add a touch of country elegance to any room.
Simply cut a piece of chicken wire to the desired size for your sconce. Use heavy-duty wire cutters to cut a piece of chicken wire to the desired size. Wear gloves to avoid cuts from the sharp edges of the wire.
Roll the chicken wire into a cylinder shape. Overlap the edges slightly and secure them with floral wire or small zip ties to hold the shape firmly. Lastly, add your fake flowers, and you’re done!
These sconces are perfect for adding a bit of country charm to any room, and they make great gifts, too!


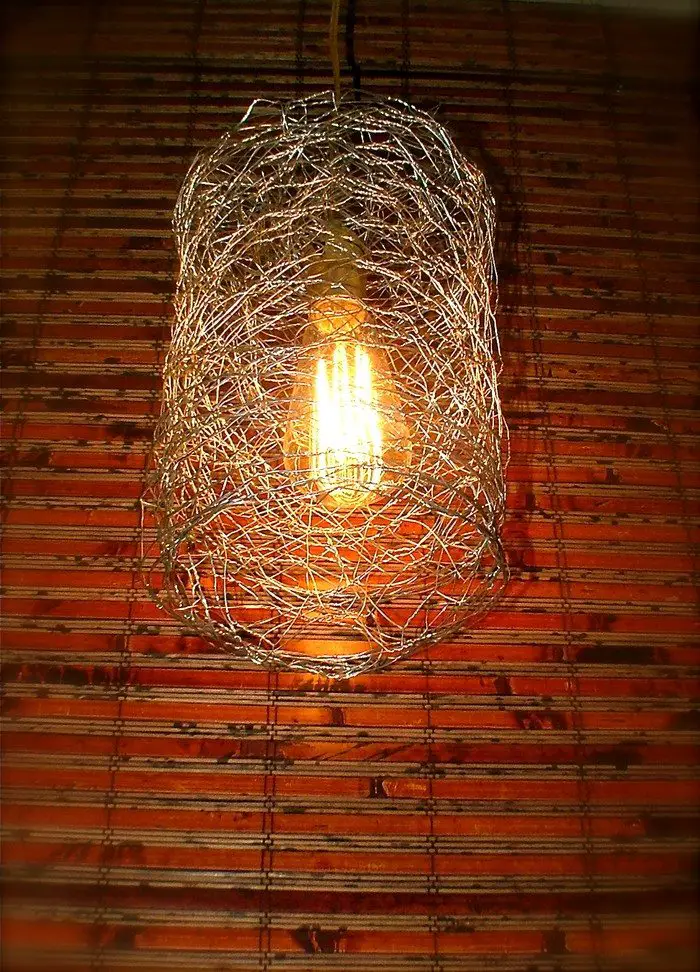
3. Pendant Lighting
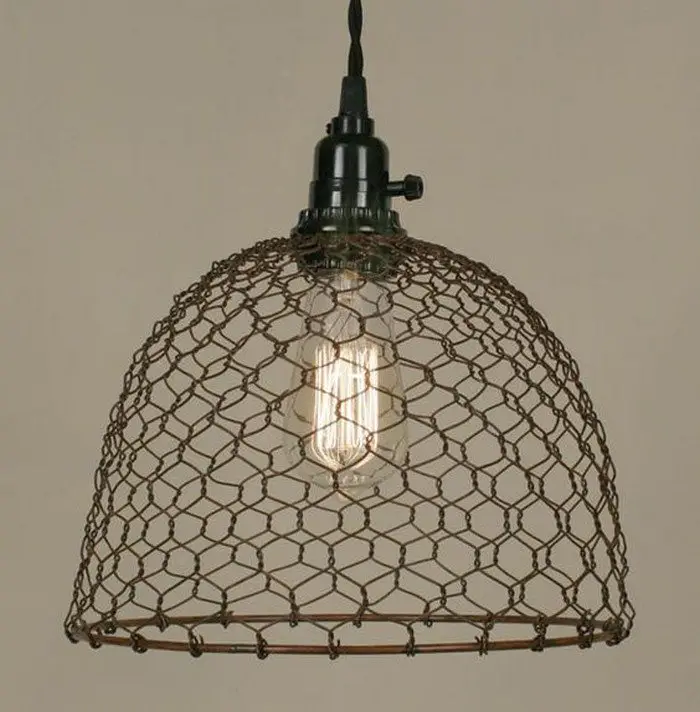
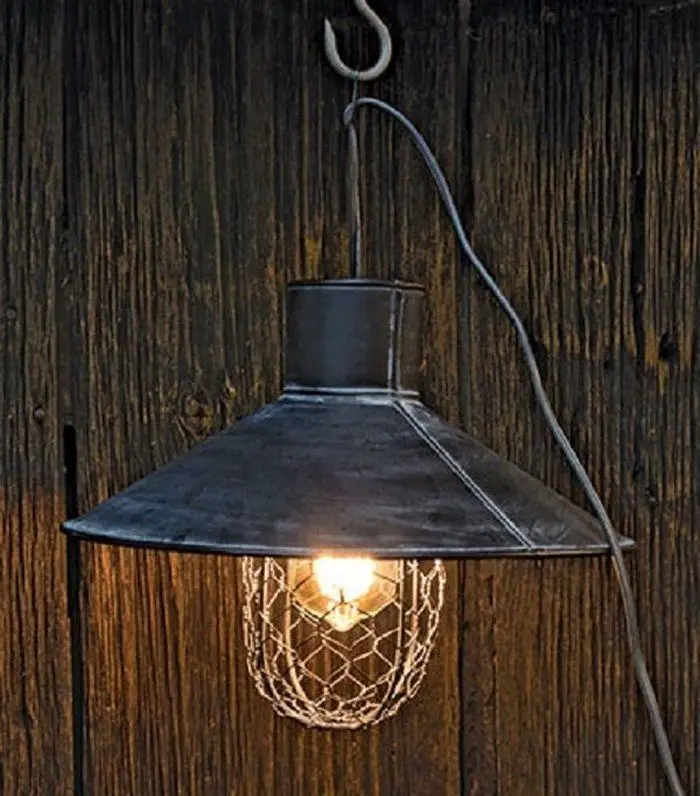
Whether you’re looking for a rustic touch or a bit of industrial chic, DIY pendant lighting is a great way to add some rustic style to your space.
These fixtures are perfect for any room in your home, from the kitchen to the living room. And they’re easy to make yourself, so you can save money and get exactly the look you want.
4. Custom Lampshade
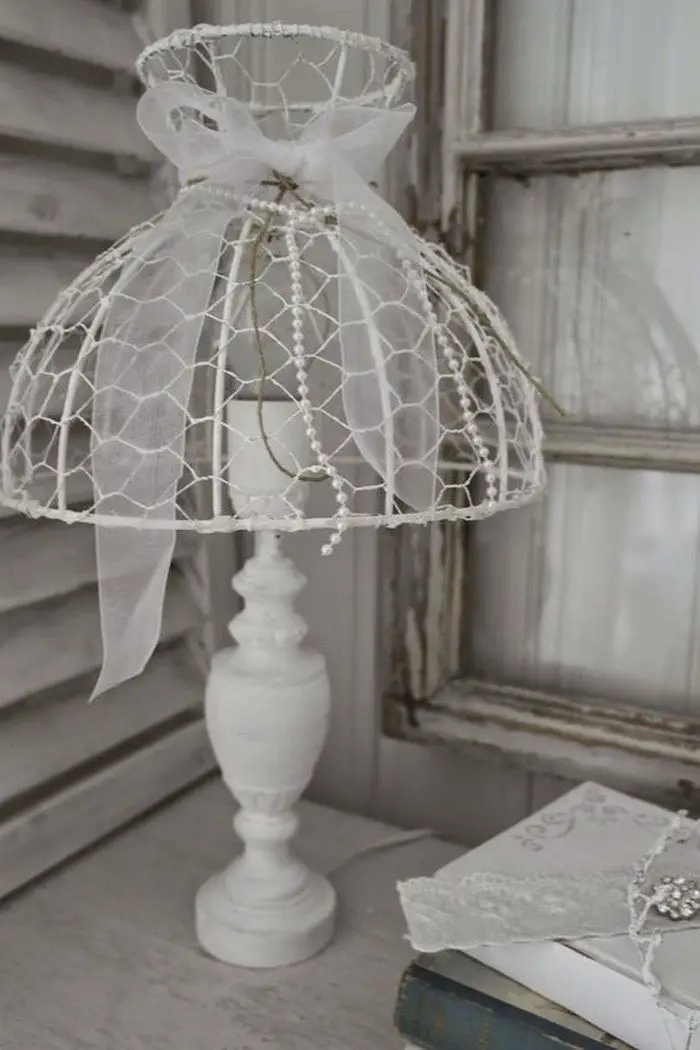
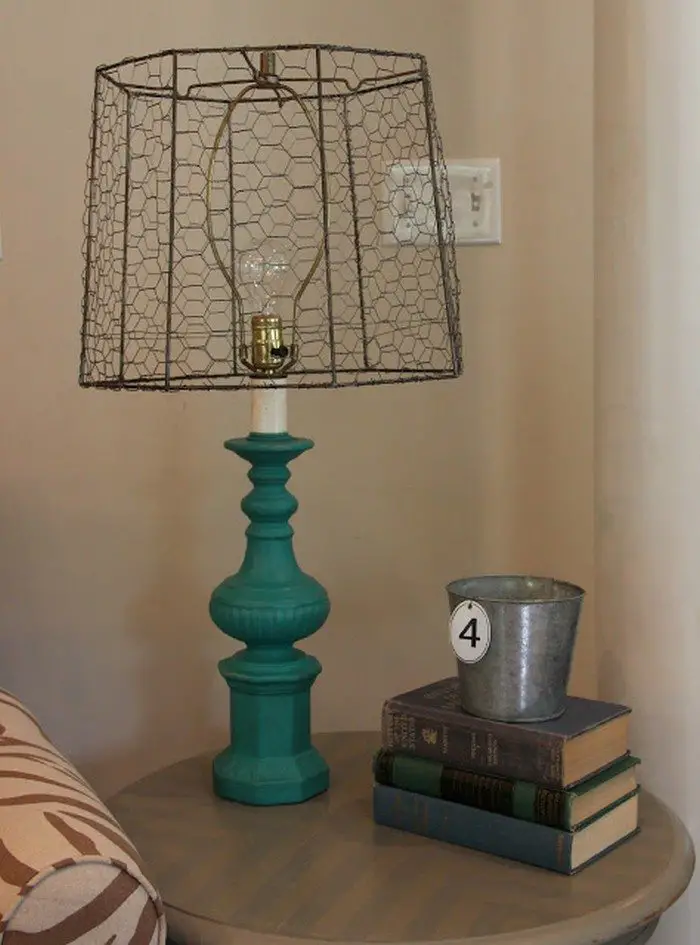
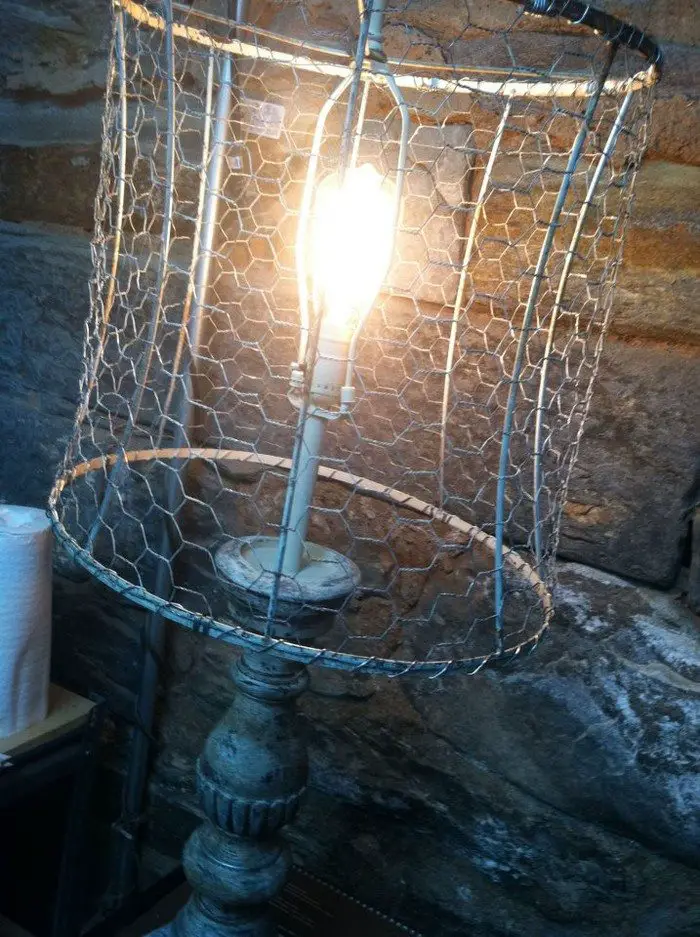
Looking for a fun and unusual way to add some personality to your home décor? A DIY custom lampshade is a great way to do just that! This decor is surprisingly easy to make, and you can really let your creativity shine by choosing your own unique design and colour scheme.
Plus, it’s a great way to upcycle an old lampshade into something new and exciting. So if you’re looking for a lampshade that’s both stylish and functional, this is the perfect option for you!
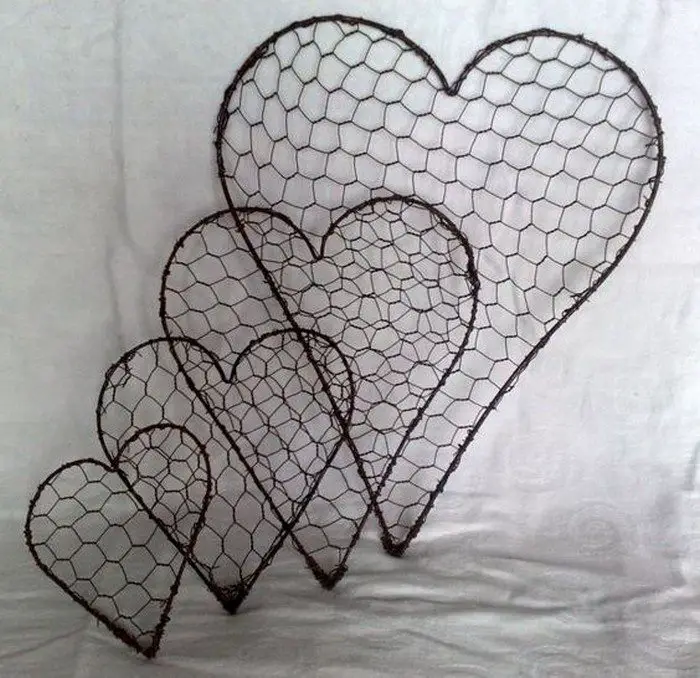
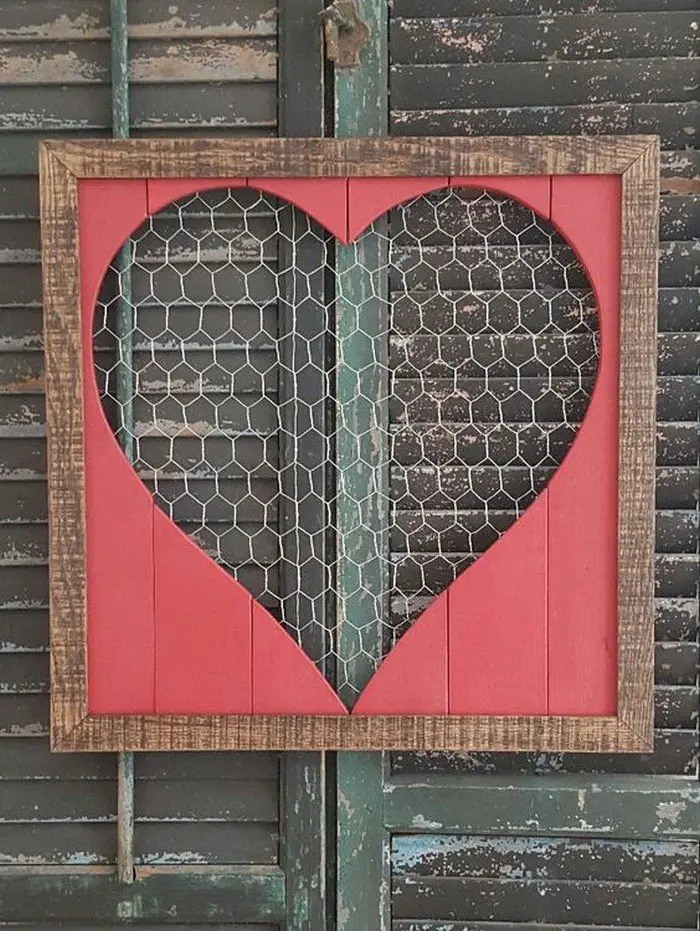
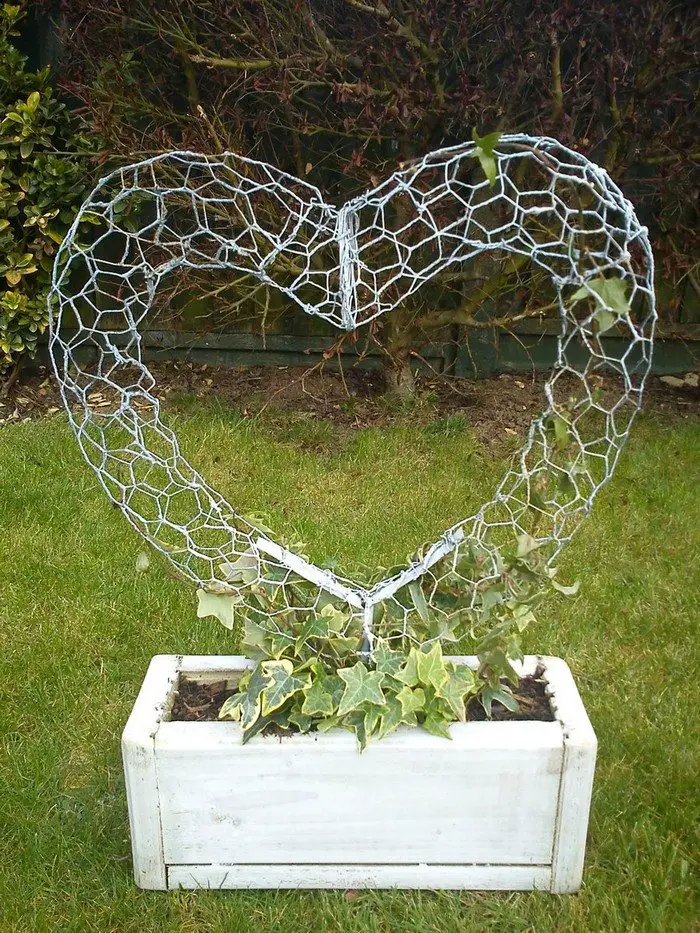
5. Heart Decor
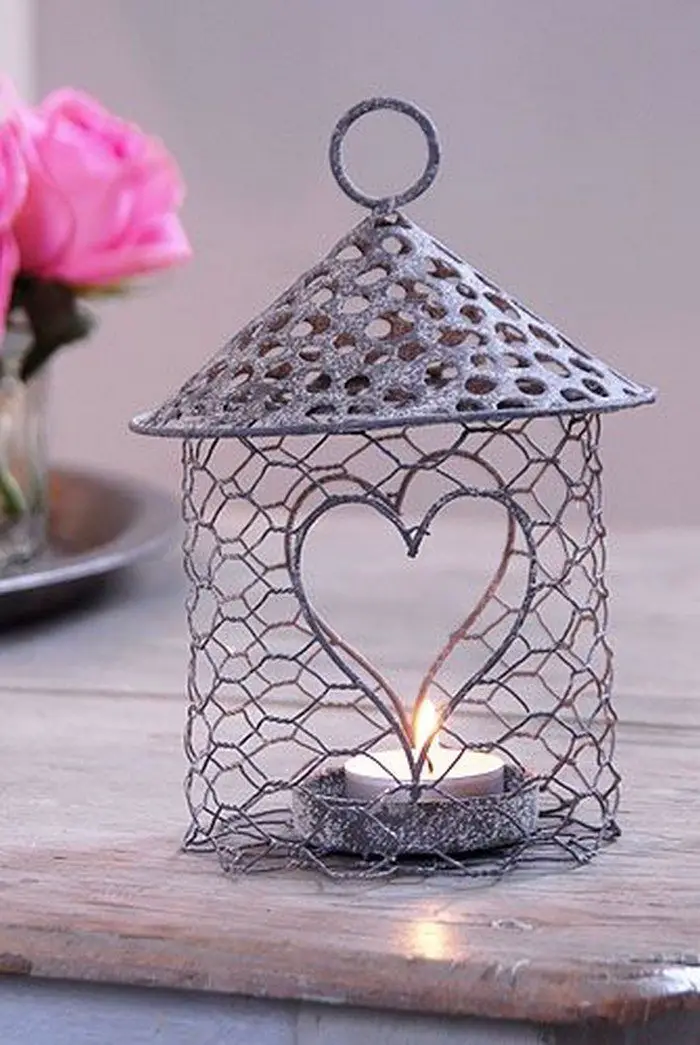
This Valentine’s Day, show your loved ones how much you care by making your own heart decor. With just a few simple supplies and imagination, you can create a beautiful and unique decoration that will fill your home with love.
This project is relatively easy and inexpensive, and it’s a great way to add a personal touch to your holiday decor.
6. Animal Sculptures
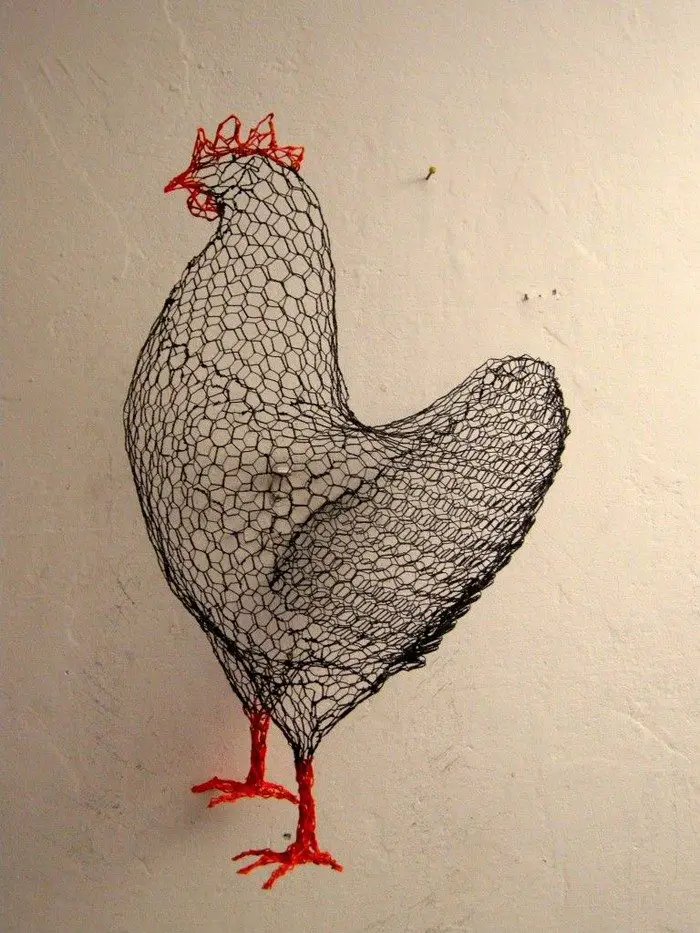
This project is perfect for anyone who loves spending time outdoors and working with their hands.
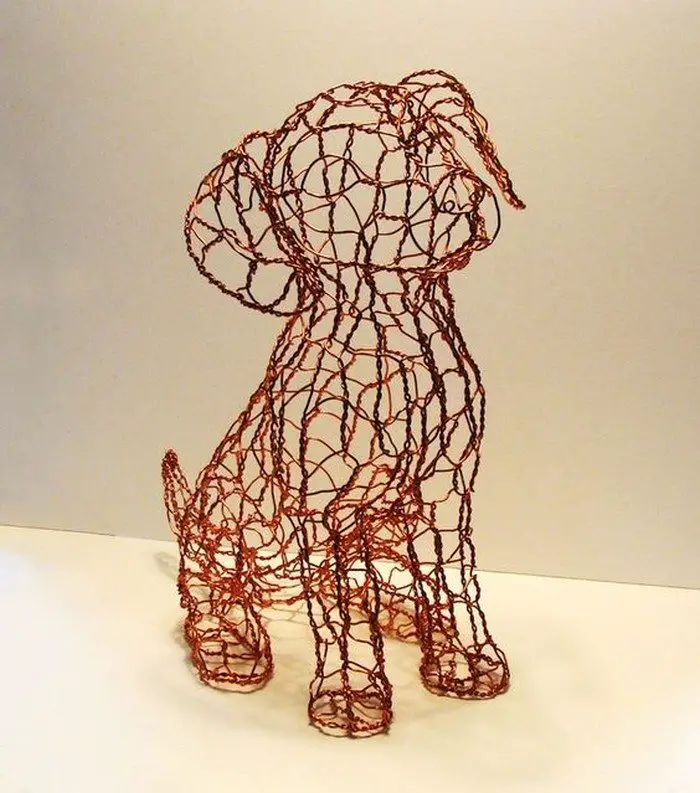
All you need is some chicken wire, a pair of pliers, and a bit of creativity. You can make any kind of animal sculpture you like – we’ve seen everything from chickens and pigs to dogs and koala bears.


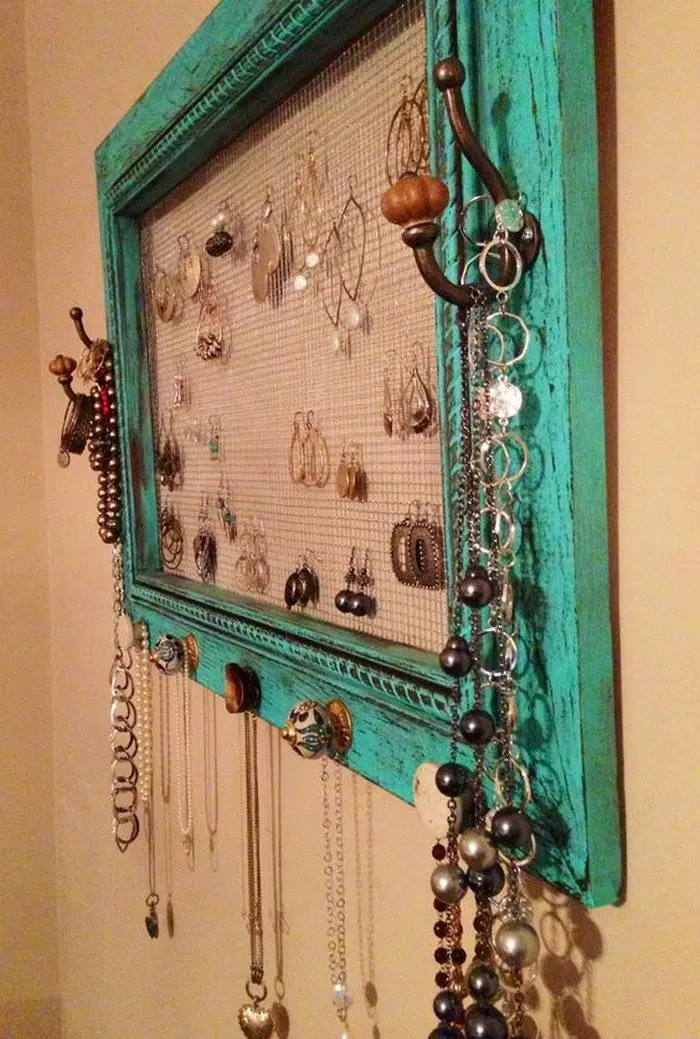
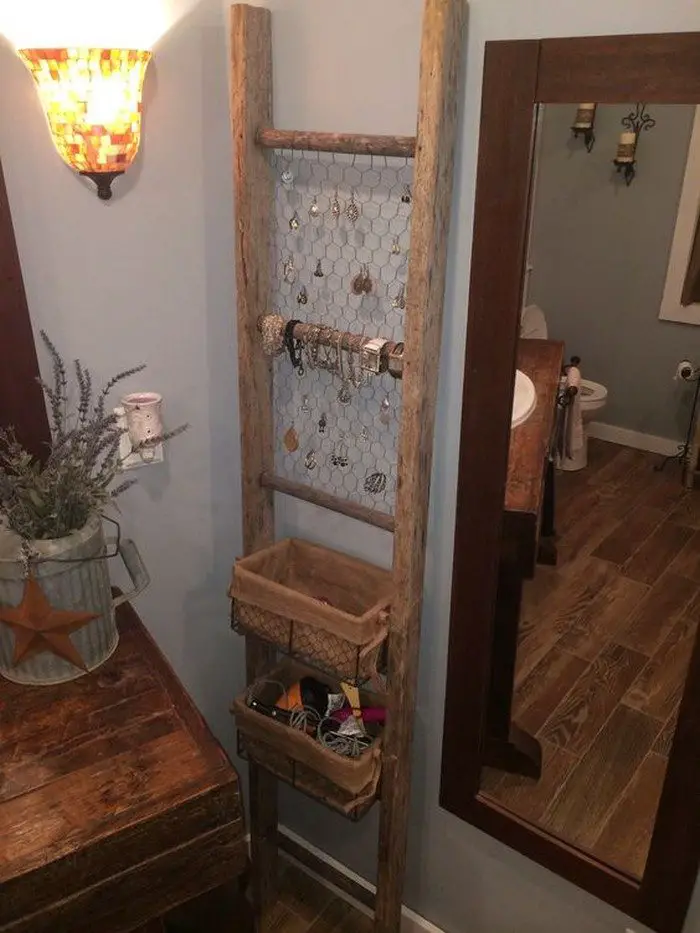
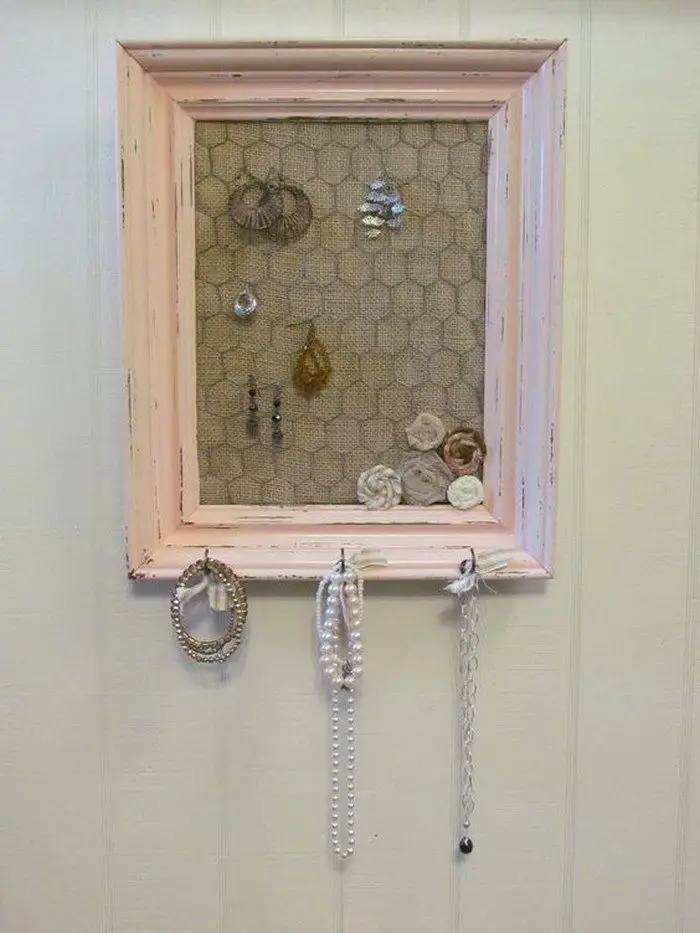
7. Jewelry Holder
Is your jewellery in need of organization and display? Turn an ordinary jewellery holder into a chic, rustic one with this easy DIY project.
Remove the glass and backing from an old picture frame, leaving only the outer frame. If desired, sand the frame for a distressed, rustic finish or paint/stain it to match your decor. Allow it to dry completely.
Lay the frame flat, face down. Measure and cut the chicken wire to fit the frame opening. Leave a small border to overlap for securing. Position the chicken wire over the back of the frame. Use a staple gun to attach the wire along the inside edge of the frame.
If using nails, hammer them in around the edges to hold the wire securely. Trim any excess chicken wire with wire cutters and bend sharp edges inward to avoid scratches.
This DIY jewellery holder is the perfect solution! It’s easy to make and can be customized to fit any space. All you need is some chicken wire and a few other supplies.
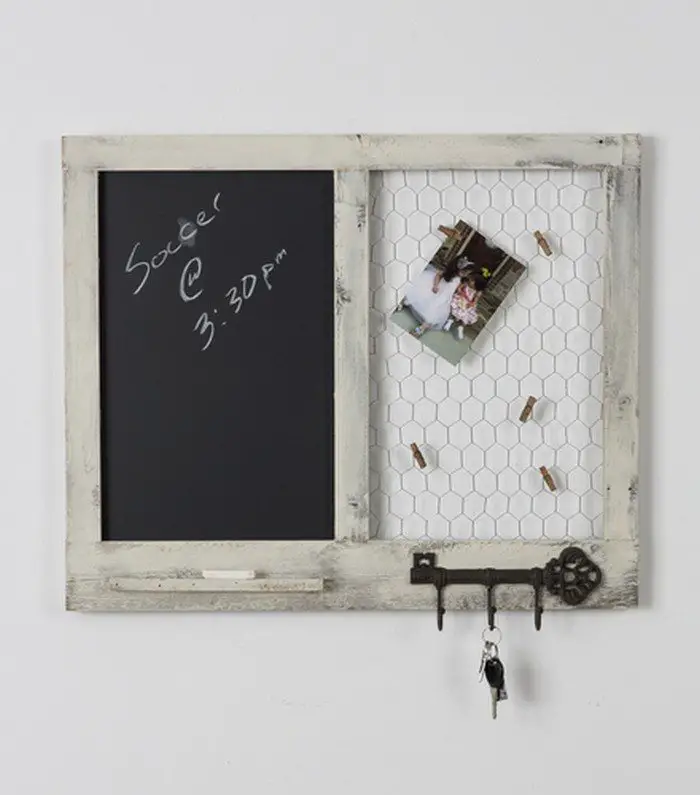
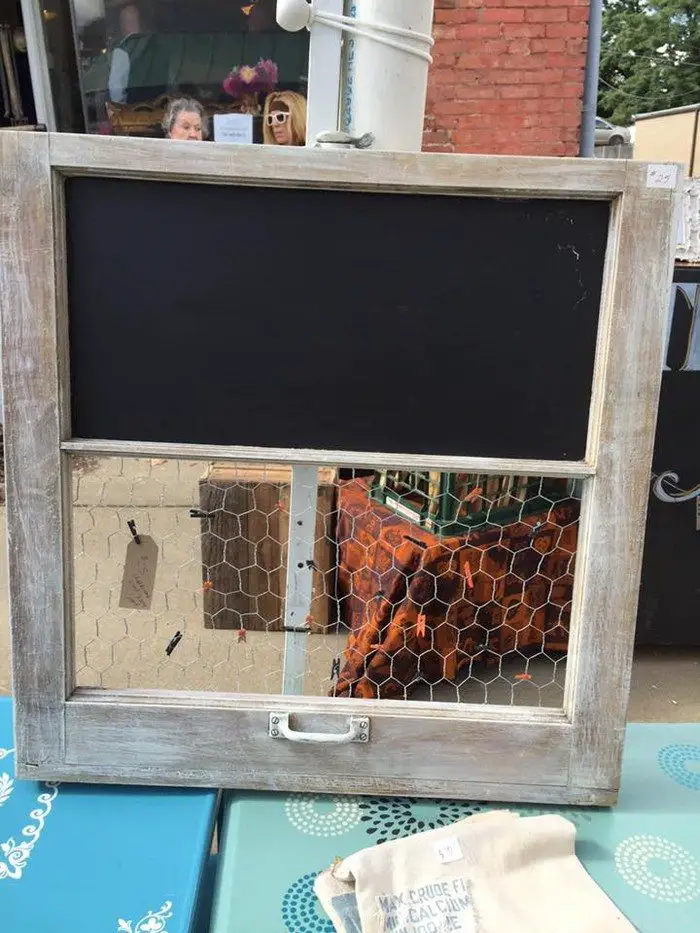
8. Memo Board
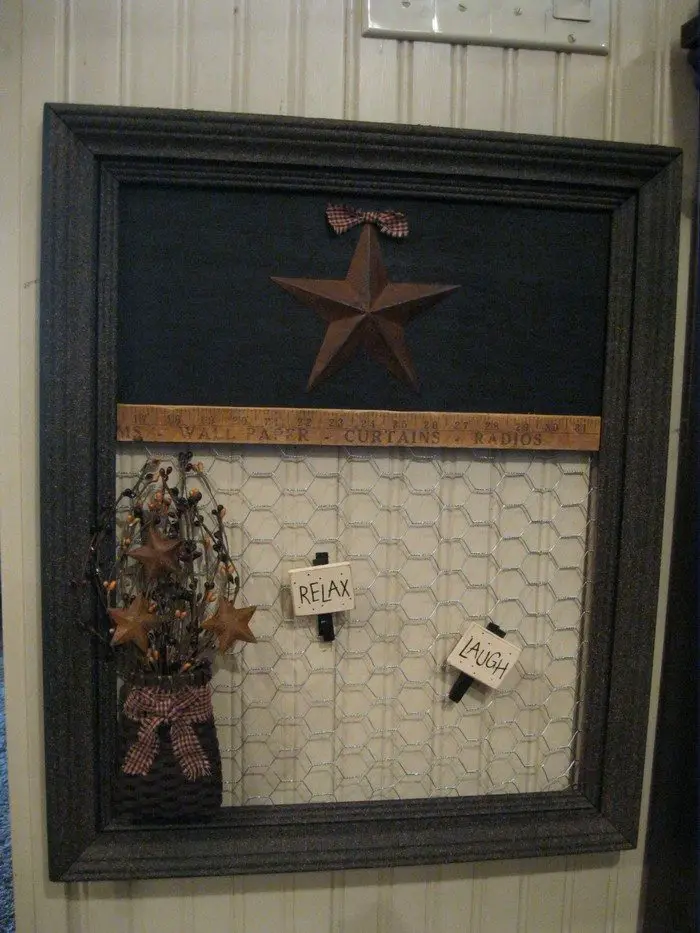
This DIY memo board is a great way to organize your thoughts and keep track of important information. It’s easy to make, and you can customize it to fit your needs.
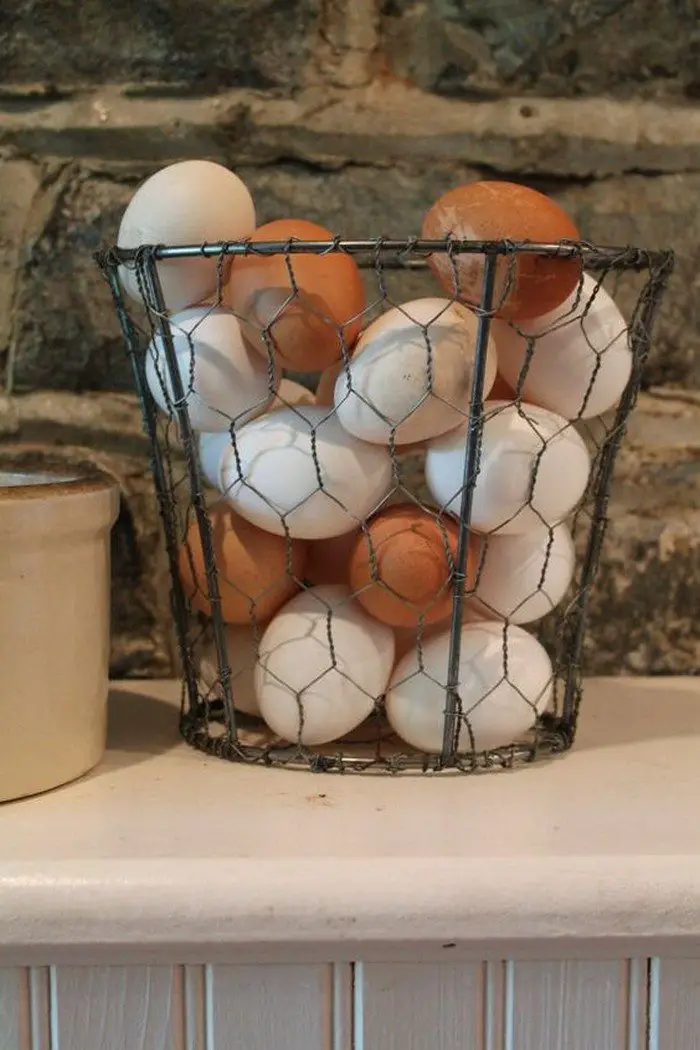
9. Fruit Holder
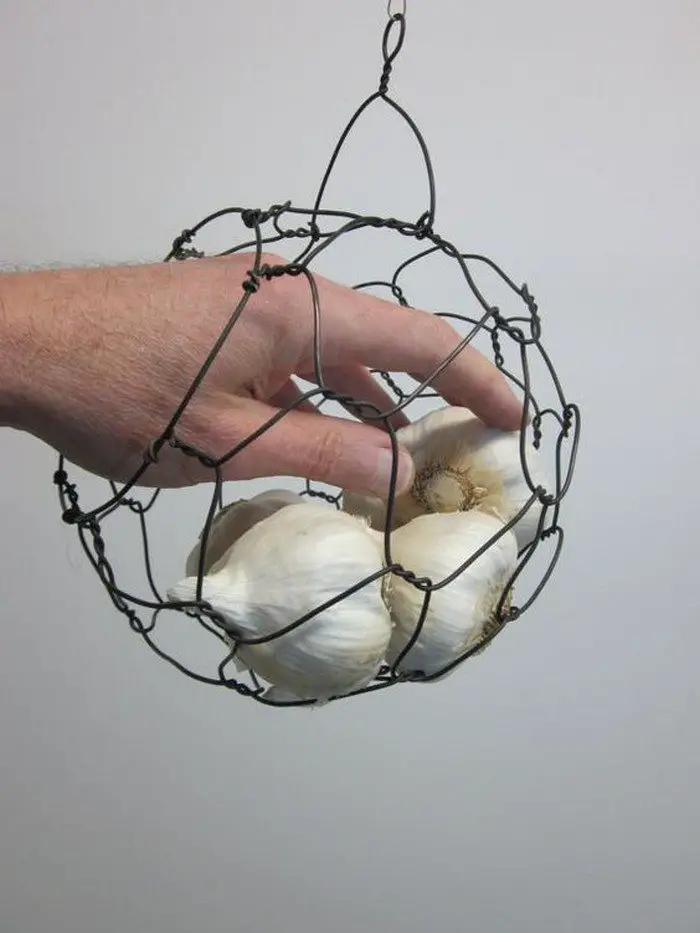
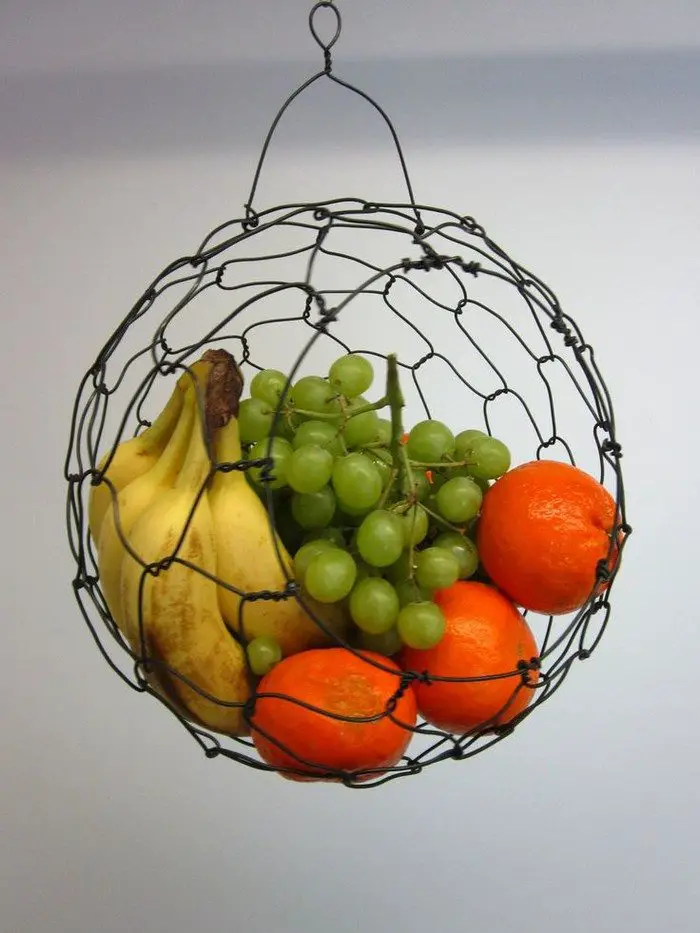
Have you ever wondered how to display fruit in a fun and creative way? Why not try making your own fruit holder? This DIY project is easy to make and can be customized to fit any space. Plus, it’s a great way to show off your fresh fruit in a unique and stylish way.
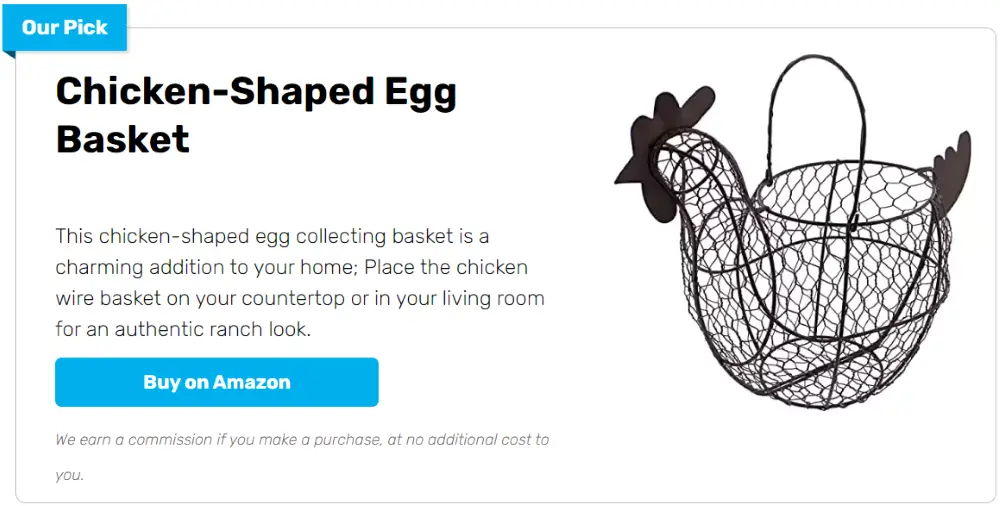
Simply measure the space where you want to place your fruit holder. Cut a piece of chicken wire to fit that space. Shape the basket by using a pliers and cutter. Then add your fruits or eggs inside. That’s it! 
Tips for Working with Chicken Wire
Chicken wire is not just for fencing; it’s a versatile material that can be used in many craft projects. From creating rustic home decor to making functional art pieces, chicken wire offers endless possibilities.
However, working with chicken wire can be tricky due to its flexibility and sharp edges. Here are some tips to help you safely and effectively use chicken wire in your crafts.
Safety First
Safety should always be your top priority when embarking on a chicken wire craft project. This versatile material, while great for various creative endeavors, comes with its set of hazards, primarily from its sharp edges and potential for causing scratches or more serious injuries.
To ensure a smooth and safe crafting experience, here are some expanded safety tips specifically tailored for working with chicken wire.
- Wear Protective Gloves
- Before starting your chicken wire project, wear gloves to protect your hands from sharp edges. Choose thick or wire-handling gloves for the best protection.
- Long Sleeves and Safety Glasses
- Wear long sleeves, gloves, and safety glasses while working with chicken wire to protect against scratches, cuts, and flying wire pieces. These safety measures are crucial for focusing on your project without any risks.
- Protective Clothing
- Wear thick, protective clothing when handling large chicken wire to protect your body from potential injuries.
- Work in a Safe Environment
- A well-lit and clutter-free workspace is essential for safety when working on chicken wire crafts. Clear lighting and organization can prevent accidents and mistakes that may cause injury.
- First Aid Kit
- Despite all precautions, accidents can happen. Keep a first aid kit nearby with supplies to treat cuts or scratches. The kit should include antiseptic wipes, bandages, and gloves. Knowing you have the means to treat a minor injury quickly can provide peace of mind.
Choosing the Right Tools
Choosing the right tools for chicken wire crafts is crucial for a successful project. It makes the work easier, ensures a clean finish, and improves safety. Let’s explore the essential tools and how to use them effectively.
- Wire Cutters
- Choose durable wire cutters designed for the gauge of chicken wire you’re using to make clean cuts for your craft project. For thicker gauges, opt for heavy-duty or bolt cutters for easier cutting and to prevent jagged edges that could cause injury.
- Needle-Nose Pliers
- Needle-nose pliers are ideal for bending and twisting wires in chicken wire crafts. Their long, thin shape allows for precise manipulation of small wire pieces and securing ends tightly for craft structure.
- Wooden or Metal Frames
- Using a frame can simplify shaping chicken wire crafts, whether it’s for sculptures, decorations, or functional items like lampshades or baskets. Frames provide a solid base to maintain shape and achieve a polished finish.
- Gloves and Safety Equipment
- Gloves and safety gear are vital tools for safety when working with chicken wire crafts. Gloves protect hands from sharp edges and safety glasses shield eyes from flying wire pieces. Remember to include them in your toolkit to avoid injuries.
- Measuring Tape and Markers
- Precision is essential in chicken wire crafts. Measure and mark the wire with tape and markers before cutting to ensure pieces fit perfectly in your project, especially for creating precise fits or larger installations.
Cutting Techniques
Mastering the art of cutting chicken wire is essential for any chicken wire craft project. Efficient cutting techniques not only save material but also contribute to the overall success and neatness of your work. Here’s how you can refine your cutting approach to enhance your chicken wire crafts.
- Plan Your Cuts Carefully
- Before making any cuts, take the time to plan out your chicken wire crafts. Sketch your project and note the dimensions needed.
- This planning phase helps in visualizing the end product and determining the most efficient way to cut the chicken wire to minimize waste.
- Measure Twice, Cut Once
- Measure twice, cut accurately to avoid wastage in chicken wire crafts. Use a measuring tape and marker for precise cuts. Save time and resources by starting with the right size.
- Leave Extra Wire for Attachments
- Leaving extra wire when cutting it helps secure the piece to another piece or frame for added stability. Around an inch of extra wire is recommended for twisting and tying off securely.
- Use the Right Cutting Tool
- Choose the right tool for cutting chicken wire crafts. Sharp wire cutters for thin wire, bolt cutters for thicker wire.
- Smooth the Edges
- After cutting, use pliers to bend back any sharp points or edges. This step is crucial for safety and will give your project a more finished look. Smoothing out the edges also makes it easier to complete any chicken wire crafts.
- Recycle Excess Wire
- Keep any scraps or excess pieces of chicken wire from your cuts. These can be useful for smaller projects or for making repairs in the future. By recycling excess wire, you ensure that nothing goes to waste, aligning with sustainable crafting practices.
Shaping and Molding
The flexibility of chicken wire is one of its most appealing features for crafters. This malleability makes it perfect for creating a wide range of shapes and sculptures, from simple decorative items to intricate art pieces. Here’s how to master the art of shaping and molding for your chicken wire crafts.
- Start Simple
- For beginners in chicken wire crafts, start with basic shapes like spheres, cubes, or simple animal forms to understand how the material behaves. This foundation is important for handling more intricate projects in the future.
- Gradually Increase Complexity
- As you master basic shapes, try more elaborate designs like detailed animal sculptures or life-sized figures to improve your skills and confidence in chicken wire crafts.
- Use Your Hands and Tools Effectively
- Use hands and pliers for shaping chicken wire craft. Bend wire gently and use needle-nose pliers for small adjustments and securing. Wear gloves for hand protection.
- Securing Shapes with Additional Wire
- In some cases, extra support is needed for chicken wire crafts. Use spare wire pieces to reinforce the structure by twisting them around the main framework for added stability, especially in heavy or intricate areas.
- Create a Frame for Complex Structures
- For particularly complex or large sculptures, consider using a frame as a base. This frame can be made from wire, wood, or metal and serves as a skeleton for your chicken wire craft. The frame provides guidance for your design, making it easier to achieve the desired shape and ensuring the stability of the final piece.
- Practice and Patience
- Shaping and molding chicken wire into art requires practice and patience. Don’t be discouraged by initial challenges. Each project offers a learning experience, helping you improve your technique and expand your creative possibilities.
Joining Pieces Together
Joining pieces together is a fundamental skill in creating chicken wire crafts, especially as projects increase in size or complexity. A secure and stable connection between pieces of chicken wire is crucial for the structural integrity and longevity of your craft. Here’s how to ensure your joins are as strong as the rest of your project.
Overlap Edges for a Strong Bond
When joining two pieces of chicken wire, ensure that you overlap the edges by at least an inch or more, depending on the project’s requirements. This overlap provides a sufficient area for the wires to intertwine, creating a stronger bond. The amount of overlap may need to be adjusted based on the specific demands of your chicken wire craft, such as the weight it must support or the tension it will be under.
Twist Wires Together Using Pliers
After overlapping the edges, use pliers to twist the wires together tightly. This action secures the pieces in place. For a firm join, grab the ends of the overlapping chicken wire crafts with your pliers and twist them around each other until they are tightly wound. This technique is particularly effective because it utilizes the strength of the chicken wire itself to create a durable connection.
Use Additional Wire if Needed
In some cases, especially if the overlap is minimal or the area requires extra reinforcement, adding additional pieces of wire can enhance the stability of the join. Cut a small length of wire and use it to tie the two pieces of chicken wire together at several points along the join. This method is like stitching the pieces together, providing extra security.
Check for Gaps and Weaknesses
After joining the pieces, inspect the connection closely for any gaps or loose wires that could compromise the stability of your chicken wire craft. If any weaknesses are found, use additional wire to reinforce these areas. Ensuring that every join is robust will contribute to the overall durability of your project.
Smooth Out Sharp Edges
Joining its pieces often results in sharp ends protruding from the twisted wires. Use your pliers to bend these sharp ends down, or cut them off with wire cutters. Covering them with tape or using a sealant can also prevent injury and give your project a more finished appearance.
Practice Makes Perfect
Like all aspects of chicken wire crafts, becoming proficient at joining pieces together takes practice. Experiment with different techniques and materials to find what works best for your projects. As you gain experience, you’ll develop a sense of how to create joins that are not only strong but also contribute to the aesthetic of your craft.
By following these tips, you’ll be able to tackle any chicken wire craft project with confidence. Whether you’re making a decorative piece for your home or a functional item, chicken wire offers a unique medium to express your creativity.
Conclusion
Mastering the art of working with chicken wire for craft projects is a rewarding journey that blends creativity with practical skills. From ensuring safety first to selecting the right tools, cutting, shaping, molding, and joining pieces together, each step is crucial for the successful completion of chicken wire crafts.
If you liked these ideas, you will also like viewing these 15 Creative Photo Display Ideas That Will Bring Your Memories to Life…


