
Last Updated on February 6, 2025 by Team Ideas24
While the process of decorating your home is exciting, it also comes with its fair share of challenges. Your goal should be to share your aesthetic preferences in a tasteful way.
This objective is important if you want a pleasant home to live in and enjoy. It is even better if your house is filled with unique and customized decorations. It makes the place your home.
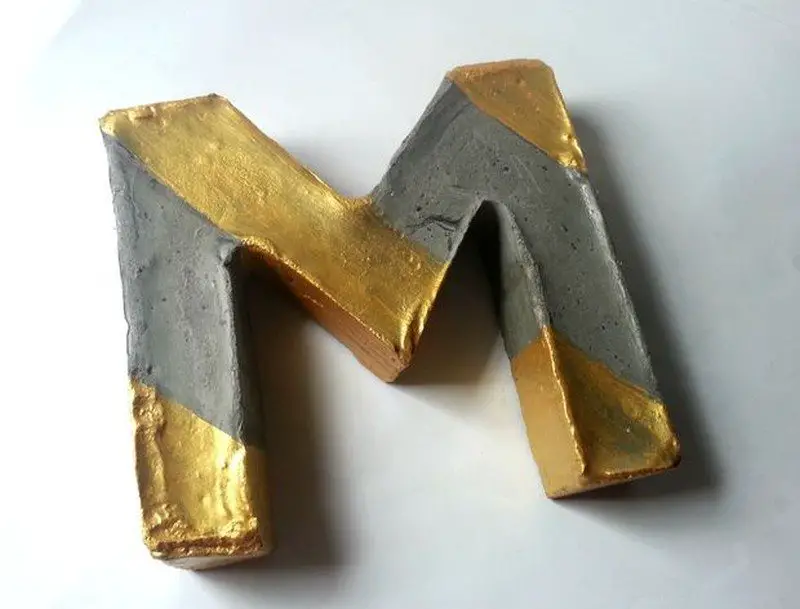
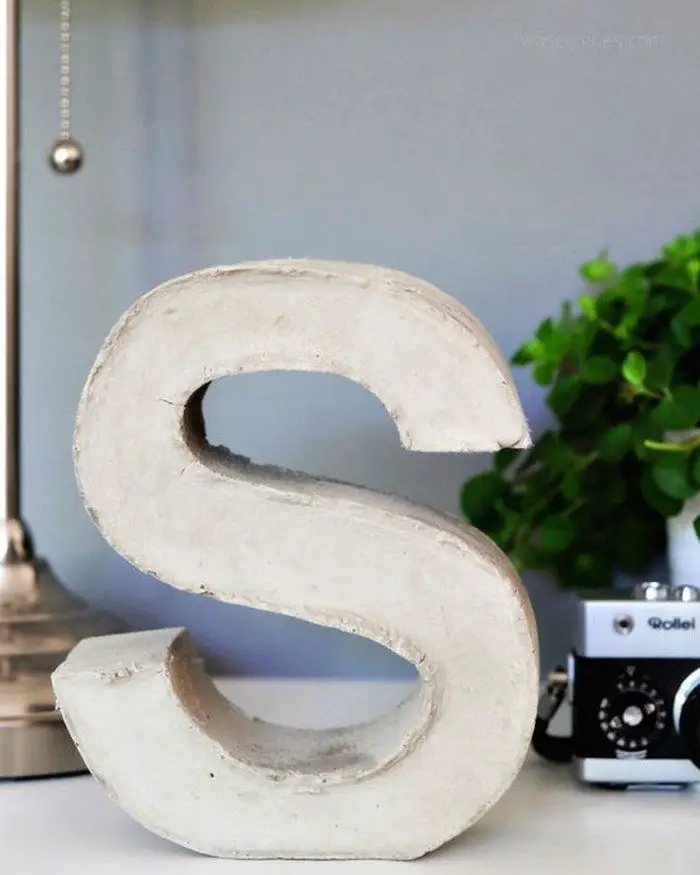
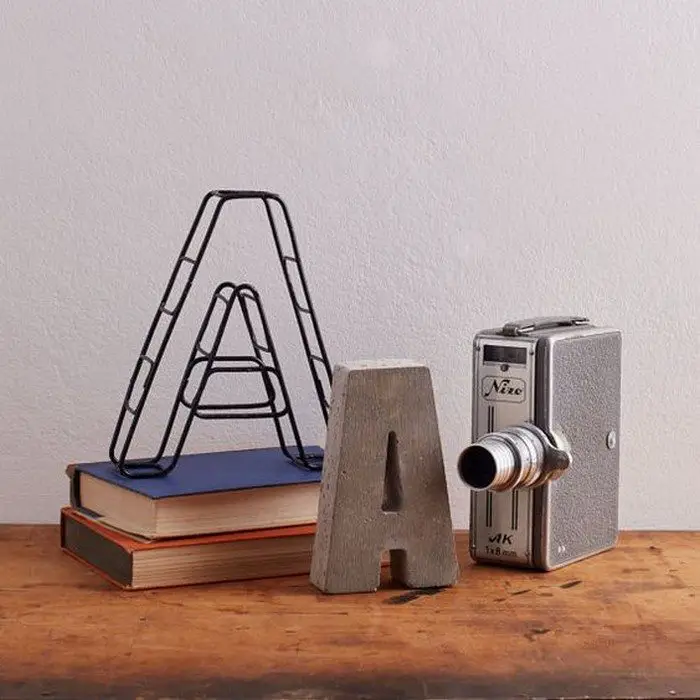
If you want a chic monogram decor for your home, this DIY project might appeal. It could be your initials painted with your favorite color, but it would also be nice plain, and simple.
Some letters might be challenging to mold like the letters J, O, and P. But we trust that you are up for it! :)
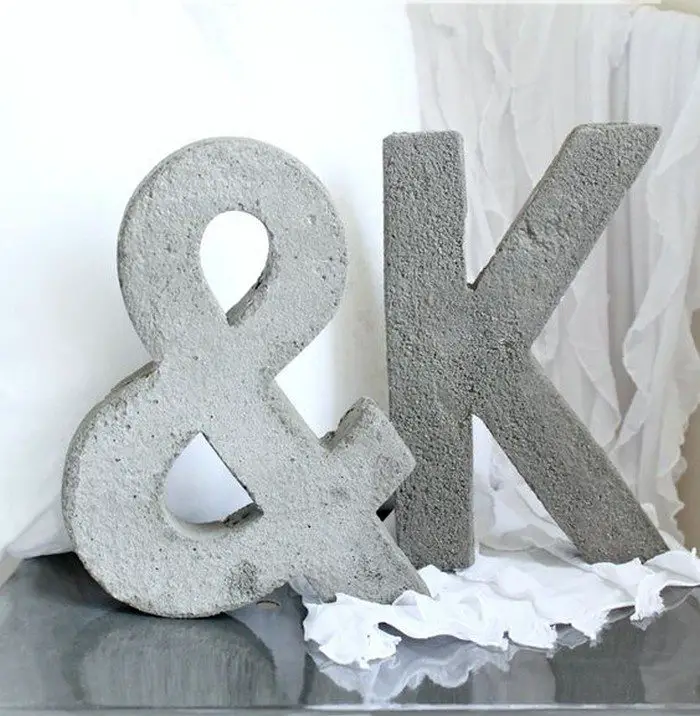
Small concrete letters are a joy to make. Since they don’t require mold-making, they aren’t difficult DIY projects, and leaving messages around the house is pretty cool.
You can check out below for our full step-by-step instructions. And upon finishing this project, you’ll be searching everywhere in your house for other things that you can pour concrete into because it is really fun.
Contents [show]
Creating Concrete Letters
You’ll be needing the following tools and materials.
- Concrete or cement
- Sand
- Rubber gloves
- Cutter
- Pencil and ruler
- Hot glue
- Bucket or pot (for mixing the concrete)
- Cardboard (for making the mold)
- Duct Tape

Click on any image to start the lightbox display. Use your Esc key to close the lightbox.![]()
Steps
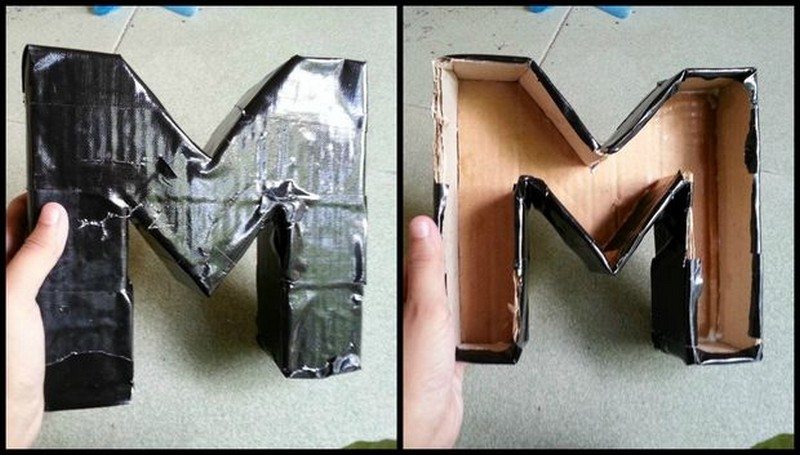
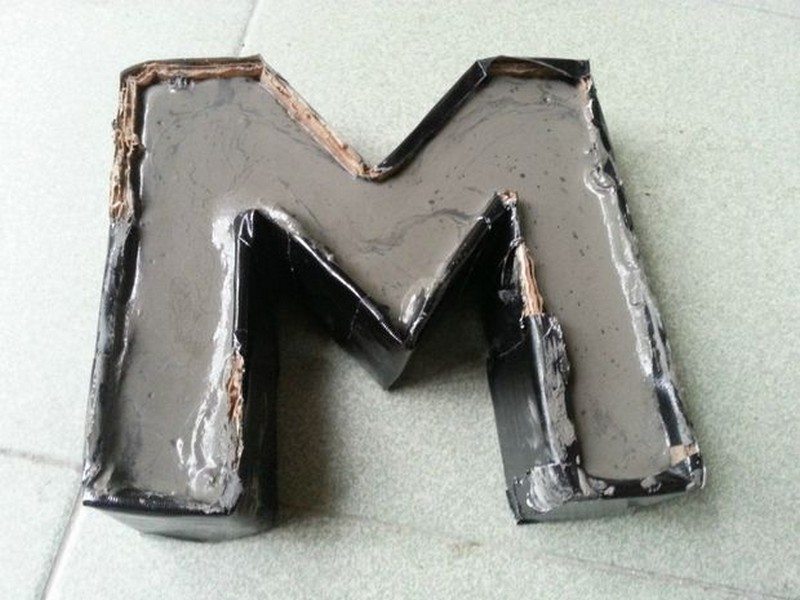
1. Make the letter molding
For the mold, make the lettering of your choice. The strokes of your letters should be at least 1 inch thick for them to be strong. Cut strips, also at least 1 inch thick, to glue around the letter.
Cutting separate strips for each side of the letter is recommended (instead of cutting a long strip and just folding it around) for cleaner corners. You can cut longer strips on some sides so you could easily hot glue the end of the adjacent strip to it.
You can use a cutter blade or knife to cut off the top layer of cardboard. When you get it formed it’s easy to just remove it back as a whole piece.

2. Strengthen the mold
Strengthen your mold by covering the outside with duct tape. Any color of duct tape will do. Apply duct tape all over the outside of the mold.
3. Mix the concrete
Before you mix the concrete, wear your rubber gloves! The mixture is 2 parts cement, and 3 parts sand.
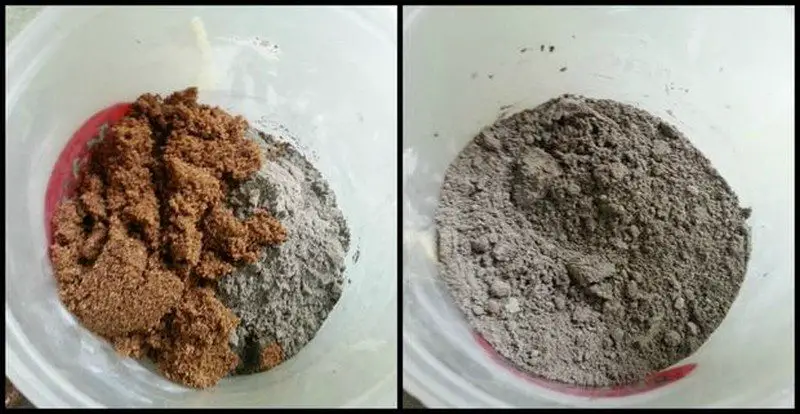
Follow the instructions on the bag when mixing the concrete. It is important to use a mixing stick that is strong enough. The first thing I used was a paint stirring stick, which was horrible and definitely not strong enough.
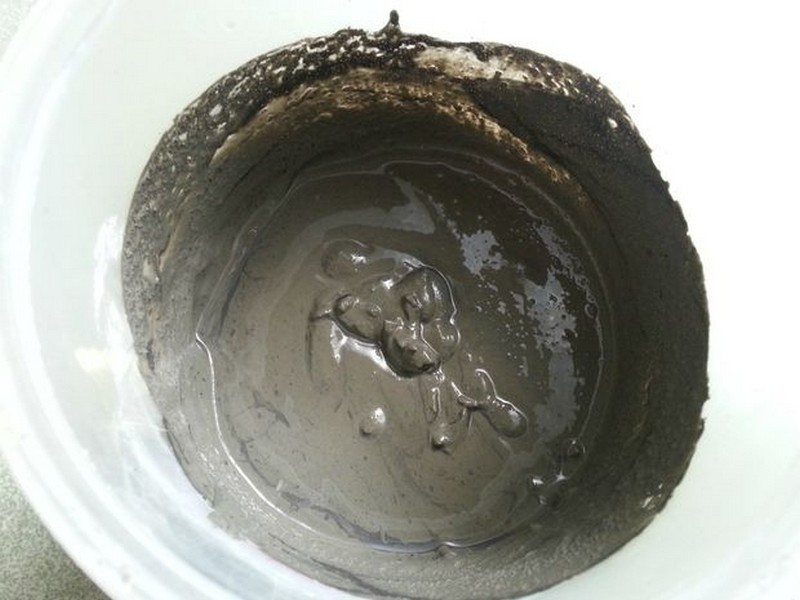
Fill the cardboard letter molds with concrete by scooping and pouring. If there are any air bubbles in the molds, try vibrating them. In addition, if you are using the top side as the front for your letters, make sure it is smoothed out and you are satisfied with the result.
There is no mistaking what you see for what you get. If you had no experience in mixing concrete before, don’t worry, it is not that difficult. Even a first-timer, will be able to mix concrete by following the instructions.
If there are no instructions available, you may simply add a small amount of water and mix them very well. If it’s too thick, just add some more water but make sure you don’t pour too much!
4. Pour the cement into the molded letters
Place your mold on a flat surface where you can leave it to harden overnight. Gently pour the cement mixture, making sure you don’t ruin your mold.
5. Paint your concrete letters
You can paint these concrete letters if you want. And that’s it!
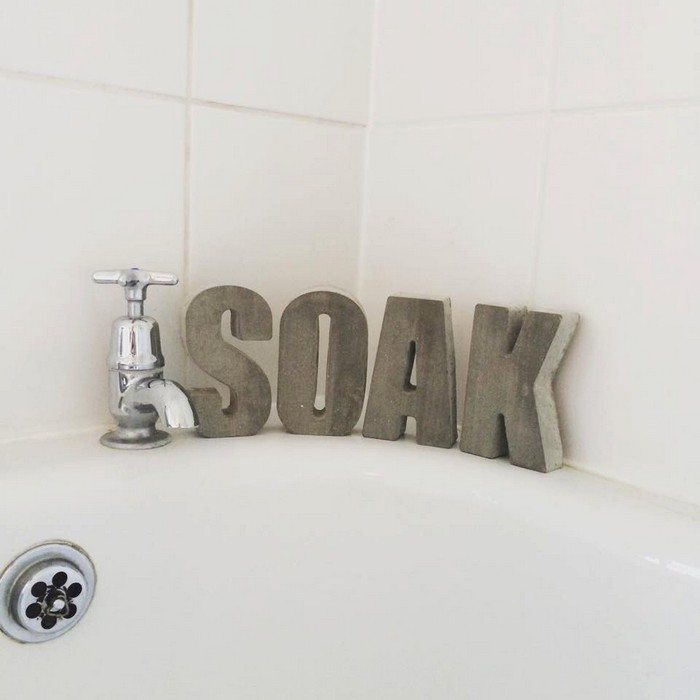
These concrete letters would be nice for any part of the house, don’t you think?
Thanks to Muhaiminah Faiz for this great project!
Creative Ways to Use Concrete Letters in Home Décor
Concrete letters bring an industrial yet elegant touch to any home. Their versatility makes them a great addition to various decorating styles, from modern minimalism to rustic farmhouse aesthetics. Whether you use them for personalized décor, statement pieces, or functional design elements, concrete letters add a unique, handmade charm to any space. Here are some creative ways to incorporate them into your home décor.
Wall Art and Name Displays
Concrete letters make striking wall art when arranged to spell out names, inspirational words, or meaningful quotes. Mount them on a wooden board for a rustic look or attach them directly to the wall for a bold, floating effect. Mixing them with framed art, mirrors, or plants can create an eye-catching gallery wall. You can also personalize a child’s room by spelling out their name above the bed or desk.
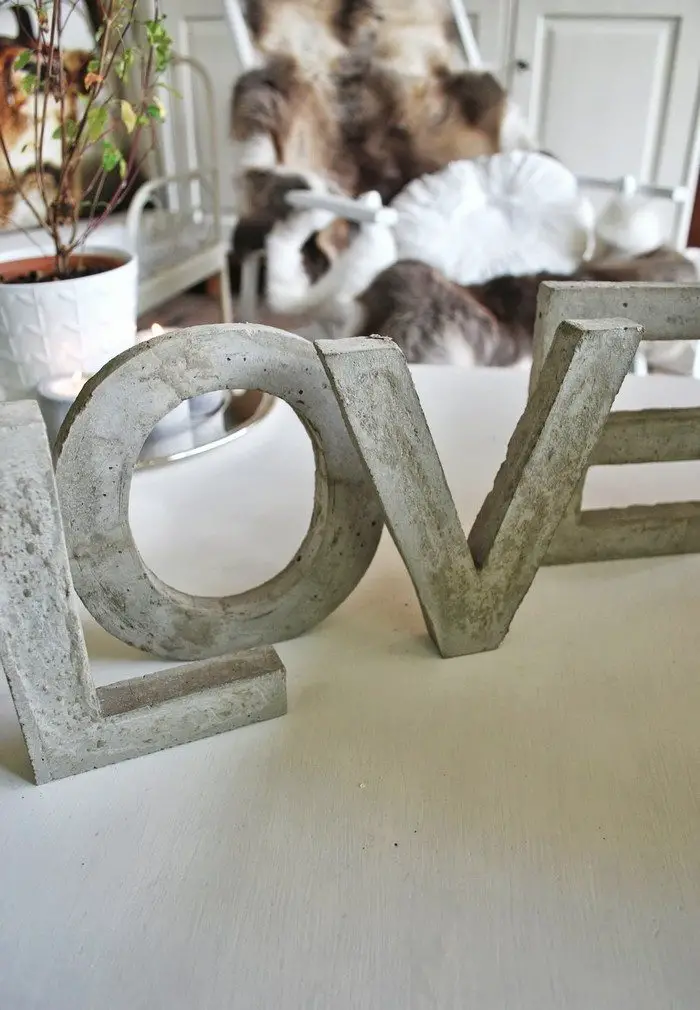
Decorative Centerpieces
Using concrete letters as part of a table centerpiece adds texture and a modern touch. Arrange them on a dining table, coffee table, or mantel alongside candles, vases, or greenery. A simple “LOVE” or “HOME” display can serve as a timeless focal point in your living space. For special occasions, such as weddings or holiday gatherings, themed words like “JOY” or “GATHER” make the perfect decorative accents.
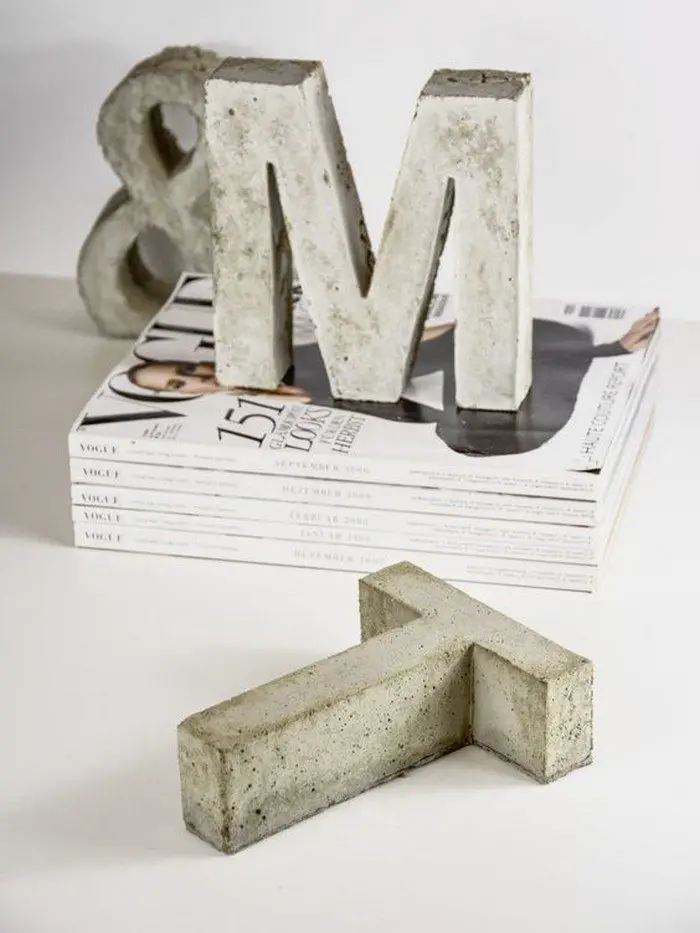
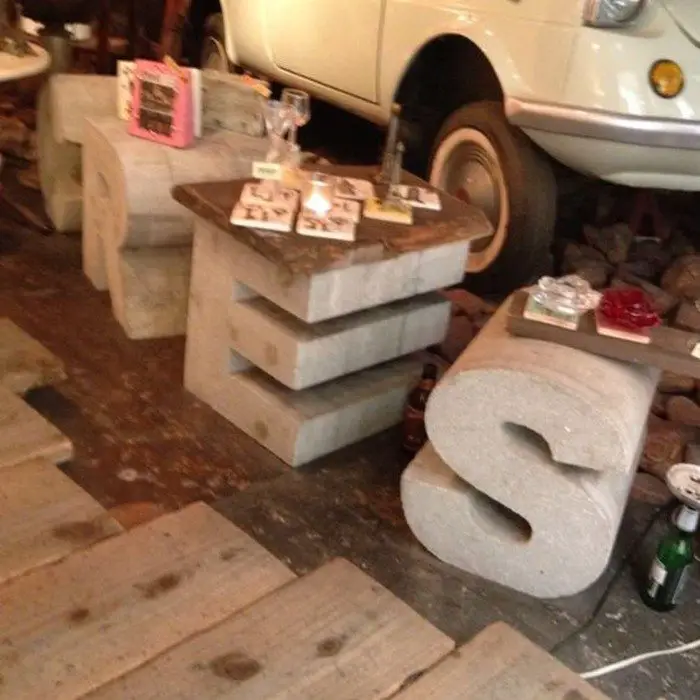
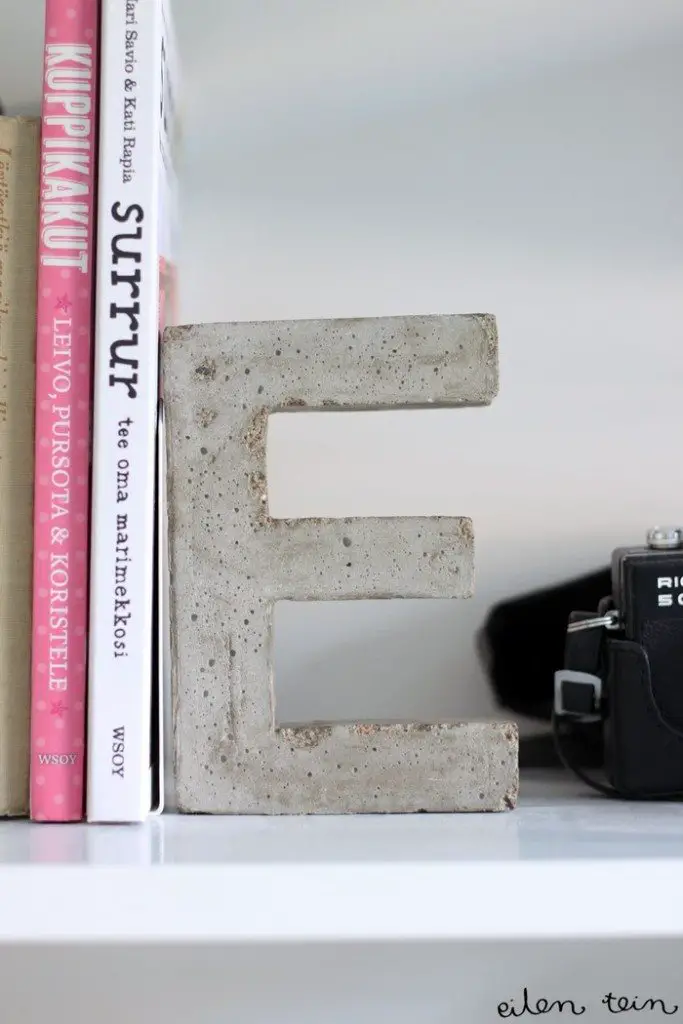
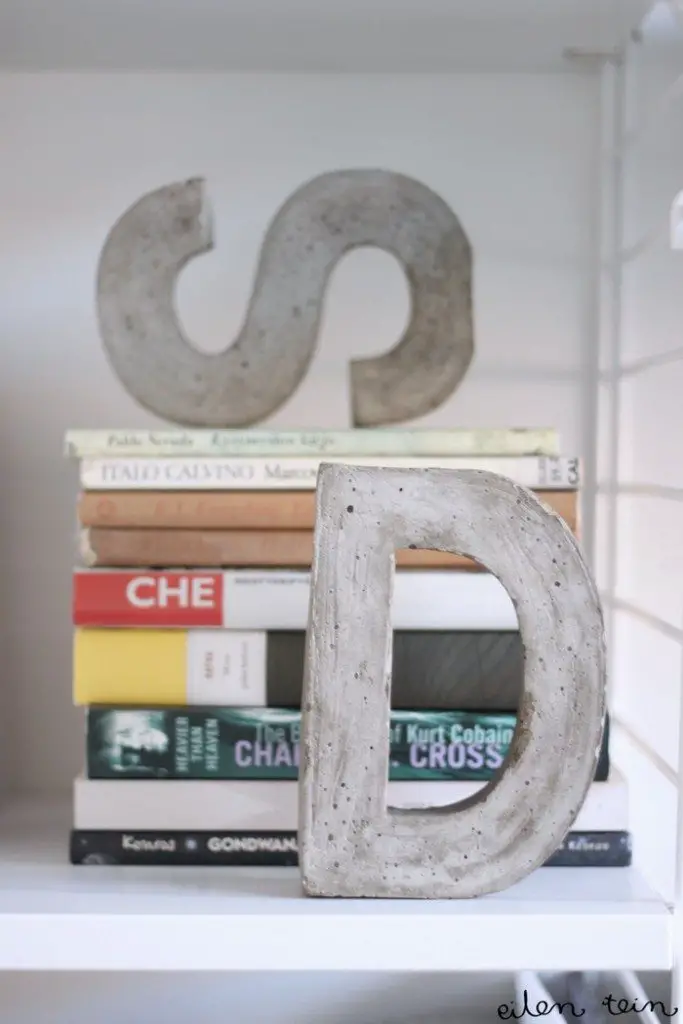
Functional Bookends
Concrete letters aren’t just decorative—they can also be practical. Use them as bookends to keep your shelves organized while adding personality to your book collection. Heavier letters work best, so opt for letters like “A” or “B” that have a wide base. You can also combine different letters to form words that fit your style, such as “READ” for a reading nook or “STUDY” for a home office.
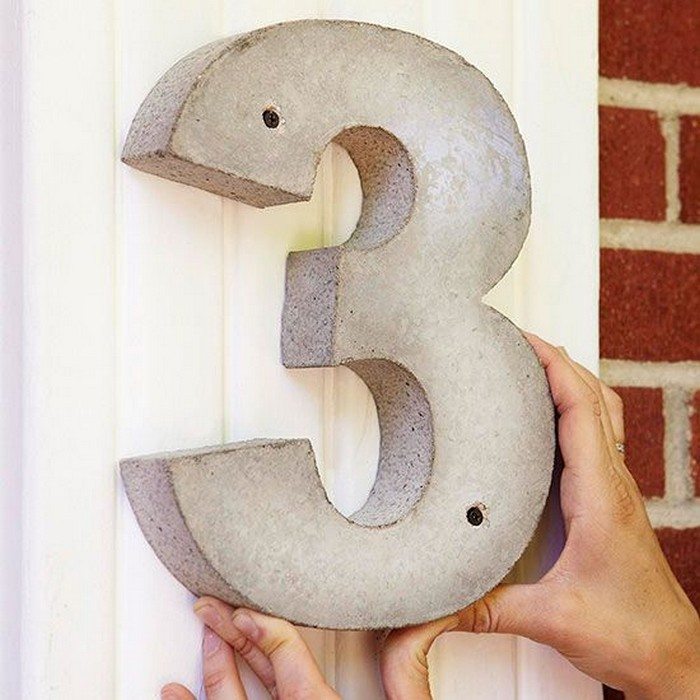
House Numbers and Outdoor Décor
For a stylish and durable way to display house numbers, consider making large concrete numbers for your front porch or garden. These numbers can be sealed for weather resistance and placed on a wooden or metal backing for a sleek, modern look. In the garden, concrete letters can be used as markers for herbs, flowers, or vegetable patches. A simple “GROW” or “HERBS” display adds charm to raised beds or container gardens.
Custom Signs for Home Offices or Entryways
Create custom signs for your entryway, home office, or kitchen using concrete letters. A “WELCOME” sign at the front door makes a great first impression, while a “COFFEE” sign in the kitchen adds a cozy café vibe. In a home office, motivational words like “INSPIRE” or “CREATE” can set the right mood for productivity. Placing these signs on wooden shelves, against textured walls, or alongside plants enhances their visual appeal.
Kids’ Room and Playroom Decorations
Concrete letters can be a fun addition to kids’ rooms or play areas. Spell out a child’s name in soft pastel-painted concrete letters and display them on a bookshelf, dresser, or wall. These can also be used to label toy storage, creating an organized and visually appealing space. For a more playful look, mix different-sized letters or add glitter and colorful paint to match the room’s theme.
Wedding and Event Décor
For weddings, birthdays, or special events, concrete letters make a stylish and memorable décor element. Large monogrammed initials or words like “LOVE” and “FOREVER” can serve as table decorations, backdrops, or photo props. They can also be incorporated into wedding signage for guest tables, directional signs, or even cake table displays. Painting them in metallic shades like gold or silver can elevate their elegance for formal occasions.
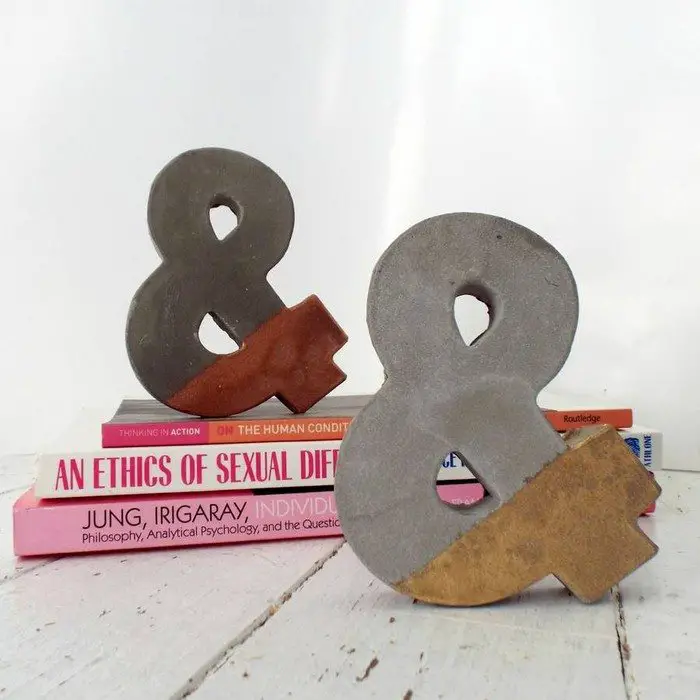
Personalized Gifts and Keepsakes
Handmade concrete letters make unique and thoughtful gifts. A monogram letter painted in a friend’s favorite color or decorated with metallic foil creates a personalized and lasting keepsake. Pairing concrete letters with wooden bases, fabric elements, or embedded dried flowers can enhance their aesthetic value, making them even more special.
Concrete letters offer endless possibilities for home décor. Their sturdy build, timeless look, and customization potential make them a stylish and functional element in any space. Whether used for wall art, furniture accents, or special events, these handmade pieces bring personality and creativity into your home.
How to Add Color and Texture to Your Concrete Letters
Concrete letters offer a modern, industrial charm, but adding color and texture can take them to the next level. Whether you want a bold statement piece or a subtle decorative accent, there are plenty of ways to customize your concrete letters to fit your aesthetic. From paints and stains to embedded materials, here are creative ways to enhance your concrete letters with color and texture.
Painting Techniques for a Smooth Finish
Painting is the easiest way to add color to concrete letters. Acrylic paint works well because it adheres to concrete and provides a vibrant, long-lasting finish. For a clean look, apply a coat of primer before painting. This prevents the concrete from absorbing too much paint and ensures even coverage. Use spray paint for a smooth, professional finish or hand-paint with brushes for a more artistic touch. Matte, glossy, or metallic paints can each create different effects depending on your style.
Using Concrete Stains for a Natural Look
If you prefer a more natural or stone-like appearance, concrete stains are a great option. Acid-based stains react with the concrete to create rich, earthy tones like browns, tans, and greens. Water-based stains offer a wider range of colors and provide a more uniform finish. Simply apply the stain with a sponge or brush and let it soak into the concrete. Stains penetrate deep into the surface, making them more durable than regular paint.
Pigmented Concrete for Built-In Color
Instead of painting the surface, you can add pigment directly to the concrete mix before pouring it into the mold. Cement pigments come in powdered or liquid form and blend into the concrete for an even, fade-resistant color. This method works best if you want a consistent color throughout your letters. Mixing different pigments can create custom shades, while adding white cement instead of gray can result in brighter, more vivid colors.
Achieving a Rustic or Aged Effect
For a weathered, rustic look, try dry brushing or distressing your concrete letters. Dry brushing involves dipping a stiff brush into a small amount of paint and lightly sweeping it over the surface to create a textured, worn-in effect. You can also use sandpaper to scuff certain areas, making the letters look aged and naturally eroded. For an antique finish, apply a dark glaze or watered-down black paint to highlight the texture and give the letters depth.
Adding a Textured Surface with Embeds
If you want a more tactile design, embedding materials into the concrete while it’s still wet can create unique textures. Small stones, crushed glass, seashells, or decorative beads can be pressed into the surface for an artistic effect. Once the concrete sets, you can lightly sand the surface to reveal the embedded textures, creating a striking contrast between the smooth and rough areas.
Creating a Polished or Glossy Finish
Use concrete sealer or epoxy resin for a neat, polished appearance. High-gloss sealers smooth out surfaces and reflect light, therefore improving their depth of color. Applying epoxy resin will provide a glass-like covering that accentuates the professional and vivid appearance of the lettering. This is a fantastic choice for presents or stylish house décor.
Using Molds to Add Texture
You may build texture inside the mold itself rather than changing the surface following letter formation. Inside the mold, textured materials like lace, cloth, or rubber mats will imprint patterns onto the concrete. This technique lets you create complex designs that can reflect abstract patterns, wood grain, or stone.
Layering Colors for a Gradient Effect
Try color gradients or ombré techniques to set your concrete lettering apart. Adding varied quantities of pigment to many layers of the concrete mix or mixing several paint colors on the surface can help accomplish this. Another realistic color transition is achieved by delicately dabbing several hues with a sponge or spraying many tones of paint.
Sealing for Protection and Longevity
The durability of the concrete letters depends on their being sealed once you have applied color and texture. Whereas a glossy sealer increases brightness, a matte or satin-finish sealer retains a natural appearance. Use a UV-resistant, waterproof sealant to stop fade and damage from moisture should the letters be kept outside.
These techniques can let you create visually striking, personalized items that complement your house décor type from basic concrete letters. There are countless ways to make your concrete letters distinctive, whether your taste is for strong colors, natural finishes, or textural accents.
Conclusion
Making concrete letters is a fun and rewarding DIY project that allows you to create custom décor with an industrial yet stylish touch. With the right materials, molds, and finishing techniques, you can personalize them with colors, textures, or unique designs to fit your home or special events. Whether you keep them simple or get creative with embellishments, these durable and versatile letters add a distinctive charm to any space.
If you liked this project, you might also like to view Concrete Mushrooms…


