Last Updated on July 31, 2023 by Team Ideas24
A lot of times in our lives we are faced with the reality of having to move on from the things that we love. I remember that time when I had to throw away my beloved Tamagotchi because it was broken – Oh my pet dog! You may be able to relate here with thoughts of your favorite bag or that old, malfunctioning phone that has been with you for many years.

For kids, it’s usually their favorite clothes. They just grow so fast that the shirts did not even have the chance to fray!
So here’s one way to still keep them in your child’s possession.

What better way to show your personality than with something creative and unique? T-shirt canvas art is one of the best options! With so many different designs and ideas out there, you can really let your creativity shine through.
If you’re not sure where to start, don’t worry! We’ve compiled a list of some of the best t-shirt canvas art designs out there to get you inspired. Whether you’re looking for something funny, cool, or just plain stylish, there’s sure to be something on this list for you. So what are you waiting for? Get started on your next canvas masterpiece today!
Contents [show]
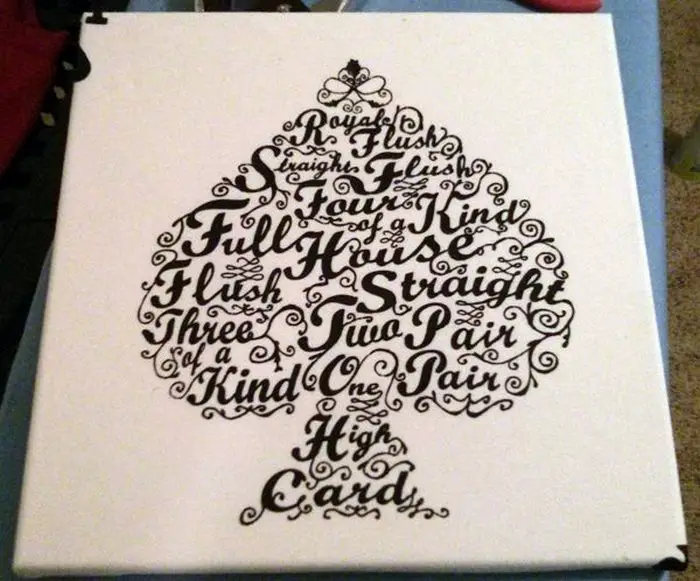
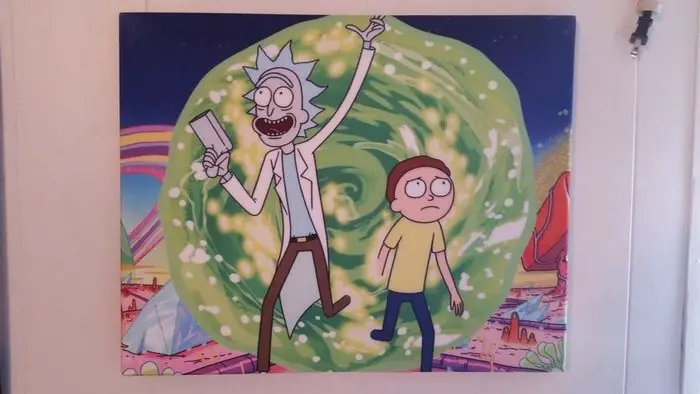
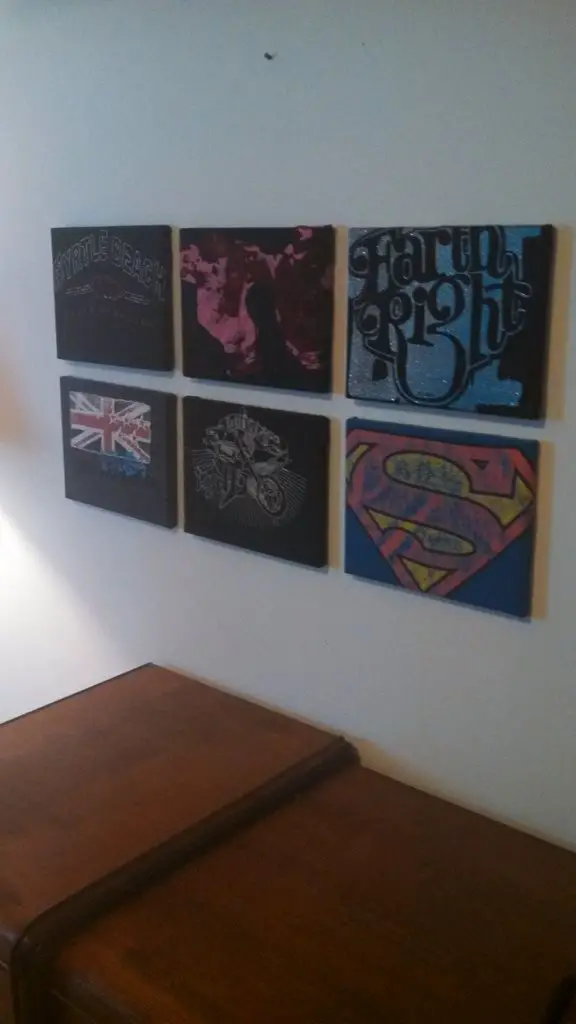
Creative T-shirt canvas art designs
Click on any image to start the lightbox display. Use your Esc key to close the lightbox.![]()


Materials needed to make a T-shirt canvas art
Making a T-shirt canvas art is a fun and easy way to show off your personality. All you need is a T-shirt, a canvas, and some tape.
You’ll need the materials to make a T-Shirt Canvas Art.
- The outgrown shirt
- Small canvas (bring the shirt when you buy this so you can determine the perfect size)
- Duct tape
And these tools:
- Scissors
- Staple Gun
Looking for a creative and unique way to display your favorite T-shirt? Why not turn it into a T-shirt canvas art piece? With just a few supplies and some easy steps, you can transform a simple T-shirt into a work of art. Here are the steps:
1. Measure the shirt on the canvas.
Don’t forget to clean and iron the shirt first, then measure the shirt on the canvas.
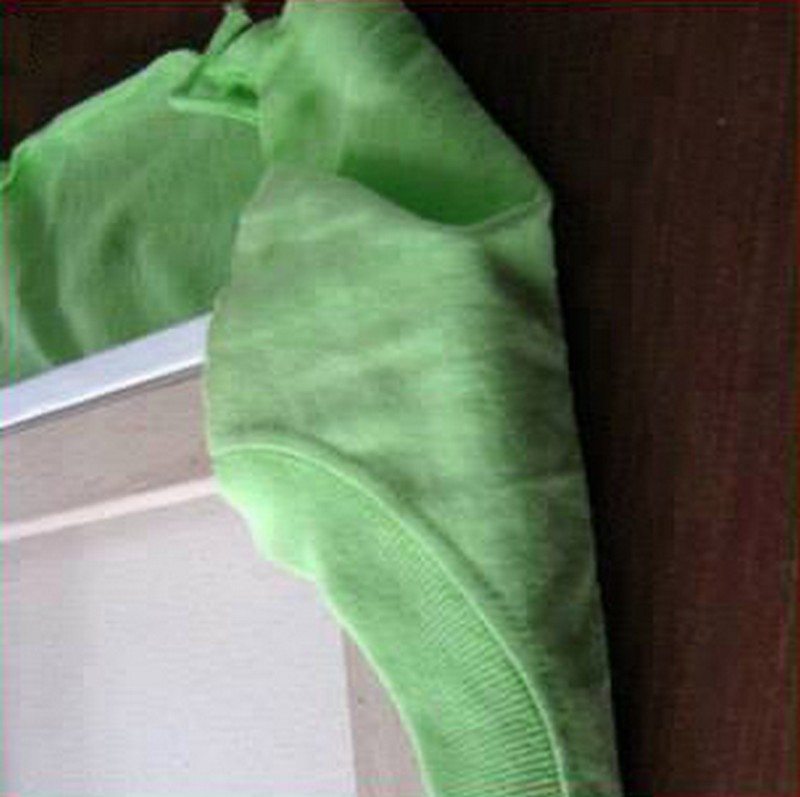
2. Cut the back part of the shirt
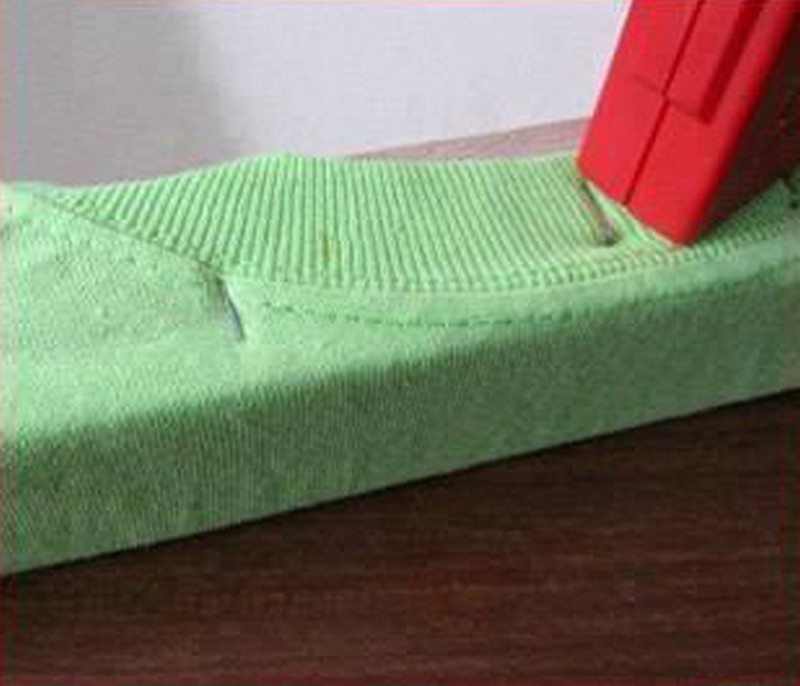
You will need to cut the back part of the shirt but make sure it reaches the frame at the back on all sides.
3. Layout the shirt on the frame
Once cut, position the shirt so that its design is right where you would want it to be. Staple the edges of the shirt on the frame at the back of the canvas. Make sure the shirt is nicely stretched.
4. Cut out the excess
Cut out the excess cloth, if any, after stapling.

5. Cover the edges with duct tape
If you’re looking for a quick and easy way to cover up those ugly edges, then duct tape is your best bet! This versatile material can be used for a variety of different purposes, and it’s perfect for covering up those unsightly edges.
Plus, it’s a great way to add a little extra protection to your project.
Simply apply the duct tape around the edges of the frame, making sure to smooth out any bubbles as you go.
And there you have it! I hope you had as much fun crafting it as I did seeing it come together.
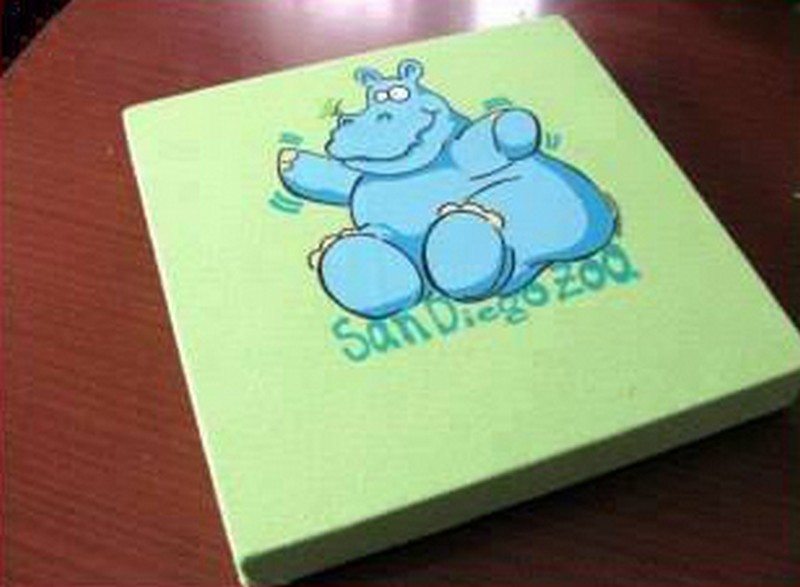
Now you can display your very own canvas for all to see.
Just remember to keep it tidy and free of smudges, and your masterpiece will be sure to dazzle everyone who sees it. 
If you liked this project, you might also like to view How to Tie-Dye White Shirts: 7 Fun Steps…


