Last Updated on July 31, 2023 by Team Ideas24
The first introduction of a chalkboard to most people is in the classroom. But although it’s a wonderful tool for learning, it can also be more than that.
A single chalkboard can be beneficial for the home in many ways!
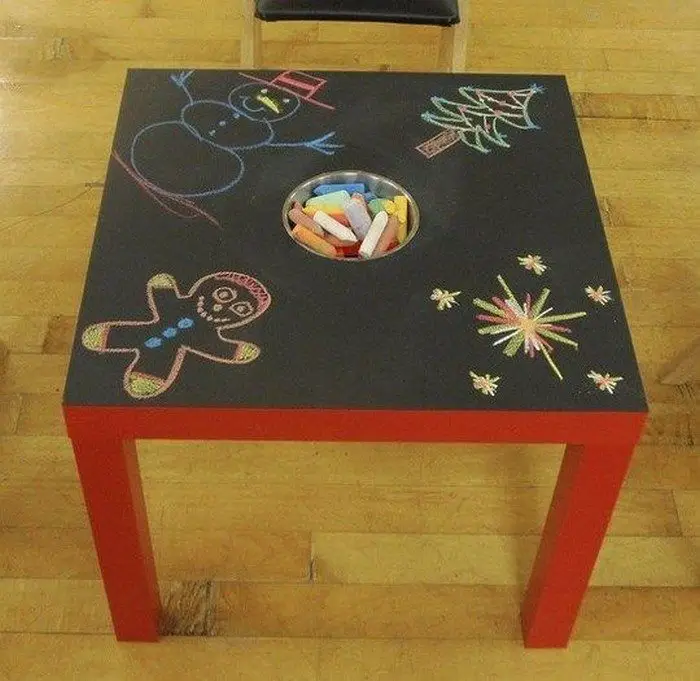
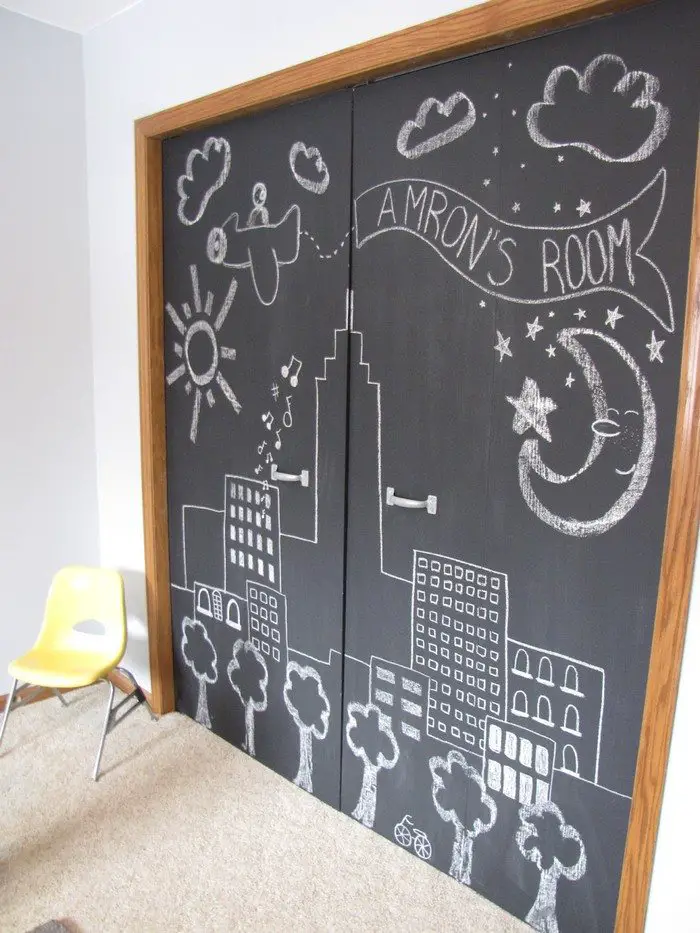
Kids certainly love them. They’re handy for leaving family messages. You can write down to-do lists, and calendars, and even draw wall murals.
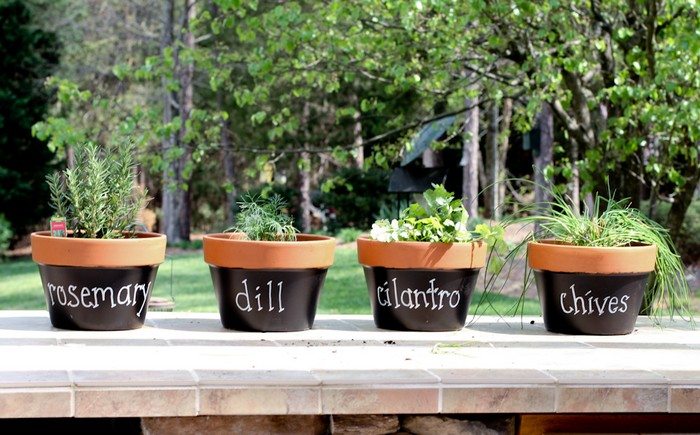
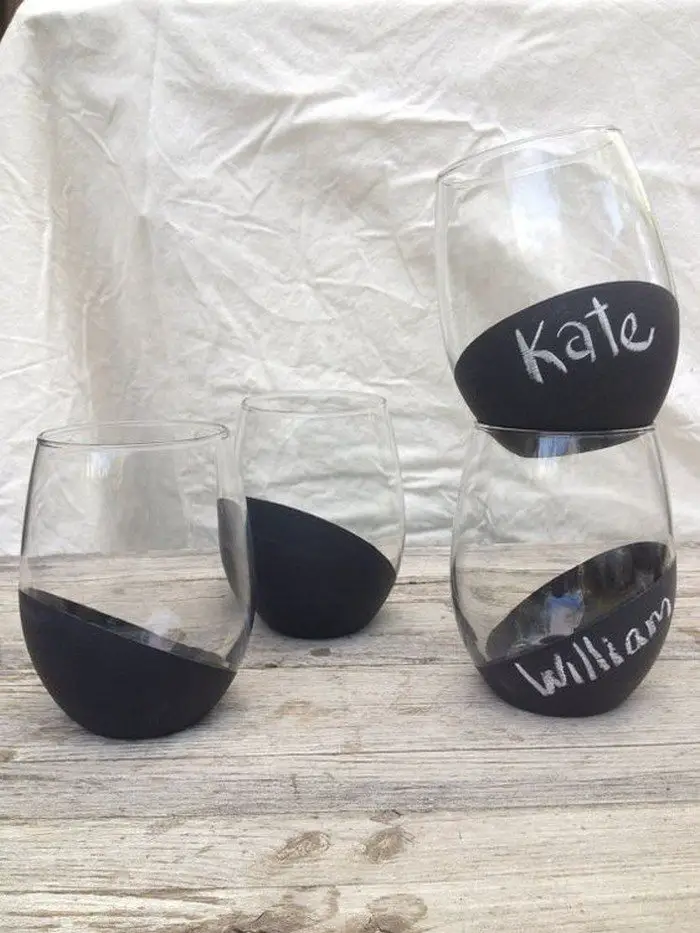
But why stop there? Chalkboard paint can be used for handy labeling of spice and herb jars, the pots the herbs and spices grow in, or anything else where you want a non-permanent but durable label.

Contents [show]
10 essential tips for making DIY chalkboard paint
Some hint first:
- The surface you intend to paint must be primed and ready to use. That means either under-coated or if already painted, washed clean of oils and also lightly sanded to allow the chalkboard paint to ‘grip’.
- Your grout must be sand free (sometimes labeled as ‘non-sanded’) otherwise you are going to end up with a gritty, almost impossible-to-clean, finish.
- The grout used here is designed to dry quickly. Mix only as much as you intend to use since it won’t keep – not even for a couple of hours.
- The paint must be a matt or flat finish or you’ll have a shiny chalkboard. The amount you need obviously depends on the area you intend to paint.
- Because your paint mix is thicker than your base paint, coverage will be about a third less. So if the paint maker suggests coverage of 12 m2 per liter, assume you’ll only get about 8 to 9 m2
- A paint stirrer. Paint pigments start settling as soon as you stop stirring. You need to make sure your paint is well mixed before you even start measuring out your desired quantities or you may end up with inconsistent color if you need to mix another batch.
- The grout must also be thoroughly mixed with the paint or you will have a spotty finish. If mixing small batches, use a fork (it will wash clean afterward). If it’s a bigger batch, use an electric drill with a mixer attachment.
- There are different types of masking tape based on how long they are to stay in position. You will be removing the tape within two hours so get a low-adhesive variety.
- To get a really smooth finish, rub down your chalkboard painted surface with 150 – 180 grade ‘wet and dry’ grit paper when the paint is dry but before you condition it.
- It’s probable that acrylic paint will work as well as latex-based paints, so if you already have some acrylic in a color you like, try it.
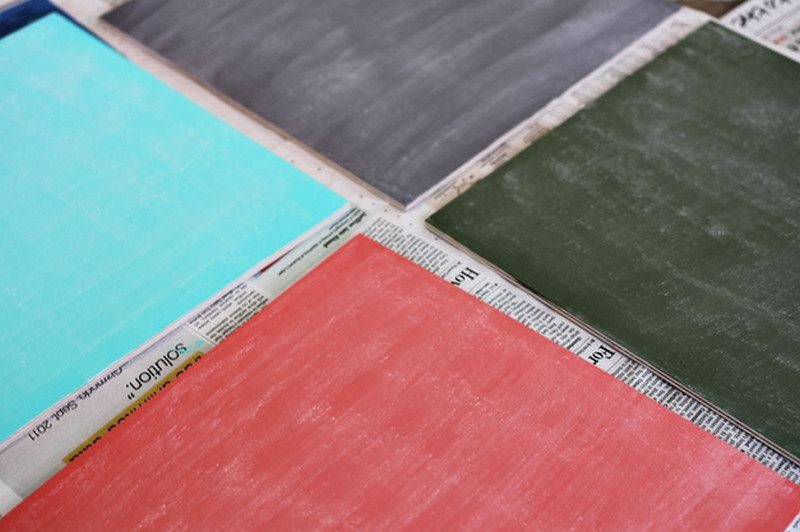
When you think of chalkboard paint, are you still picturing that dark green or slate grey ‘blackboard’ at school? Chalkboard paint doesn’t have to be boring. Or green. Or slate grey. Or even black! Name your color and make it follow these easy instructions.
You’ll need the following materials to make a DIY chalkboard paint.
- Latex paint – any color of your choice
- Sand-free tile grout
- Masking tape
- A paint stirrer (see hints above)
- A good quality brush or foam roller
- 150 – 180 grade wet and dry grit paper
- Chalk
- A dry sponge or soft cloth
How to make a DIY chalkboard paint?
These are the instructions to make a DIY chalkboard paint.
1. Mask the area
Mask the area you intend to paint and use a drop sheet to protect floors from possible drips.
2. Paint the area
For each cup of paint (250ml) add two level tablespoons of grout.
Mix well making sure there are no lumps.
Apply paint liberally ensuring you get complete coverage. Cheap brushes will leave bristles behind. A sponge brush or roller will give the best result.
3. Remove the mask
Remove masking tape according to the tape directions.
Allow the paint to dry completely, preferably overnight.
4. Sand the area lightly
Sand lightly with the grit paper
Condition your surface by rubbing a piece of chalk (held side) over the entire surface. Now wipe down the surface with a dry sponge or soft cloth. If needed, slightly dampen the sponge or cloth but you are not trying to remove the chalk you just put on – only the excess!
Give the kids a handful of chalk and stand back :)

Now you’ve done it once, Pandora’s Box awaits you. Chalkboard paint uses are limited only by your imagination.
OK – so what if you only want to do a small project and don’t want the hassle of buying paint and grout and mixing it all up? Well, the good news for you is that you can now buy premixed, colored chalkboard paint in small containers.

And even easier than that, you can now also buy chalkboard adhesive paper in ready-cut designs or by the roll so that you can ‘do your own thing’. But it only comes in black :(

Click on any image to start the lightbox display. Use your Esc key to close the lightbox. :)


Was that easy or what? Are you going to do it?
If you liked this project, you might also like to view DIY Wine Cork Board…


