
Last Updated on October 17, 2024 by Team Ideas24
Want to help your kids develop some serious skills while having fun? Look no further than woodworking! This ancient art has been capturing the hearts of crafters for generations, and it’s the perfect antidote to our screen-obsessed world.
Not only will your kids get to flex their creative muscles, but they’ll also learn how to solve problems like a pro. So, let’s break out the tools, roll up our sleeves, and get working on small woodworking projects for kids!
This blog post explores the little carpenter in your children, showcasing small woodworking projects for kids to hone their creativity and skills. These projects encourage them to work with their hands, develop patience and problem-solving skills, and take pride in their accomplishments.
Contents [show]
5 Wood Working Projects for Tiny Hands but with Big Creativity
Small woodworking projects for kids can be a great way to introduce the joys of creating something from scratch. Whether it’s a simple birdhouse or a more intricate wooden puzzle box, these projects can be a fun and relaxing experience.
Tools and Materials for Kids’ Woodworking Projects
When introducing children to the world of woodworking, selecting the right tools and materials is crucial for their safety and engagement. Here’s a guide to get you started on the essentials that are both safe and suitable for young woodworkers:
- Child-Friendly Tools
- Opt for tools that are specifically designed for children, ensuring they are manageable and safe for smaller hands. Consider junior-sized hammers, screwdrivers, and hand saws. Brands like Stanley and Fiskars offer durable, child-appropriate options.
- Safety Equipment
- Safety is paramount. Equip kids with essential safety gear like protective eyewear to shield their eyes, noise-canceling earmuffs for loud environments, and dust masks to keep sawdust at bay.
- Materials
- Begin with softwoods such as pine or cedar, which are easier for beginners to cut and shape. Additionally, using pre-sanded wood pieces can help minimize the risk of splinters.
- Basic Kits
- Look for beginner woodworking kits that include precut pieces and simple instructions. These kits often provide a balanced introduction to woodworking without overwhelming complexity.
By choosing appropriate tools and materials, you can foster a safe and enjoyable learning experience for aspiring young woodworkers.
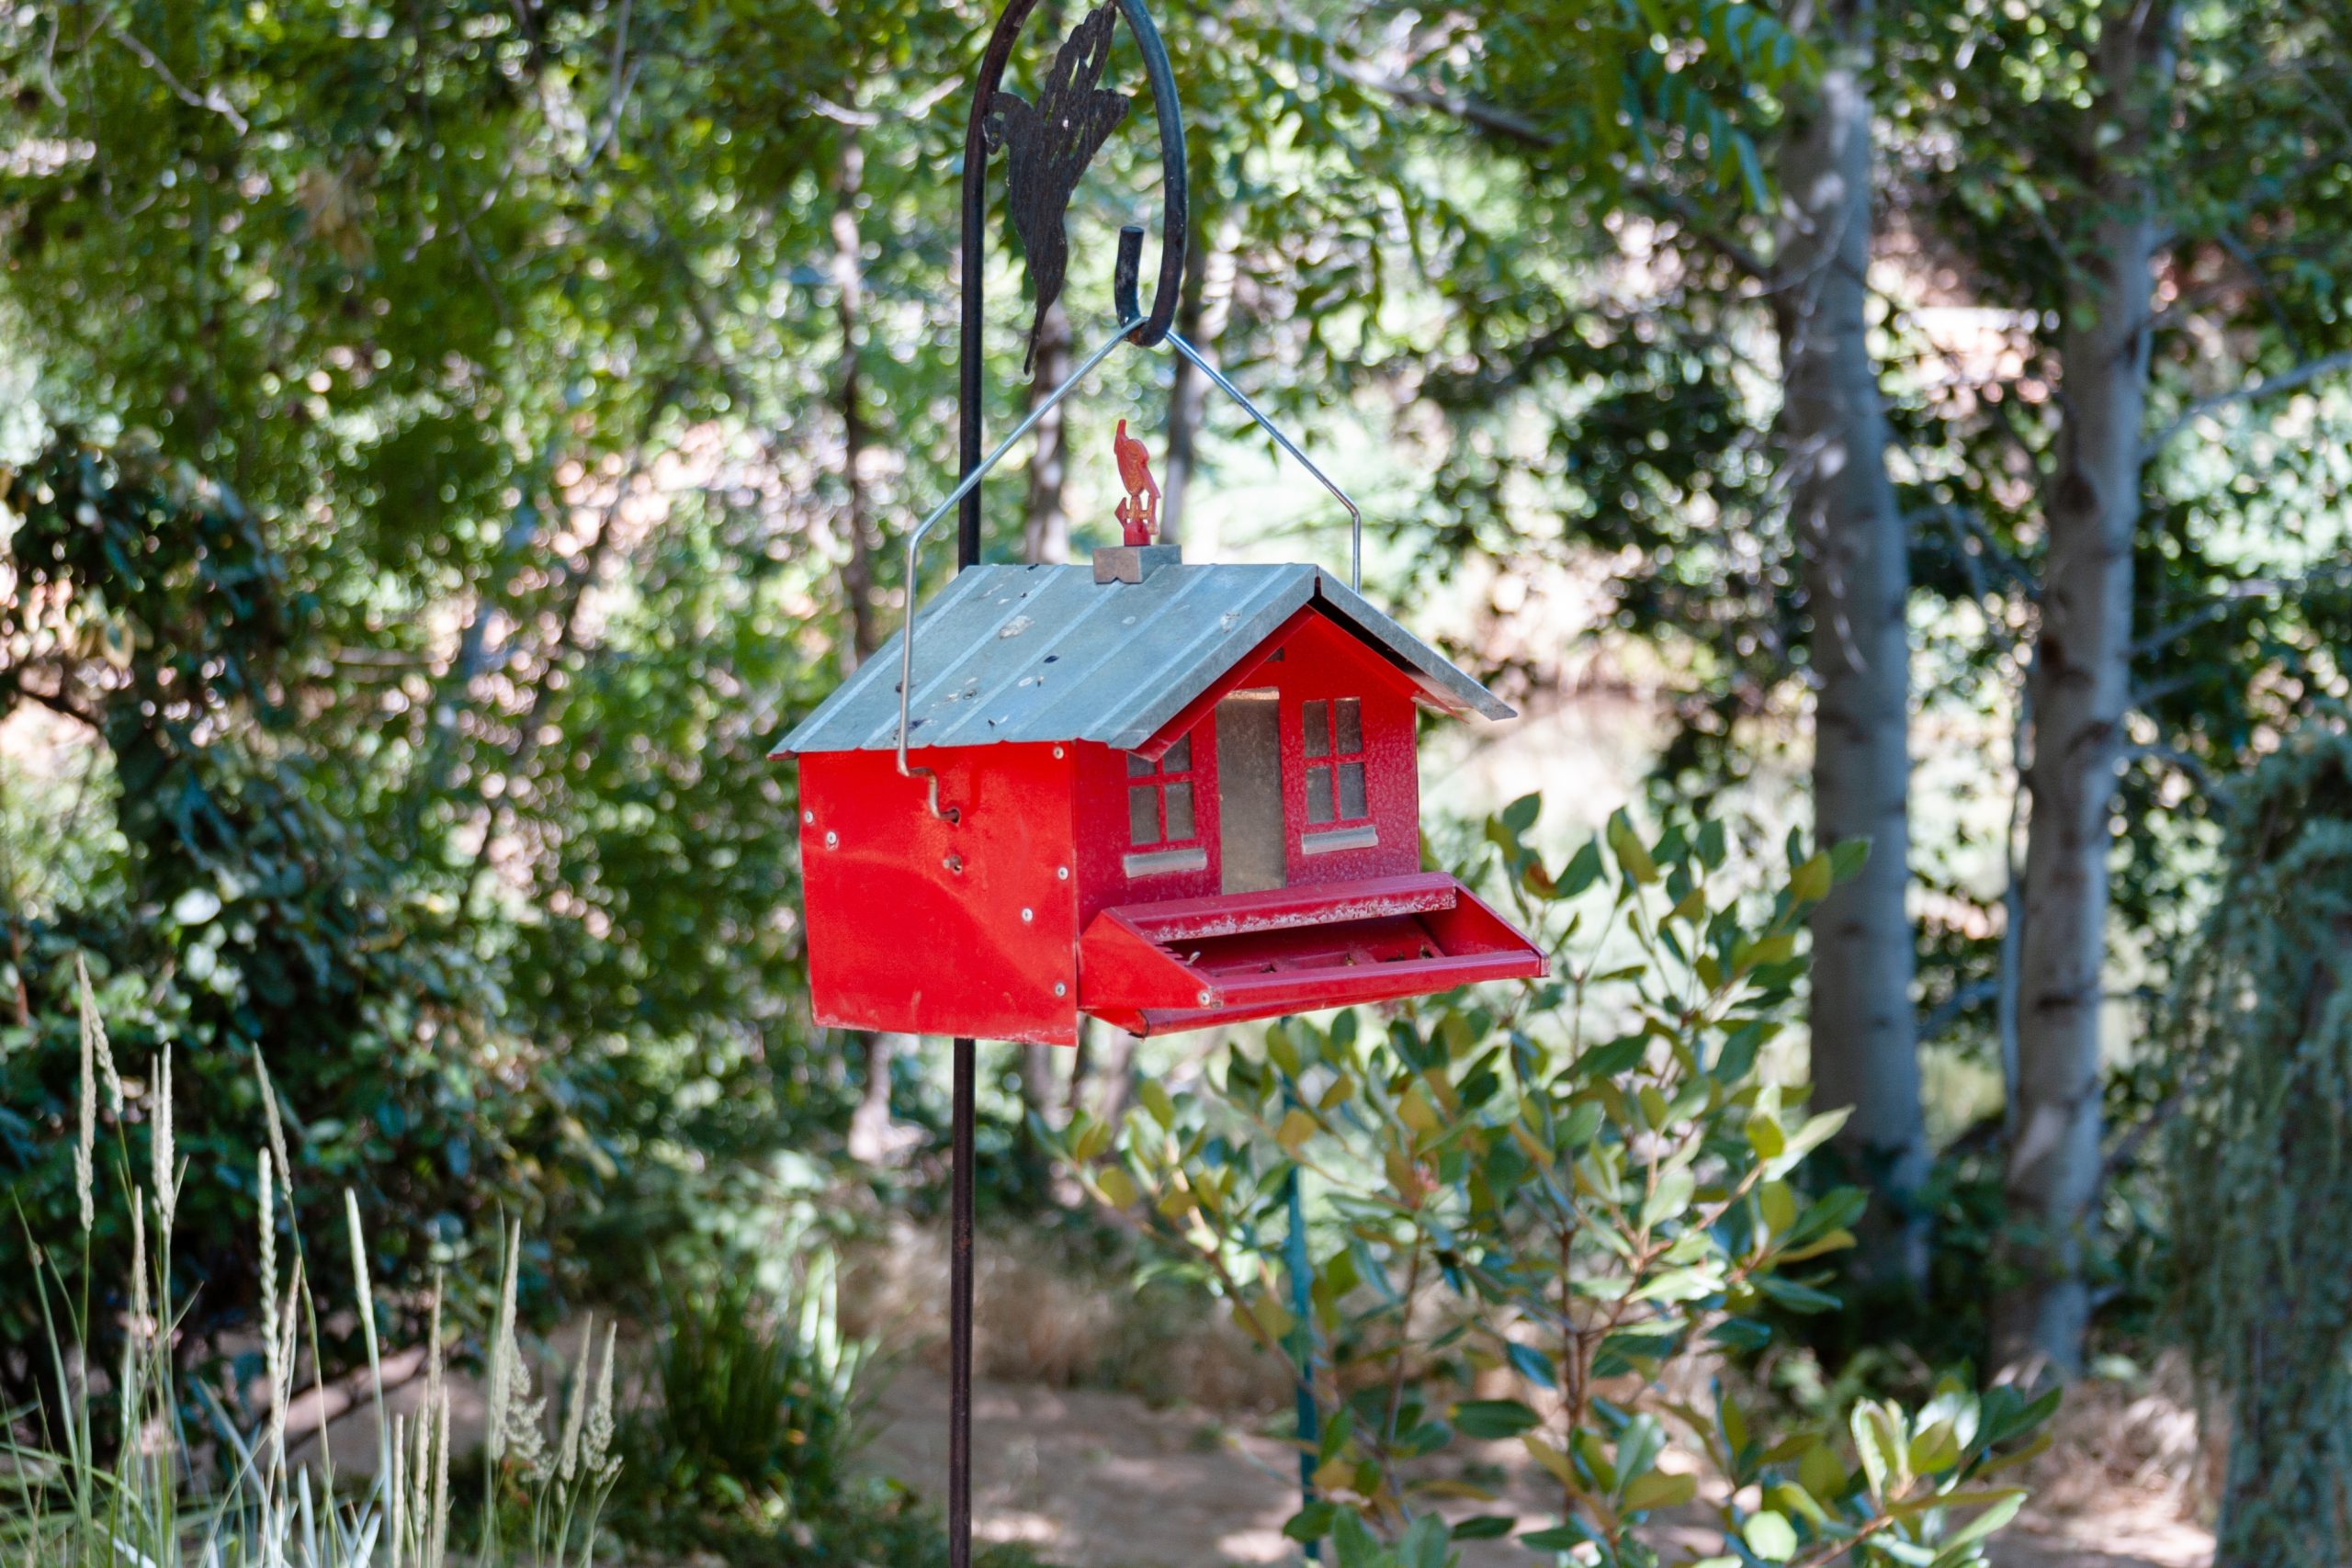
Build Your Own Birdhouse and Watch Your Feathered Friends Move In
Looking for a fun and creative way for your little ones to explore their woodworking skills? Why not start with small woodworking projects for kids like building a birdhouse?
Not only is it a fantastic way to get those creative juices flowing, but it’s also a great way to attract some feathered friends to your yard. Imagine the joy on your child’s face when they see a family of birdies moving into their brand-new home.
There is a simplified version of the birdhouse project that is perfect for kids. No reason why not to get started with this one of the coolest small woodworking projects for kids!
Materials:
- 4 pcs pine boards, 8 inches long and 5 1/2 inches wide (for the sides, front, and back)
- 1 plain sheet, 8 inches long and 6 inches wide (for the roof)
- 1 pine board, 5 1/2 inches long and 5 1/2 inches wide (for the base)
- Wood glue
- Nails or screws
- Paint or markers (optional)
- Birdseed (optional)
Steps:
- With the help of an adult gather all the materials you will need to build the birdhouse.
- Decide on a location to build the birdhouse. It should be somewhere that is protected from the elements and predators, but still easily accessible to birds.
- Lay out the 4 pine boards for the sides, front, and back of the birdhouse. Apply a thin layer of wood glue to one edge of each board and attach them together to form the sides of the birdhouse. Use clamps to hold the boards in place while the glue dries.
- Once the sides have dried, attach the front and back pieces, in the same way, using wood glue and clamps.
- Attach the base of the birdhouse to the bottom of the front, back, and sides using nails or screws.
- Again, with the help of an adult carefully cut the plain sheet to size to make the roof. Apply a thin layer of wood glue to the top edges of the front, back, and sides of the birdhouse, and attach the roof to the top of the birdhouse. Use clamps to hold the roof in place while the glue dries.
- Once the roof has dried, you can paint or decorate the birdhouse with markers if you wish.
- If you want to add birdseed, you can make a small hole in the front of the birdhouse, near the top. Be sure the hole is big enough for birds to enter but not so big that predators can get in.
- Hang the birdhouse in the chosen location using a sturdy hook or hanger.
That’s it! With a little help from you, your kids can create a birdhouse to attract feathered friends to the yards. This is one of the best small woodworking projects for kids you can ever invest your time into!
Picture Frame to Showcase Your Favorite Memories

One of the great small woodworking projects for kids that lets them participate in creating something significant while still learning is building a picture frame.
This project gives them an opportunity to present their best memories in an original way in addition to teaching them fundamental woodworking techniques. Measuring, cutting, and assembling wood will help improve their fine motor skills and attention to detail.

Materials:
- 4 pieces of wood (cut to the desired length and width of your picture frame)
- Wood glue
- Sandpaper
- Paint or wood stain (optional)
- Picture or artwork to frame
Tools:
- Saw
- Mitre box (optional)
- Clamps
- Drill
- Hammer and Nails or brad nails
- Picture hangers or hooks
Steps:
- Cut four pieces of wood to the necessary length and breadth for your photo frame with the assistance of an adult. To cut straight lines or create angled corners, use a mitre box or saw.
- Sand the edges of each piece of wood to smooth out any rough spots.
- Apply a thin layer of wood glue to the edges of two opposite pieces of wood.
- Place the two glued pieces of wood together at a 90-degree angle and clamp them together until the glue dries.
- Repeat steps 3-4 with the other two pieces of wood to create a rectangular frame.
- Once the glue has dried, use a drill and nails or brad nails to secure the corners of the frame together.
- Sand the corners of the frame to smooth out any rough spots.
- If desired, paint or stain the frame to the desired colour.
- Once the paint or stain has dried, insert the picture or artwork into the frame.
- Attach picture hangers or hooks to the back of the frame so it can be hung on a wall.
And that’s it! With a little bit of adult supervision, kids can create a beautiful wooden picture frame in which they can display their photos or artwork. It is one of the super fun and exciting small woodworking projects for kids. Nearly any family can preserve their memories with this fun project.
A Toolbox to Store All Your Tools in One Place
Learning small woodworking projects for kids? Get the right tools by building a toolbox to keep everything organized and accessible.

Not only does this make it easier to access and organize your tools, but it also adds to the fun of woodworking. Kids love to personalize their toolboxes with stickers, paint or other decorations, so let their creativity shine with this one of the favourite small woodworking projects for kids.
Introduce the kids to woodworking and teach them the importance of patience, creativity, and other life values, through small woodworking projects for kids.
- 1 piece of plywood or solid wood (refer to the template: cut to the desired size of the toolbox)
- Wood glue
- Sandpaper
- Paint or wood stain (optional)
- Handle (dowel)
- Hinges
- Latch or hasp
- Screws
Tools:
- Saw
- Drill
- Screwdriver
- Hammer and Nails or Brad Nails
Steps:
- To ensure that the plywood or solid wood is cut precisely to the toolbox’s size, contact an adult for help. The bottom must be made of one rectangular piece, and the sides must be made of two sets of identical pieces.
- Sand the edges of each piece of wood to smooth out any rough spots.
- Apply a thin layer of wood glue to the edges of the sides and bottom pieces.
- Assemble the parts ( the sides and the bottom ) to create the rectangular box frame. Use clamps to hold the pieces in place until the glue dries.
- Once the glue has dried, attach the dowel to the hole which will serve as the handle of the toolbox.
- Sand the toolbox to smooth out any rough spots and create a polished finish.
- If desired, paint or stain the toolbox to the desired colour.
- Once the paint or stain has dried, attach a handle to the top of the toolbox using screws.
And that’s it! Your kids can now use their new toolbox to store their tools and keep them organized. How fun it is to do small woodworking projects for kids! You can also learn how to DIY print on wood to be able to play with more designs.
A Bookshelf to Organize Your Favourite Stories
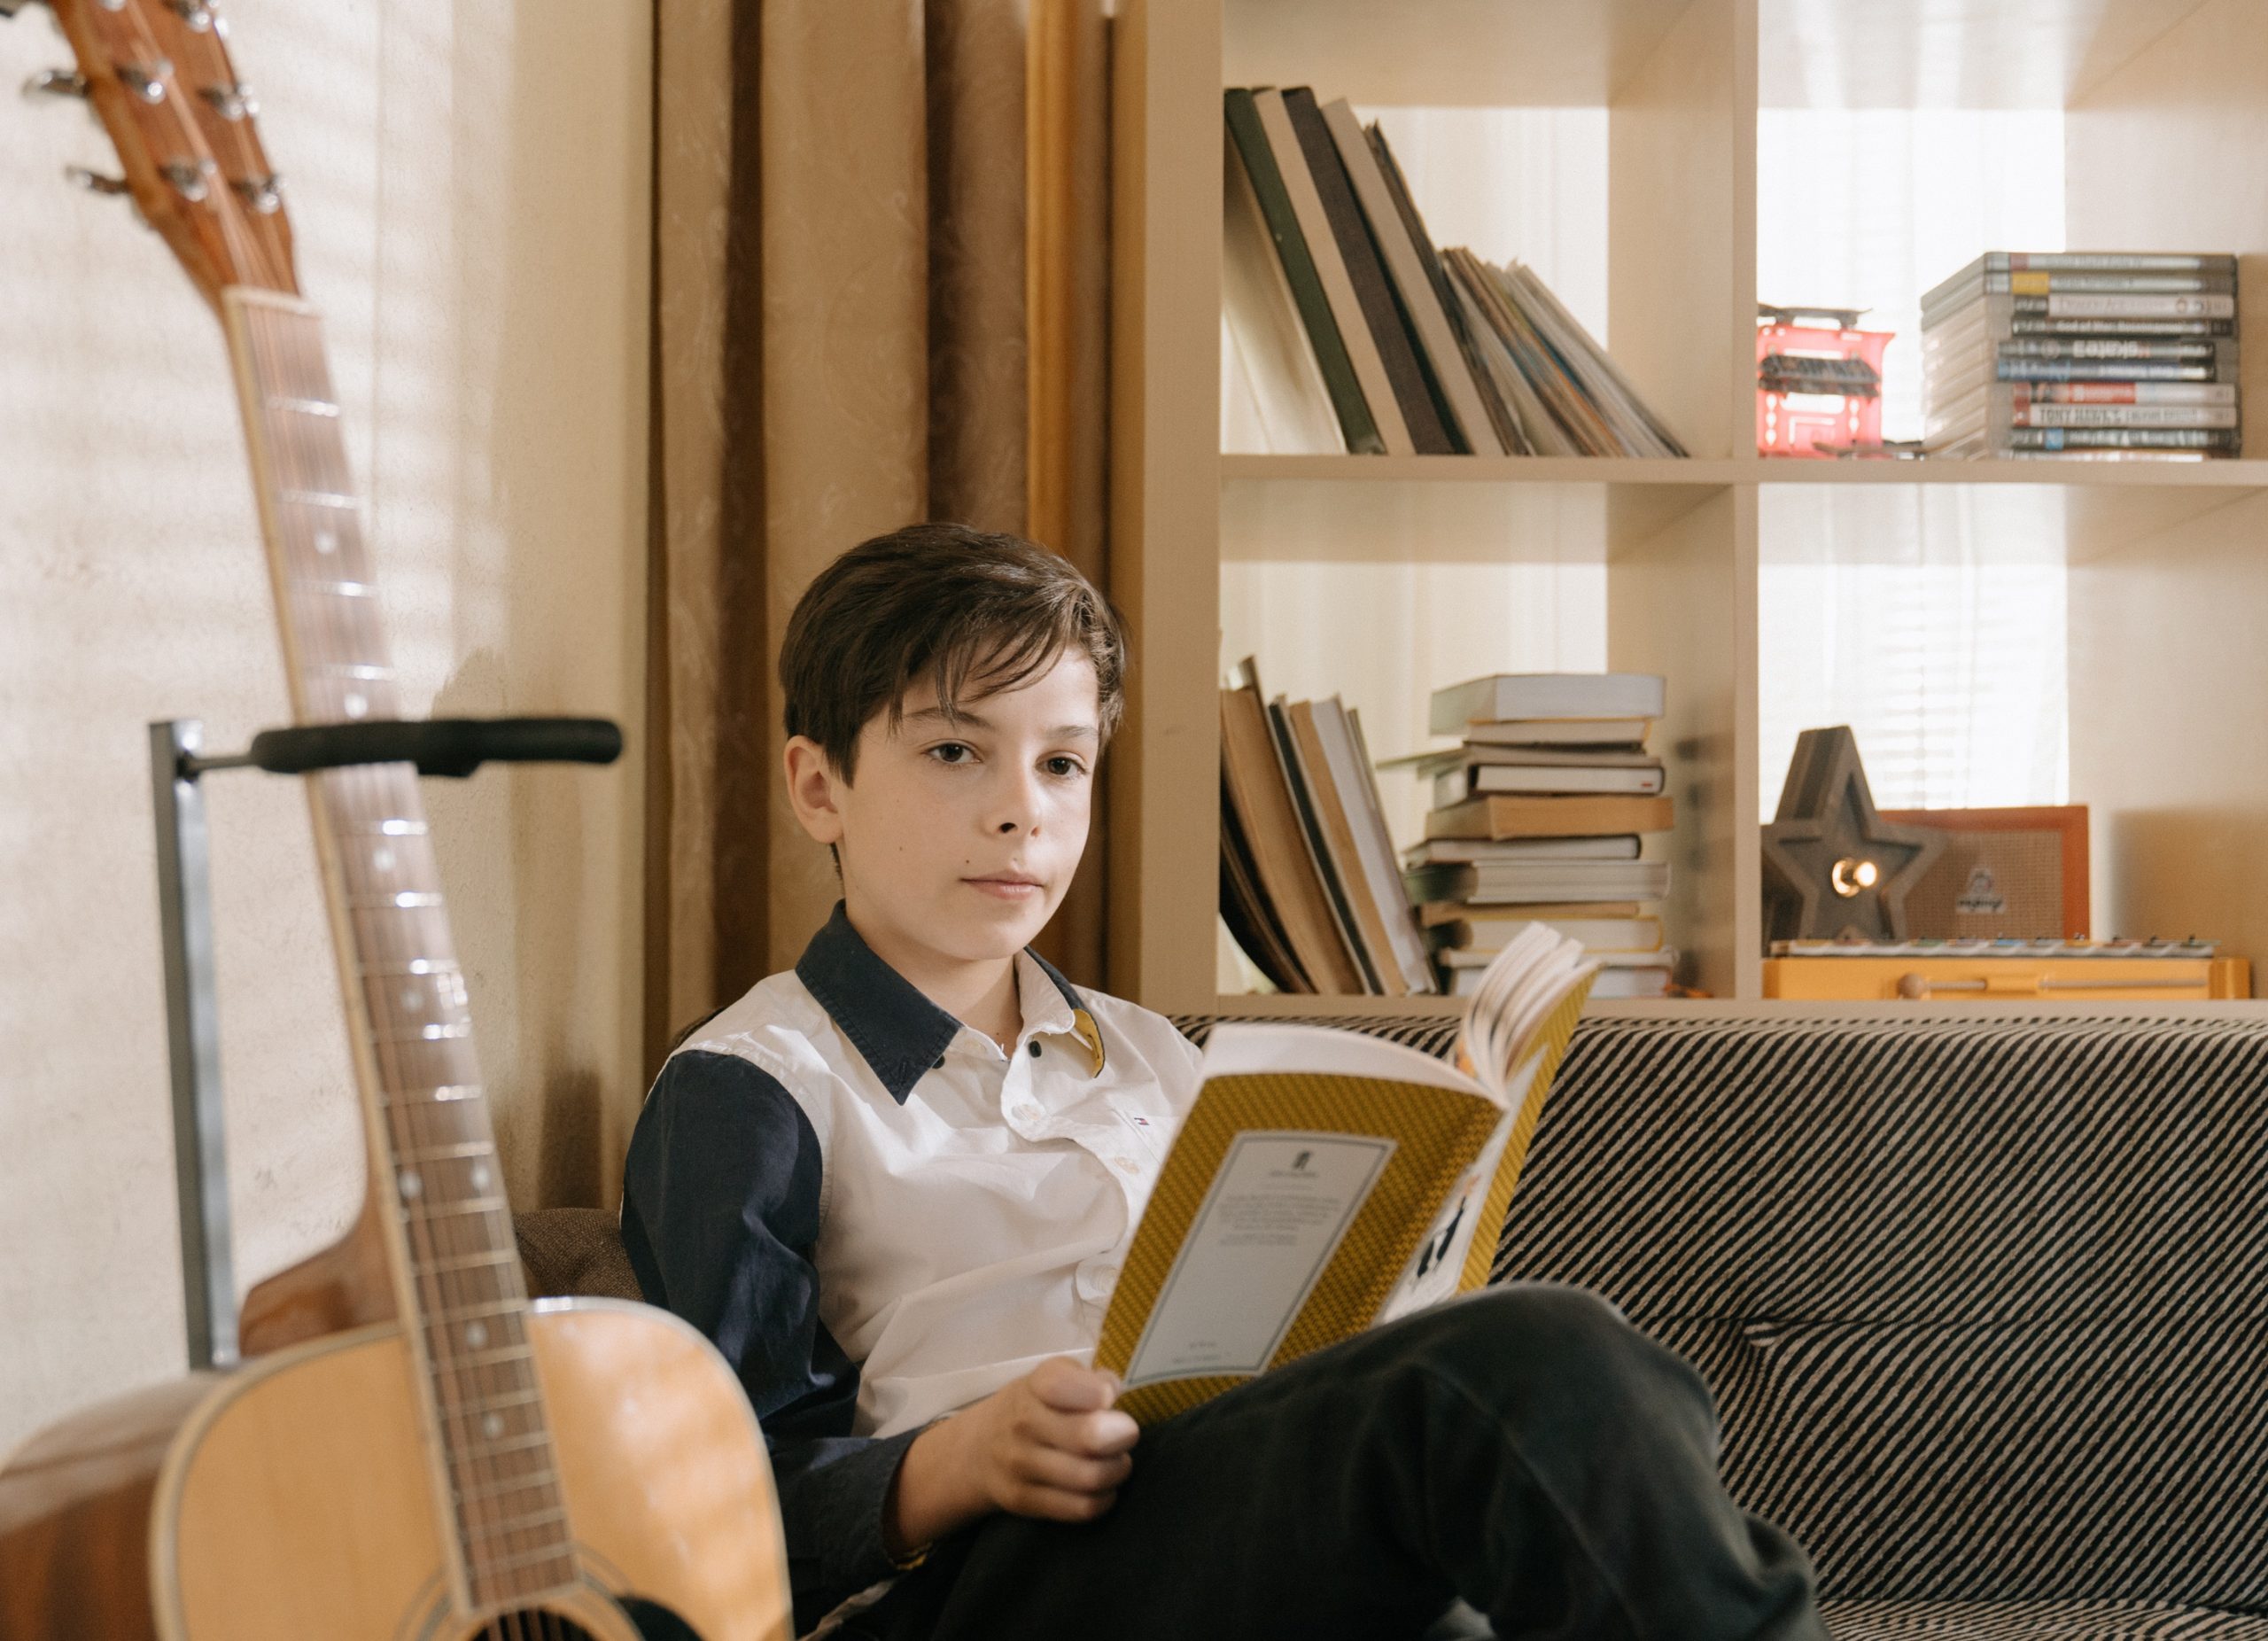
Small woodworking projects for kids are an excellent opportunity to teach them about creativity and confidence. Involve your kids in the planning stage and let them help with the design and actual process.
In small woodworking projects for kids like this, they can add their own personal ideas or touches. They can choose the colour of the paint or stain, add decorative accents or knobs, or even paint designs or pictures on the bookshelf.
Now, to start creating the DIY bookshelf, there are materials and power tools you’ll need to gather up.
Materials:
- 2 pieces of plywood or solid wood (cut to the desired size of the bookshelf)
- Wood glue
- Sandpaper
- Paint or wood stain (optional)
Tools:
- Saw
- Drill
- Screwdriver
- Hammer and Nails or brad nails
Steps:
- For safety, make sure to have an adult assist you while cutting the plywood or solid wood to the desired size of the bookshelf. You’ll need 2 identical pieces for the sides and 1 for both the top and bottom.
- Sand the edges of each piece of wood to smooth out any rough spots.
- Apply a thin layer of wood glue to the edges of the top and bottom pieces.
- Attach the sides to the top and bottom pieces to create the frame of the bookshelf. Use clamps to hold the pieces in place until the glue dries.
- Once the glue has dried, attach the back piece of wood to the bookshelf using screws or nails.
- Sand the bookshelf to smooth out any rough spots and create a polished finish.
- If desired, paint or stain the bookshelf to the desired colour.
- Once the paint or stain has dried, the bookshelf is ready to use! Kids can now place their favourite books on the shelves and proudly display them in their rooms.
Certainly, small woodworking projects for kids are a must-try!
Optional: To add extra support to the bookshelf, you can also add additional shelves by repeating steps 3-4 with smaller pieces of wood. Simply attach them to the sides of the bookshelf at the desired height. Safety is always a priority for all small woodworking projects for kids.
Make a Puzzle Box That Will Stump Even the Smartest of Your Friends.
How about making a puzzle box that will make the smartest of their friends puzzled? Yes, a puzzle box that requires intelligence and persistence to unlock. By making small woodworking projects for kids like this, your kids will not only hone their carpentry skills but also enhance their problem-solving abilities.
And who knows, projects for kids like this puzzle box can even inspire them to pursue a career in woodworking or engineering. Help them get started on this creative venture today!

Materials:
- 1/4 inch plywood or solid wood
- Wood glue
- A small latch or lock
- Sandpaper
- Paint or wood stain (optional)
Tools:
- Saw
- Drill
- Screwdriver
- Hammer and Nails or brad nails
Steps:
- To ensure safety, it is important to have an adult assist you while cutting the plywood or solid wood into six identical pieces, each measuring 3 inches by 3 inches.
- On one of the pieces, draw a square or rectangle in the centre of the wood that is slightly smaller than the width and height of the latch or locks you will be using.
- Use a saw to carefully cut out the square or rectangle.
- Using wood glue, attach each of the six pieces of wood together to form a box, leaving one side open.
- Sand the edges of the box to smooth out any rough spots.
- Attach the latch or lock to the inside of the box, on the side opposite the open side.
- Paint or stain the box if desired.
- Once the paint or stain has dried, the puzzle box is ready to use! Kids can now try to figure out how to open the box by manipulating the pieces of wood and discovering the hidden latch or lock.
Optional: To make the puzzle box more challenging, you can add additional layers or compartments inside the box that must be unlocked in a specific order. This is one of the most creative small woodworking projects for kids!
Key Safety Guidelines for Kids in the Workshop
- Supervision
- Always supervise children when they are using woodworking tools. An adult should be present at all times to ensure they follow safety rules and remain focused.
- Appropriate Tools
- Choose tools that are suitable for the child’s age and skill level. Ensure these tools are designed for children and fit comfortably in their hands.
- Safety Gear: Equip children with essential safety gear such as safety glasses or goggles to protect their eyes, ear protection for noisy environments, and dust masks to avoid inhaling sawdust.
- Tool Training: Start with the basics. Teach children how to properly use simple tools like hammers and handsaws before introducing more advanced equipment like power drills.
- Sharp Tool Awareness: Instill an understanding of the dangers associated with sharp tools. Remind children to keep their fingers away from moving parts and handle sharp edges with care.
- Emergency Plan: Have a clear emergency plan in place. Educate children on how to respond in case of an accident, including knowing how to call for help and the location of first-aid supplies.
- Teach Patience: Encourage kids to work patiently and avoid rushing. Taking their time helps prevent mistakes and accidents.
Remember, safety is paramount. Children can easily get distracted, so maintaining vigilance and guiding them through each step is essential to foster a safe and enjoyable woodworking experience.
Summary
To sum it up, small woodworking projects for kids are great for parents and caregivers looking to provide the little ones with fun and educational activities that can enhance their creativity and build self-confidence.
If your child is interested in woodworking, there are plenty of small projects they can tackle. From building birdhouses to creating their own wooden toys, these projects are suitable for all ages and skill levels.
However, to ensure safety while working on these small woodworking projects for kids, it’s crucial to have an adult with experience and knowledge of safety precautions to guide and assist them. With the right guidance and precautions, woodworking can be a fun and rewarding activity for kids to do at home.
So, what are you waiting for? Grab some wood, nails, and paint, and get ready to watch your child’s woodworking skills soar through these creative small woodworking projects for kids!
Frequently Asked Questions
- How should sharp tools be handled?
- Educate children on identifying sharp edges and emphasize careful handling to keep fingers clear of moving parts.
- How should children be trained to use tools?
- Begin with teaching the basics, such as hammering and using a handsaw, before gradually introducing more advanced tools.
- What safety gear should children wear?
- Equip children with protective gear like safety glasses, ear protection, and dust masks to safeguard against potential hazards.
- What types of tools should children use?
- Select tools that are suitable for the child’s age and size, ensuring they are specifically designed for young users.
- How should children be supervised while woodworking?
- Children should always have an adult present to supervise their activities closely and ensure they follow safety protocols.


