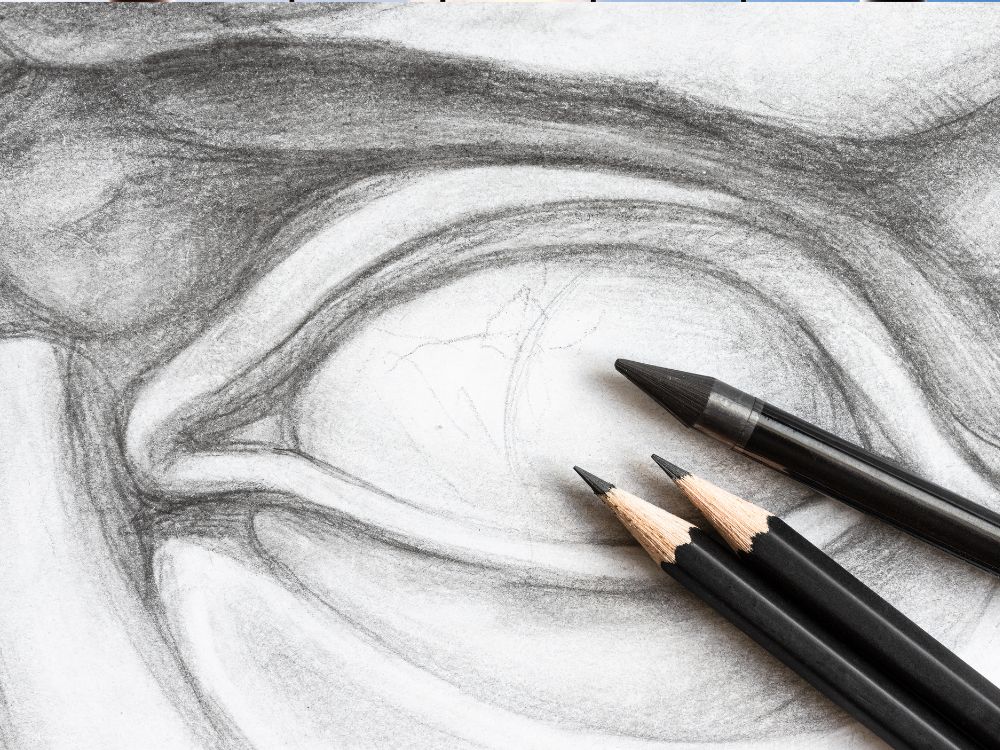
In every drawing, one of the most fascinating elements are eyes. They capture attention, show feeling, and frequently define the reality of a face. You are not alone in pondering how to create an eye that really feels alive. Many artists find it difficult to precisely balance contour, shade, and reflection. This article divides the processes and provides advice on how to draw an eye.
Contents [show]
Step-by-Step Guide: How to Draw an Eye
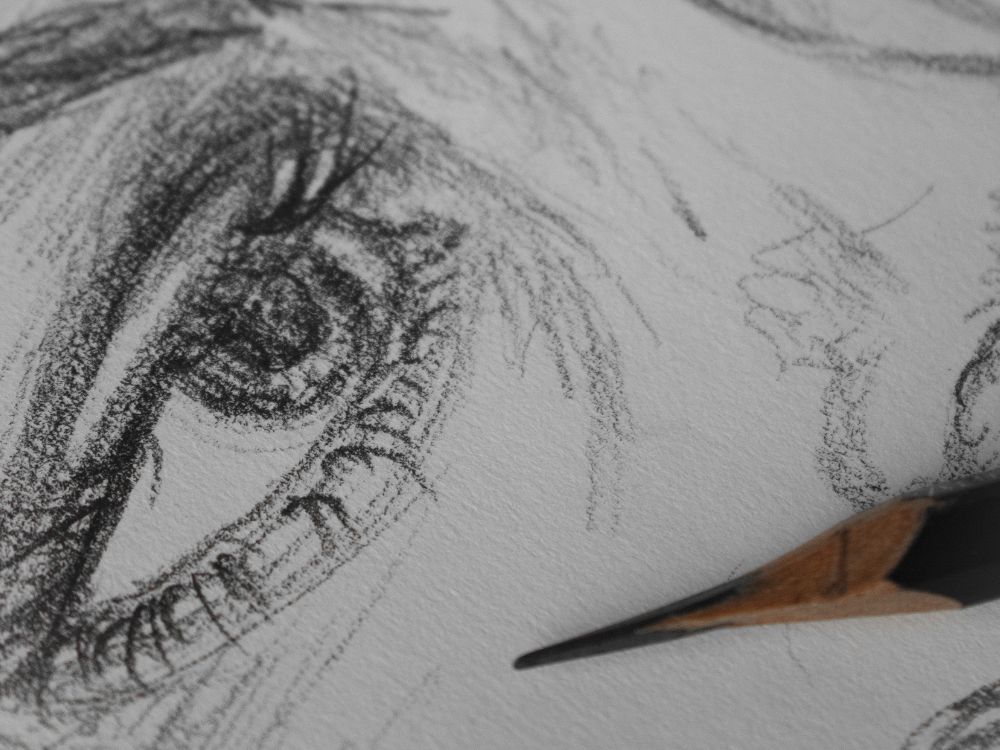
Drawing a realistic eye may seem tricky at first, but it becomes easier when you break it down into parts. Focus on getting the proportions right, then build the detail and shading slowly. Follow these steps to create an eye that looks expressive and lifelike.
Step 1: Draw the Basic Eye Shape
Start with a light outline of the almond shape. This will be the upper and lower eyelids. Keep your strokes loose and curved, not angular. Make sure both ends taper to a point—this keeps the eye looking natural.
Step 2: Add the Iris and Pupil
Sketch a circle inside the eye for the iris. Part of it should be slightly covered by the top and bottom eyelid. Draw a smaller, centered circle for the pupil. Leave a small highlight inside the iris untouched to show reflection later.
Step 3: Define the Eyelids
Add the crease of the upper eyelid just above the eye shape. Lightly sketch a line below the lower lid to give it depth. These small lines help create a 3D look and suggest structure.
Step 4: Start Shading the Iris
Shade the outer part of the iris first, moving toward the center. Use short, radial strokes from the pupil outward. Keep the pupil dark and rich in contrast. Leave the highlight area blank to create a realistic glossy effect.
Step 5: Add Eyelashes
Draw lashes with quick, curved strokes that fan out naturally. Eyelashes are not straight lines—they grow in different directions, especially toward the corners. Don’t overdo it. A few bold strokes are more effective than a cluttered set.
Step 6: Shade the White of the Eye
The white of the eye isn’t actually pure white. Add soft shading near the corners and under the upper eyelid. This creates roundness and helps the eyeball sit naturally in the socket.
Step 7: Final Touches and Blending
Darken the upper eyelid slightly to suggest shadow from the brow. Blend the skin around the eye softly using a blending stump or cotton swab. Add wrinkles or skin texture if you want more realism.
Common Drawing Mistakes and How to Fix Them
Even experienced artists can run into trouble when drawing eyes. It’s easy to overlook small details or get caught up in habits that flatten the drawing. If your eye sketches don’t feel quite right, don’t get discouraged. These common mistakes can be fixed with a few simple adjustments.
Flat Eyes with No Depth
One of the most common issues is drawing an eye that looks flat or lifeless. This often happens when there’s not enough contrast between the light and dark areas. The solution is to strengthen your shading. Darken the pupil and deepen the shadows under the upper eyelid. Use soft gradients around the eyeball to make it appear round. Always include a highlight in the iris and avoid shading over it. That small bright spot adds instant life to the drawing.
Eyelashes That Look Unnatural
Beginners often draw lashes as stiff, straight lines that point out like spokes on a wheel. Real eyelashes curve and taper. They grow in different directions depending on their position along the lid. Instead of lining them up evenly, use quick, sweeping strokes with varied pressure. Focus on direction and length—shorter lashes toward the inner eye, longer ones toward the outer corner.
Overdefined Outlines
Outlining every part of the eye with dark lines can make the drawing look cartoonish or rigid. The human eye doesn’t have thick lines around it in real life. Instead, suggest edges through contrast and shading. For example, use a shadow under the lid to define the eye’s shape rather than a hard line. Soften the transitions with gentle blending. Save dark lines for key accents, like the crease of the lid or the edges of the pupil.
Misaligned Features
Sometimes the iris isn’t centered properly, or the eyelids don’t match up in shape. This makes the eye look distorted or lazy. To avoid this, sketch lightly in the early stages and check your symmetry as you go. Use horizontal guide lines to make sure everything stays aligned. Step back from your drawing often to view it with fresh eyes.
Ignoring Skin Around the Eye
The area around the eye matters just as much as the eye itself. If you skip the eyelid crease, under-eye shading, or subtle wrinkles, the eye will float on the face with no context. Adding these features helps ground the eye and adds realism. Even a faint shadow under the brow can make a difference.
Mistakes are part of the learning process. The more you draw, the more you’ll train your eye to spot and fix them naturally.
Tips for Achieving Realism in Eye Drawings
If you’re learning how to draw an eye with more realism, observation and subtle detail are your best tools. A realistic eye drawing isn’t just about copying shapes. It’s about capturing the way light interacts with the surface and understanding the structure beneath it. These tips will help bring more life and depth into your work.
Study Real Eyes Closely
Use reference photos or even your own eyes in a mirror. Pay attention to the way shadows fall across the eye socket, the texture of the iris, and how eyelashes vary in direction. Every person’s eyes are different, so practice sketching different shapes, angles, and ages. This will help you build a mental library of visual cues.
Build Contrast Gradually
A common mistake when trying to draw an eye is skipping straight to dark outlines or heavy shading. Start with light lines and add layers slowly. Build shadows under the upper eyelid, along the crease, and on the white of the eye. Don’t leave the eyeball stark white—add soft shading around the edges to show its roundness.
Use Light and Reflection
Realism depends on how well you show light. When learning how to draw an eye, save space for highlights on the cornea and iris. This adds depth and gives the drawing a glossy, wet look. Highlights should not be smudged or shaded over. They reflect light sources and help bring the eye to life.
Focus on Skin Texture Around the Eye
Realistic eye drawings need context. Include the skin surrounding the eye to make it sit naturally on the face. Lightly shade under the lower eyelid, sketch the brow ridge, and add any creases or fine lines. These subtle touches give the drawing more realism and structure.
Vary Your Pencil Pressure
Heavy hands can flatten your work. Use softer strokes for light areas and firmer pressure where shadows are needed. Blending tools like a stump or tissue can soften transitions, but don’t over-blend. Keep some sharp contrast in key spots like the pupil, upper lid shadow, and eyelash roots.
Keep Practicing Different Angles
Drawing both eyes from a front-facing view is useful, but try experimenting with side profiles or three-quarter angles too. Eyes change shape depending on perspective. Practicing those angles will improve your understanding of the form and how to adjust shading to match.
Adding realism is a process. It takes time, repetition, and a good eye for detail. Don’t rush the drawing—take it one step at a time and let your pencil work with patience.
How Eye Expressions Change a Portrait
When you’re learning how to draw an eye, it’s important to go beyond structure and focus on expression. Eyes bring emotion into a portrait. A slight tilt or shift in the eyelid can make a face look tired, joyful, intense, or even suspicious. Understanding how to draw an eye with emotion will add depth and personality to your work.
Eyelid Position Tells a Story
The shape of the eyelids influences how the eye is read emotionally. Raised upper eyelids with more white space above the iris can create a look of surprise or fear. When the upper lids are lowered and more curved, the eye feels relaxed or sad. Adding a crease and slight puffiness can show exhaustion. If you’re working on a portrait, try changing just the eyelid angle to explore a range of expressions.
Eyebrows Guide the Mood
Eyebrows have a strong effect on the emotion of the eyes. When drawn high and arched, they make the eyes seem wide and expressive, often indicating shock or joy. Lowered or angled brows add tension and seriousness. If you’re trying to draw an eye that conveys concern, angle the brows inward slightly. That one detail can shift the entire emotion of the face.
The Pupil Adds Intensity
Though it’s small, the pupil helps set the emotional tone. A centered, wide pupil with a crisp highlight looks calm or friendly. A small, sharply defined pupil can appear startled or intense. Try experimenting with pupil size and highlight placement when learning how to draw an eye that feels emotionally alive.
Eye Direction Creates Interaction
Where the eye looks changes the energy of a portrait. Eyes that stare directly at the viewer create tension or connection. Eyes that glance sideways feel thoughtful or distracted. Drawing the gaze just slightly off-center can give a more natural and candid expression. Play with positioning until the mood fits your subject.
Why It All Matters
Eyes are usually the first part of a portrait people notice. They’re also where emotion is most easily felt. If the eyes lack feeling, the whole face can seem empty—even if it’s perfectly drawn. But when you capture an authentic expression, even a rough sketch can feel real. Mastering how to draw an eye with expression is what separates technical drawings from emotionally powerful portraits.
Practicing Eye Drawing: What to Do Daily
Getting better at eye drawing takes more than talent—it takes steady, focused practice. Drawing one or two eyes a week isn’t enough if you want to improve. You need to train your eye to observe, your hand to control pressure, and your mind to break complex details into manageable steps. If you’re serious about learning how to draw an eye well, a consistent daily routine can speed up your progress.
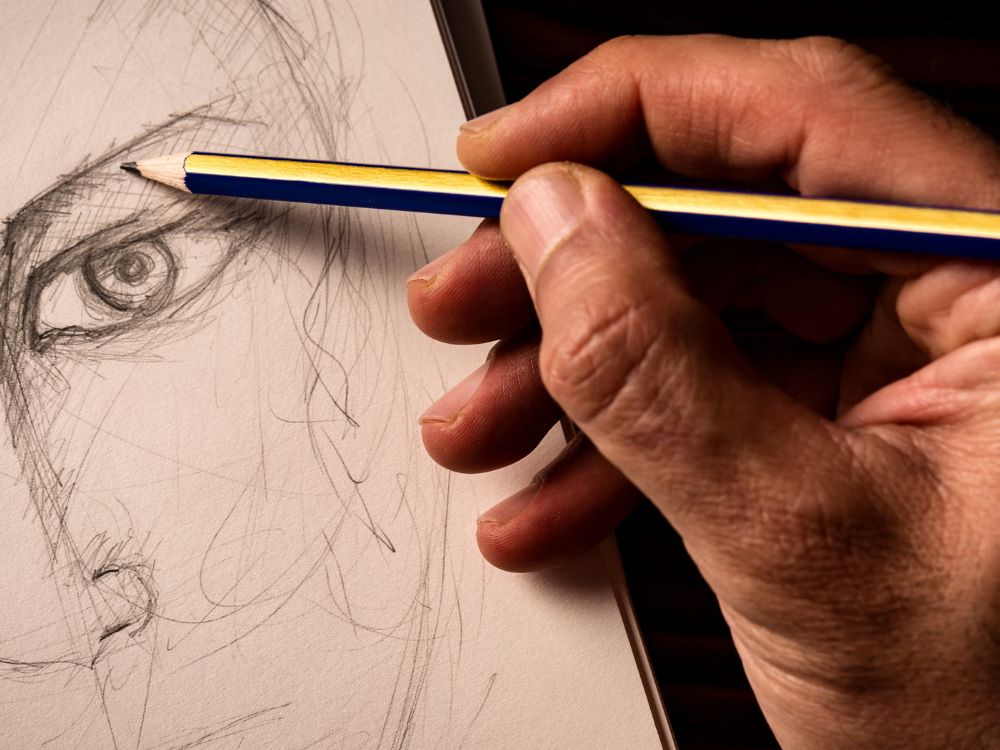
Start with Simple Sketches
Begin each practice session by sketching a few quick eyes from memory. These don’t need to be perfect. The goal is to warm up your hand and get familiar with the basic shape. Spend 5 to 10 minutes drawing light outlines, focusing on the almond shape, placement of the iris, and basic eyelid curves. Don’t stress about shading—just focus on form.
Use Photo References Every Day
Pull up high-resolution photos of real eyes and study them. Pick different angles, ages, or expressions. Try to replicate what you see on paper. Notice the thickness of the upper lid, the curve of the lashes, and how shadows fall across the eye. When you’re practicing how to draw an eye, reference photos will help you understand real-world variation and detail.
Practice Shading Separately
Realistic shading can be challenging, so it helps to practice this part on its own. Use separate pages just for shading exercises. Create gradients using soft pencils, then try shading the white of the eye or the iris in small studies. Learn how much pressure you need to build shadow gradually. Blending tools can help, but the real skill comes from controlling the pencil.
Break Down One Eye a Day
Pick one eye to focus on daily. Study the reference, lightly sketch the outline, and slowly build up the details—lashes, skin folds, shading, and highlights. This focused study helps you see what’s working and what’s not. Over time, you’ll start to notice your weaknesses and adjust your technique.
Draw Eyes from Different Angles
If you only draw eyes from a front-facing angle, your skill will stay limited. Add variety by practicing eyes in profile, from above, or at a three-quarter view. Eyes change shape depending on the angle. Practicing those shifts will strengthen your ability to draw faces more realistically.
If you’re committed to learning how to draw an eye with accuracy and emotion, daily repetition is the key. With each sketch, you’ll gain more confidence and control. The more you draw, the more natural it becomes.
Conclusion
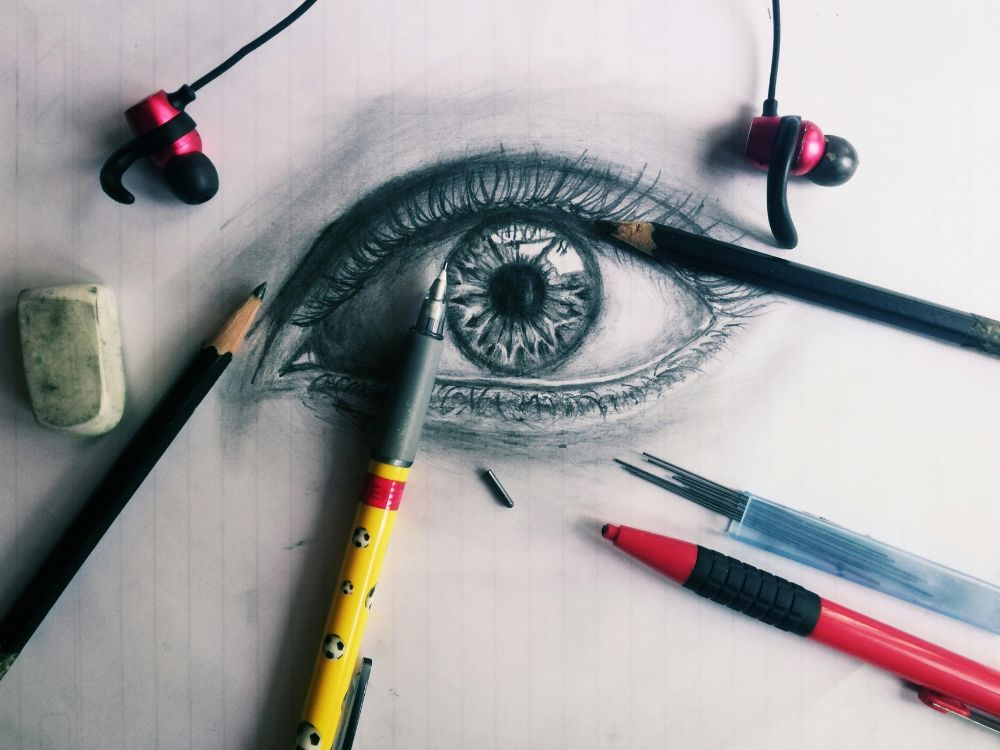
Learning how to draw an eye is about practice, patience, and attention to detail. Start with basic shapes and build layers slowly. Study real eyes often and experiment with expression. The more you practice, the more lifelike your drawings will become.
For simpler projects that will get kids to get started on their sketching hobby, check out our easy drawing ideas guide!


