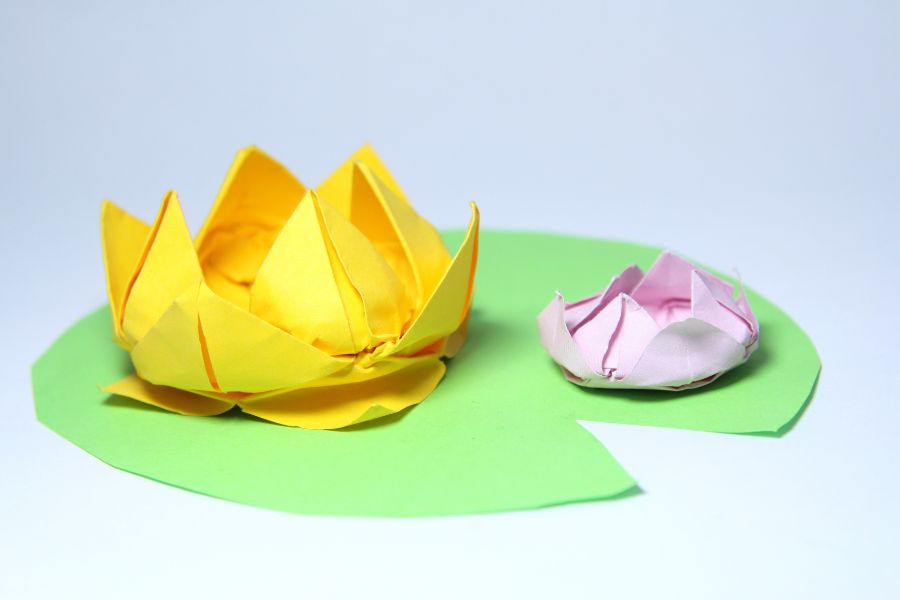
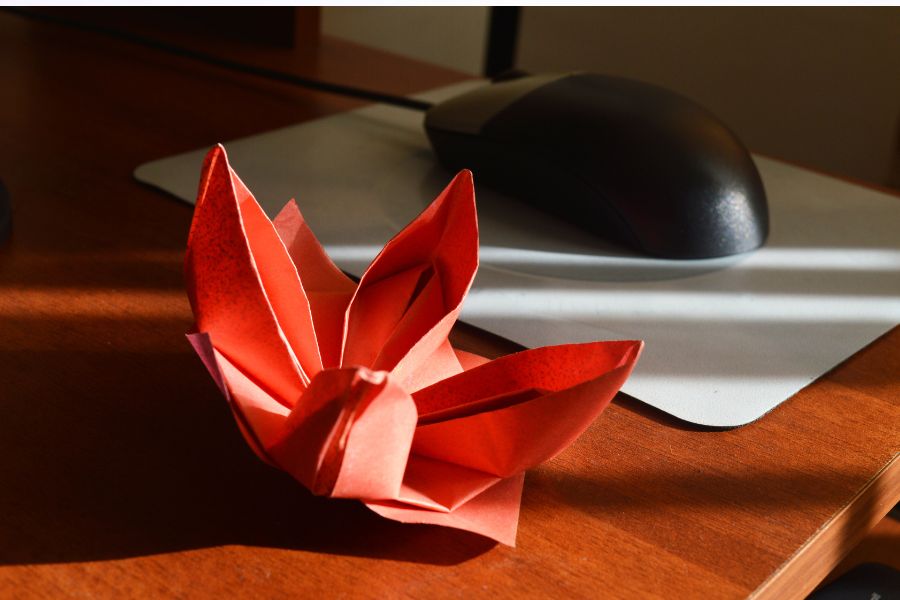
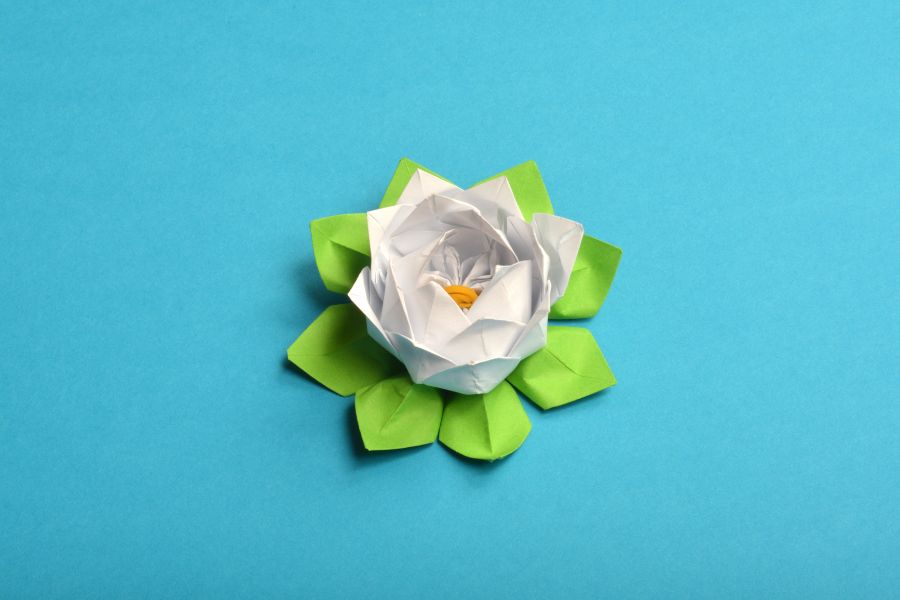
For generations, those who enjoy paper folding have been enthralled with origami. It is a traditional Japanese art form that combines creativity and accuracy. The origami lily is one of its many exquisite creations that stands out for its grace and simplicity. Simple folding methods can be used to create this delicate paper flower, making it a great project for novice and experienced origami artists. Beyond its visual attractiveness, folding an origami lily has many advantages, such as improving fine motor skills and promoting mindfulness. Irrespective of its application as a classroom exercise, ornamental item, or gift, the origami lily never fails to inspire.
Contents [show]
What Is Origami Lily?
An ordinary piece of paper may be transformed into intricate designs using the ancient Japanese art form of origami through a series of folds. Although many different types of origami masterpieces exist, the origami lily pad has a special position in origami culture because of its ageless beauty and symbolic significance. Frequently linked with innocence and rebirth, the origami lily is a widely recognized paper flower that is a favorite craft for novice and expert origami aficionados.
The lily is a great place to start for anyone interested in learning the fundamentals of origami because of its symmetrical design and graceful petals. A flat piece of paper may be transformed into a three-dimensional flower that seems real with a few exact folds. Although the practice of folding lilies has historical roots, it has changed as contemporary artisans have added special touches, such as curling the petals or arranging several flowers into exquisite arrangements.
The origami lily exemplifies the ideal balance of elegance and simplicity that characterizes the craft of paper folding, whether a straightforward decoration or a heartfelt homemade present.

Step-by-Step Guide to Making an Origami Lily
Creating an origami lily is a fun and rewarding process that requires attention to detail and precision. Below is a simple guide to help you make your own beautiful paper lily.
Materials and Tools
Before you start, gather the following materials and tools:
- Origami paper: A square sheet of paper, preferably 6×6 inches or larger. You can use colored or patterned paper to make your lily more vibrant.
- Flat surface: A smooth, flat surface for folding will help you maintain clean and sharp creases.
- Bone folder (optional): This tool helps create sharper folds, but your fingers will work just fine.
- Tweezers (optional): Useful for delicate adjustments when shaping the petals.
- Markers or pens (optional): To add decorative details to your finished lily.
Step 1: Start with a Square Sheet of Paper
Begin with a square sheet of origami paper, color side facing down. The paper’s color side will become the outer surface of the lily. Fold the paper in half diagonally to form a triangle, then unfold it. Now fold it diagonally in the opposite direction and unfold it again. This will create two crease lines forming an “X” across the paper.
Step 2: Form the Preliminary Base
Turn the paper over so the color side faces up. Fold the paper horizontally and vertically, aligning the edges precisely. Unfold after each fold. Your paper should now have four intersecting crease lines—two diagonal and two straight.
To create the preliminary base (also called the waterbomb base), hold the paper by its diagonal creases and gently push the sides inward. The paper will naturally collapse into a smaller square with open flaps at the bottom. This base is the starting point for many origami designs.

Step 3: Create the Petals
Position the square so that the open end is at the bottom. Fold the right flap’s outer edge toward the center crease, forming a kite shape. Repeat this process with the left flap. Flip the model over and repeat the steps on the other side. You should now have a diamond shape with symmetrical folds on both sides.
Next, fold the top triangular flaps down on each side, creasing well. These folds will later help form the shape of the lily. Unfold these flaps after creasing them.
Step 4: Form the Lily Structure
Lift the flaps on the front side of the diamond and squash them open to form the structure of the petals. Squash folding involves opening the flap and flattening it into a new square shape. Repeat the process on the other three sides. Your model will now resemble a star or cross with four points.
Step 5: Shape the Lily Petals
Hold the model so the pointed ends are facing upward. Fold the top layers of each point inward along the crease lines you created earlier, one side at a time. Tuck these folds under the center of the model, sharpening the edges as you go. This step gives the lily its distinctive petal shape.

Step 6: Curl the Petals
To give your lily a more realistic look, curl each petal outward. You can do this by gently rolling the paper back using a pencil, tweezers, or your fingers. Be careful not to crease the paper while doing this, as you want the petals to have a smooth curve. Repeat this for all four petals until the lily takes on its final form.
Step 7: Create the Stem (Optional)
If you want to add a stem to your origami lily, you can fold a separate piece of paper into a thin, long strip. Roll or fold it into a cylindrical shape and attach it to the base of the flower using a small piece of tape or glue. You can also leave the flower without a stem and use it as part of a larger arrangement or as a standalone decorative piece.
Tips for Perfecting Your Origami Lily
- Precision is key: Take your time to ensure each fold is crisp and clean. Use a bone folder if necessary to get sharper creases.
- Work with lighter-weight paper: Heavier paper can be more difficult to fold accurately, especially when creating detailed designs like flowers. Lighter-weight paper allows for easier manipulation and smoother folds.
- Experiment with sizes: Try making lilies of different sizes by using larger or smaller squares of paper. Tiny lilies can be used for intricate designs, while larger ones make bold decorations.

By following these steps and practicing, you’ll be able to craft beautiful origami lilies that can be used for decoration, gifts, or even as part of a larger paper bouquet. Each fold brings you closer to mastering the art of origami and creating stunning floral pieces that can brighten any space.
Origami allows for endless creativity, and the lily is no exception. While the basic origami lily is a classic, numerous variations can bring unique styles to your paper flowers. Below are seven types of origami lilies and the subtle changes in folding techniques that give each one its distinctive look.
7 Types of Origami Lily and Variations in Folding Instructions
Traditional Origami Lily
- Instructions: This is the standard origami lily made by following the classic steps from base to curling the petals.
- Variation: Use a pencil to curl the petals outward to achieve the signature flowing look.
- Why it stands out: It embodies the essence of simplicity and grace in origami, reminiscent of the famous quote, “Simplicity is the ultimate sophistication” by Leonardo da Vinci.

Curved Petal Lily
- Instructions: After completing the traditional lily, spend extra time curling the edges of each petal inward.
- Variation: Roll the petals tighter using a toothpick for a more pronounced curl. This slight tweak can make the lily appear more dynamic and delicate.
- Why it stands out: This version brings a lifelike feel to the flower, perfect for more realistic paper flower arrangements.
Double-Layered Lily
- Instructions: After finishing the first lily, create a second smaller lily and glue it inside the first.
- Variation: Use smaller paper squares for the inner lily to create a layered, fuller look. This creates the illusion of multiple blooms from a single stem.
- Why it stands out: The layered effect brings extra depth to the flower, ideal for creating stunning centerpieces.
Pointed Petal Lily
- Instructions: Begin as you would for a traditional lily, but fold each petal tip into a sharp point as you shape the petals.
- Variation: This technique adds a more angular and geometric look, giving the flower an elegant edge.
- Why it stands out: This lily’s sharp, modern appearance makes it perfect for minimalist decor or artistic displays.
Star Lily
- Instructions: Start with the traditional base, but flatten the petals outward, making the flower wider and more star-shaped.
- Variation: Instead of curling the petals, fold them outward in sharper angles. This gives the lily a more open and bold appearance.
- Why it stands out: The star lily is reminiscent of abstract art, perfect for creating a dramatic visual impact in a room or art installation.

Miniature Lily
- Instructions: Follow the same steps as the traditional lily, but use a much smaller square of paper.
- Variation: To create miniature versions, be extra precise with your folds, as small details become more challenging to manage. Use tweezers for finer adjustments.
- Why it stands out: Mini lilies are perfect for intricate designs, such as a bouquet of tiny flowers or adding delicate floral details to cards or gifts. “Great things are done by a series of small things brought together,” as Van Gogh once said, capturing the essence of this type.
Twisted Petal Lily
- Instructions: After completing the traditional lily, take each petal and gently twist it to create a spiral shape.
- Variation: Twisting the petals gives the lily a playful, whimsical look. Be careful not to tear the paper while twisting.
- Why it stands out: This version adds movement to the lily, making it seem like it’s in full bloom or swaying in the wind. It brings a sense of playfulness as if the flower has a personality.
Each of these variations offers a small change in the folding process yet dramatically changes the final look of the origami lily. Whether you’re aiming for minimalism or a fuller, more complex design, these different types of lilies allow you to adapt this traditional craft to your unique style.
Benefits of Creating an Origami Lily
Making an origami lily offers more than just a creative outlet—it provides a range of mental, emotional, and practical benefits that enhance your well-being. Whether you’re crafting for relaxation or to sharpen your skills, the process can be rewarding in many ways.
Enhances Focus and Concentration
Folding an origami lily requires precision and attention to detail. As you work through each step, you need to focus on the instructions and make precise folds. This practice helps improve concentration and sharpens your ability to focus on tasks without distractions. It’s a meditative process that can quiet the mind and improve your cognitive functions over time.
Promotes Relaxation and Mindfulness
Origami, including making lilies, can have a calming effect similar to meditation. The repetitive folding motions and focus on the present moment help reduce stress and anxiety. It encourages mindfulness by immersing you in the process, allowing you to clear your mind and find inner peace. For those seeking a quiet escape from daily pressures, origami provides a therapeutic way to unwind.
Boosts Creativity
Origami is a creative pursuit that encourages experimentation with different designs, papers, and colors. Crafting a lily allows you to personalize your work by varying the paper texture, adding decorations, or altering the folds. This boosts your creative thinking and problem-solving skills as you find new ways to customize the flower to suit your vision.
Improves Hand-Eye Coordination and Fine Motor Skills
The precise folding techniques required to make an origami lily improve fine motor skills and hand-eye coordination. Each fold strengthens the small muscles in your hands, which can benefit people of all ages, especially children developing their motor skills or seniors looking to maintain dexterity. Aligning folds and adjusting the paper also enhances coordination between what your eyes see and your hands do.
Teaches Patience and Persistence
Creating a perfect origami lily takes time and practice. Mistakes can happen, and learning to fold precisely without tearing the paper can be challenging, especially for beginners. This process teaches patience and persistence. Over time, you’ll improve your skills and feel a sense of accomplishment as you complete each project, reinforcing the value of perseverance.
Encourages Personal Expression
Origami lilies can be personalized in countless ways. You can use different colored papers, add patterns, or combine multiple lilies into a bouquet. This offers a creative outlet for self-expression, allowing you to create something that reflects your personality and tastes. Whether it’s a gift or a decorative piece for your home, each lily uniquely represents your style.
Practical Uses for Gifts and Decorations
The finished origami lily isn’t just beautiful—it’s functional. You can use it as a decorative element in your home, add it to gift wrapping for a personal touch, or even incorporate it into larger craft projects like wall art or centerpieces. The versatility of the origami lily makes it useful for various occasions, from birthday gifts to wedding decorations.
By crafting origami lilies, you’re not only creating beautiful art but also engaging in a meaningful activity that enhances mental well-being, sharpens focus, and offers practical rewards. The benefits go beyond the paper, making it a worthwhile hobby for people of all ages and skill levels.

Tips for Beginners
If you’re new to origami, starting with an origami lily is a great way to dive into this timeless craft. While the lily is a relatively simple design, there are some tips that can help you avoid common mistakes and make the learning process smoother. Follow these beginner-friendly tips to perfect your origami skills and enjoy the process.
Choose the Right Paper
- Start with larger, lightweight paper: For your first few tries, use lightweight origami paper that’s at least 6×6 inches. Larger sheets are easier to handle and fold with precision. Avoid thick or textured paper as it can be harder to fold and won’t hold sharp creases well.
- Use colored or patterned paper: Bright colors or patterned paper can make your origami lily look more interesting, and the contrast between the color sides will help you keep track of which part of the paper you’re folding.
Master the Basic Folds
- Practice common folds: Before jumping into the lily, familiarize yourself with common origami folds, like the valley fold, mountain fold, and squash fold. Mastering these will make the origami lily folding process smoother and less intimidating.
- Work on clean, sharp creases: A successful origami project relies on sharp creases. Use your fingers or a bone folder to press down each fold firmly. Sharp creases will give your lily a more defined and professional look.
Follow Diagrams Carefully
- Take your time: Origami lily requires patience, especially when learning a new design. Don’t rush through the steps. Focus on each fold and follow the instructions closely.
- Check visual aids: If you’re using a tutorial or diagrams, match your paper’s orientation to the instructions. It’s easy to fold the wrong way if you’re not aligned with the guide, which can complicate the later steps.
Work on a Flat, Clean Surface
- Keep the surface clutter-free: Having a smooth, flat surface to work on is important for creating precise folds. A cluttered workspace can distract you or cause your paper to shift, leading to uneven folds. Clear your area of unnecessary items before starting.
- Use tools if needed: If you’re struggling with small details, use tools like tweezers to help with delicate folds or a bone folder for sharp creases. These tools can make it easier to control the paper.
Don’t Worry About Mistakes
- Embrace the learning process: Mistakes are part of learning. Don’t get discouraged if your first few lilies don’t turn out perfectly. Practice makes perfect. Origami takes patience, and each attempt helps you improve your folding technique.
- Start over if needed: If you notice a mistake halfway through, unfolding and starting again is okay. Origami is forgiving, and part of the learning process involves retracing your steps to get a better result.
Watch Tutorials for Extra Guidance
- Use video tutorials: Sometimes, seeing the process in action can be more helpful than just reading instructions. There are plenty of origami lily video tutorials online that show each fold in real time. Watching an expert fold the lily can clarify any confusing steps.
- Follow along step by step: Pause the video after each fold to replicate the steps on your own paper. This will ensure you’re not missing any details and help you build confidence in your technique.
Practice Makes Perfect
- Don’t rush: Take your time with each project. As you practice more, the process will become faster and smoother. Don’t expect perfection on your first attempt.
- Start with easier origami designs: If you find the lily too challenging, try starting with simpler designs like a paper boat or crane. The lily will be easier to tackle once you get comfortable with basic origami techniques.
Starting your origami journey with a lily origami is both rewarding and challenging. With practice and attention to detail, you’ll soon be easily crafting beautiful paper flowers.
Conclusion
Creating an origami lily is a fulfilling and creative way to practice the art of paper folding. The process enhances focus, encourages mindfulness, and allows for personal expression through each fold. With patience and practice, you’ll master the steps and enjoy the beauty of your handmade lilies.
We have more fun projects for the family. Check out our article 8 fun craft projects for kids!


