
For crafters of all kinds, clay crafts provide a special fusion of tactile fun and artistic inspiration. Whether you’re a novice hoping to get your hands dirty or an experienced artist trying to hone your sculpting techniques, clay offers a flexible media to communicate your artistic vision.
Here we will discuss several clay projects ideal for family craft evenings, school events, or even professional research. From basic figures to complex decorative objects, we will walk you through easy-to-follow techniques to inspire your clay work.
Contents [show]
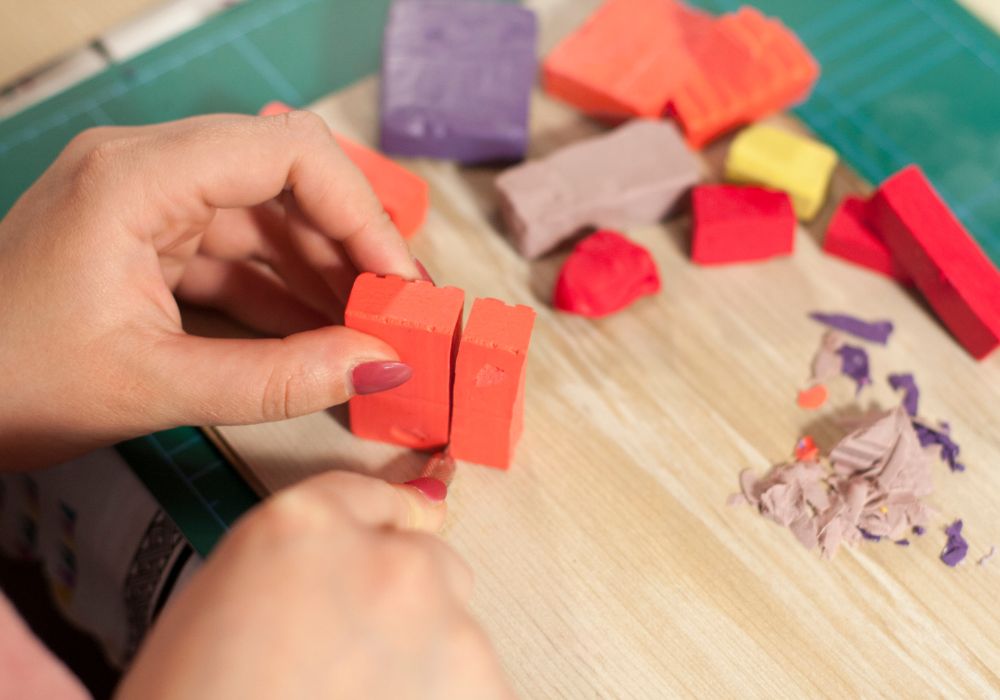
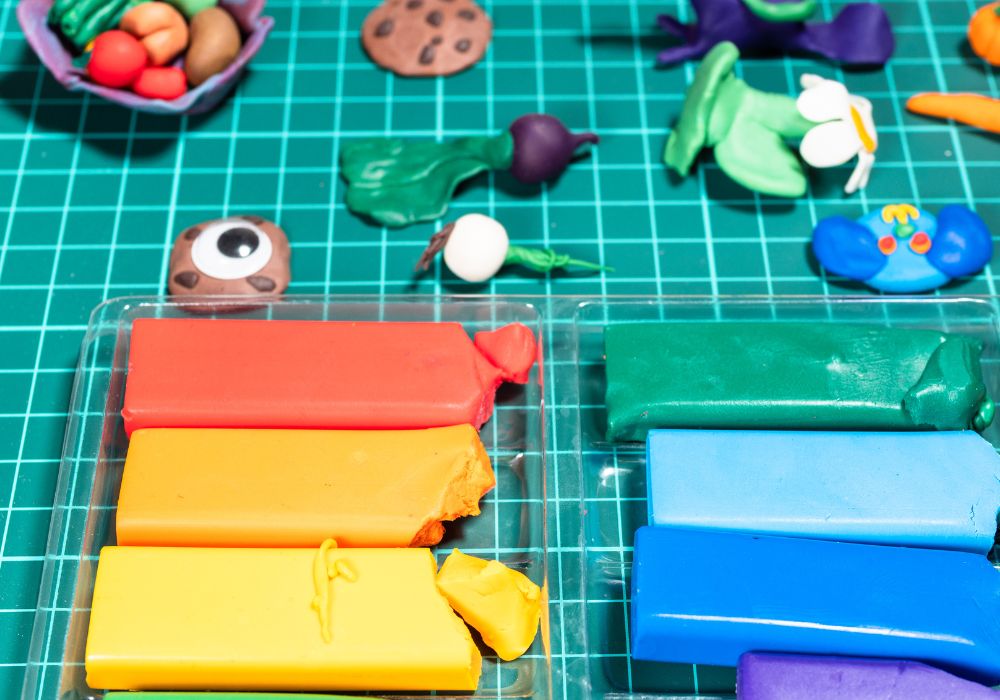
Basics of Clay Crafting
A fun hobby that spans age, clay making provides a tactile experience that boosts imagination and relaxation. Different kinds of clay offer different textures and finishing choices to suit different project needs and skill level.
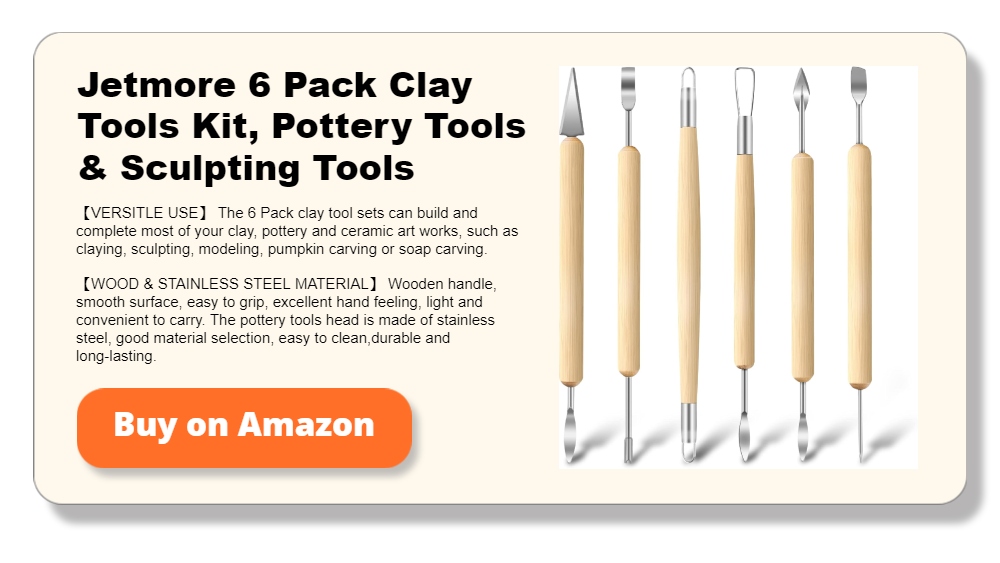
The basic tools for clay work are rather simple and might consist of cutters for shaping, rolling pins for flattening, and sculpting tools for adding details. This accessibility helps everyone to begin their path of clay crafting, so improving their capacity to produce unique, handcrafted objects.
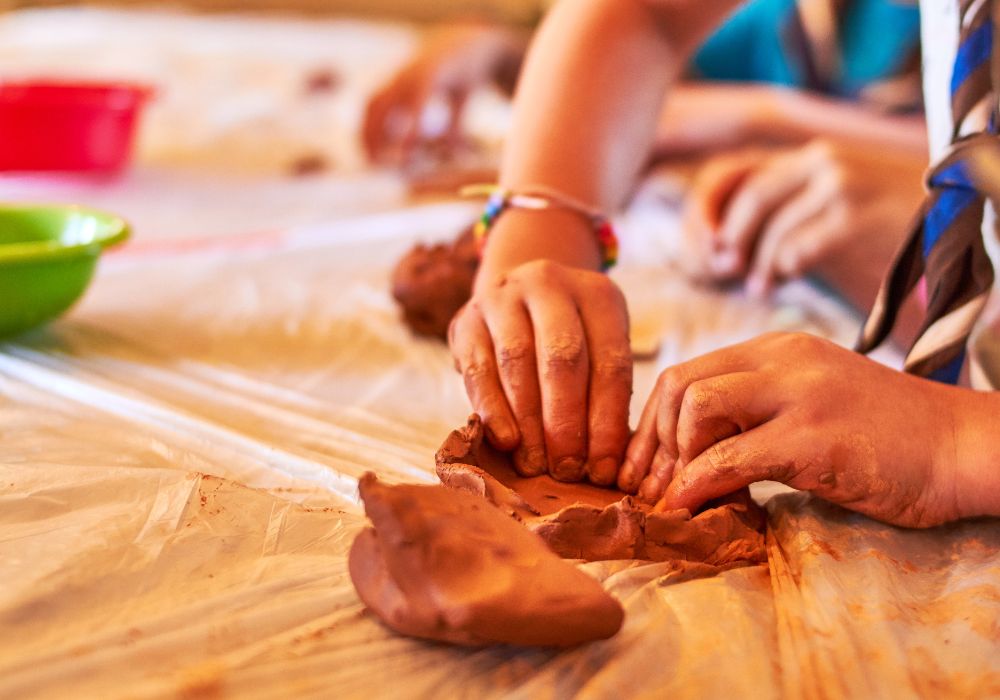
For adults as well as children, there are several advantages to working with clay. Through the calming, hands-on process of molding and shaping, clay crafting can help adults find therapeutic escape from the stresses of daily life, so promoting mindfulness and lowering anxiety.
Working with clay helps youngsters develop their motor skills and cognitive abilities, so promoting imaginative play and problem-solving. Because clay is tactile, kids can communicate nonverbally and gain confidence from the real results of their imagination. For crafters of all ages, clay crafts provide a rewarding and enriching experience, whether as a hobby or a developmental tool.
Simple Clay Projects for Beginners
Starting with clay crafts can be an exciting and rewarding experience. For beginners, it’s important to choose projects that are simple enough to complete without specialized skills but engaging enough to offer a sense of accomplishment. Here are a few easy projects that require minimal tools and materials but provide a great introduction to the world of clay crafting.
Clay Pinch Pots
Pinch pots are a foundational pottery project, perfect for honing hand-building skills. They are simple and require no tools beyond your hands.
- Step 1: Roll the clay into a smooth ball.
- Step 2: Press your thumb into the center to create a deep indentation.
- Step 3: Gently pinch the walls with your fingers to thin and shape the pot.
- Step 4: Smooth the surface and edges to finish.
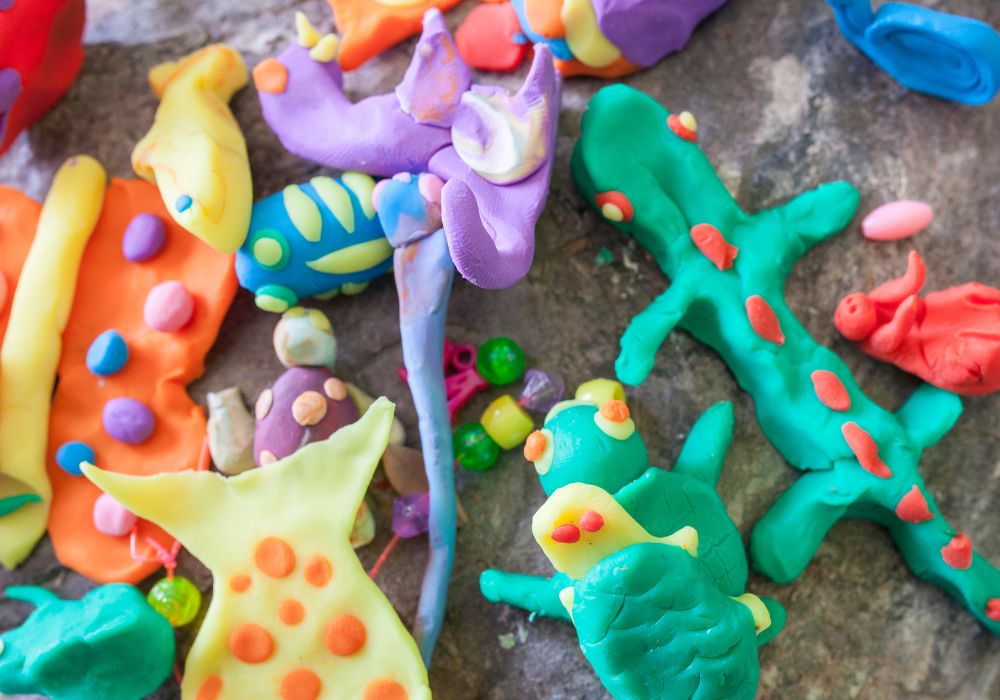
Basic Animal Figurines
Creating animal figurines from clay is an engaging way to practice molding and connecting different shapes.
- Step 1: Form basic shapes for the body parts (spheres, cylinders).
- Step 2: Assemble the shapes by scoring the surfaces and applying slip.
- Step 3: Add details like eyes, ears, and tails.
- Step 4: Smooth out connections and refine features.
Decorative Clay Tiles
Decorative tiles allow for creativity with patterns and textures, making them an excellent project for beginners to explore impressions and surface design.
- Step 1: Roll out a slab of clay to an even thickness.
- Step 2: Cut the slab into your desired tile shape using a knife or cookie cutters.
- Step 3: Press objects like leaves, lace, or stamps into the clay to create textured designs.
- Step 4: Allow the tile to dry completely before painting or sealing.
Clay Coasters
Clay coasters are a practical project that allows beginners to experiment with shapes and textures while creating something useful for the home.
- Step 1: Roll out clay to about 1/4 inch thickness.
- Step 2: Use a circular cutter or template to cut out coaster shapes.
- Step 3: Add textures or patterns using stamps, lace, or even natural objects like leaves.
- Step 4: Smooth the edges with a damp sponge or finger.
- Step 5: Allow to dry thoroughly and apply a sealant for durability.
Handmade Clay Beads
Making clay beads is a fun way to produce custom jewelry and can be as simple or complex as you like.
- Step 1: Roll small pieces of clay into balls or desired shapes.
- Step 2: Use a needle or toothpick to make a hole through each bead.
- Step 3: Decorate with textures or embed small objects before drying.
- Step 4: Allow the beads to dry completely.
- Step 5: Once dry, paint or varnish the beads for a finished look.
Personalized Name Tags
Personalized clay name tags add a unique touch to gifts or personal items, making them a great project for beginners looking to practice detailed work.
- Step 1: Roll out a small piece of clay to a thickness of about 1/8 inch.
- Step 2: Cut the clay into desired shapes, such as rectangles, hearts, or circles.
- Step 3: Stamp or carve names or initials into the clay.
- Step 4: Make a small hole at the top for threading if hanging.
- Step 5: Allow to dry and paint or seal as desired.
Clay Photo Frames
Creating custom photo frames from clay is a simple yet satisfying project that allows beginners to personalize their home decor or make thoughtful gifts.
- Step 1: Roll out a slab of clay to about 1/4 inch thickness.
- Step 2: Cut the clay into the shape of a frame using a knife or cookie cutters for interior and exterior edges.
- Step 3: Decorate the frame with stamps, carvings, or embed small objects.
- Step 4: Cut out a space for the photo and make a stand or wall hook on the back.
- Step 5: Allow the frame to dry thoroughly, then fire and paint or glaze if desired.
Clay Bookmarks
Clay crafts bookmarks are an excellent project for beginners looking to make small, practical items. These can be customized with impressions and colors to create unique markers for your reading adventures.
- Step 1: Roll out clay to a thickness of about 1/8 inch.
- Step 2: Cut the clay into a rectangular shape or any desired form for the bookmark.
- Step 3: Use stamps, textured fabrics, or writing tools to imprint designs onto the surface.
- Step 4: Pierce a hole at one end if you wish to add a tassel.
- Step 5: Allow the bookmark to dry completely before firing, then optionally paint or apply a clear glaze.
These clay crafts projects serve as a gentle introduction to working with clay, allowing beginners to create functional and decorative items while learning the basic techniques of this versatile crafting medium.
Intermediate Clay Crafts
As you progress in your clay crafting journey, intermediate projects offer a chance to refine your skills and tackle more complex designs. These projects are perfect for those who have mastered basic techniques and are ready to explore new challenges in clay crafts.
From jewelry making to decorative items, these intermediate clay crafts will expand your artistic expression and technical abilities.
Textured Rolling Pins
Creating your own textured rolling pins for clay crafts is a fantastic way to add unique patterns to your work.
- Step 1: Roll out a cylinder of clay to the length of a typical rolling pin.
- Step 2: Carve or press designs into the surface of the cylinder.
- Step 3: Fire the clay cylinder to harden it.
- Step 4: Use your textured rolling pin to imprint patterns on other clay projects.
Clay Jewelry: Earrings and Pendants
Crafting clay jewelry such as earrings and pendants allows for intricate design work, making it a popular choice among intermediate clay crafters.
- Step 1: Roll out thin sheets of clay.
- Step 2: Cut out shapes for earrings or pendants using cookie cutters or a knife.
- Step 3: Add texture with stamps, carving tools, or even natural elements.
- Step 4: Make holes for hanging and let dry completely.
- Step 5: After drying, fire the pieces and then paint or glaze as desired.
Smoothing and Finishing Techniques
Perfecting the art of smoothing and finishing is crucial for creating professional-looking clay crafts.
- Step 1: After shaping your clay, use rubber ribs or metal scrapers to smooth the surface.
- Step 2: Damp sponges can be used to even out imperfections.
- Step 3: For a glossy finish, apply a coat of glaze before the final firing.
- Step 4: Sand any rough edges after firing to achieve a smooth, refined finish.
Sculpting Detailed Figurines
Creating detailed figurines is a rewarding intermediate clay craft that involves precision and an eye for detail. This project enhances your sculpting skills and allows for expressive character creation.
- Step 1: Start with a wire armature for support if the figurine is large or complex.
- Step 2: Layer the clay over the armature, starting with the basic forms and gradually adding details.
- Step 3: Use sculpting tools to refine features such as faces, hands, and clothing textures.
- Step 4: Allow the clay to dry thoroughly before firing.
- Step 5: Paint the fired figurine to bring your creation to life.
Making a Clay Relief Panel
Crafting a clay relief panel is an excellent way to explore artistic expressions in two dimensions, perfect for intermediate clay crafts.
- Step 1: Roll out a large slab of clay to your desired thickness.
- Step 2: Sketch your design onto the slab using a pointed tool.
- Step 3: Carve out around the design to create a raised effect.
- Step 4: Smooth and refine the details and background texture.
- Step 5: Dry and fire the panel, then apply stains or glazes to enhance the relief.
Intermediate Decorative Techniques: Sgraffito and Marbling
Sgraffito and marbling are two artistic techniques that add intricate details and effects to clay crafts, ideal for intermediate crafters looking to experiment with surface decoration.
- Step 1: For sgraffito, apply a layer of underglaze or colored slip to leather-hard clay.
- Step 2: Use a sgraffito tool to scratch away parts of the top layer to reveal the clay color beneath.
- Step 3: For marbling, mix different colored clays until just combined.
- Step 4: Roll out and shape the marbled clay into your desired form.
- Step 5: Finish by smoothing and refining the surface, then dry and fire your piece.

These intermediate projects not only enhance your ability to work with clay but also push the boundaries of what you can create with clay crafts. Each project introduces new techniques and concepts, broadening your scope and depth in the world of clay crafts.
Advanced Clay Projects
For those who have honed their skills through simpler tasks, advanced clay projects present an opportunity to tackle sophisticated techniques and intricate designs. These projects challenge the clay crafter to push the boundaries of their creativity and technical expertise. Keep in mind that these projects involve the use of strong adhesives and a kiln. Children require adult supervision when working on these advanced clay crafts.
Ideal for artists looking to elevate their work, these advanced clay crafts require patience, precision, and a deep understanding of the medium’s properties.
Sculpting Detailed Figurines
Advanced clay crafts often involve creating detailed and realistic figurines, which require a thorough understanding of anatomy and sculpting techniques.
- Step 1: Build a detailed wire armature as a skeleton.
- Step 2: Apply clay over the armature, working from larger muscles down to finer details.
- Step 3: Use specialized sculpting tools to refine facial features, textures, and intricate details.
- Step 4: Carefully dry the sculpture to prevent cracking before firing.
- Step 5: Paint or apply glazes post-firing to enhance realism or artistic effects.
Making a Clay Relief Panel
Advanced clay relief panels involve multi-layered designs that create a vivid sense of depth and texture, making them complex clay crafts.
- Step 1: Roll out a thick slab of clay for the base.
- Step 2: Sketch an intricate design directly onto the slab or transfer a pre-drawn template.
- Step 3: Carve and model various layers and elements to create a 3D effect.
- Step 4: Dry slowly and evenly to prevent warping, then fire in a kiln.
- Step 5: Apply multiple glazes or stains to achieve depth and color nuances.
Complex Vessel Forms
Creating complex vessel forms in clay crafts is a test of a potter’s skill in throwing and assembly, ideal for advanced practitioners.
- Step 1: Throw multiple parts of the vessel on a pottery wheel, such as bodies, necks, and spouts.
- Step 2: Assemble the parts while the clay is leather-hard, using scoring and slip to attach them.
- Step 3: Use calipers to ensure symmetrical dimensions and clean lines.
- Step 4: Apply intricate surface decorations or carvings before the first firing.
- Step 5: Glaze meticulously to enhance the vessel’s design and function.
Porcelain Translucency Techniques
Mastering porcelain’s translucency is a challenging but rewarding aspect of advanced clay crafts. This project explores the unique properties of porcelain, which allows light to pass through when very thin.
- Step 1: Wedge fine porcelain clay to ensure it’s completely air-free.
- Step 2: Thinly roll out the porcelain to achieve translucency.
- Step 3: Carefully shape and smooth the porcelain into your desired form, avoiding any thickness inconsistencies.
- Step 4: Fire at a high temperature suitable for porcelain to enhance its translucent qualities.
- Step 5: Lightly glaze or leave unglazed to emphasize the natural beauty of the porcelain.
Ceramic Mosaic Art
Creating ceramic mosaic art is an intricate process that combines various techniques in clay crafts, offering a canvas for artistic expression and detailed work.
- Step 1: Design your mosaic pattern and sketch it onto a base.
- Step 2: Handcraft or cut small ceramic tiles in different colors and shapes.
- Step 3: Fire these tiles in a kiln, then arrange them according to your design.
- Step 4: Adhere the tiles to the base using a suitable tile adhesive.
- Step 5: Apply grout to fill the gaps, then clean the surface for a polished finish.
Architectural Ceramics
Architectural ceramics involve creating large-scale ceramic pieces for installation in buildings or outdoor settings, pushing the limits of traditional clay crafts.
- Step 1: Plan the design in collaboration with architects or designers to ensure it integrates with the structural elements.
- Step 2: Create models and prototypes to test forms and fittings.
- Step 3: Scale up production, using molds for uniformity if necessary.
- Step 4: Dry thoroughly to ensure structural integrity before firing.
- Step 5: Install the ceramic pieces securely in their intended location, considering environmental factors.
Kinetic Clay Sculptures
Kinetic clay sculptures incorporate movement, adding a dynamic element to clay crafts that challenges both the sculptor’s technical skills and creative vision.
- Step 1: Design the moving parts of the sculpture, ensuring balance and fluid motion.
- Step 2: Construct the internal mechanisms from durable materials like metal, which can support the clay.
- Step 3: Model the clay around these mechanisms, considering the weight and the force of movement.
- Step 4: Fire the clay components separately to avoid warping.
- Step 5: Assemble the fired pieces, ensuring all kinetic parts function smoothly.
These advanced clay projects not only refine your crafting techniques but also expand your artistic vision, pushing you to create complex and beautiful works that reflect a high level of craftsmanship in clay crafts. Each project offers a step-up in difficulty, perfect for those looking to explore the full potential of clay as an artistic medium.
Conclusion
Clay crafts offer an expansive arena for creativity and skill development, from simple pinch pots to intricate architectural ceramics. As crafters progress from beginner to advanced levels, they unlock new possibilities in design and expression, enhancing both their technical abilities and artistic insights. Whether molding miniature figurines or constructing large-scale installations, each project in clay crafts is a step towards mastering this versatile and ancient art form.
When you are still looking for amazing projects to tackle, check out our post on the various trending crafts!


