Last Updated on November 7, 2024 by Team Ideas24
Weaving has a rich history, serving as a craft technique that requires patience, precision, and creativity. This blog post provides a guide on five weaving techniques to create unique coasters, suitable for beginners and experienced weavers. Techniques covered include plain weave, twill weave, herringbone, and overshot.
By the end of this blog post, you’ll have the knowledge and skills to create one-of-a-kind coasters that everyone will love. So, are you ready to learn the five types of weaving techniques to get started?
Contents [show]
Weaving Techniques to Try on Your DIY Coasters
Different weaving techniques can be applied to various DIY projects, such as creating coasters. There are five types of weaving techniques that can be used to add unique textures and patterns to your homemade coasters.
These include plain weave, twill weave, basket weave, rya knotting, and tapestry weave. Each technique involves different patterns of interlacing threads, resulting in a distinct look and feel.
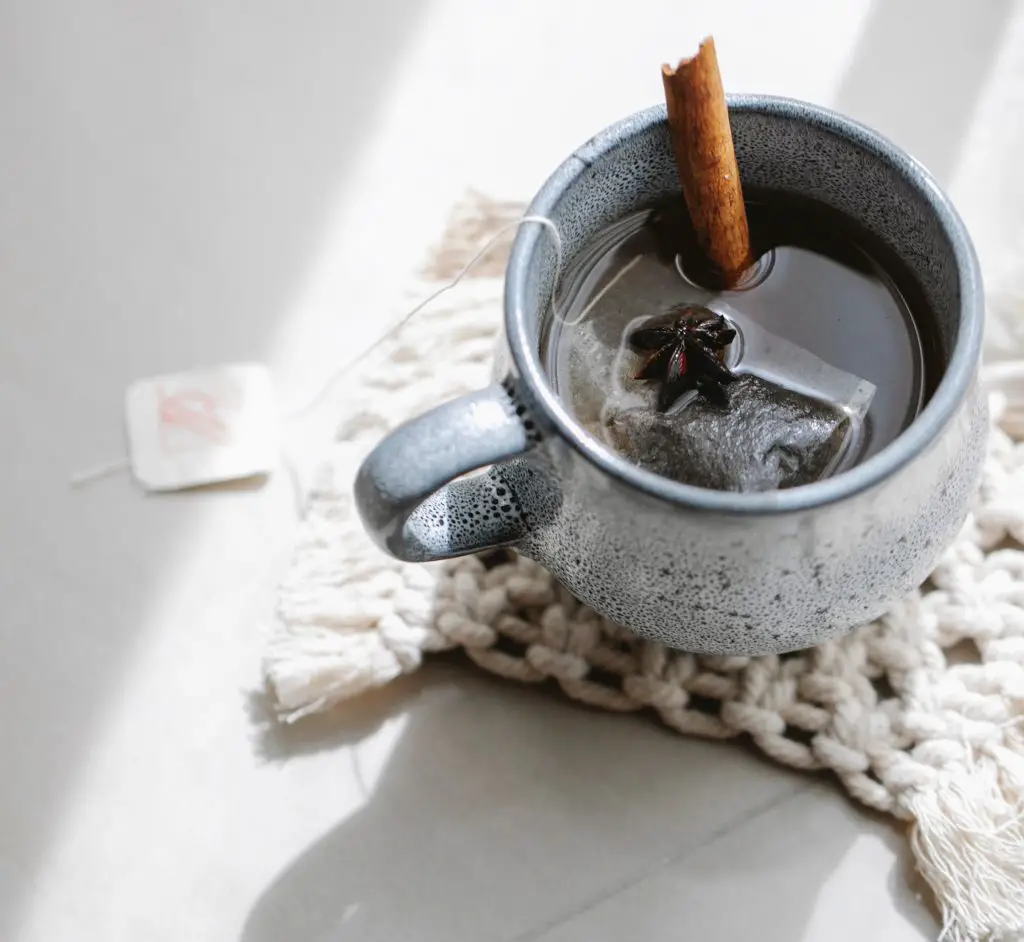
By experimenting with these different types of weaving techniques, you can craft coasters that are not only functional but also visually appealing.
Plain Weave
If you’re like me and have never tried weaving before, starting with the basics is the best way to go. This weaving techniques can seem intimidating at first, but with a few simple techniques, you’ll be creating beautiful, homemade coasters in no time. Among the many techniques, one of the simplest and most beginner-friendly is the plain weave.
As the name suggests, the plain weave uses a straightforward pattern of threading over and under, making it easy to pick up without any prior experience.
To get started, you’ll work with two main components: the warp threads, which run vertically and stay stationary, and the weft thread, which you weave horizontally through the warp threads. All you need to do is alternate the weft thread over one warp thread, then under the next, repeating this pattern across each row.
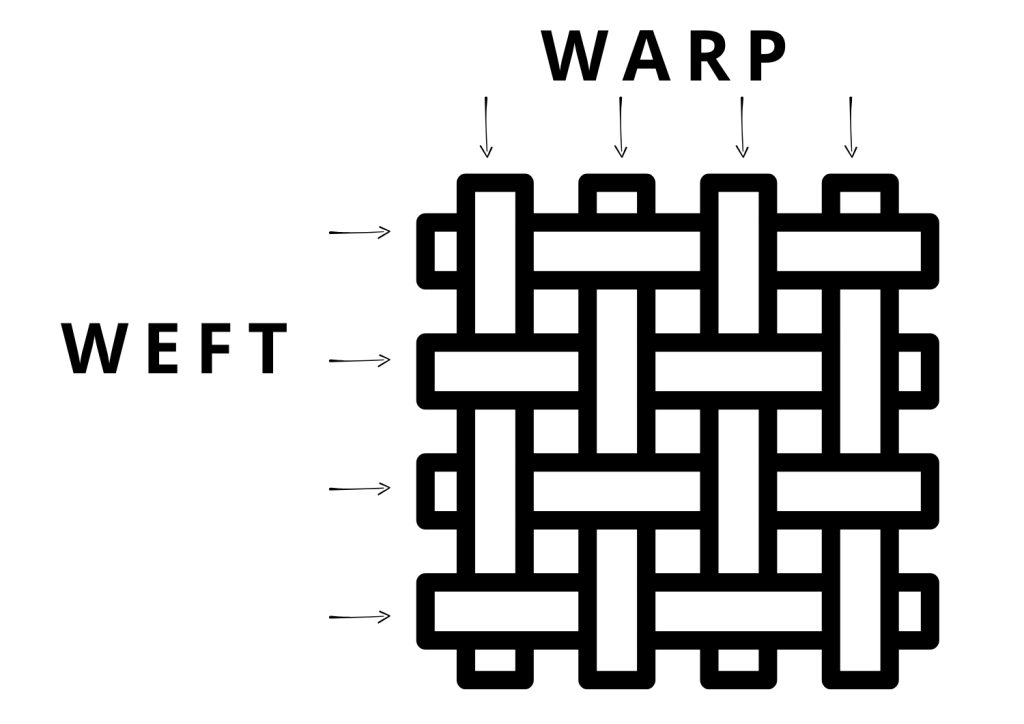
One of the reasons the plain weave is perfect for beginners is its simplicity and stability. It creates a tight, sturdy fabric that holds together well, even if your technique isn’t perfect at first. This style is incredibly versatile, allowing you to make durable coasters with ease. And once you master the plain weave, you’ll find that it opens doors to more complex patterns down the line.

Twill Weave: A Classic Pattern for Beautiful, Durable Coasters
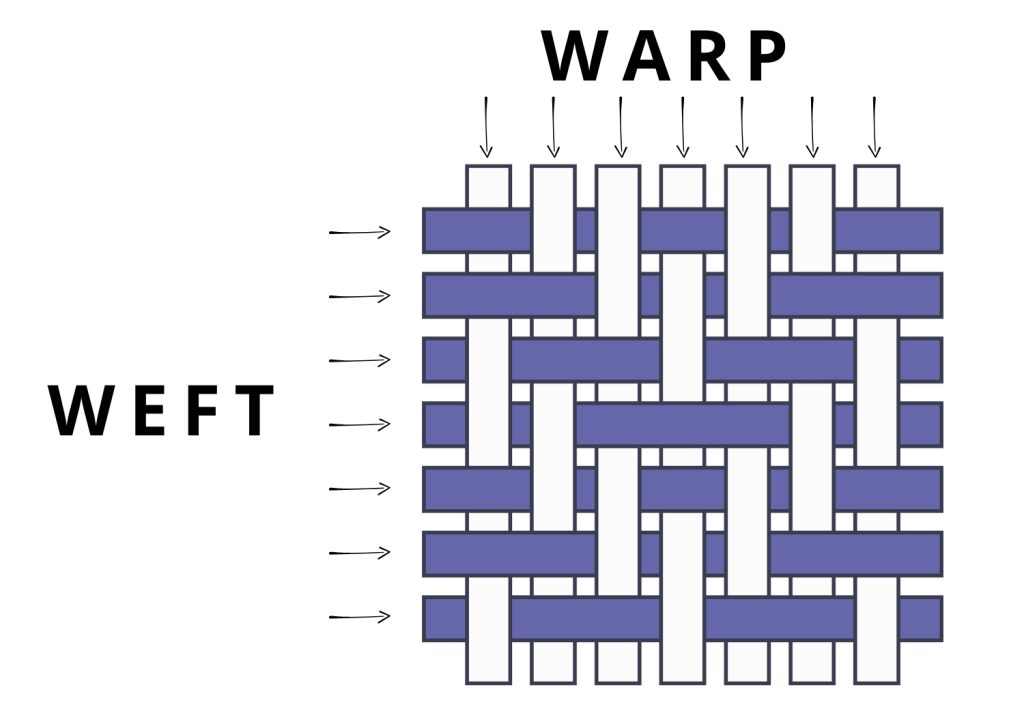
The twill weave is a unique weaving technique that requires careful attention to the sequence of over and under threads, creating a beautiful diagonal effect in the fabric.
It’s a step beyond simple weaving patterns, adding both strength and visual interest to your piece. This diagonal design is characteristic of twill and is instantly recognizable in the finished fabric.
How to Start a Twill Weave
In a twill weave, you’ll work with two main components: the warp threads, which run vertically on your loom, and the weft threads, which you’ll weave horizontally across the warp. Here’s a breakdown of the process:
- Setting Up the Twill Pattern
- For a basic twill, you’ll use what’s known as a 2/2 pattern. This means weaving your weft thread over two warp threads and then under the next two.
- As you continue this sequence across the row, you’re forming the foundation of the twill weave. Be consistent with the pattern to keep the design clear and strong.
- Maintaining Tension
- One essential part of twill weaving technique is keeping the warp threads under even tension. This helps the pattern stay tight and uniform and prevents gaps in the fabric.
- Adjust the loom as needed to keep the threads firm but not overly stretched.
- Creating the Diagonal Pattern
- After weaving a few rows in the 2/2 pattern, you’ll start to see a diagonal line emerging. This is the defining feature of twill weave and gives the fabric its unique texture.
- To enhance the look, you can experiment with a 1/2 pattern, weaving over one thread and under two to vary the angle of the diagonal line. This variation gives a bolder appearance to the weave and allows for further customization.
- Adding Texture and Strength
- The twill weave’s unique structure makes it exceptionally strong, making it perfect for items like coasters that need to withstand regular use.
- As you continue weaving, you’ll notice the fabric feels denser and sturdier than other weaving techniques, which adds to its practical appeal.
Why Choose Twill Weave for Coasters?
The twill weave technique is celebrated among weaving enthusiasts not only for its stunning, textured appearance but also for the challenge it offers. It’s a perfect choice if you’re looking to create handmade items that combine beauty with functionality.
By mastering the basics of twill, you’ll be able to produce coasters with a rich design and long-lasting quality, making them excellent for daily use or as thoughtful handmade gifts.
Basket Weave: A Stylish Touch for DIY Coasters
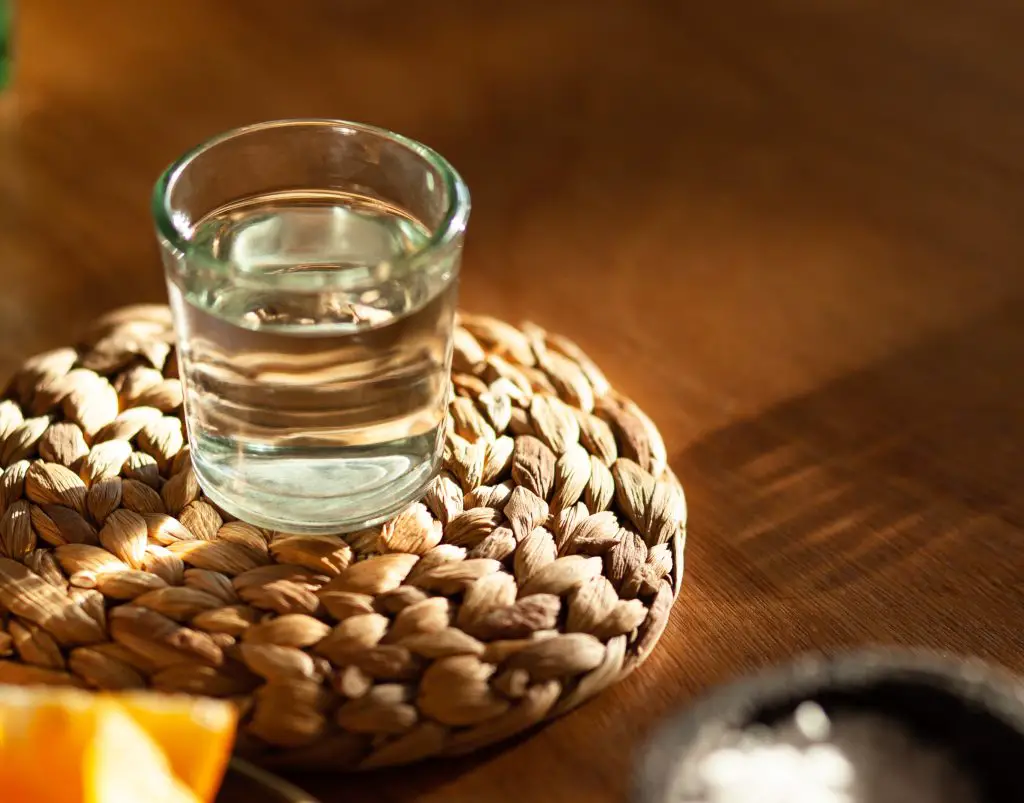
Basket weave is often seen in larger projects like rugs, but it adapts beautifully to smaller items, such as coasters.
Getting Started with Basket Weaving
To begin your basket weave, start by securing your warp threads—these are the base threads that run vertically. The weft threads are the ones you’ll weave horizontally over and under the warp threads.
Begin by moving your weft thread over the first pair of warp threads, then under the next pair, and so on. As you reach the end of the row, switch directions. On the return row, weave under the first pair of warp threads, then over the next, and continue this pattern.
Tips for a Smooth Weave
Maintaining even tension is key to a smooth, professional-looking finish. A beater tool can help press the weft threads tightly together, giving the weave a tidy, compact appearance. Don’t be afraid to adjust as you go along to ensure that the pattern stays even and uniform.
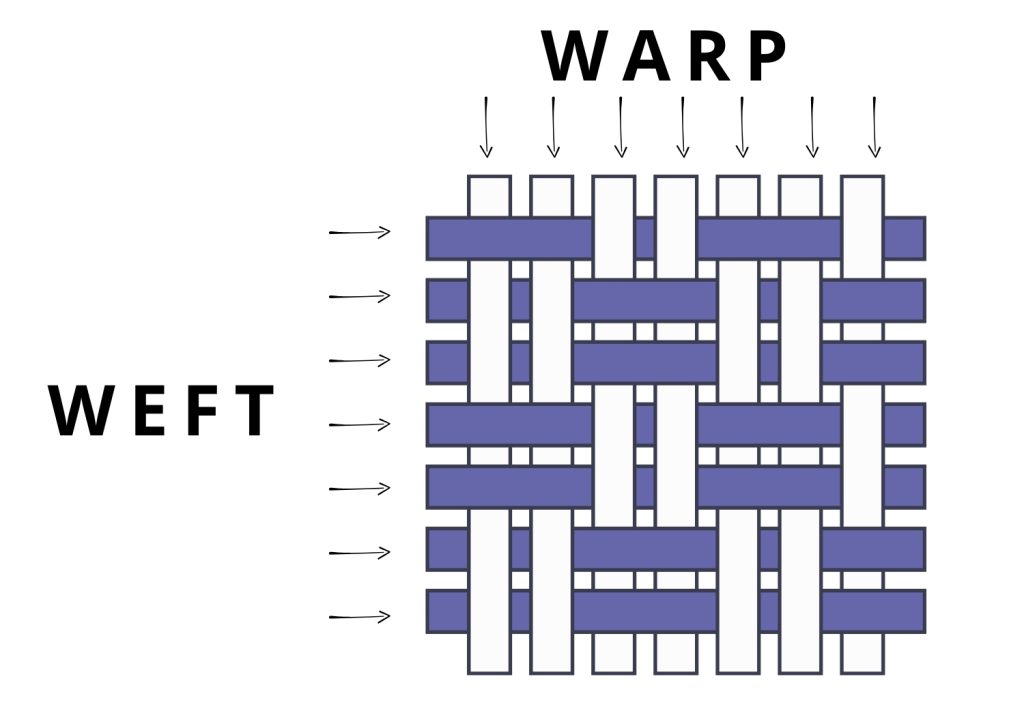
For added dimension, try using different colors or textures of threads in the basket weave pattern. Alternating colors between rows can make the checkerboard effect pop, adding a beautiful, intricate touch to your coaster design.
Why Basket Weave?
The basket weave is one of the fundamental weaving techniques, known for its simplicity yet striking visual appeal. This method brings a sophisticated touch to your DIY coasters, creating conversation-worthy pieces that showcase your crafting skills.
Your finished coasters will add charm to your decor and impress your guests with their unique, handmade quality.

Rya Knotting: Adding Texture to Your Weaving
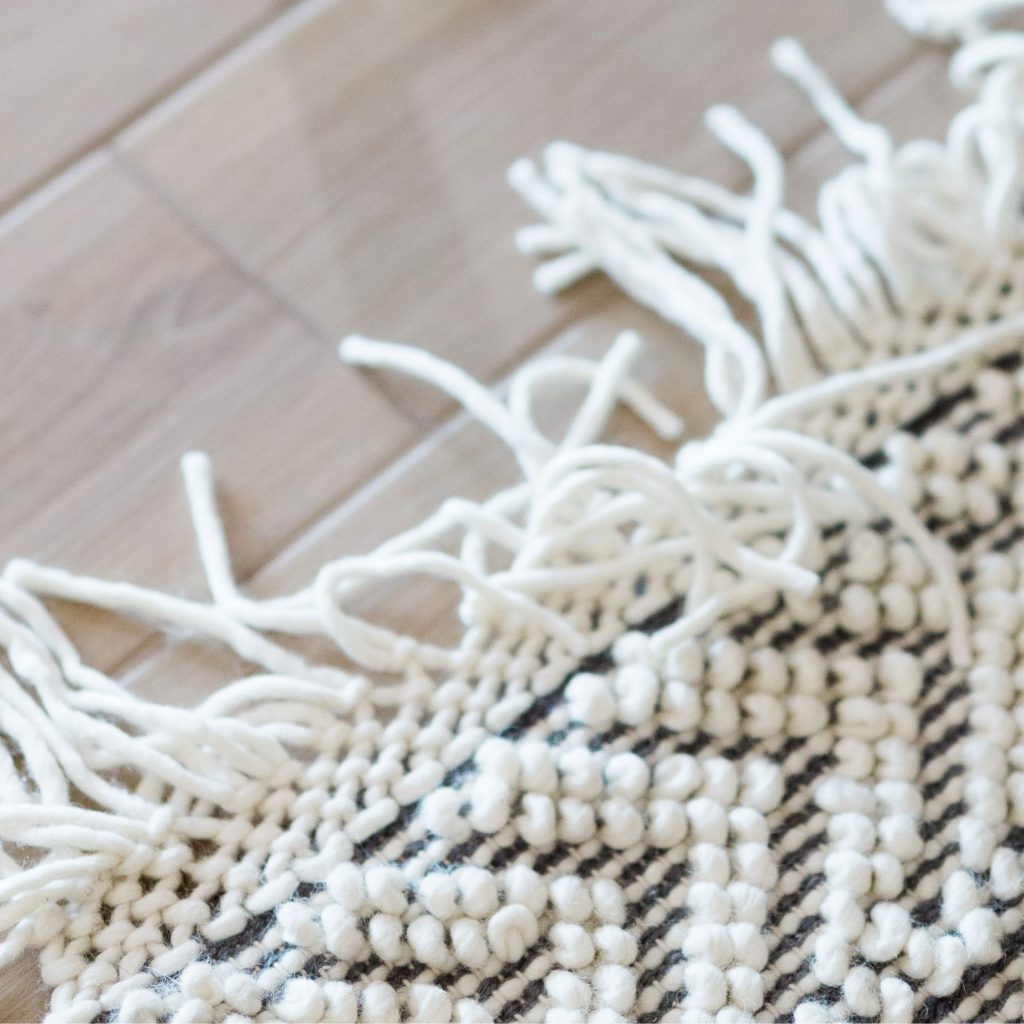
The Rya knotting technique is an exciting way to add texture and personality to woven projects. By knotting short pieces of yarn onto a woven base, you can create a soft, shaggy effect, ideal for adding warmth and dimension to your design.
This versatile technique is great for making wall hangings, rugs, coasters, and other decorative items with eye-catching texture and unique patterns.
Getting Started with Rya Knots
- Prepare Your Yarn: Begin by cutting your yarn into equal lengths. The length of each piece will determine the finished “shag” height, so you may want to experiment with different lengths to see what works best for your project. Shorter pieces will result in a dense, plush look, while longer pieces add more dramatic flair.
- Making the Knot:
- Position your yarn so it’s centered, with both ends hanging evenly.
- Select two adjacent warp threads on your woven base. These will be the threads you knot the yarn around. Slide the center of the yarn piece behind these two warp threads.
- Create a loop by folding the yarn over the two threads. Now, bring the ends of the yarn through the loop, pulling down to tighten the knot. Ensure the knot is snug and positioned close to the base.
- Spacing and Pattern Building:
- Continue tying Rya knots across your fabric, spacing them evenly for a consistent look. You can experiment by spacing knots closer together for a dense effect or further apart for a lighter texture.
- For more complex designs, try knotting in rows or even experimenting with different colors. You could alternate colors with each knot or create blocks of color by clustering similar hues. For extra creativity, try varying the density of knots within different sections to form distinct patterns.
- Trimming the Yarn:
- Once all your knots are in place, use a sharp pair of scissors to trim the yarn to your desired shag length. Trimming can be done evenly for a uniform look, or you can create a tapered or layered effect by cutting some knots shorter than others. This step lets you shape your project to suit your personal style, whether that’s neat and tidy or playful and wild.
- Finishing Touches:
- Consider pairing Rya knotting with other decorative techniques to make your piece unique. For coasters, for example, you could add hand-stitched accents or even incorporate small beads within the knots for a bit of sparkle.
- If you’re creating a set, try experimenting with a different color or design for each piece, using your favorite colors and materials to create a collection that’s uniquely yours.
Inspiration Beyond Coasters
Rya knotting is not only great for coasters; it’s a technique that can elevate any woven decor. Try making a small wall hanging, kitty stitched coasters, a pillow cover, or even a cozy rug by layering knots of various sizes.
For even more options, you could combine Rya knotting with other techniques like kitty stitching or concrete casting to create customized home decor pieces. Whatever your vision, this technique offers endless possibilities for adding texture and personality to your space.
Tapestry Weaving
Tapestry weaving is a weaving technique where colorful threads or yarns are intricately woven together to create designs, pictures, or even complex scenes. This approach differs from traditional weaving methods that focus on repeating patterns or textures.
Instead, tapestry weaving offers a blank canvas where each element is carefully crafted, allowing for extraordinary detail and artistic expression. With tapestry weaving, every choice—whether it’s the color of the thread, the direction of the weave, or the size of each section—can contribute to the overall look and feel of the design.
Each piece becomes a unique work of art, blending colors, shapes, and textures to produce anything from bold abstract patterns to delicate landscapes or portraits. The process involves two key threads: the warp, which forms the sturdy vertical foundation, and the weft, which is woven horizontally through the warp to build the design.
The weft thread is manipulated to create different effects, such as soft color gradients, distinct shapes, or raised textures. With this freedom, the weaver can bring depth and complexity to their work, exploring different weaving techniques to make each piece feel alive with character and style.
Tapestry weaving may be a step up in complexity compared to other forms, but the versatility it offers makes it deeply rewarding. Whether creating a minimalistic pattern or a vivid image, the possibilities with tapestry weaving are virtually limitless, allowing anyone to transform threads into a captivating tapestry.
Weaving Tools You’ll Need
When it comes to DIY coasters, these different types of weaving techniques can be a fun and creative way to add texture and interest to the items. Here are some tools to you can use:
- Loom
- Purpose: The loom is the heart of weaving. It holds your project in place, keeping the warp threads (vertical threads) organized and under tension.
- This frame allows you to build the structure of your piece, from small coasters to large wall hangings.
- Types: For beginners, a frame loom is simple and affordable, while more advanced weavers may use rigid heddle or floor looms for larger projects and more complex designs.
- Warp Threads
- Purpose: Warp threads form the foundation of your woven fabric. They run vertically on the loom and provide the structure for your entire piece, holding each row of weft yarn in place.
- Selection Tip: Choose strong, durable threads, such as cotton or linen, to withstand tension without stretching or breaking.
- Weft Yarn
- Purpose: The weft yarn is woven horizontally across the warp threads to create the main body of your design. It adds color, texture, and pattern, bringing your weaving to life.
- Variety: You can use different types and colors of yarn for the weft to create various textures and effects, such as wool for a soft, plush feel or cotton for a smooth finish.
- Shuttle
- Purpose: A shuttle holds the weft yarn and helps pass it through the warp threads, making the weaving process easier and faster. It keeps the yarn organized, so you don’t have to constantly unravel it by hand.
- Types: Beginners often use a stick shuttle for smaller projects, while larger looms may require a boat shuttle for smoother and quicker weaving.
- Batten or Beater
- Purpose: The beater is used to push down each row of weft yarn, packing it snugly against the previous rows. This helps create a tight, even weave and ensures that your fabric is sturdy and consistent.
- Variety: Some looms come with a built-in beater, but hand-held beaters, combs, or forks can also be used to achieve similar results, especially on frame looms.
Use Tip: This tool is helpful in creating sheds and manipulating your warp threads in more advanced weaving techniques.
5 Tips and Tricks for Beautiful Coasters
If you’re a beginner when it comes to weaving, don’t worry! There are plenty of tips and tricks that can help you improve your weaving skills and create beautiful coasters.
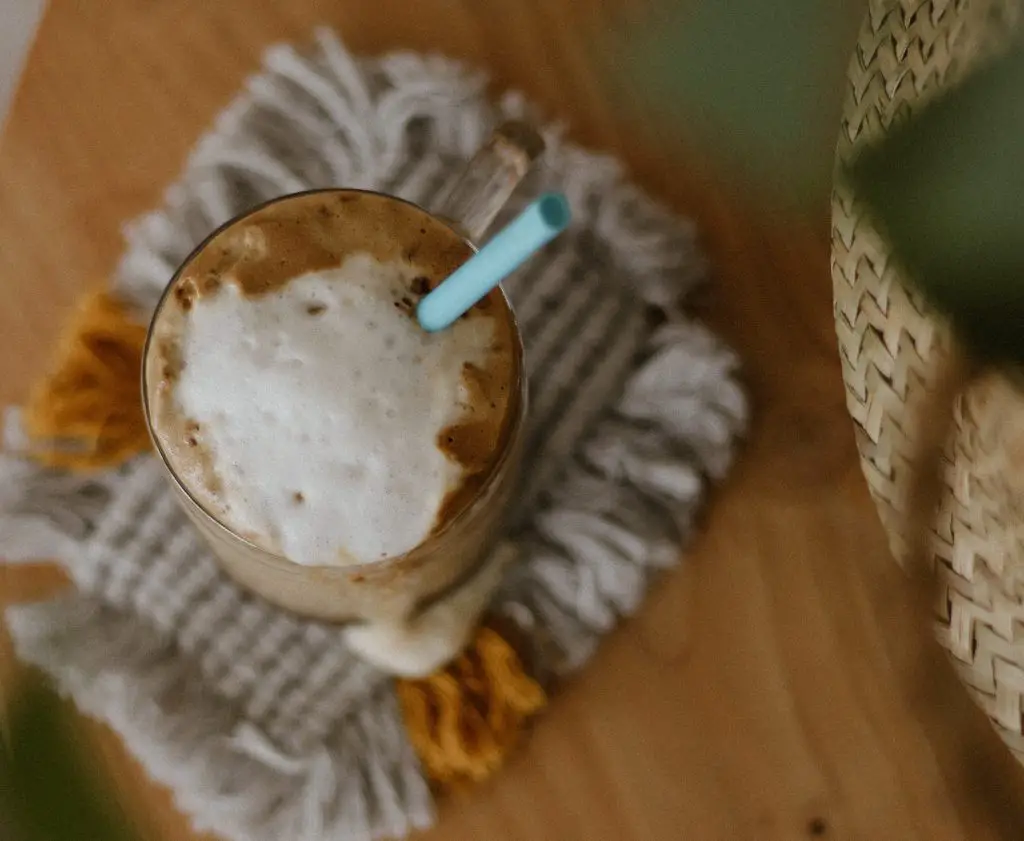
- Keep your weaving tight. It’s important to maintain consistent tension as you weave. If your weaving is loose, your coaster will be floppy and will not hold its shape.
- Use the right materials. Choose strong, high-quality yarn or thread for your coaster weaving. This will ensure that your coaster is durable and usable.
- Practice basic stitches. Familiarize yourself with the basic weaving stitches, such as the over-under stitch and the plain weave. Once you’re comfortable with these stitches, you can start to experiment with more complex techniques.
- Experiment with colour and texture: Weaving is a great way to play with colour and texture. Try using different types of yarn, or mixing and matching colours to create a unique look.
- Pay attention to details. Small details can make a big difference in the finished product. Take the time to make sure your edges are neat and tidy, and consider adding embellishments like tassels or fringe.
Summary
Various weaving techniques provide countless options for making unique DIY coasters. Traditional or modern approaches offer impressive results. Understanding these five techniques will kickstart your coaster-making journey. Simple to intricate techniques can be tailored to your skill level, resulting in aesthetically pleasing and functional coasters.
The knowledge and inspiration provided will give you a strong foundation on which to build your skills and develop your unique style.
Whether you are a beginner or an experienced weaver, these types of weaving techniques provide you with the best possible options! Start creating your own coasters today!


