Last Updated on August 15, 2024 by Team Ideas24
These quilled paper bowls are perfect accents to any room in the house.
We’ve featured a lot of arts and crafts posts over the years. This quilled paper bowl, by far, is one of my top favorites. It’s fun and colorful, sure to add a splash of color to any room – and it’s really functional, too! Don’t you just love useful pieces that double as décor?

I have several quilled paper bowls in different rooms at home. In the living room, it’s where we put our car keys in. I also have another in the kitchen where it holds some sweets. These bowls are perfect accents as they can brighten up any space.
These amazing quilled paper bowl designs are sure to inspire you to create your own unique masterpiece! The vibrant colors and intricate patterns are simply stunning, and the possibilities are endless when it comes to what you can create with this versatile medium.
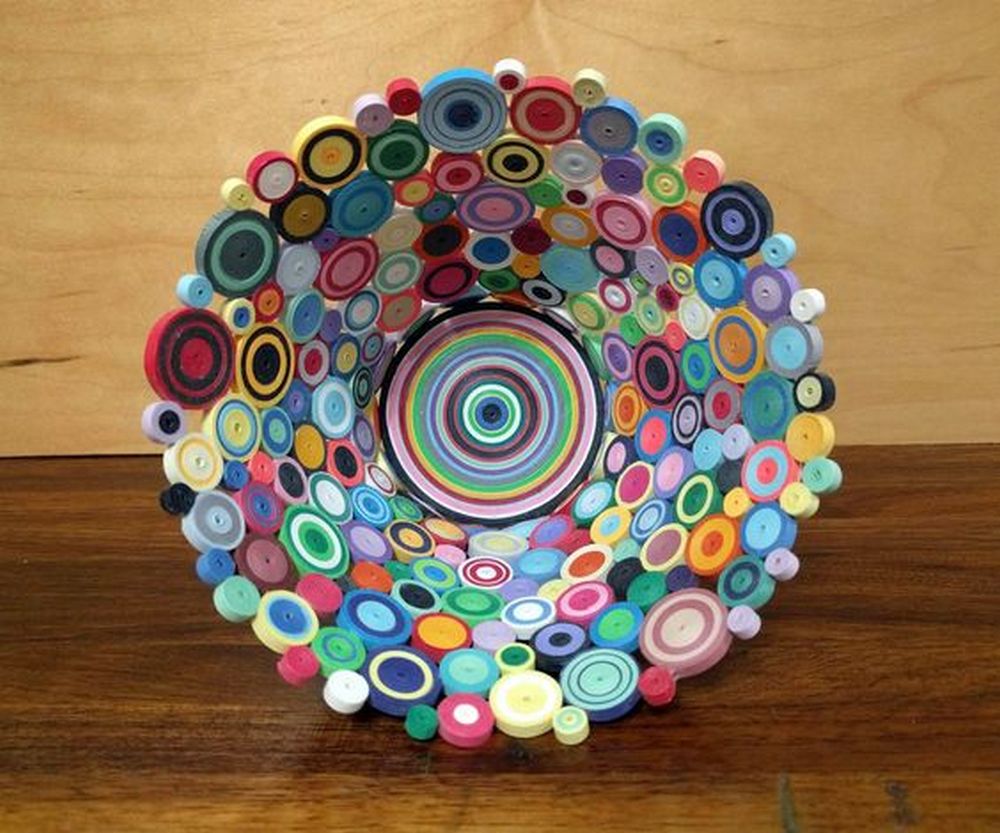
Whether you’re a quilling novice or a seasoned pro, these designs are sure to get your creative juices flowing. So what are you waiting for? Get quilling today!
Contents [show]
Making a Paper Bowl
Making quilled circles is actually therapeutic. I find it calming and relaxing. It would also be a great bonding activity for you and the kids. Start today and soon you’ll have enough quilled paper bowls to give away as gifts for family and friends. Here’s what you’ll need:
Materials
- A4 paper
- Glue/hot glue
- Clear finish
Tools
- Quilling tools
- Scissors
- Glue gun
- Ruler
- Pen
- Bowl
Instructions
Making a quilled paper bowl is a fun and easy project that anyone can do! All you need is some paper, a bit of glue, and a little bit of patience, and you’ll be able to create a beautiful and unique quilled paper bowl in no time! Just follow the steps below:
1. Prepare your quills
Start by rolling a strip of paper into a pen. You can make cute and unique quilled paper by following these simple instructions. First, take a strip of paper, add a small amount of glue and roll it into a pen. Make sure it is tight so that it holds its shape. You can use any type of paper you like – construction paper, wrapping paper, or even old magazine pages would work.
Repeat the step to make more quilled papers, you’ll need a lot of this to make a colourful paper bowl.
2. Attach all the circular quills together
Once you have a set of quilled papers, start shaping it into a bowl shape. To make a bowl shape, you can use any bowl as a pattern. You can do this by gently pressing down on the coil with your fingers. Once you have the basic shape of a bowl, start adding more coils around the outside.
Once you’re happy with the shape of your bowl, glue the quilled papers in place.
3. Remove the bowl
Now you can remove the bowl and start decorating your quilled paper bowl.
You could paint it, add glitter or sequins, or add a ribbon. Let your imagination run wild! These quilled paper bowls make great gifts, party favours, or decorations for your home.
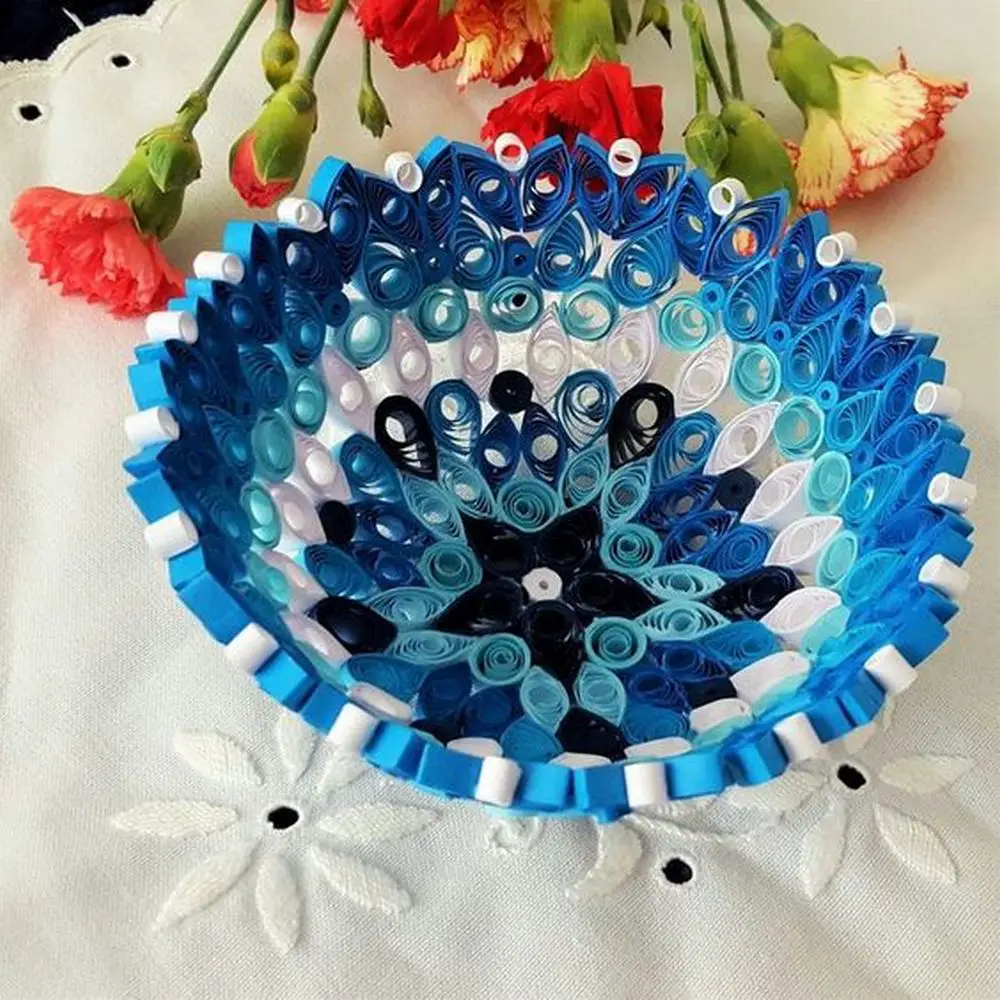
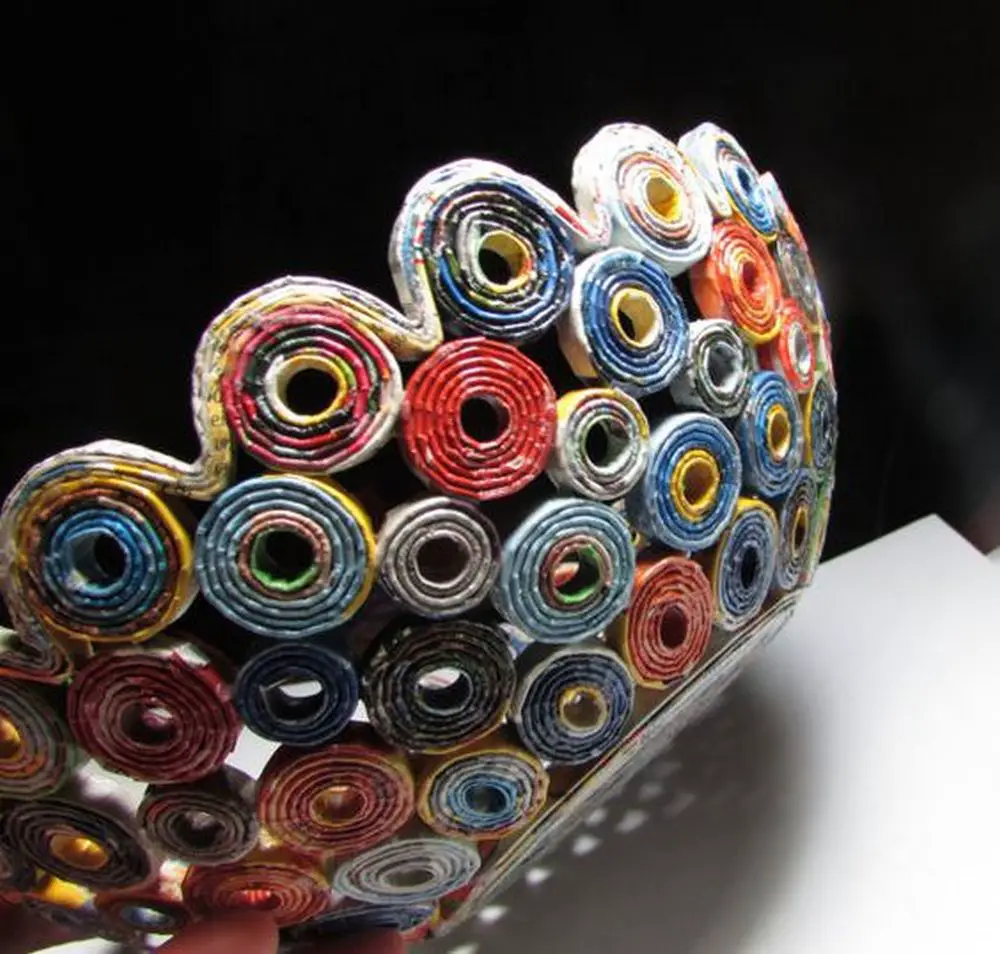
Amazing colorful quilled paper bowl designs
Click on any image to start the lightbox display. Use your Esc key to close the lightbox.


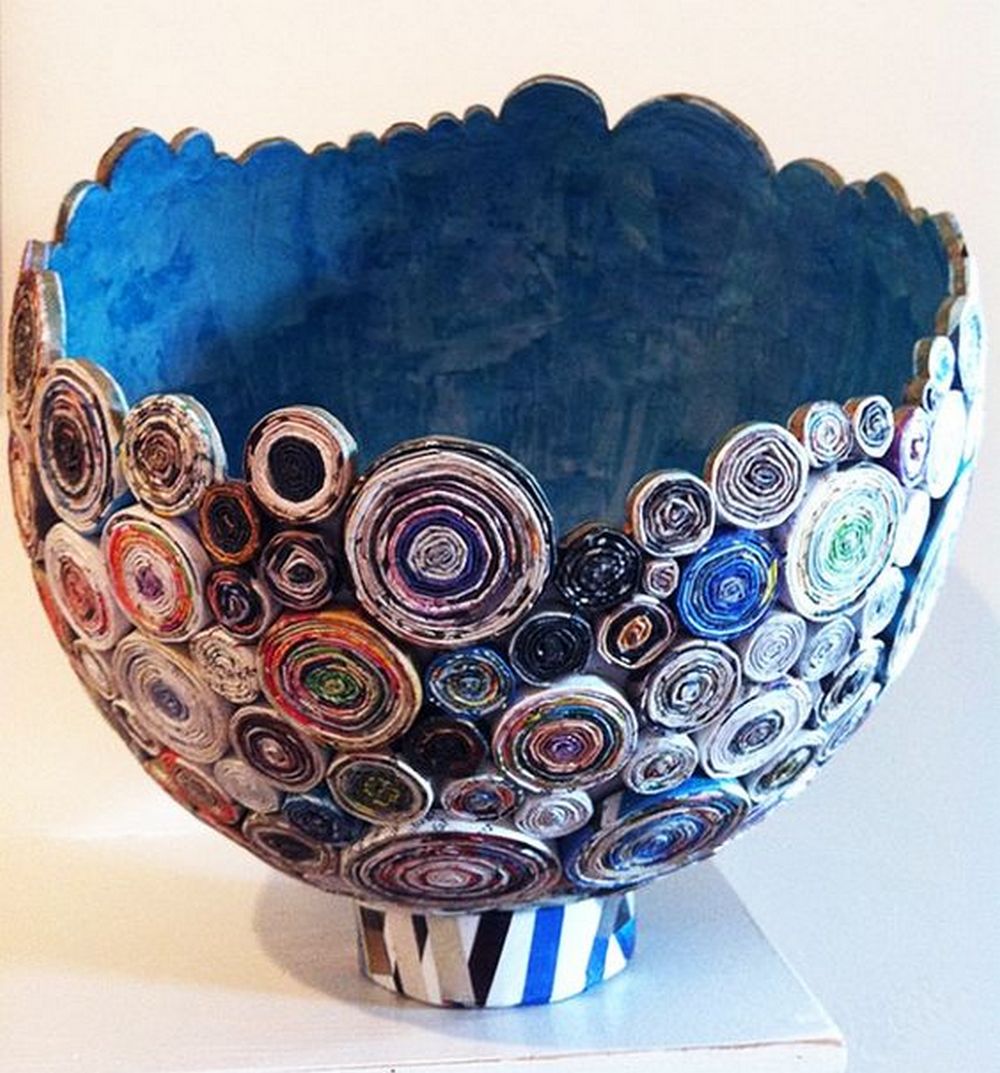
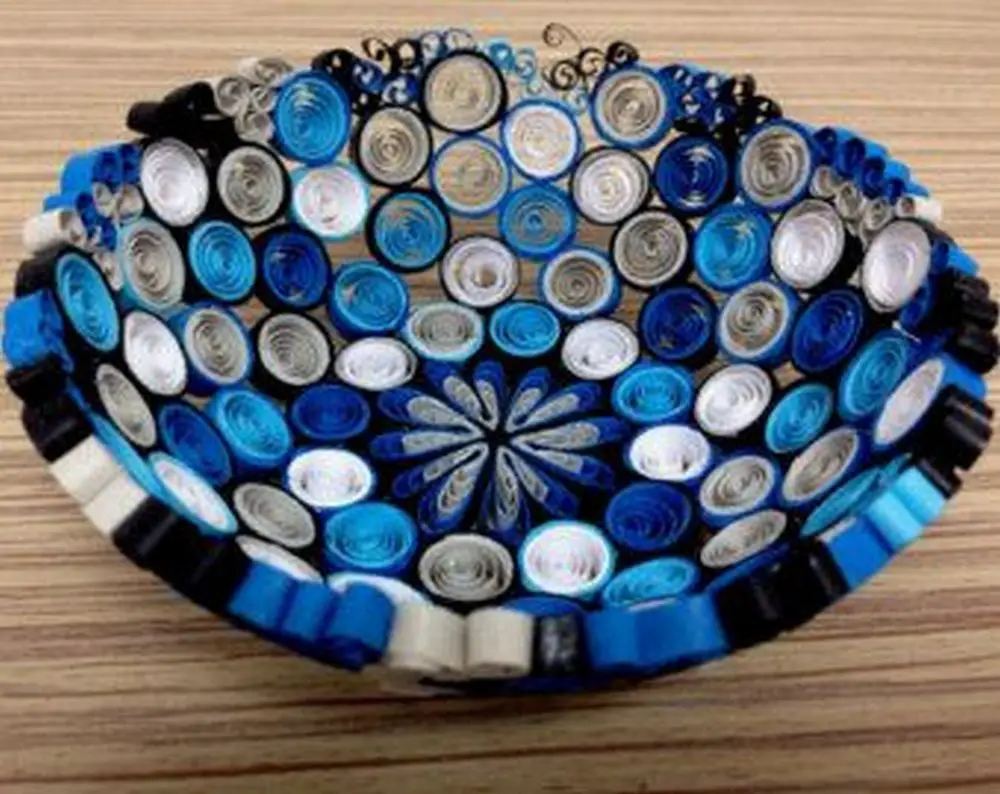

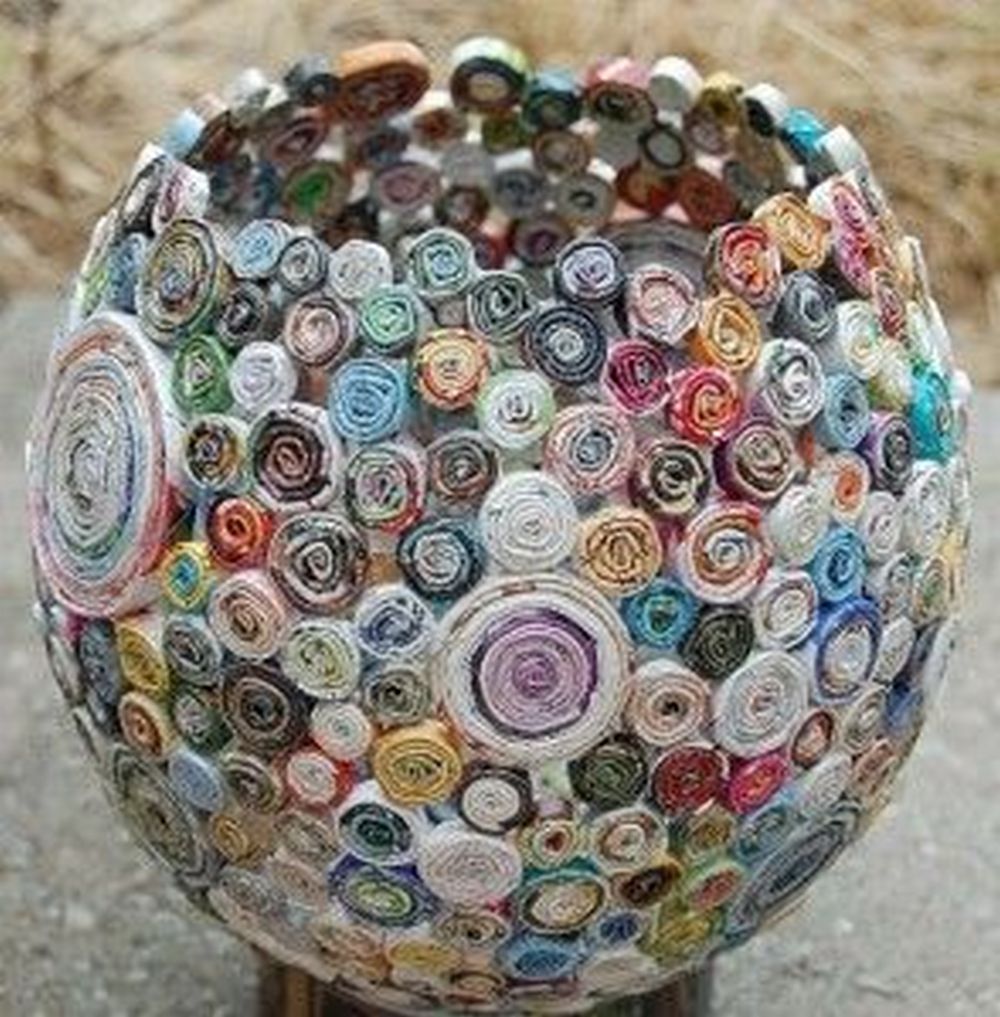
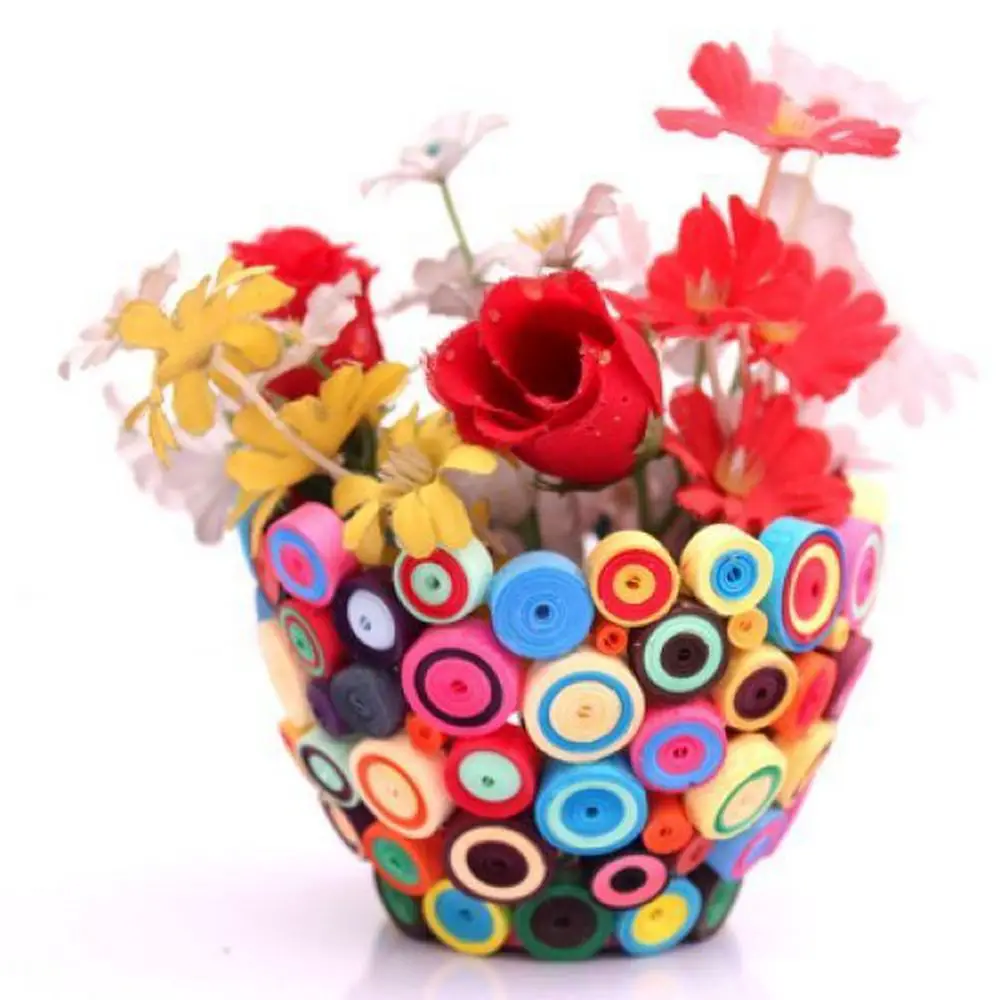
And here’s a full video tutorial from Craft with paper:
Decorative Ideas and Customization Tips for Quilled Paper Bowls
Quilled paper bowls are not just functional; they’re a canvas for your creativity. Whether you’re looking to add a personal touch to your home decor or create meaningful gifts for loved ones, customizing these bowls can be as enjoyable as it is rewarding. Here, we explore a variety of decorative ideas and provide tips to help you personalize your quilled creations with flair and style.
Play with Color Schemes
Color is a powerful tool in crafting. It can evoke emotions, set moods, and create impact. When designing your quilled paper bowl, consider the color scheme carefully. Use a color wheel to find complementary, analogous, or triadic color schemes for harmony and balance. For a vibrant look, opt for bold and contrasting colors. If you prefer a more subdued aesthetic, pastel shades can create a soft, soothing effect.
Integrate Patterns and Textures
Patterns add depth and intrigue to your quilled bowls. Experiment with different quilling shapes like teardrops, marquise, or squares to create unique patterns. You can arrange these shapes in symmetrical designs around the bowl or create a random mosaic for a more abstract look. Textures can be varied with techniques such as crimping or curling the strips before quilling, offering a tactile element to your artwork.
Add Sparkle and Shine
For those who love a bit of sparkle, embellishing your quilled bowls with glitter, metallic foil, or sequins can make your piece stand out. Apply a thin layer of glue on areas where you want to add glitter or carefully place sequins in the center of quilled flowers or along the edges. Using metallic quilling strips can also add a subtle shimmer without the mess.
Incorporate Mixed Media
Combining quilling with other craft forms can result in stunning pieces. Consider adding elements like small beads, embroidered patches, or fabric cut-outs into your design. These materials can be glued onto the quilled strips or interspersed throughout the bowl to enhance visual interest and complexity.
Personal Touches
Personalizing your quilled bowl can make it more special, especially if it’s intended as a gift. Include initials, special dates, or a short message within the design. This can be done by shaping letters with quilling paper or adding a small handwritten note on a paper strip before it’s rolled up.
Seasonal Themes
Tailor your quilled bowls to the time of year. Bright flowers and pastels for spring, warm tones and leaves for autumn, or icy blues and whites for winter themes are just a few ideas. For special holidays, like Christmas or Easter, incorporate relevant motifs such as snowflakes or eggs.
Use as Functional Art
While quilled bowls are beautiful, they can also be functional. Coat the interior with a clear sealant to make them more durable for use as key trays, jewelry holders, or even as a decorative holder for wrapped candies. Always ensure the finish is non-toxic if the bowl will be used to hold food items indirectly.
Finishing Touches
A good finish not only enhances the bowl’s aesthetics but also protects it. Use a clear acrylic spray or a decoupage sealant to give your quilled bowl a glossy or matte finish, safeguarding your artwork from dust and moisture. This is particularly important if the bowl will be handled frequently or placed in high-traffic areas.
By incorporating these decorative ideas and customization tips, you can transform simple quilled paper bowls into exquisite works of art that reflect your personal style and creativity.
Mastering Advanced Quilling Techniques for Intricate Designs
Quilling allows for a vast array of creative expressions, especially when you dive into more advanced techniques. These intricate methods can elevate your quilled paper bowls from simple crafts to intricate artworks, adding depth, texture, and sophistication. Whether you’re looking to challenge your skills or create something truly unique, mastering these advanced techniques will open up new possibilities in your quilling projects.
Crimping and Corrugating
Crimping involves using a crimping tool to add a serrated texture to your quilling strips before coiling them. This texture adds an interesting visual and tactile dimension to your work. For a different approach, corrugating is similar but uses a corrugator tool to create a wave-like pattern across the paper strip, giving your designs a dynamic and fluid look. Both techniques are perfect for adding movement and richness to your bowls.
Combing
Combing is a technique where you weave paper strips through the teeth of a comb to create various patterns such as leaves, petals, or abstract designs. This method requires patience and precision but results in beautifully detailed and consistent patterns. You can vary the spacing and size of the teeth on the comb to create different effects and intricacy in your quilling art.
Husking
Husking involves wrapping paper strips around a series of pins or nails set in a pattern on a corkboard. This technique allows you to create various geometric shapes with open centers, which are difficult to achieve with traditional coiling. Husking is great for framing other quilled shapes or filling large areas of your bowl with lacy, intricate designs.
3D Quilling
Taking quilling into the third dimension, 3D quilling involves creating figures or mini sculptures that rise above the base level of your project. This technique can be used to add standout elements like flowers, birds, or even abstract forms to your bowls. By shaping and assembling multiple tightly coiled shapes, you can build up layers that add depth and interest to your design.
Quilling with Different Widths
Using paper strips of varying widths can dramatically change the look of your quilled pieces. Thinner strips are excellent for fine, detailed work, while wider strips can be used to make a bold statement. Experimenting with different widths within the same project can provide a textural contrast and highlight certain elements over others.
Incorporating Beads and Fine Threads
For truly intricate designs, incorporate tiny beads or fine threads into your quilling. These can be threaded through the coils or glued on top to add sparkle or delicate detailing. This method is particularly effective in adding a touch of elegance to your paper bowls, making them look more luxurious and complex.
Layering and Shaping Techniques
Advanced quilling often involves meticulous layering and shaping. Techniques such as the alternate side looping, where you loop the paper around to alternate sides, can create complex, interwoven patterns. Practice manipulating the paper to curl in different directions and layer over itself to build up a more dynamic piece.
By mastering these advanced quilling techniques, you can transform your paper bowls into sophisticated pieces of art. These methods not only enhance the visual appeal of your projects but also provide a fulfilling challenge to those passionate about taking their quilling skills to the next level.
If you liked this project, you might also like to view How To Make A Bowl From Melted Beads…


