Last Updated on August 29, 2023 by Team Ideas24
Our house decors are mostly composed of my husband’s paintings, my children’s projects, and my cross-stitched works. It’s always a joy to see them hanging on the wall, knowing that those are our own works and not just the typical ones bought from a mall.
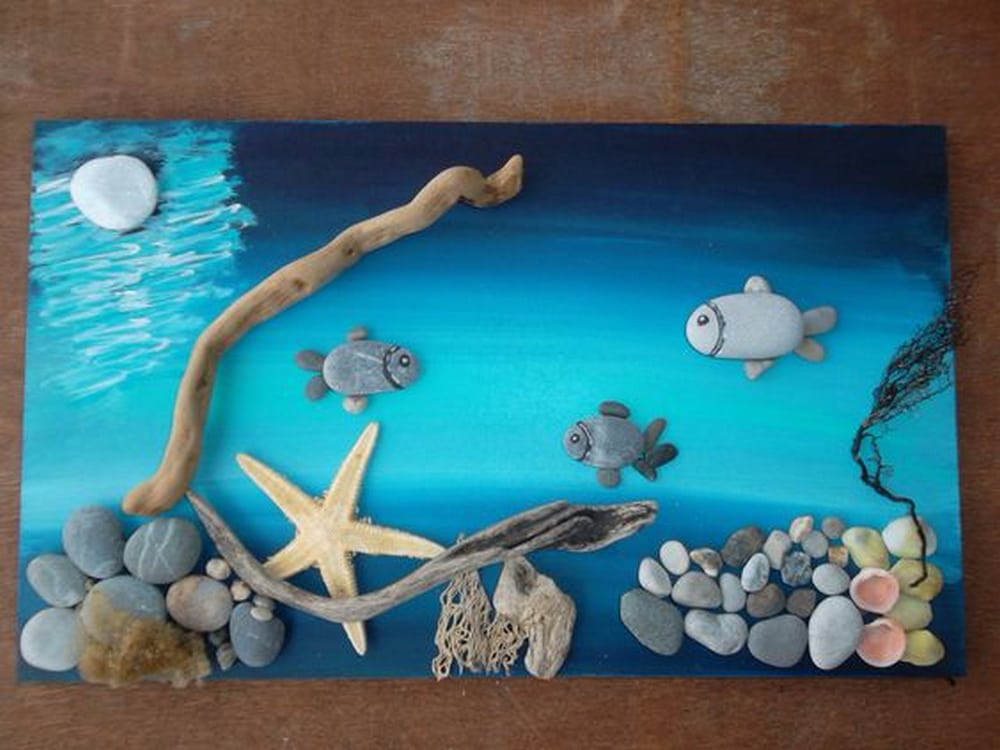
Last summer, while we were out on the beach, my kids spent more time on the shore than in the waters. They were too busy collecting seashells. When we arrived home, I asked them what they were going to do with it and they didn’t say anything. A few days later, they presented me with their seashell collages, already hung in their rooms!

You can have your kids make theirs, too. It’s a fun worthwhile activity for them.
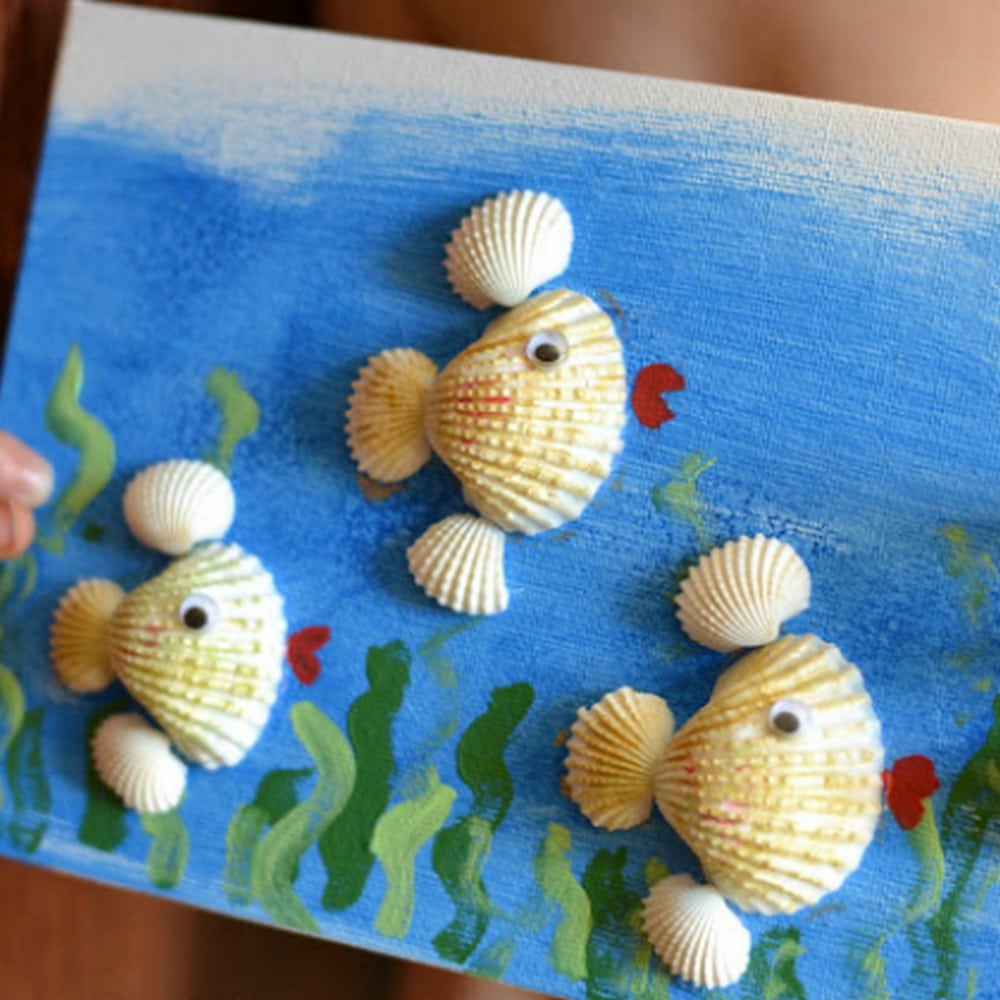
If you’re looking for some fun and creative ideas for your next seashell collage project, look no further than these adorable designs from some very talented kiddos! These inspiring works of art are sure to get your creativity flowing, and who knows, maybe you’ll even end up with a masterpiece of your own. So grab your glue and shells, and let’s get crafting!
Contents [show]
Cute kid’s seashell collage design ideas
Click on any image to start the lightbox display. Use your Esc key to close the lightbox.
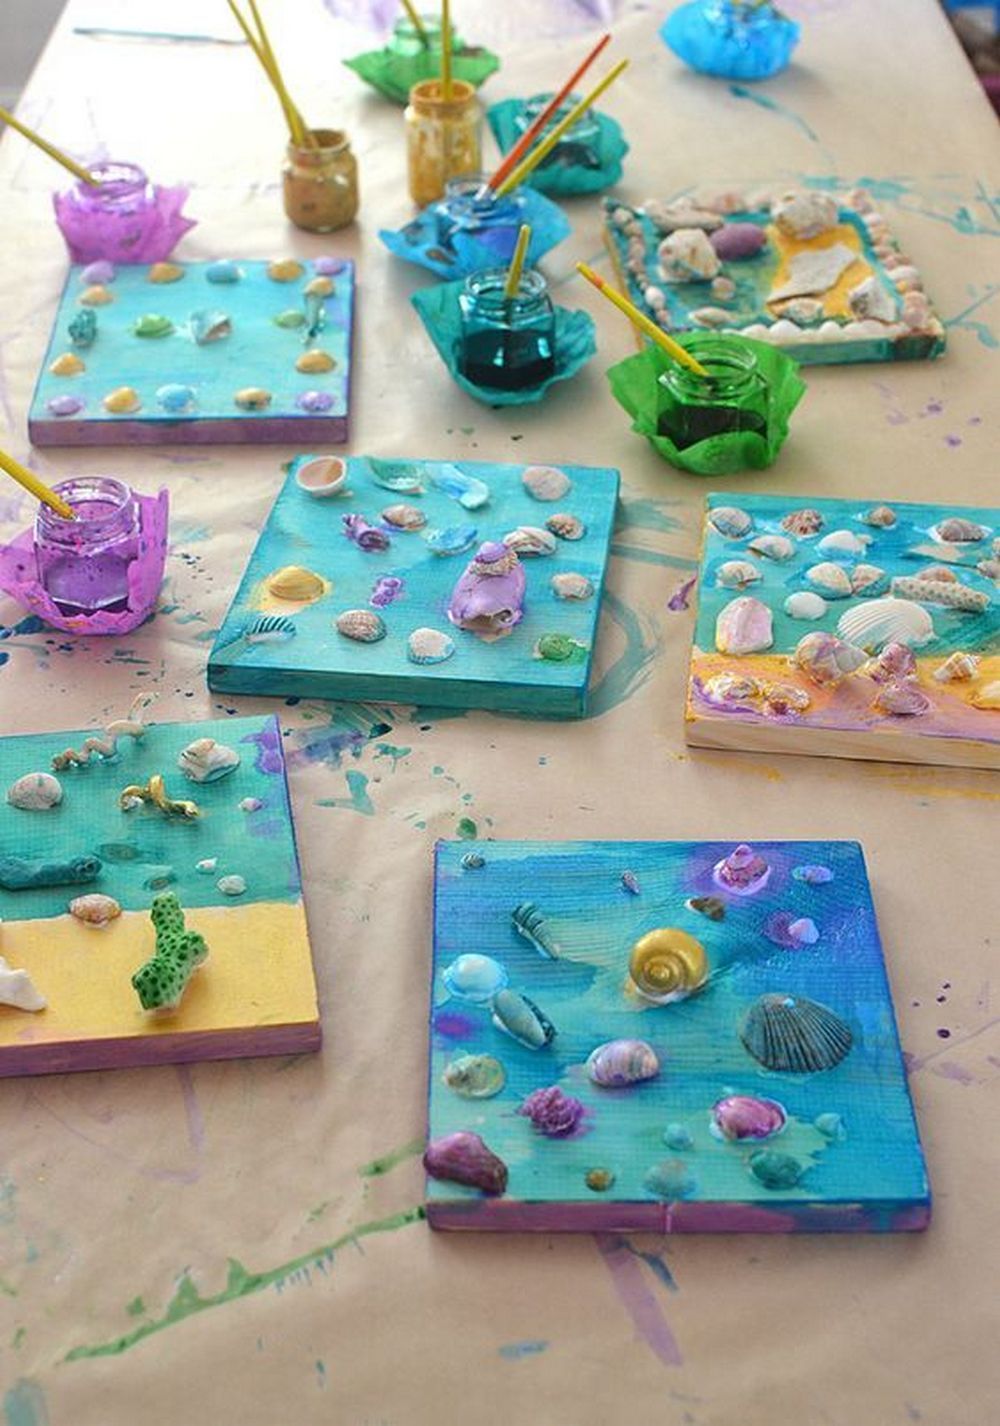
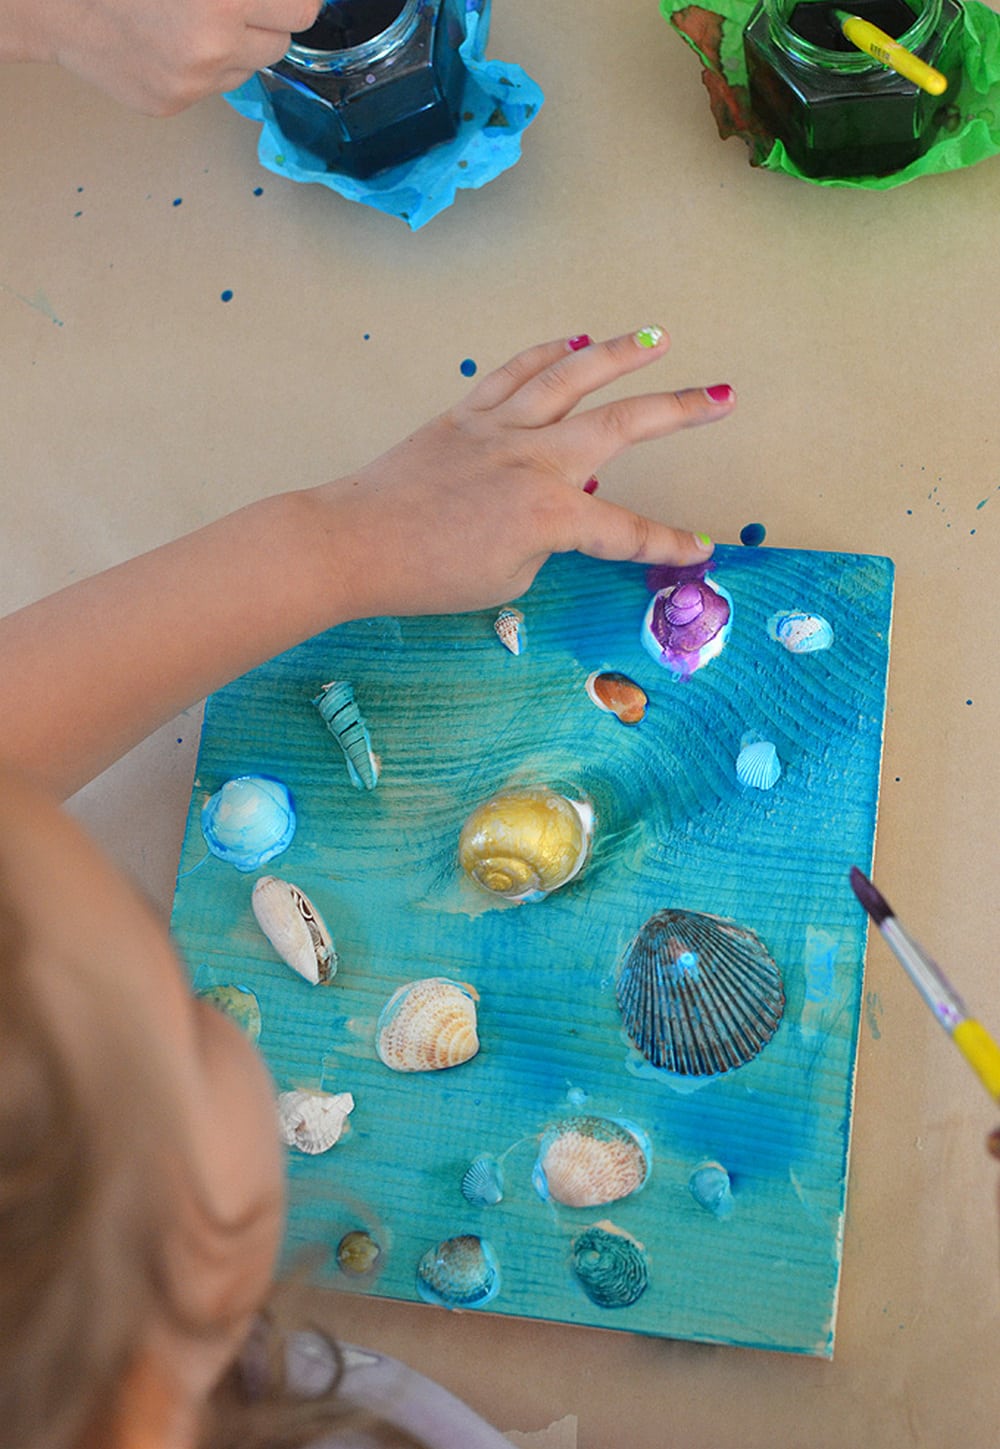
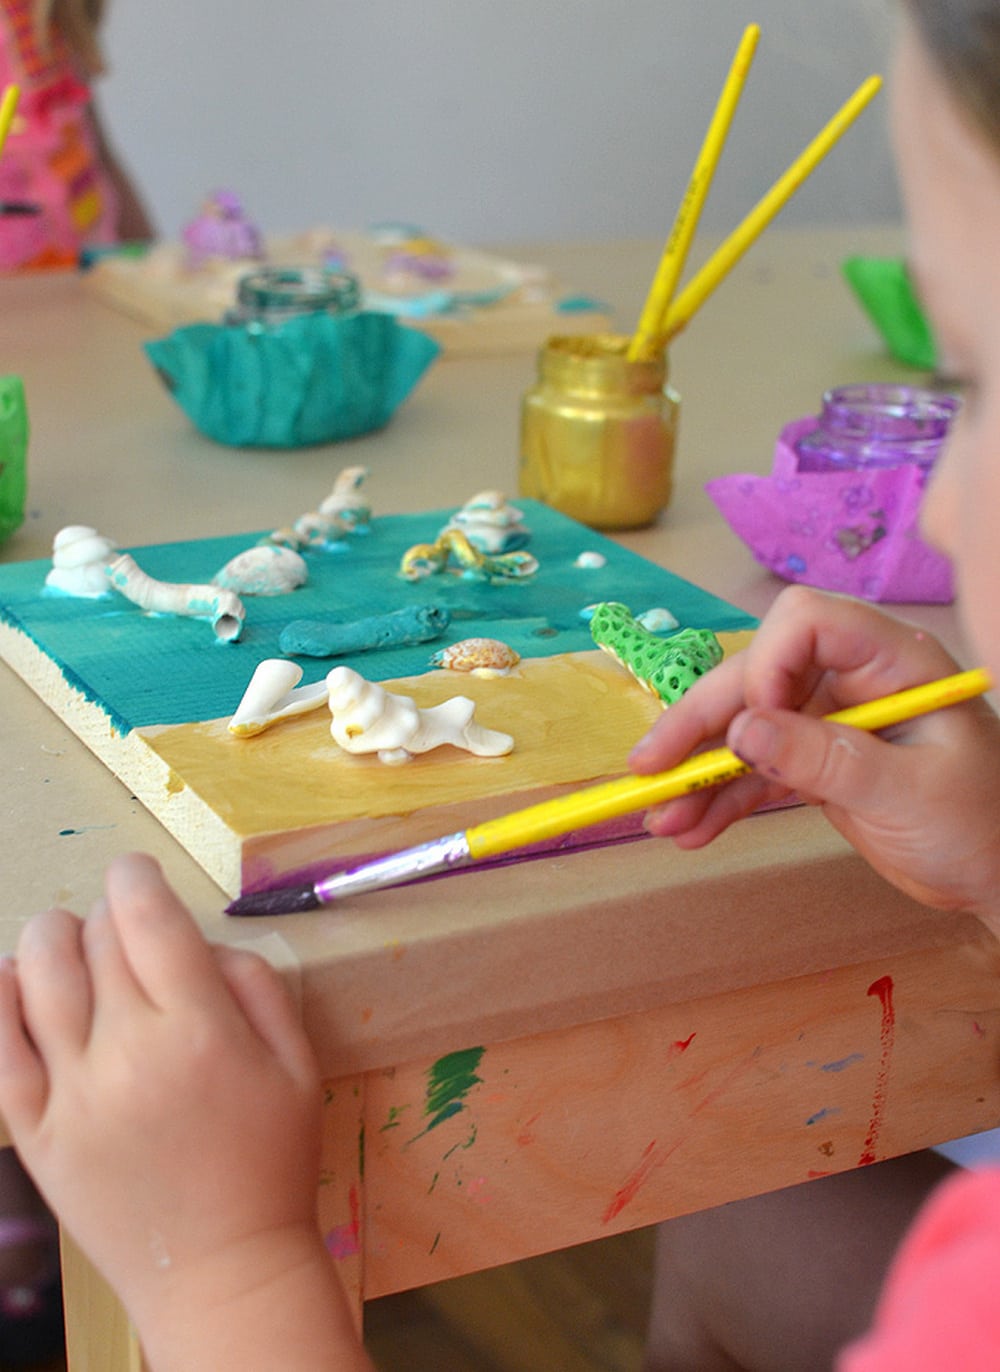


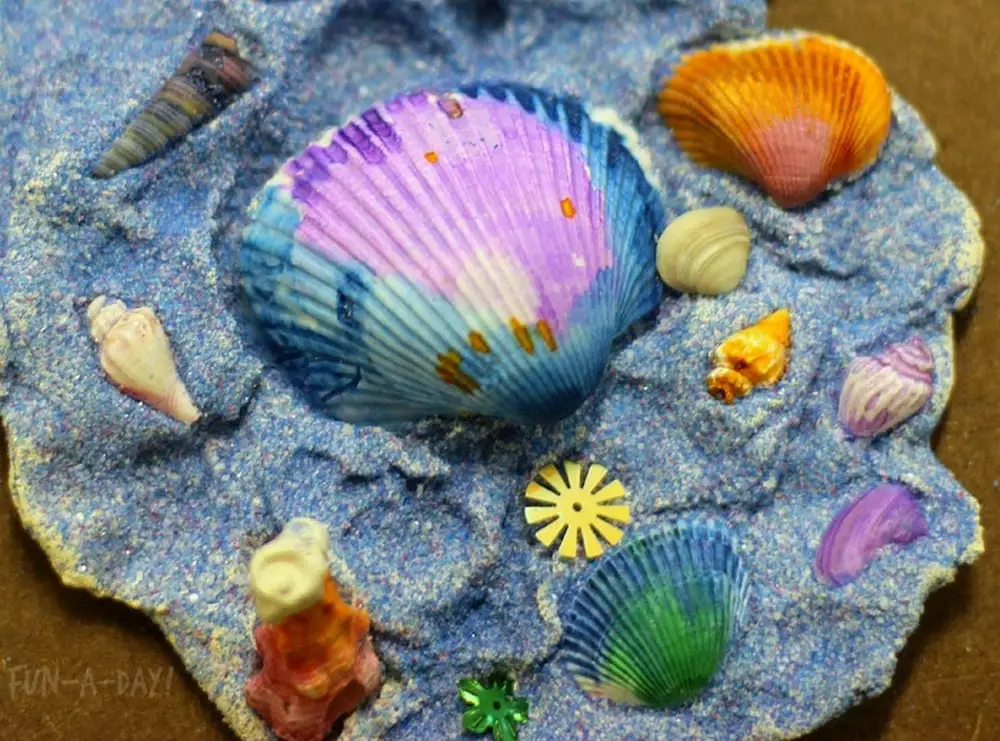
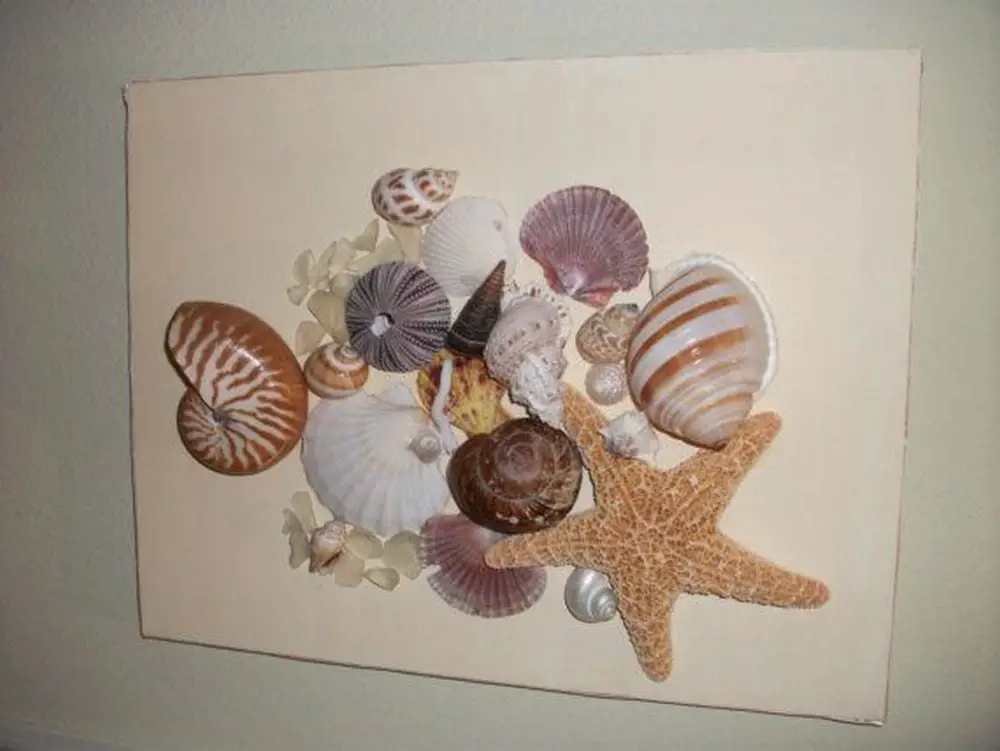
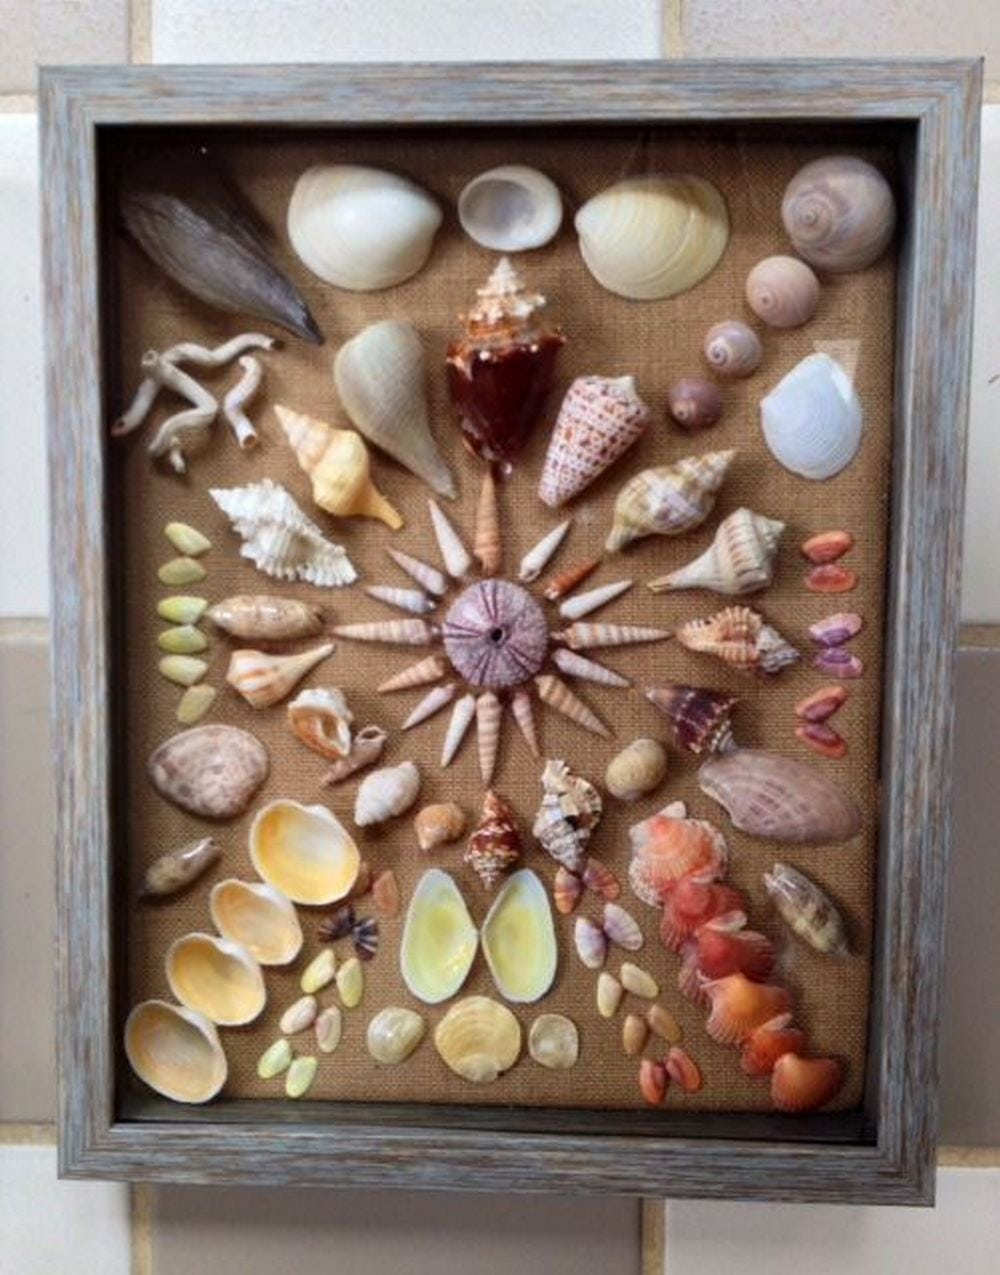

A seashell collage is a great way to decorate your child’s room with a personal touch. Plus, it’s a fun activity for kids to do on a rainy day!
Here’s what you’ll need:
Materials:
- Shells
- Pieces of wood
- Tacky glue
- Watercolour and brushes
- Eye screws and wires
Tools:
- Screwdriver
How to create a kid’s seashell collage
With a little bit of time and effort, you can create a beautiful collage that will be cherished for years to come. All you need is a little bit of creativity and imagination to bring your collage to life.
Here’s how to make a seashell collage:
1. Prepare the shells
Be sure to give your shells a good cleaning before you start crafting with them! You can wash them by hand with some mild soap and water. Let them dry completely before moving on to the next step.
Now that you have your shells, it’s time to start spreading them out on the board. You want to make sure that you have a good amount of space between each shell so that you can easily glue them down. Once you have them all in place, start gluing them down one by one. Make sure that you press down firmly so that they stay in place.
2. Color the shells
Now, you can watercolor them one by one. This will help you get a feel for each individual color and how it will work with the others.
You can also watercolor the board itself for an extra design. This is a great way to add some personal flair to your space. Then Let them dry.
3. Hang your collage
To do this, simply add some wire or screws to the back of each slice. Then, determine where you want to hang your artwork and use nails or screws to secure the wire or screws in place. Voila – your seashell collage wall art is now ready to be admired!
Great job! You’ve now got a lovely collage that you can display in your living room or any other room in your house. This is a great way to show off your creative side, and it’s also a great conversation starter for guests.
Thank you to Art Bar Blog for this artsy project. You can find step-by-step instructions here.


