Last Updated on August 5, 2024 by Team Ideas24
See those exquisite patterns? The details are amazing!
Concrete is the most widely used man-made building material. Without it, modern life would be inconceivable. However, in cities and urban hubs, we see only its rigidity and lifelessness, if we look at it all.
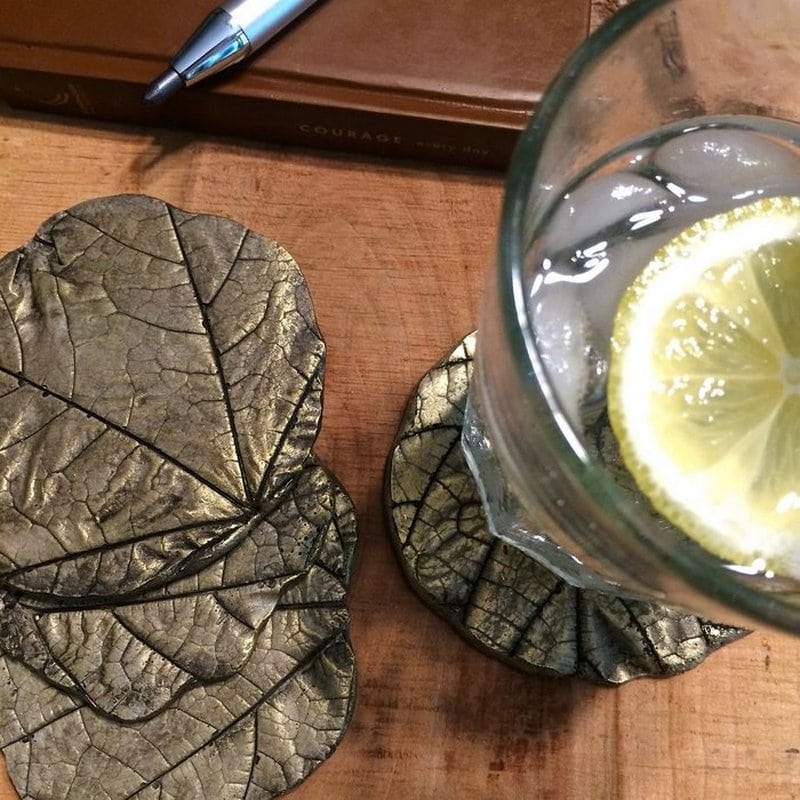
The cold hard fact is that concrete is used in a lot of creative DIY projects! The medium might seem like a material fitter for someone in construction but it is actually pretty easy to use and highly versatile. The beauty of concrete lies in the raw, textured touch and modern appeal suitable for edgy designs and more.

Put in a mold, it can sometimes surprise you with its appearance and versatility. I’ve done a number of concrete projects in the past – candle holders, letters, and sculptures. I must say they almost always turn out pretty great.
Here’s another addition to projects involving concrete…
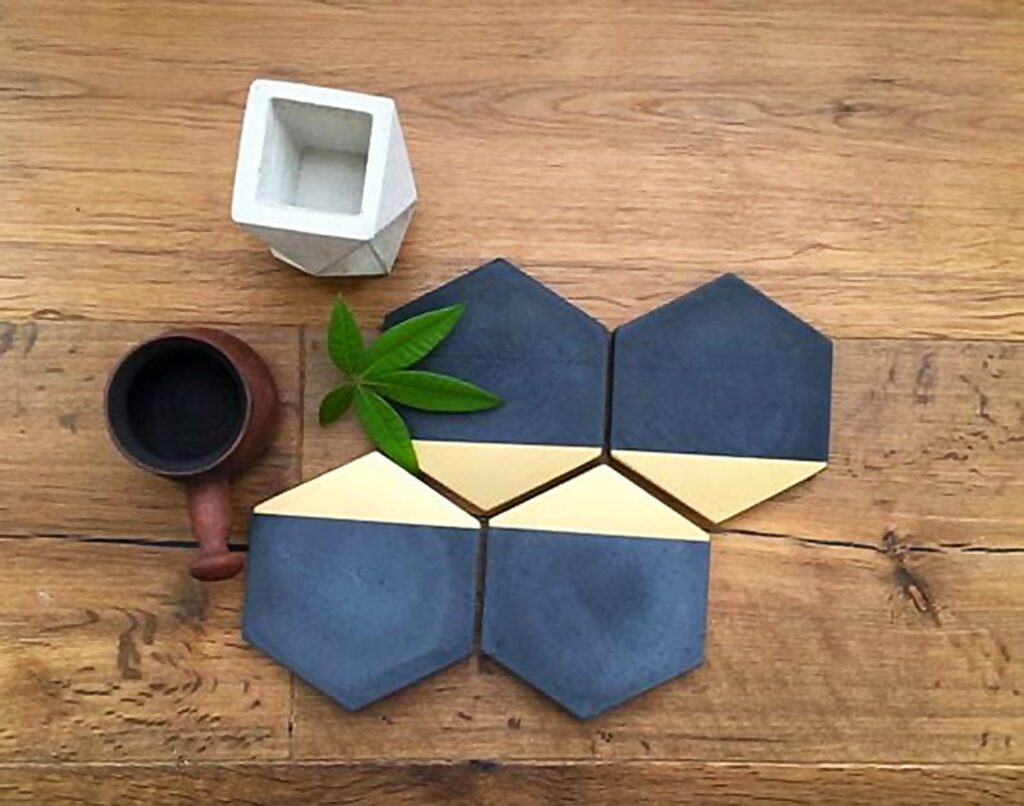
A bunch of these will make great housewarming or wedding presents. Because they’re DIY, you can customize them according to each recipient. You can engrave a name or whatever, it’s really up to you.
These concrete coasters are a great option to add some personality to your home! With so many different design possibilities, you can really let your creativity shine with this project. Plus, it’s a great way to use up any leftover concrete you might have from other projects.
To help get you started, we’ve rounded up some of our favorite concrete coaster designs. From simple and minimalist to more intricate patterns, there’s sure to be a design here that inspires you. So get your creative juices flowing and get started on making your own concrete coasters!
DIY concrete coasters design ideas
Click on any image to start the lightbox display. Use your Esc key to close the lightbox.
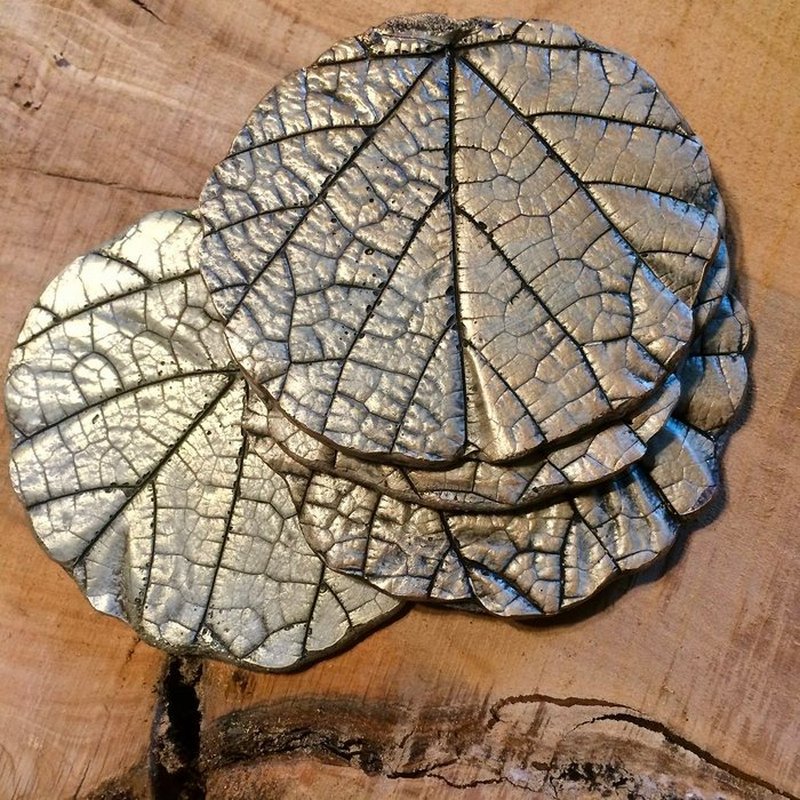
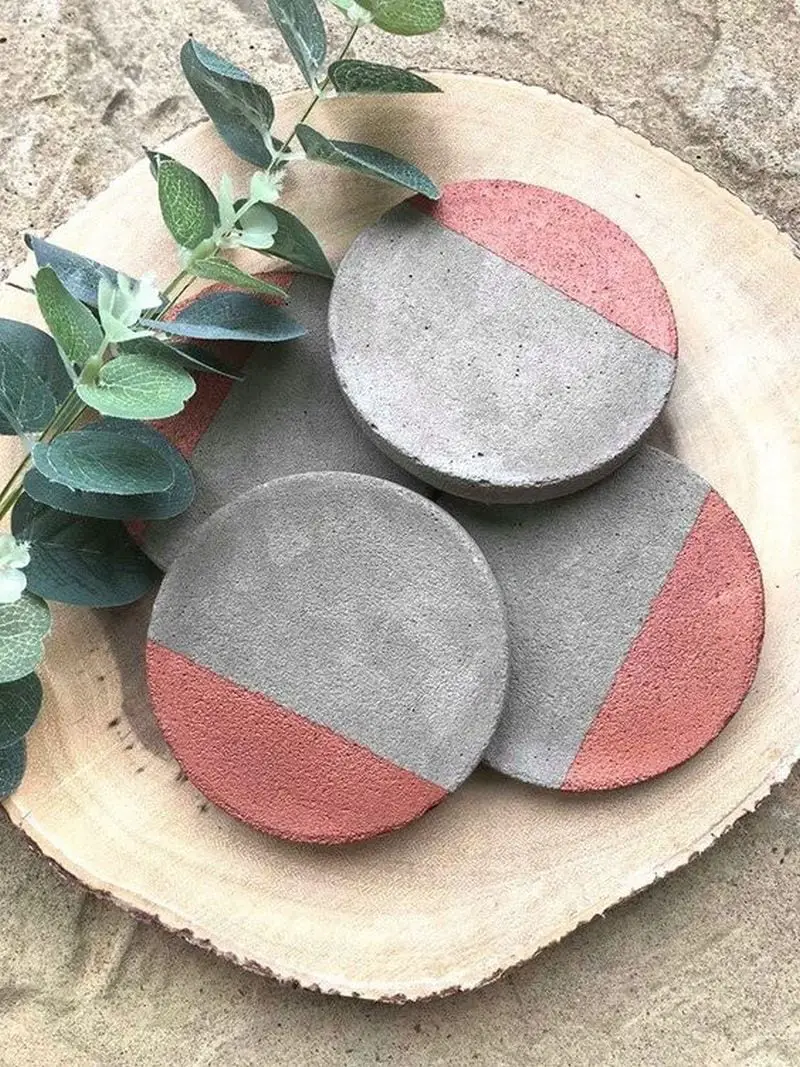
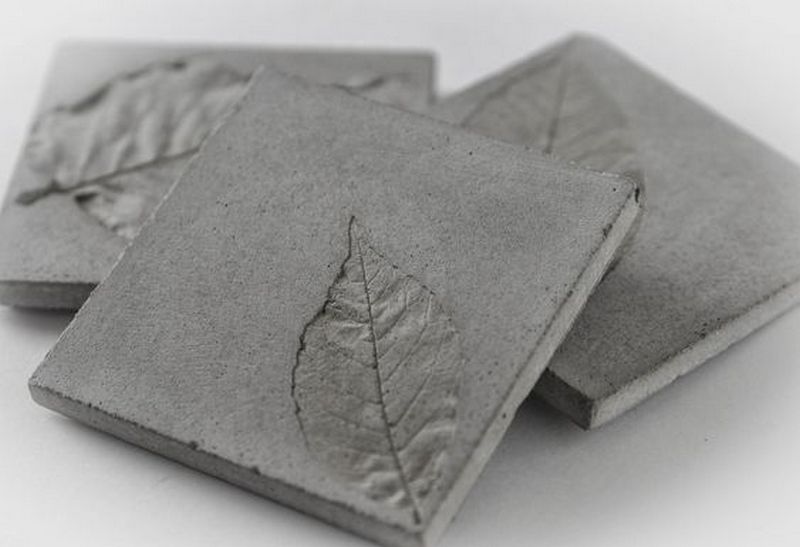
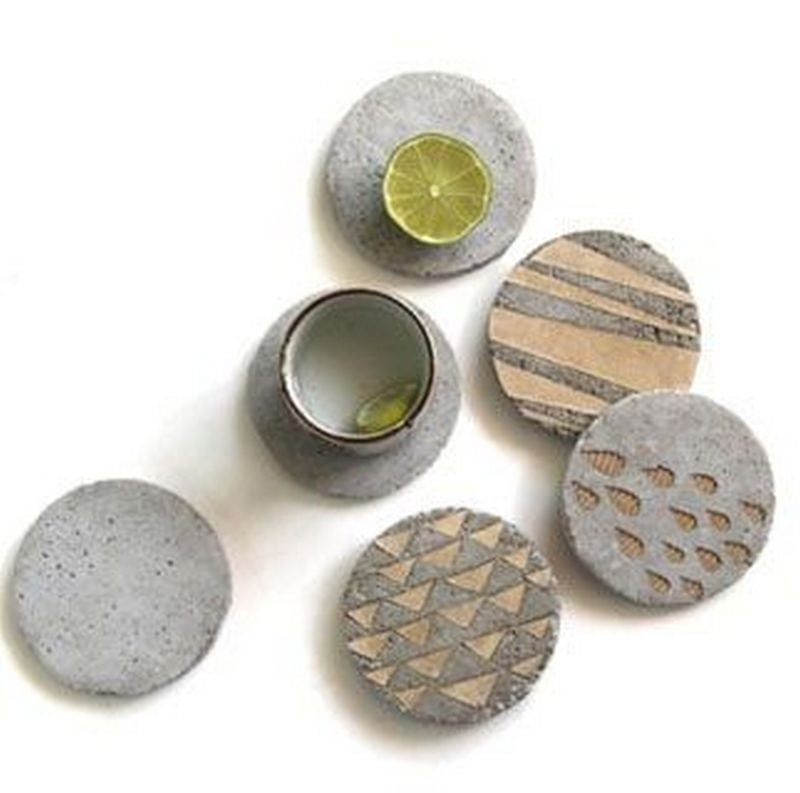
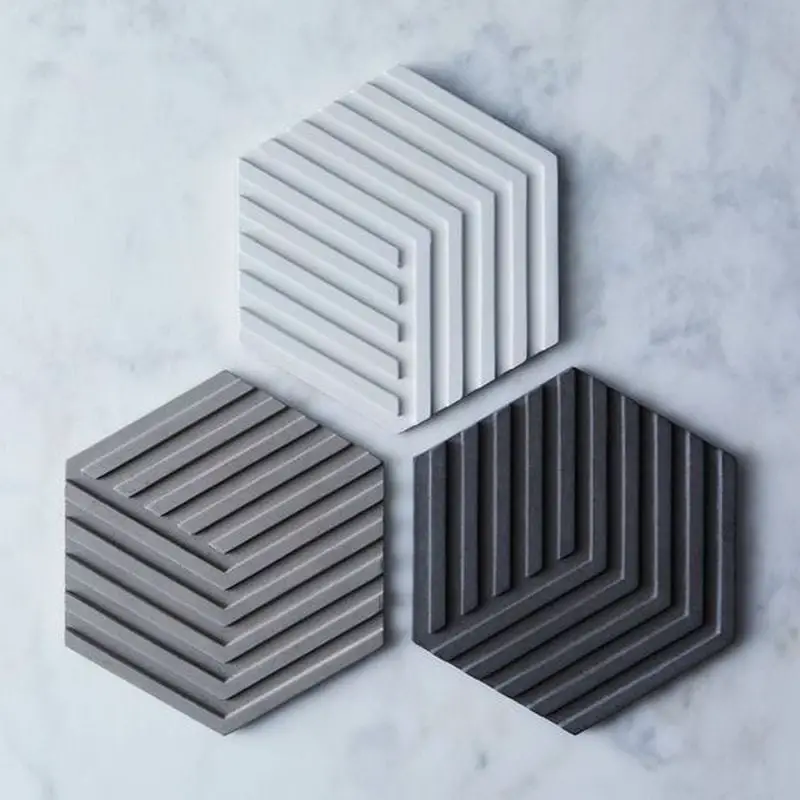
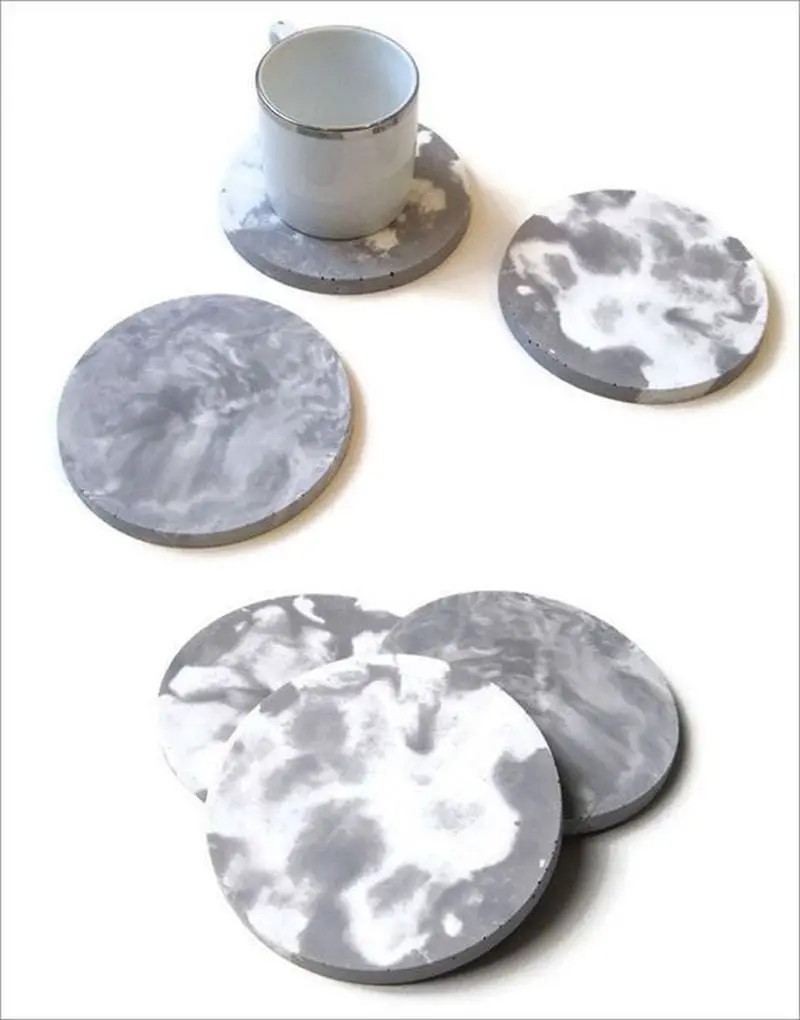
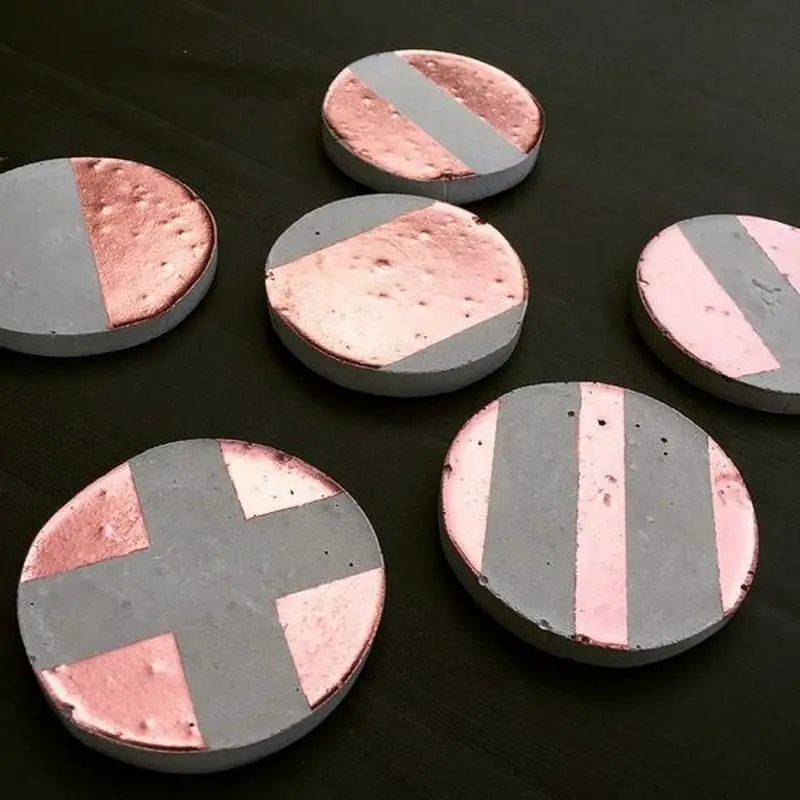
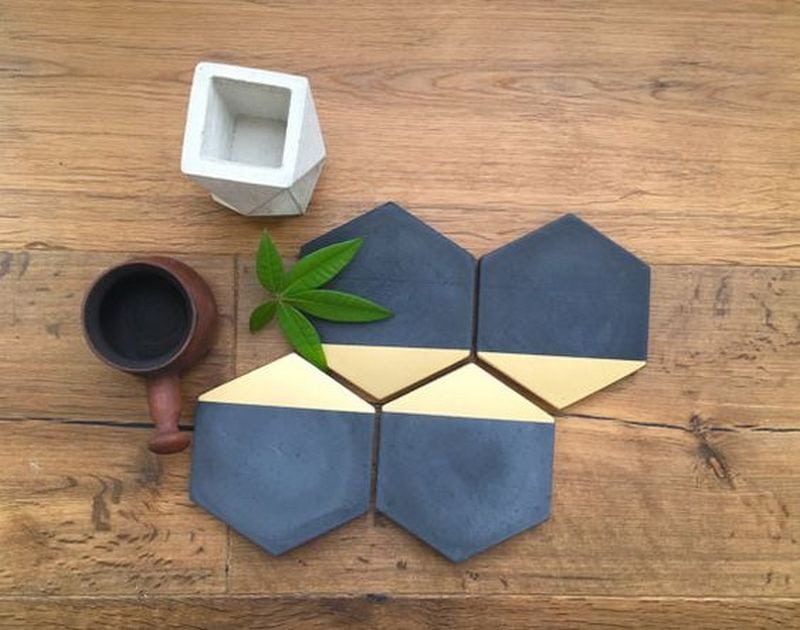
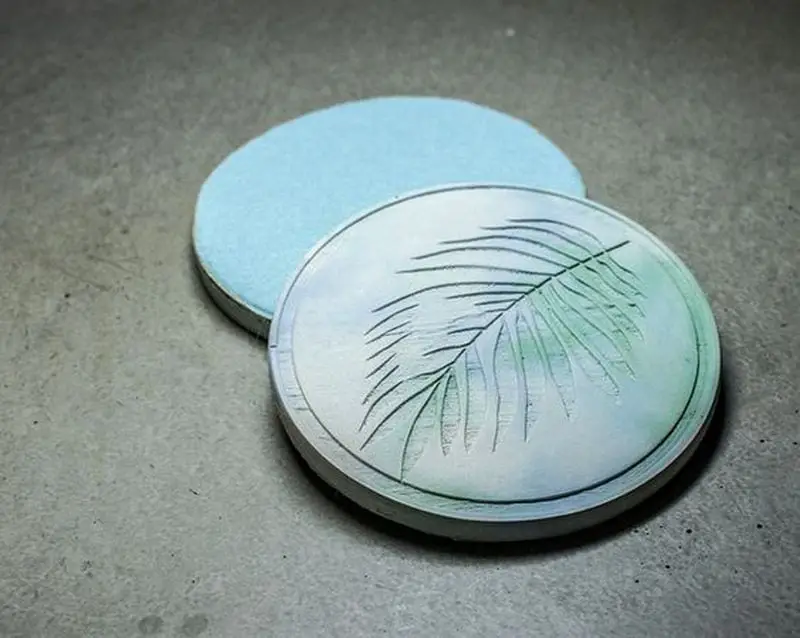
This project is easy to do and only requires a few supplies that you may already have around the house. Plus, it’s a great way to add a personal touch to your home décor.
To get started, you’ll need some basic supplies, here’s what you’ll need:
Contents [show]
Crafting a Concrete Coaster
Materials
- CD cases
- Large Leaves (Look for any that have a nice vein pattern and are not too fuzzy)
- Rapid Set Cement All concrete
- Water
- Dust mask
- Rubber gloves
- flat surface/table (cover or protection for working with the concrete)
Tools
- stir spoon
- Mixing container
Instructions
This tutorial will show you everything you need to know to make a classic concrete coaster. Just follow these simple steps:
1. Make the concrete mix
Making your own concrete is a great way to save money on home improvement projects. Just be sure to follow the directions on the concrete mix packet, and wear protective gear to avoid inhaling the powder. Adding the right amount of water is key to making sure your concrete is the right consistency. Too much water will make it runny, while too little water will make it too thick.
2. Attach the pattern
If you will use a leaf as a pattern, place it on top and use an old cd case to squish it gently. Use a stick with a soft point to trace the details of the leaf. Take your time, and don’t rush this step, for it may ruin your design if not careful. Once you have traced the leaf onto the concrete, let it dry.
3. Sand the coaster
Once the concrete is dry, you can now remove the leaf. To smoothen the surface and edges, sand it lightly. Be careful not to ruin your design. If you want a really smooth surface, you can also use a concrete sealer. Just apply it with a brush and then wipe it off with a cloth.
4. Paint the coaster
Now that your coaster is ready, it’s time to start painting! You can use any color you like. Once you’re done, let the coaster dry for a few hours before using it.
And that’s it – you’ve made your very own coaster! You can now use a classic coaster design you made.
This coaster design is simple and classic, and can be used for any occasion – from a casual get-together to a more formal event. They’re perfect for setting down your drink while you chat with friends or family, and they’ll help protect your furniture from water rings. Plus, they make a great gift for anyone who loves to entertain.
Thanks to MadeByBarb for this great project. You can get full step-by-step instructions here.
Incorporating Mixed Media
Creating concrete coasters offers a perfect canvas to experiment with mixed media. By embedding different materials into the concrete, you can achieve unique, artistic, and textured effects that elevate the simple coaster into a piece of art. This technique allows for endless creativity, letting you personalize your coasters in a multitude of ways.
Choosing Your Materials
The first step in incorporating mixed media is to select materials that complement the aesthetic you’re aiming for. Common choices include:
- Glass shards: Colored glass can add a splash of color and shine.
- Metallic pieces: Small bits of metal or foil can give a modern, industrial look.
- Pebbles or shells: Ideal for a natural, earthy feel.
- Tiles: Use broken tiles to create a mosaic effect.
Preparing Your Coasters
Before you start, ensure your mold is clean and apply a release agent if necessary. Arrange your chosen materials at the bottom of the mold. This placement ensures they will be visible on the surface of the coaster once demolded.
Mixing and Pouring the Concrete
Prepare your concrete mix according to the manufacturer’s instructions. For embedding materials, a slightly thicker consistency helps keep them in place without sinking too deep into the mix. Pour the concrete slowly to avoid dislodging your design. Use a stick to gently press the materials down or to adjust their position before the concrete sets.
Finishing Touches
After your coasters have cured, remove them from the molds. You might find that some materials are partially obscured by concrete. If this happens, gently sand the surface to reveal the embedded designs. Seal your coasters with a concrete sealer to protect both the concrete and the embedded materials from moisture and wear.
Creative Tips
Experiment with the placement and combination of materials to create various themes and styles. For example, use bright glass and tile pieces to make a vibrant, festive set or opt for subdued stone and metal for a more minimalist approach.
By integrating mixed media into your concrete coaster projects, you not only enhance their beauty but also give each piece a personalized touch that can’t be replicated. This approach not only makes your coasters unique but also turns them into conversation starters at any gathering.
Personalization Techniques
Concrete coasters offer a unique opportunity for personalization, making them not just functional household items but also bespoke pieces of decor. Whether you’re crafting for personal use, gifts, or even for sale, adding a personalized touch can make each coaster a special keepsake. Here are several techniques to customize your concrete coasters, enhancing their aesthetic and sentimental value.
Stamping Names or Initials
One simple yet effective personalization technique is to stamp names, initials, or dates into the wet concrete. You’ll need alphabet stamps or custom-made stamps for this purpose. Press the stamps gently into the surface of the concrete coaster before it fully sets. This method is perfect for creating personalized gifts for weddings, anniversaries, or other special occasions.
Embedding Unique Prints
Another creative option is to press items with interesting textures into the concrete coaster. Leaves, lace, or even textured fabrics can imprint intricate patterns. Simply lay the item on the surface of the wet concrete and press it down lightly. Once the concrete is dry, peel away the item to reveal a beautifully textured design. This technique allows for a wide range of customization, reflecting personal tastes or the decor of the home where the coasters will be used.
Using Custom Molds
For those who are more experienced in DIY projects, creating custom molds for concrete coasters can open up limitless possibilities for personalization. You can design and construct molds that incorporate specific shapes, symbols, or even logos. Using a custom mold ensures that each concrete coaster is a unique creation, ideal for branding or highly personalized gifts.
Coloring Techniques
Adding color to your concrete coasters can also personalize them. Use concrete dyes or pigments to mix in before pouring, or apply stains and paints after the coasters have cured. This can be particularly effective when combined with other personalization techniques, such as stamping or embedding, allowing the colors to highlight the added designs.
Through these personalization techniques, each concrete coaster becomes a reflection of individual style or personal connections. Whether you’re making coasters as a creative hobby or as thoughtful, customized gifts, these methods ensure each piece is uniquely your own.
Conclusion
Making a concrete coaster is a straightforward yet worthwhile do-it-yourself project with great personalising power. With some ingenuity and basic tools, you may create original and useful objects ideal for any environment. This project not only improves your hand-crafted abilities but also gives your house or thoughtful, customized gifts some handmade elegance.
If you liked this project, you might also like to view the DIY Pallet Coasters.


