Last Updated on May 9, 2022 by Team Ideas24
Easter is just a few weeks away which means it’s the perfect time to look for creative holiday crafts to try! Now here’s an easy paper crafts activity for this season which is also great project to start with if you are interested in the art of making baskets. :)

This woven paper basket is 4″ x 4″ x 4″ but you can definitely adjust measurements if you want to make a bigger version or if you are planning to make one for other purposes. If the paper isn’t long enough to make your basket, you can tape together two pieces to achieve desired length.

You can also use newspaper, magazine pages, old posters or any other kind of paper that you may already have. It depends on how you want your basket to look. :)
Have a look at our album of woven paper Easter basket for inspiration. And start making your own by following the step-by-step tutorial below!
Now if you want something gorgeous to put in your basket, these painted easter eggs might just do the trick!
Materials:
- 3 colours of Constructive Paper
- Ruler
- Pencil
- Scissors or Paper Cutter
- Glue, Stapler or Glue Gun
[adinserter block=”11″]
Click on any image to start lightbox display. Use your Esc key to close the lightbox.![]()
Steps:

You’ll need to cut the paper into 1″ wide strips. You can measure the first one, then use it as a pattern and trace it to create the others.

Cut five 18″ long pieces of the first color. Set one of these aside to use as the handle for the basket.

Cut four 14″ long pieces of the second color.

Cut four 14″ long pieces of the third color of paper.
If you don’t have paper that is long enough, you can tape two pieces together.

Arrange the 14″ pieces in the pattern above.

Weave in 4 pieces (14″ ones) horizontally so it looks like the picture above.

Adjust the pieces so the inner square is about 4″ x 4″, and the outer pieces are at least 4″.

Then glue down each corner.

Fold each piece inwards towards the center.

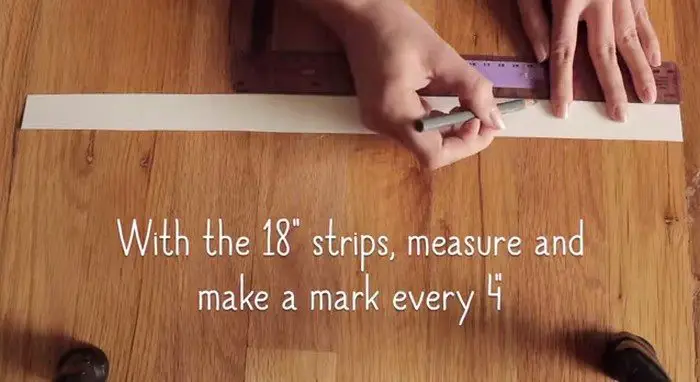
On 4 of the 18″ pieces, measure and make a mark every 4″.

Then fold the paper on each mark.

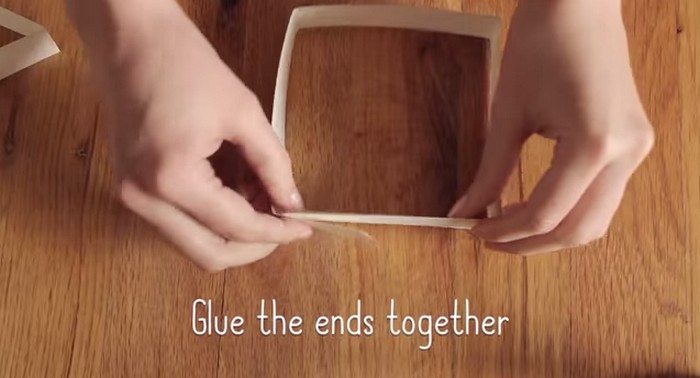
Once you’ve done this, glue the ends together on each piece.

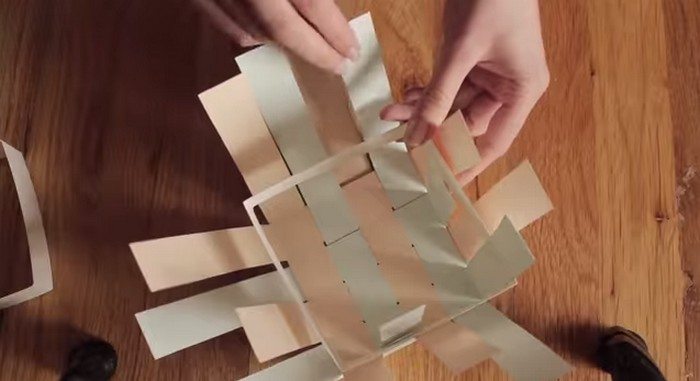
Weave in each of these pieces to form the basket. Follow an under / over pattern with the outside pieces.

If the 1st piece goes under, the next piece should go over.

After this, the leftover paper at the top can be folded over (if long enough), or just trimmed an glued to the side.

Glue each side of the handle to the inside of the basket, and you’re done! You’ve just made a paper basket.
Thanks to sarahndipity for this great project. You can watch the video tutorial here:


