Last Updated on August 22, 2023 by Team Ideas24
Want your kids to know how much fun gardening can be? Seed ball planting is the first activity you can do with them which they’ll surely find awesome. It’s also a great opportunity to educate them about saving the environment!
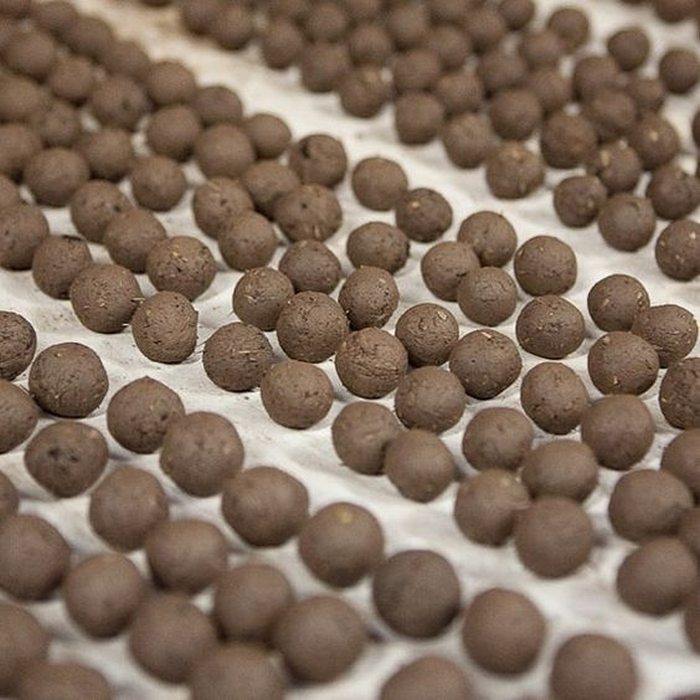
Seed balls (or earth balls), as the name implies, are seeds rolled within a ball of clay and soil. It is the solution to the problems experienced with the traditional way of restoring natural areas.
The traditional way of reseeding natural areas was simply done by scattering seeds on top of the soil. But this was not very effective for growing plants. Most seeds either get baked by the sun, eaten by birds and other animals, blown away by strong winds, or washed away by heavy rains. The few seeds left to germinate and grow are often clumped together leaving most areas still bare!
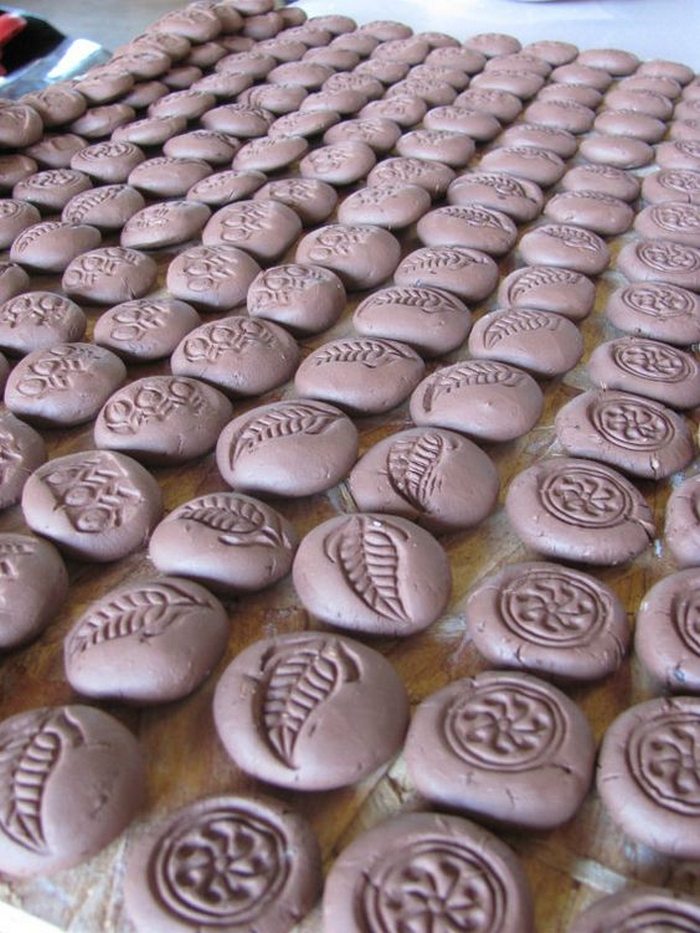
With seed balls, all these negative factors are addressed. The clay ingredient protects the seeds from being eaten by birds or other wildlife. The weight of the balls also protects the seeds from strong winds. Then its shape preserves enough moisture for the seeds to germinate. And when the seeds start to sprout, the crumbled ball provides the start of its rooting system.
From there, nature does its job and plants continue to produce and grow until the area is covered!
Click on any image to start the lightbox display. Use your Esc key to close the lightbox.![]()
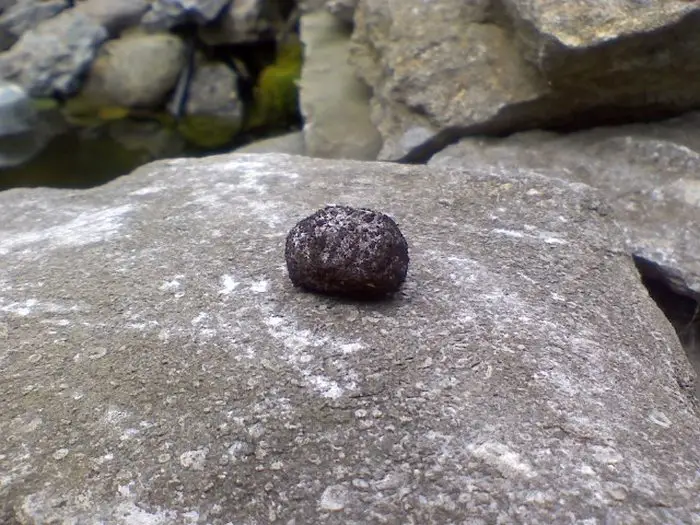

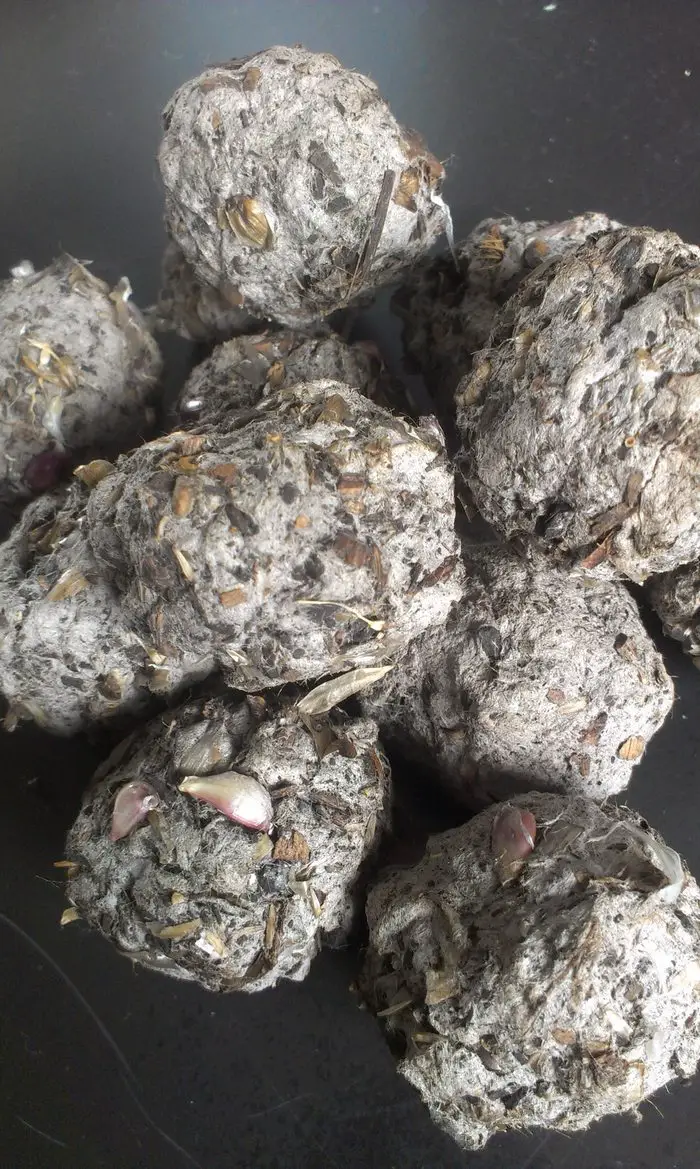

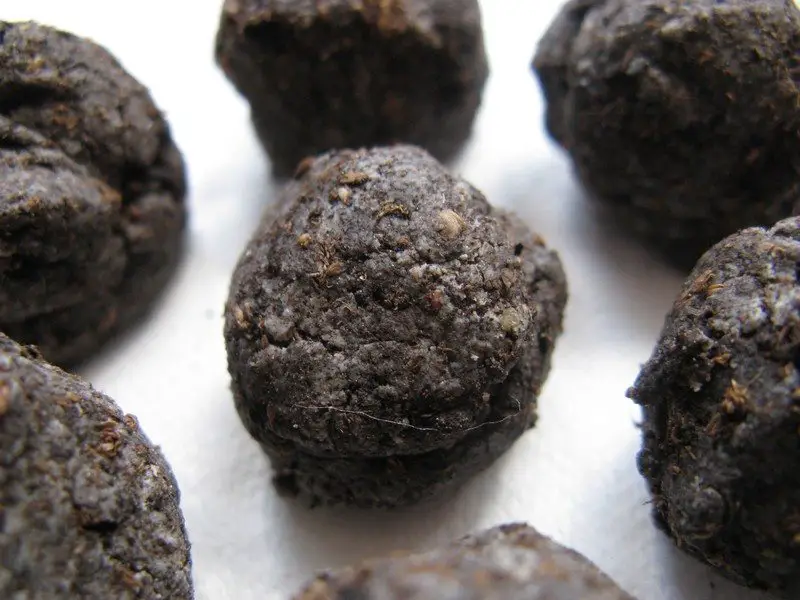
Seed balls are a great tool for making a neglected or unused area beautiful and green again; a quick and effective method for planting in large areas. It is literally a small step you can teach the kids that can make a big difference for our environment. And while you are doing this activity, we recommend explaining to them what guerrilla gardening is, too. It’s important that the kids are well aware of everything that they do! :)
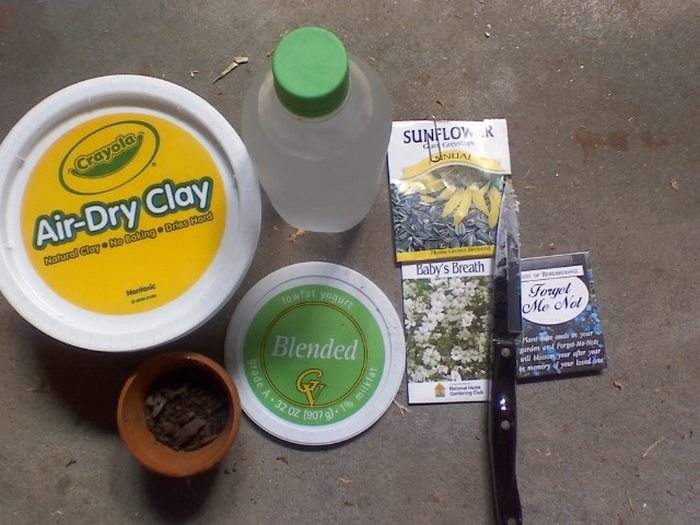
To make your own seed balls, you will need the following materials:
- 2 parts Potting Soil
- 5 parts Pottery Clay Mix
- 2 parts Water
- 1-2 parts Seeds of your choice (It’s important to choose seeds that are native to your location. This ensures that the plants will grow and will not disrupt wildlife or damage your local environment.)
- Baking Sheet with Wax Paper
- Large Tub / Pot — for mixing ingredients
- Large Cardboard Box — for storing and drying seed balls
How to make a seed ball planting
Now without further ado, here is how you can make seed bombs to start saving our environment!
1. Cut a very thin piece of clay that’s about 2 inches wide and long. Be sure to make it thin enough so that the little kids with little hands can shape the mixture into a ball later.
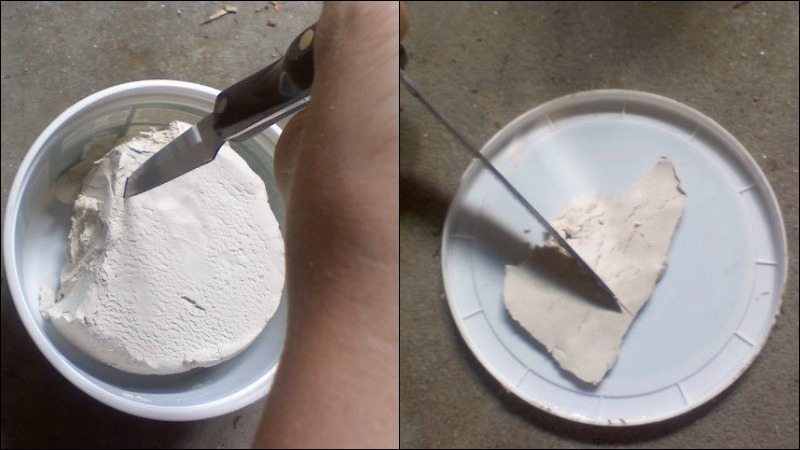
2. Sprinkle the finest compost onto the clay. The more compost you put, the better the chance the seeds will germinate.

Add a few seeds…
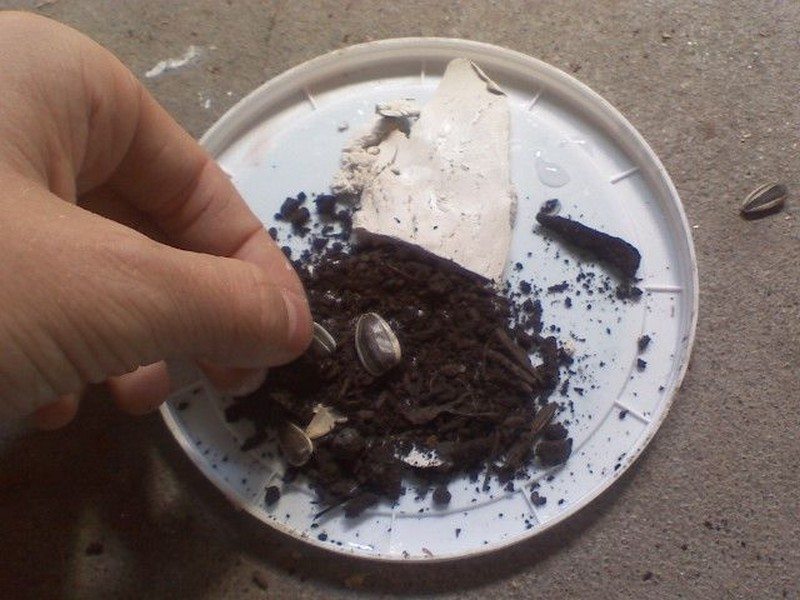
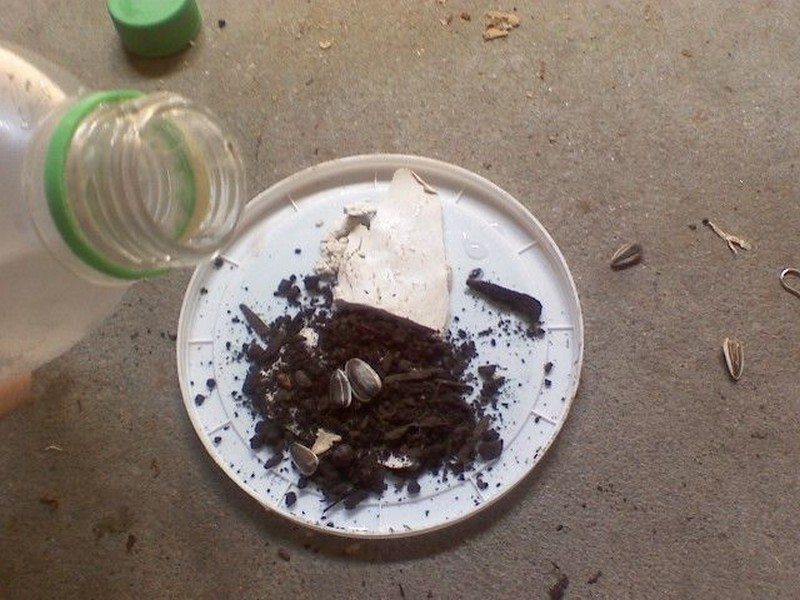
3. Be careful about how much water you add! Add just a few drops enough to hold everything together or it will become a sloppy mess that’s almost impossible to take off!
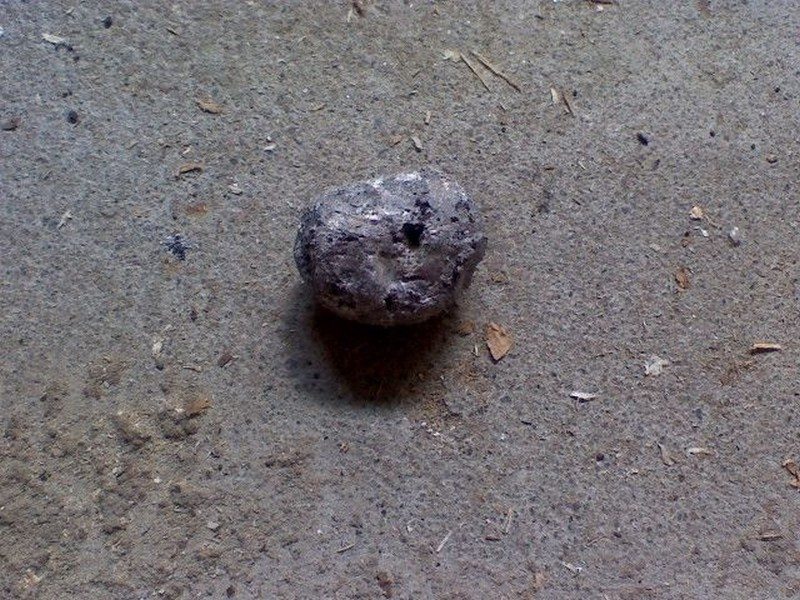
4. Scoop the clay with your hands and roll everything into a ball. Make sure you don’t let the seeds fall out of the seed bomb!
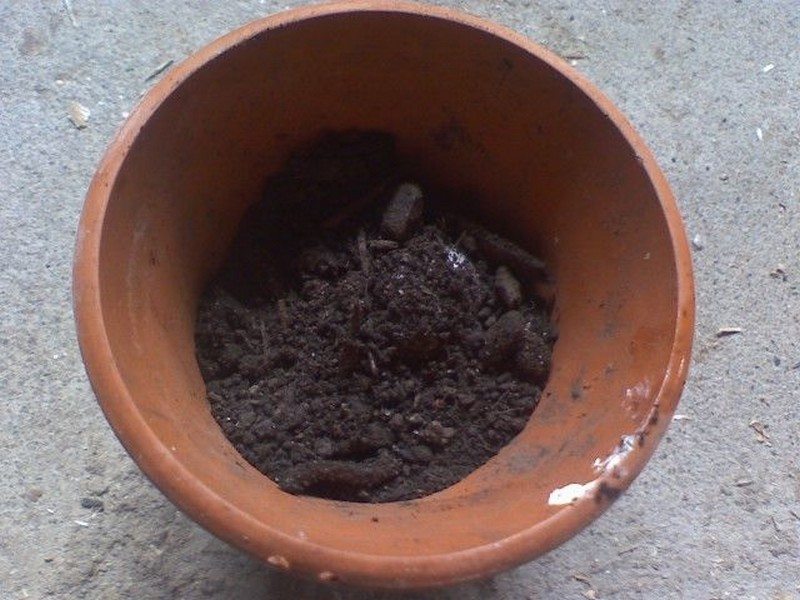
5. To have a better chance of your plant in your seed bomb growing, put your seed bomb into a pot of compost and rub the compost in. Take it out from into a ball and dip it in again. You can keep repeating this process about four times, then you most likely have covered the seed bomb with the compost.
Here’s another method to make seed balls:
This is a better and quicker way for the bigger kids!
- Combine the clay, soil, and 1 part water well. Make sure that there are no lumps. Add water, little by little, until the mixture has the consistency as that of play dough.
- Add the seeds and keep kneading until the seeds have mixed well with the soil mixture. Add more water if needed.
- Just like working with playdough, take small bits of the mixture and shape them into balls of about one-inch diameter. If the balls are not holding well together and crumbling, add a few more watering.
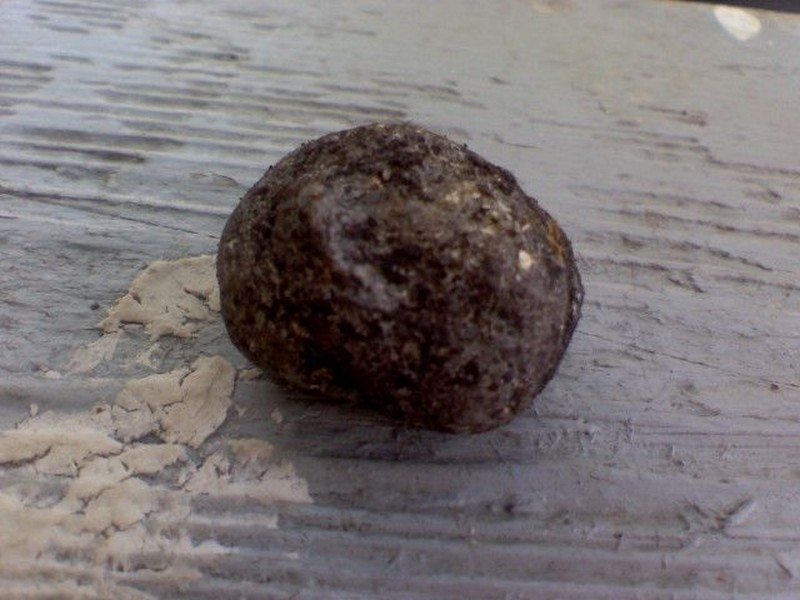
6. Place them carefully inside a cardboard box and let them dry for 24-48 hours. Do NOT let the seed balls get wet or they will crumble.
7. After two days, it’s time for the kids to ‘plant’ these bombs! All they have to do is gently toss them all over their target area — don’t throw them hard.
Now their mission is done and they can let Mother Nature take over! No need to bury them or water them. :)


