Last Updated on August 21, 2023 by Team Ideas24
The most obvious answer to the question, “Why use reusable bags?” is to reduce the impact of plastic and paper bags on the environment.
It should come as no surprise that single-use bags are crowding landfills and endangering wildlife. In fact, pleas from the environment-conscious to reduce our waste have become so common these days that many feel inclined to brush them aside.

Still, the plain truth is that our use of single-use bags is more than just excessive. It’s actually taking a serious toll on the environment.
So, rather than preach to you, we’re going to show you how to make a charming reusable lunch bag for school or work!
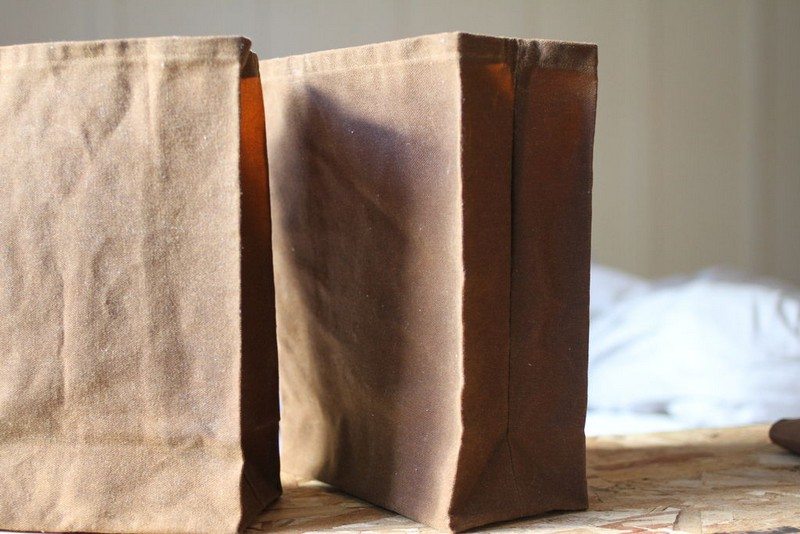
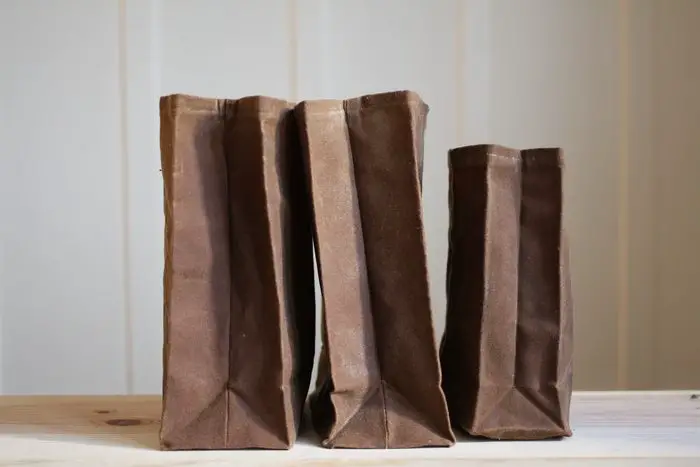
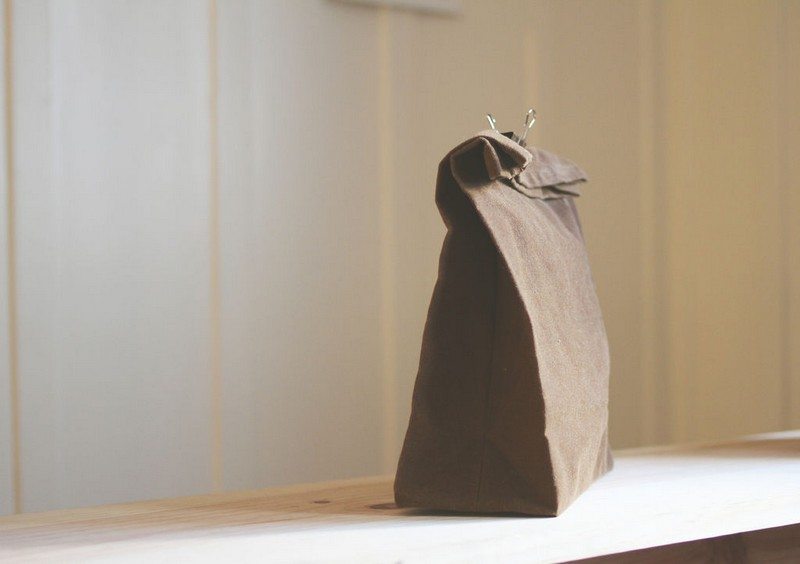
What you see here is not a brown paper bag, but a waxed canvas bag to use for bringing lunch to school/work! It’s very stylish; the best lunch bag design for me. :)
The wax makes it water-resistant which is good for preventing liquid from dripping out to wet other things inside your bag (if you put your lunch bag inside your bag). Isn’t it nice?
How do we make this DIY brown lunch bag?
Click on any image to start the lightbox display. Use your Esc key to close the lightbox.![]()

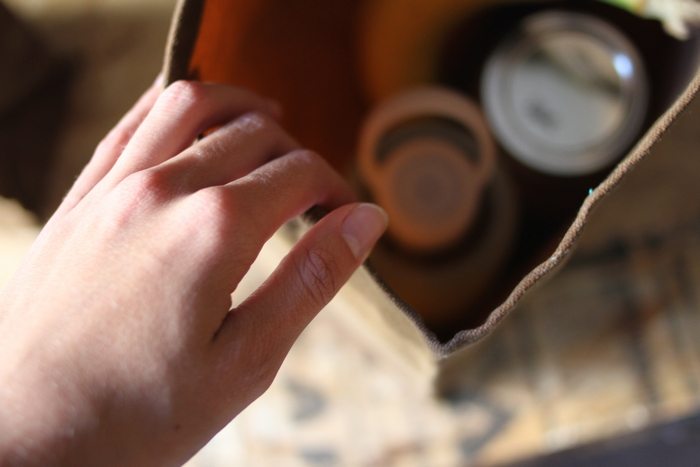

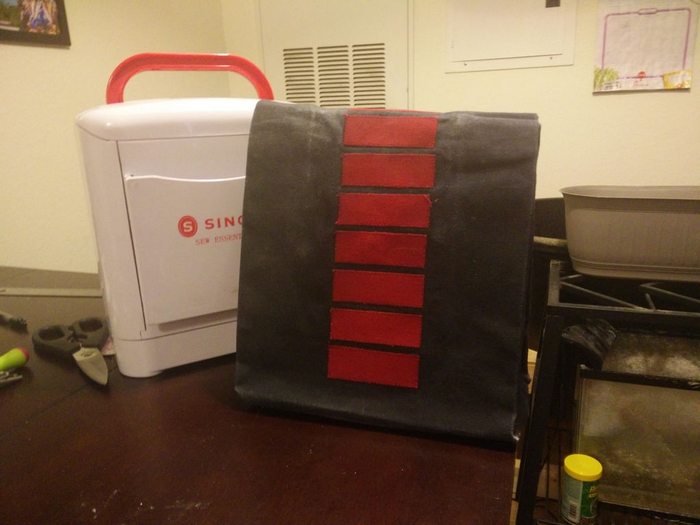
To make this DIY brown lunch bag, You’ll need the following tools and materials.
- Brown Canvas (duck canvas)
- Matching Brown Thread
- Paraffin Wax
- Beeswax
- Old Pillowcase
- Old clean can
- Pot with water
- Basic Sewing Tools
- Dryer/Hair Blower
- Brush
Contents [show]
How to make a DIY brown lunch bag
Making your own brown lunch bag is easy and fun! Here are some simple steps to follow:
1. Cut the fabric
Fold the fabric in half and mark a 16 x 14-1/2 inch rectangle with your chalk. Cut along the line so that you cut through both halves.
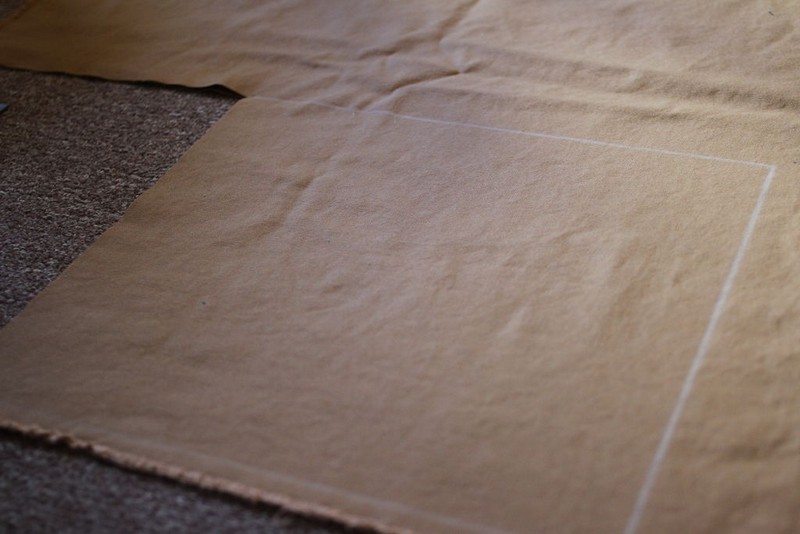
2. Pin along the longer sides
Pin along the longer sides, making sure that the good side of the fabric is facing inwards.
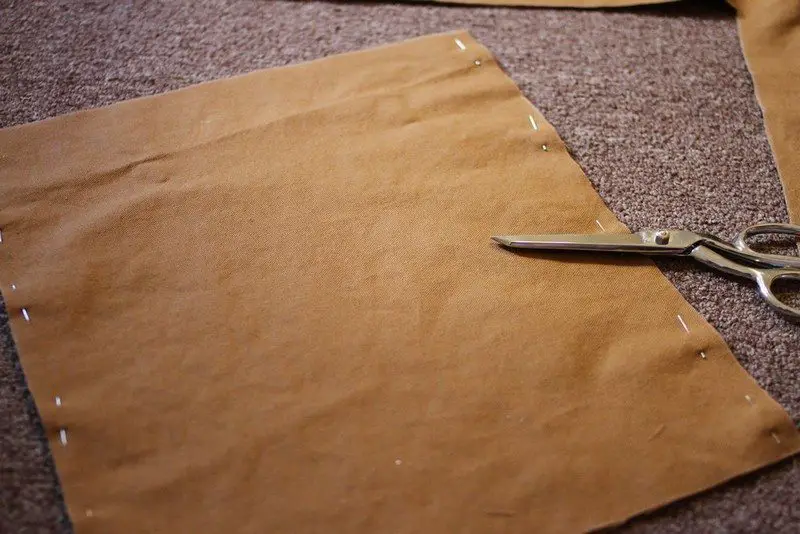
Iron a margin of at least 1/4 inch for an inseam on the sides you have pinned together.
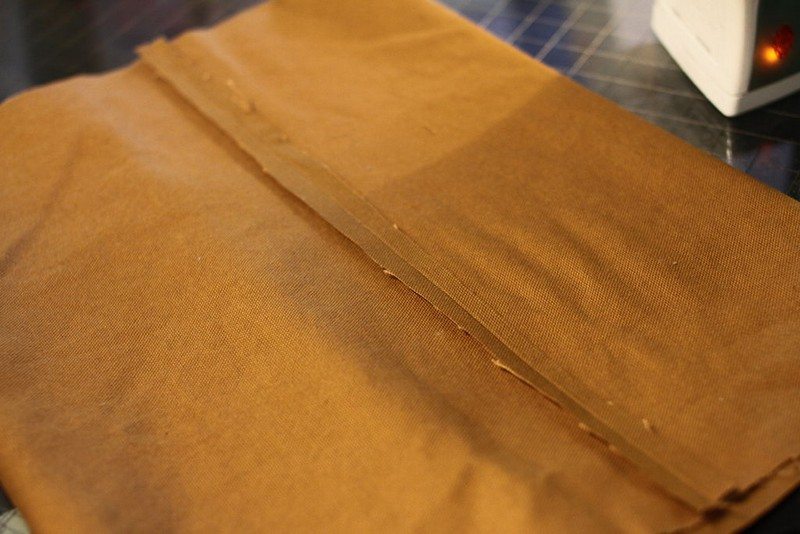
3. Sew pinned area of the fabric
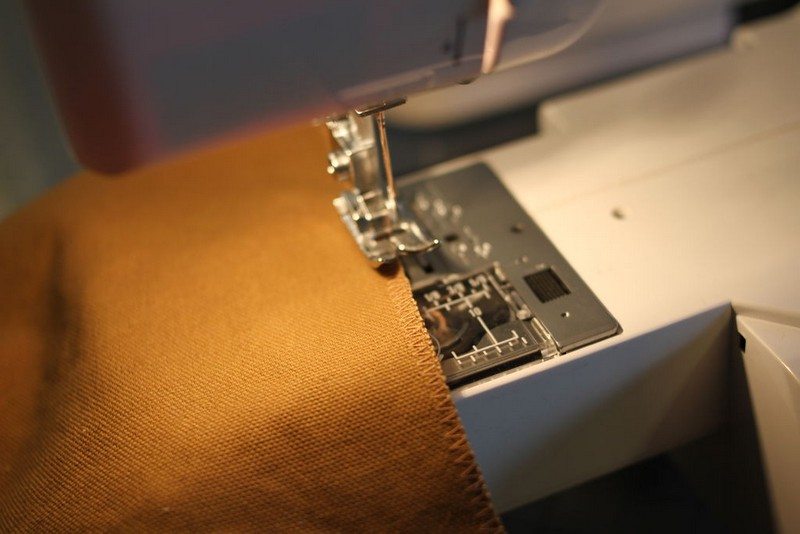
Then sew them. Do an overcast stitch especially for the rough edges to prevent fraying.
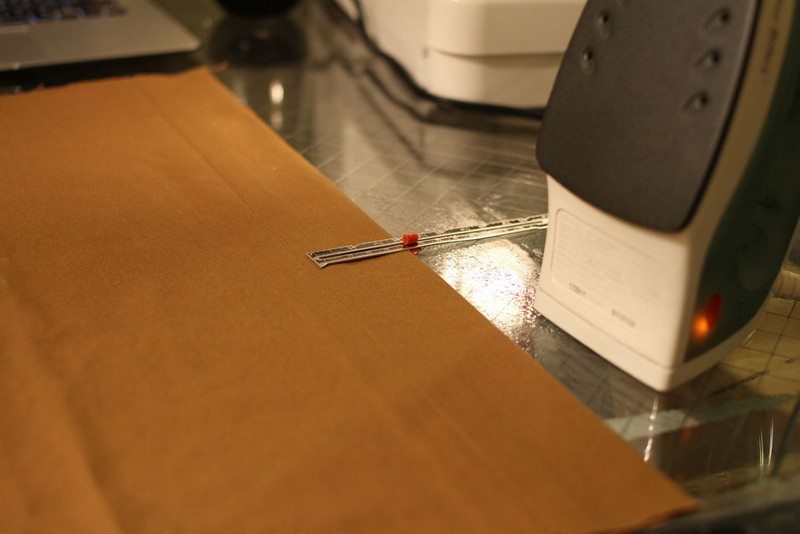
Then turn the fabric inside out so that you have the good sides. Fold the longer sides at about 2 inches from the edge, just as how a real brown bag looks, and iron them.
4. Fold, iron, and sew
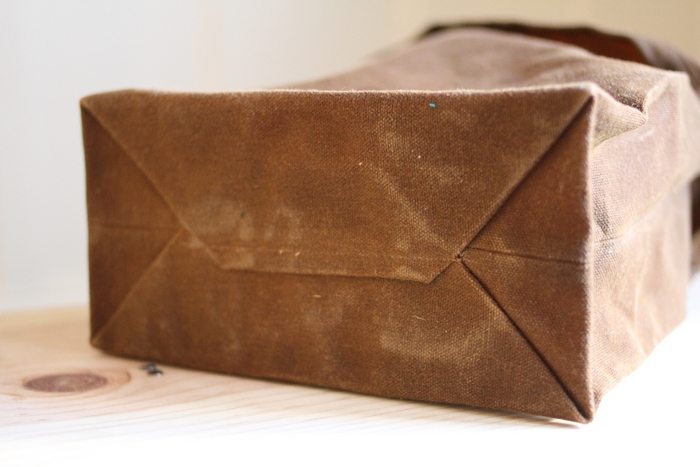
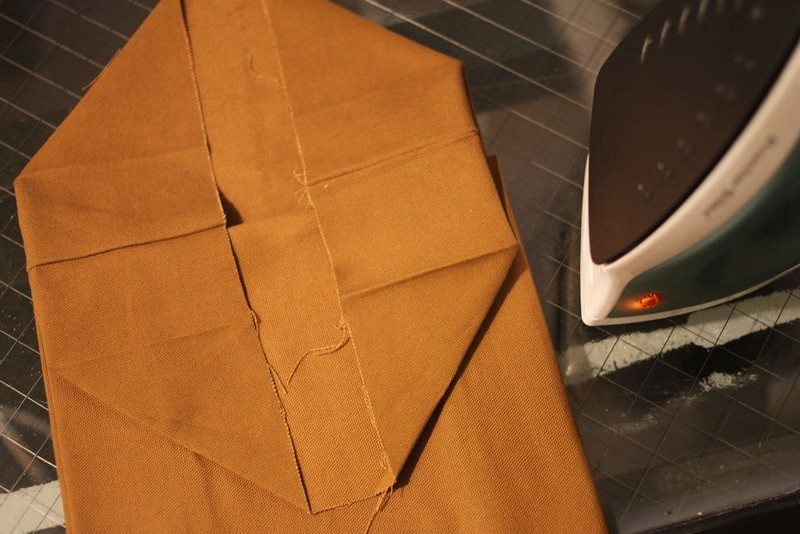
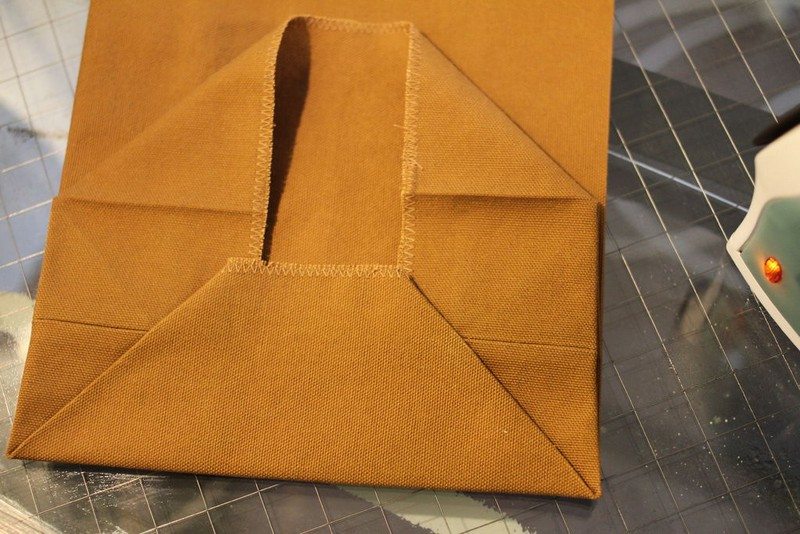
Fold the bottom by following the pictures. You can also watch this video to guide you better.
Continued Page 2…


