Last Updated on January 31, 2025 by Team Ideas24
Decorating rooms doesn’t have to be costly. You don’t even have to spend a single penny. If you want to add letter blocks to display on a table or shelf, you can simply use empty cereal boxes. Liven up your living room or any parties by using our cereal box letters guide below.
Crafting Cereal Box Letters
You’ll need these materials:
- Several Empty Cereal Boxes
- Elmer’s Glue/Modge Podge
- Brown Paper Bag/Manila Paper
And these tools:
- Scissors
- Ruler
- Brush
- Hot Glue Gun
- Pencil
Steps:
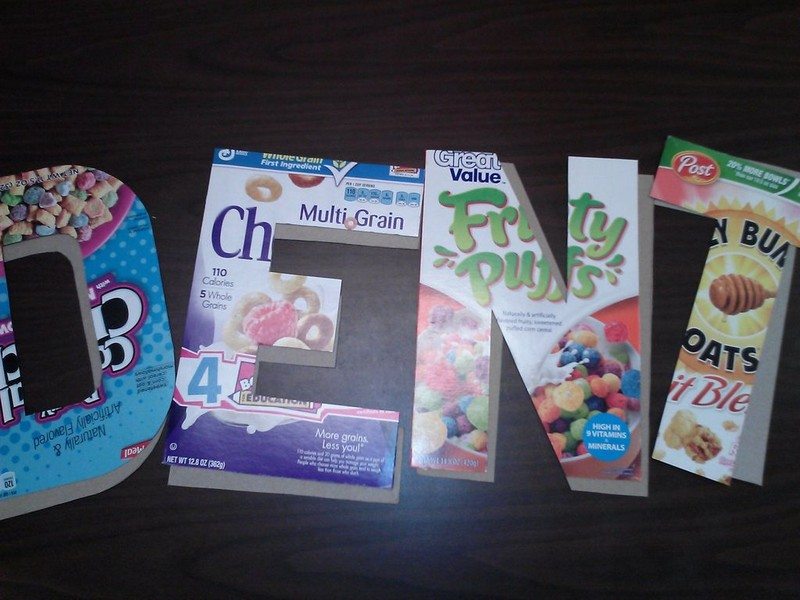
Depending on your desired size, cut out the letters that you need. Be sure to maximize your boxes by drawing the shapes on the box as close to each other as possible. Think Tetris :) Remember you’ll need two cutouts for each letter for the front and back sides.
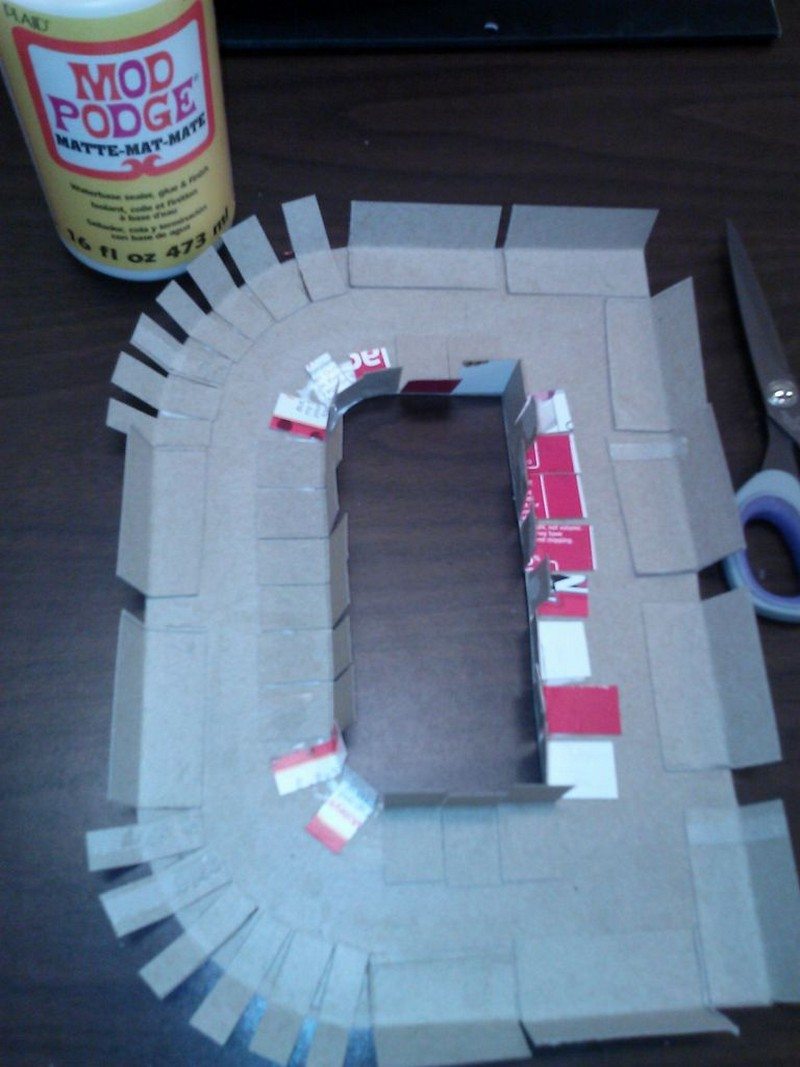
On scrap cardboard from the used boxes or from an extra cereal box, cut out around 1/2″ x 2″ tabs. You’ll need plenty of these!
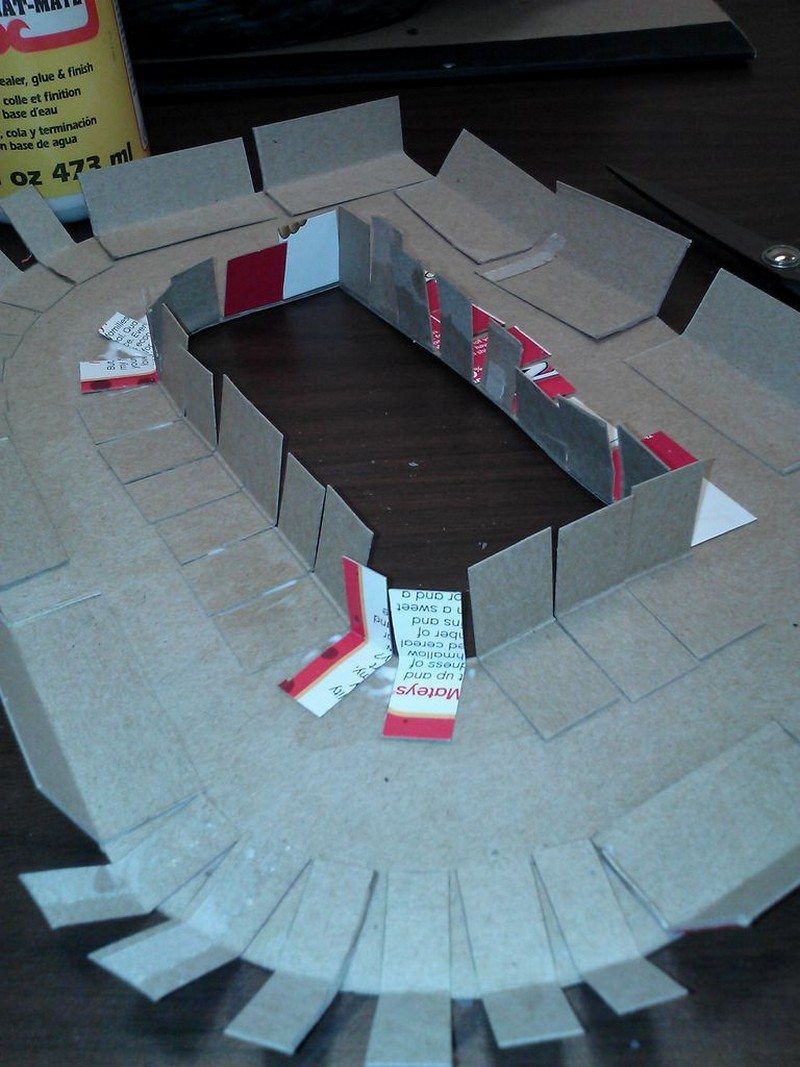
Fold the tabs in half and stick them around the backside piece of the letter with hot glue.
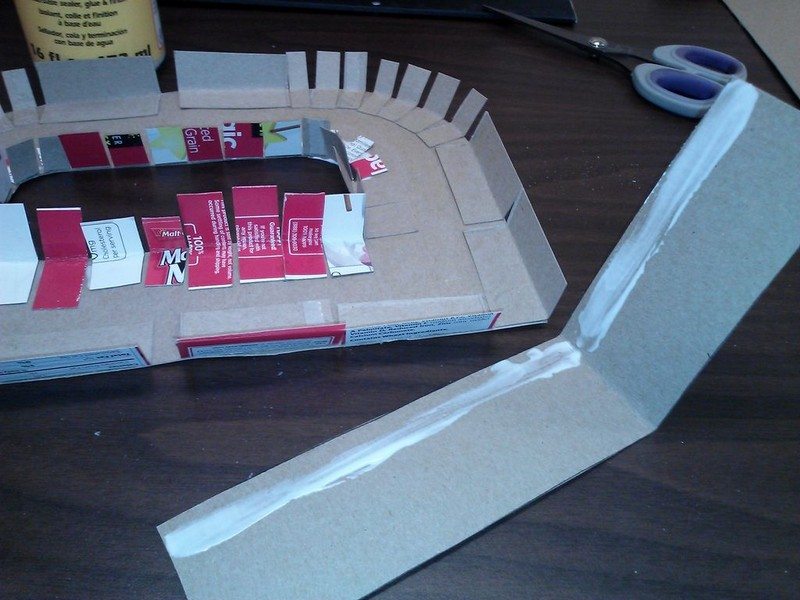
Then cut strips from another cereal box. The thickness would depend on how thick you want your letters to be. This would serve as the sides of your letters.
Continued Page 2…


