Last Updated on August 21, 2023 by Team Ideas24
Do your kids doodle a lot?
Did you know that researchers have found that kids who doodle have better memories? Doodling is a way for kids to relieve tension and turn random thoughts into a purposeful whole. It’s a way of expressing creative energy even as it sharpens their problem-solving skills. Bottom line? Doodling is good for your kids!

Whether your child likes to doodle animals, people, or abstract shapes, it’s all great practice for their fine motor skills and imagination. Plus, it’s a great way to keep them entertained during long car rides or doctor’s appointments!
Doodling can also be a great way for kids to stay engaged and focused. So if your kids are doodlers, encourage them to keep at it!

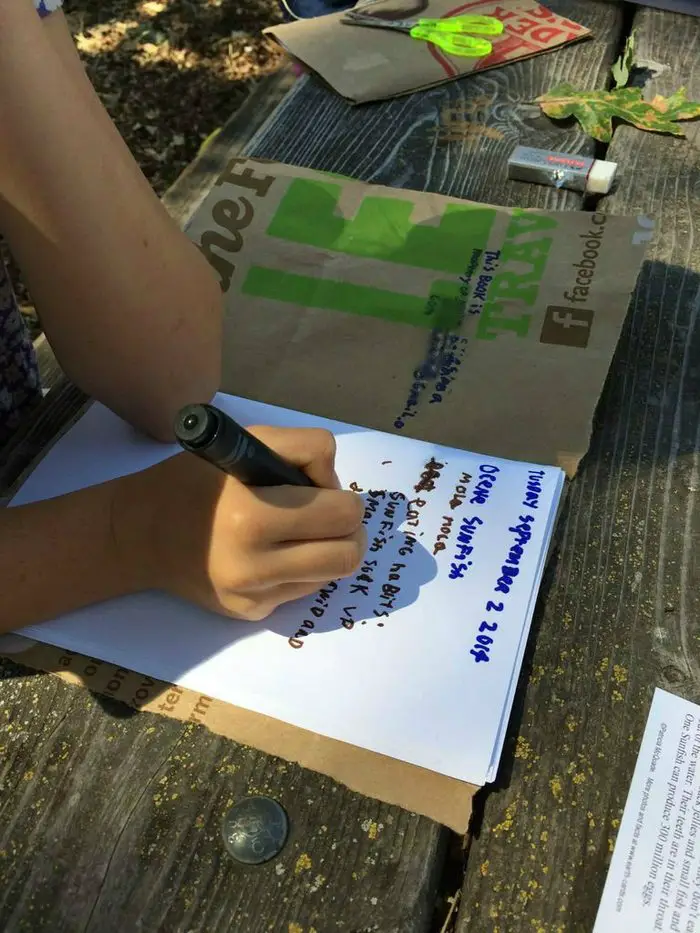
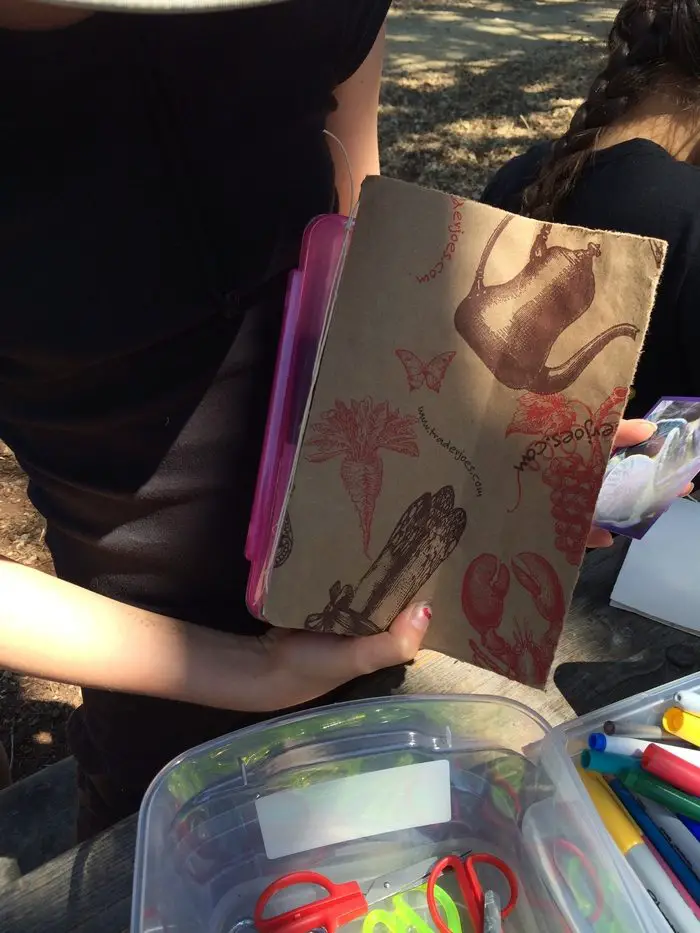
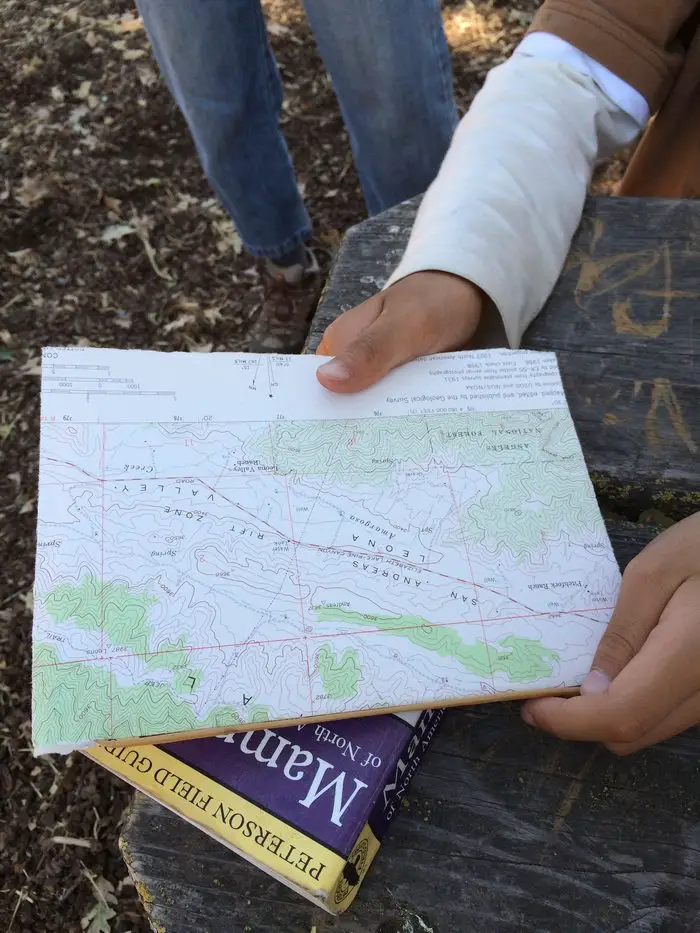
If your kids are very fond of writing or drawing, here’s a nice idea to give or better yet make with them: journals made from recycled materials.
Buying the kids new notebooks is easy, but creating one makes it special. Obviously, these are very inexpensive (or free) because you will be using materials already found in your home.
It’s a fun project that you can personalize however you like, and it’s a great way to reuse materials that might otherwise end up in the trash. It is a great way for you to teach your children that recycling first is better than buying new items all the time.

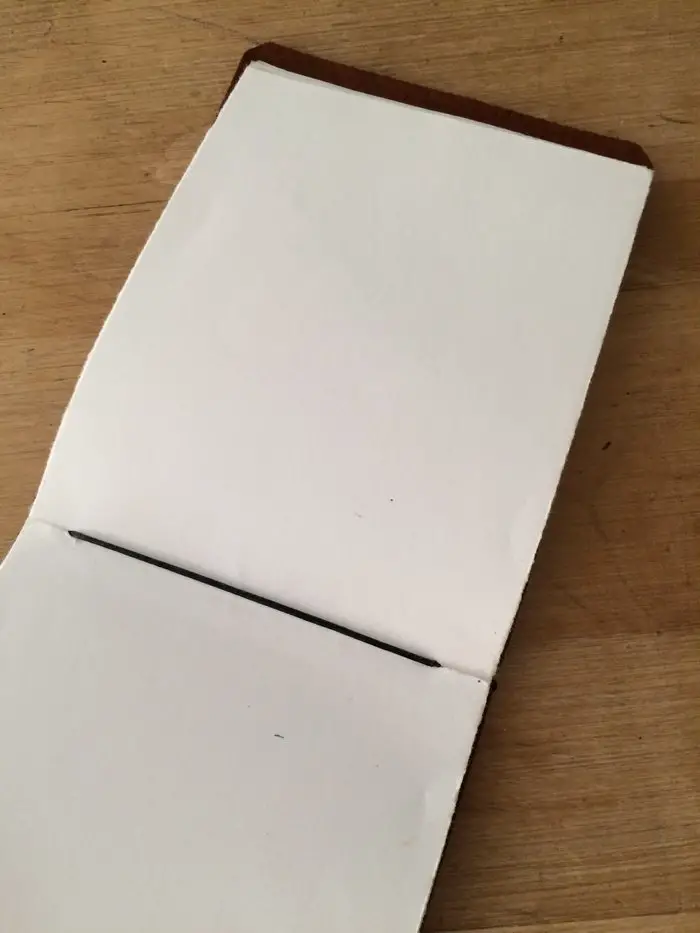
This beautiful journal is perfect for them… fun and free to make and easy to replace if they fill them up on the first day. Haha!
Click on any image to start the lightbox display. Use your Esc key to close the lightbox.![]()


You’ll need these materials to get started:
- 8 1/2″ x 11″ sheets of Good Writing Paper
- Thicker/Tough Material for Cover (such as paper bags or old book jackets, leather bags)
- String or Cord (for binding the journal)
- Scissors
- Iron
Contents [show]
How to make a DIY journal with upcycled materials
Follow these simple steps and you’ll be on your way to making your own journal.
1. Make the pages by folding your good writing papers
All we’re going to do is fold our sheet in half once. Folding a single page gives you four pages for writing in your journal, so consider how many pages you want when the journal is done.
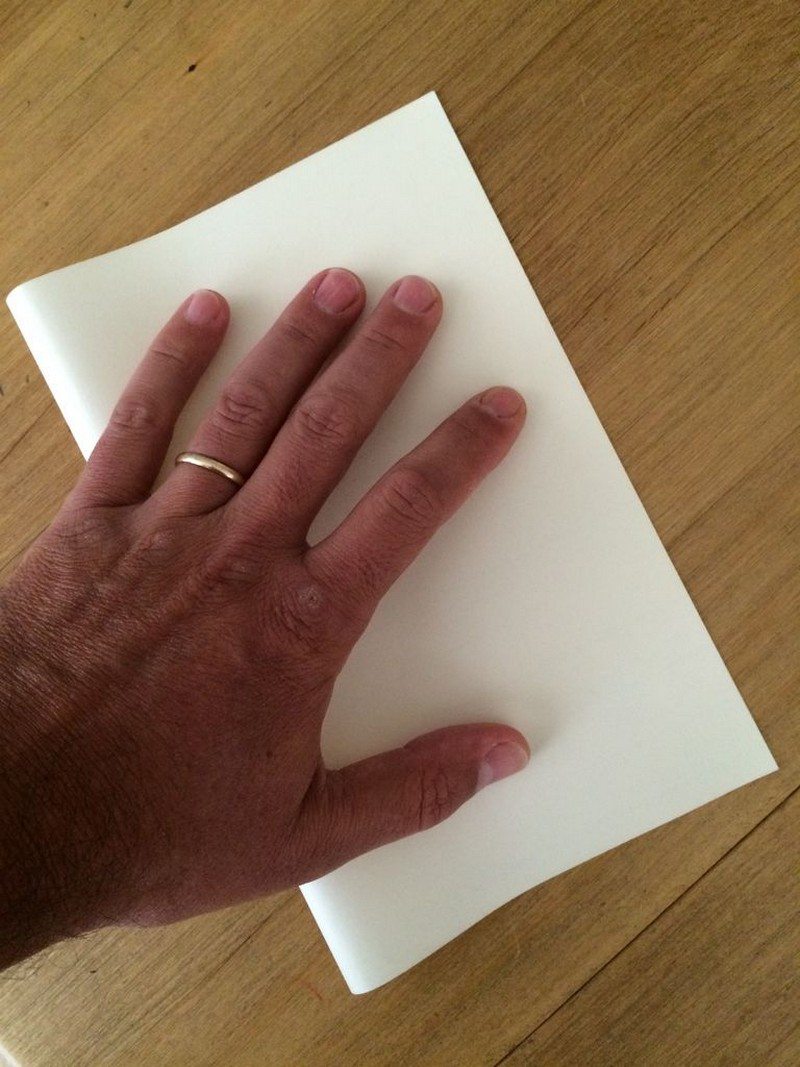
If you want a smaller journal, all you need to do is fold and tear each sheet in half, and then fold one more time for your (roughly) 4×5 journal.

Each leaf of the journal (and the cover) need about a half-inch tear along each end of the crease. Your binding is going to loop around the crease and ‘sit’ in this tear.

2. Make the cover using a tough material
Simply identify an interesting part of your recycled material that will serve as a cover, taking into account images, etc. In the pic, you can see that I lay my pages over the grocery bag, aligning it to avoid the messy bits (handles and glued parts). It was easy to find a continuous section that had interesting graphics and no glue or overlaps.

To size, the cover, simply use your pages as a template. Mark the dimensions on the bag with a pencil then cut or tear. When I tear thick paper, I fold, moisten the crease (you can do this with a sponge or your tongue), and rip away.

If the material you’ve chosen for the cover is being recycled (and it oughta be) then it may be crinkled or otherwise beat up. I found that ironing the paper flattens it out nicely and preps it for duty.

Tear or cut a half-inch into the creased cover to match your folded and notched internal pages and put it all together.
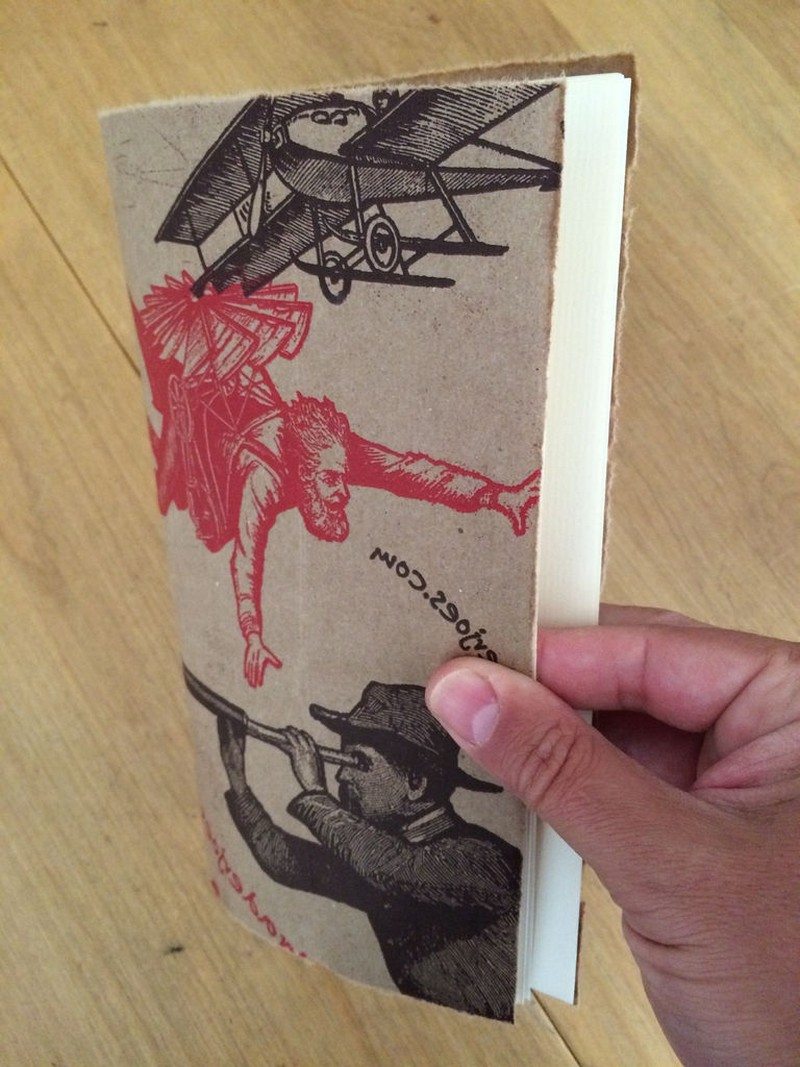
3. Bind the pages and cover them with a string or cord
Some pics of the way the binding works. My binding of choice is a piece of string tied with a fisherman’s knot – a simple slide knot that makes it (pretty) easy to tighten and loosen the binding.

Continued Page 2…


