
Last Updated on April 2, 2025 by Team Ideas24
Nowadays, there is always a new utensil or gadget to replace the old, so everything is disposable. The shameless collector might find this wonderful, but if you care for the environment, you probably see this as the curse of modern life.
The world population is growing and currently, each human being adds a significant amount of waste to the planet. In New York alone, people produce enough trash in a single day to fill all the floors of the Empire State building floor to ceiling.
The frustrating thing is, in most developed countries, it’s not even that difficult to make a difference.

That is why, for many, recycling is a boon. There are countless ways to recycle what would otherwise be useless junk that ends in a landfill somewhere.
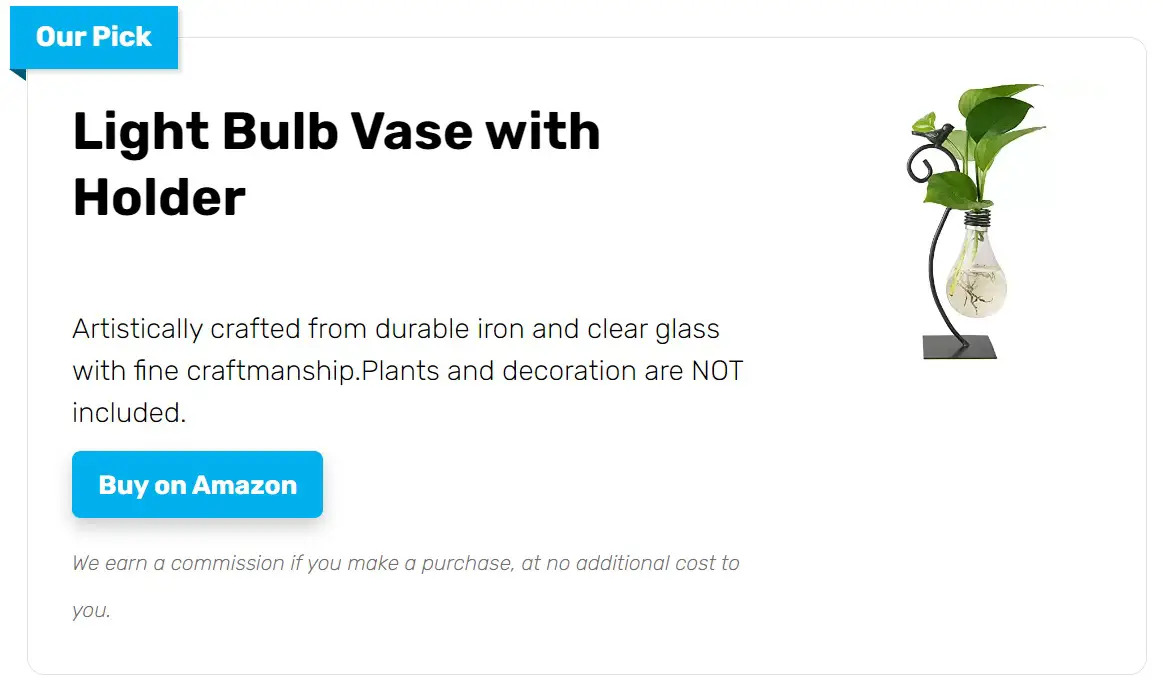
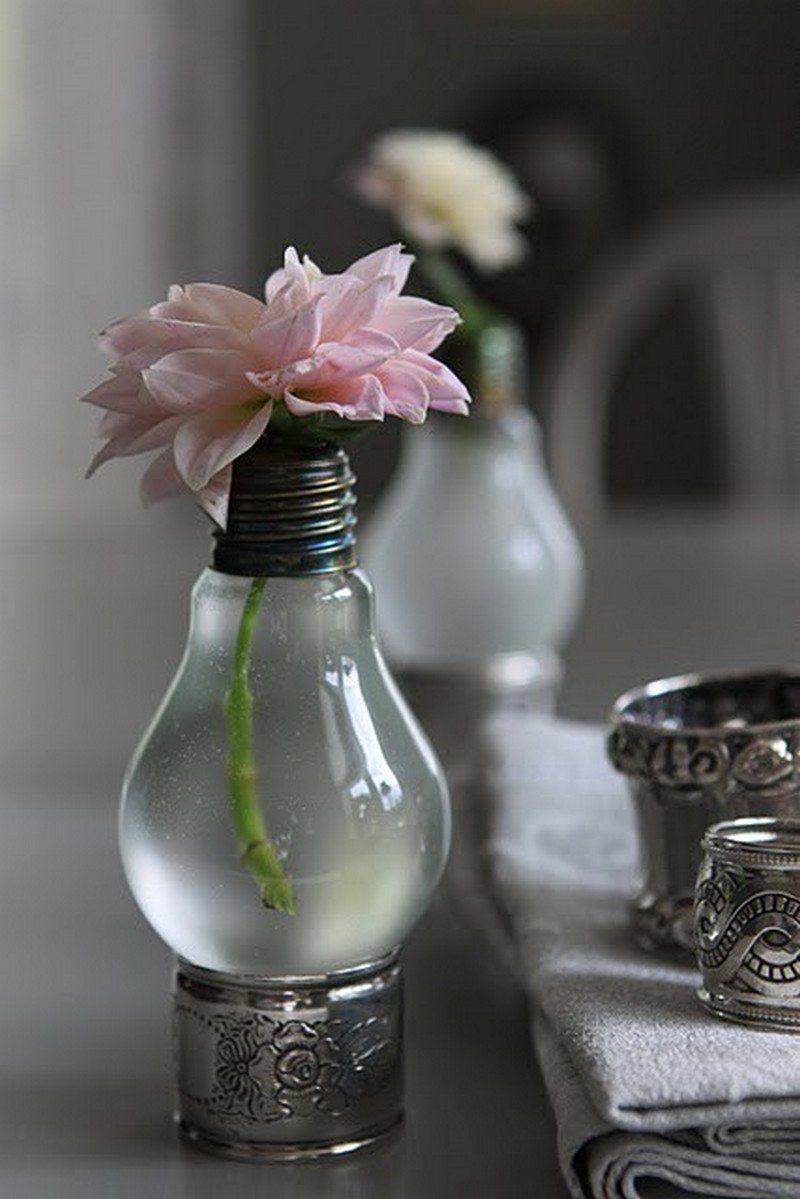
With this DIY craft project, you can give new life to a dead light bulb by turning it into a cunning vase!
The idea is ironically appropriate, too. The earliest lightbulbs were built to last.
That is, until lightbulb manufacturers Philips, Osram, and General Electric decided to limit their lifespan in 1924 to ensure steady revenue flows.
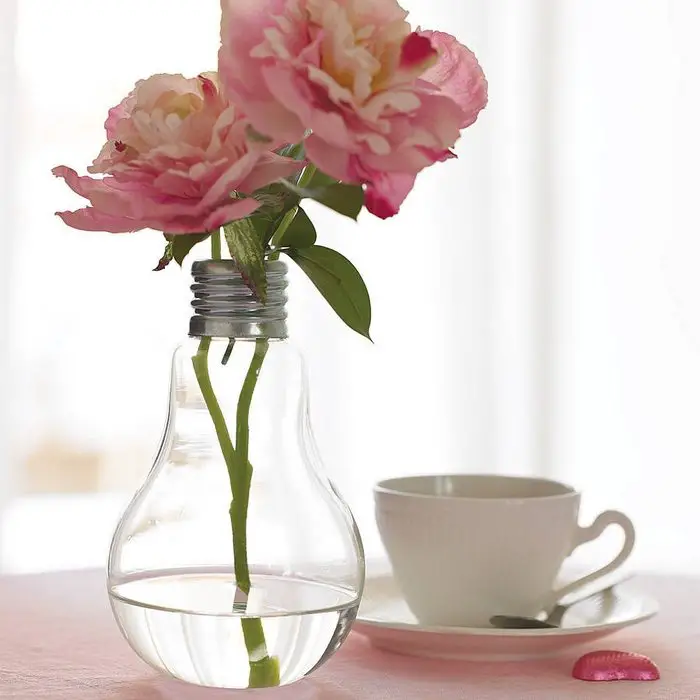
Given the vast range of shapes and sizes of light globes, the possibilities are limited only by your imagination!
Ready to give it a go?
So how do we make this DIY Light Bulb Vase?
Contents [show]
Crafting a Light Bulb Base
The following tools and materials are needed to make a light bulb vase.
Materials and Tools
- lightbulb
- napkin ring
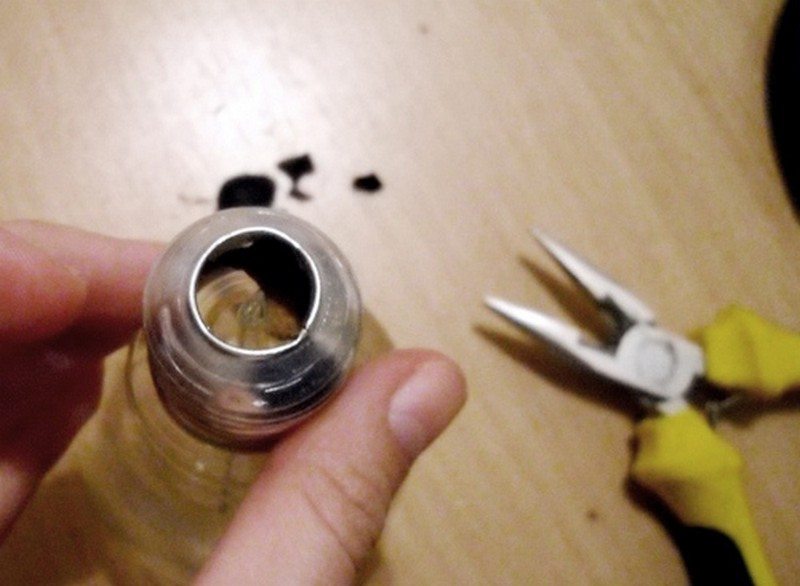
- needle-nose pliers
- hammer
How to make a light bulb vase
Below are the steps and basic tips on how to make a light bulb vase.
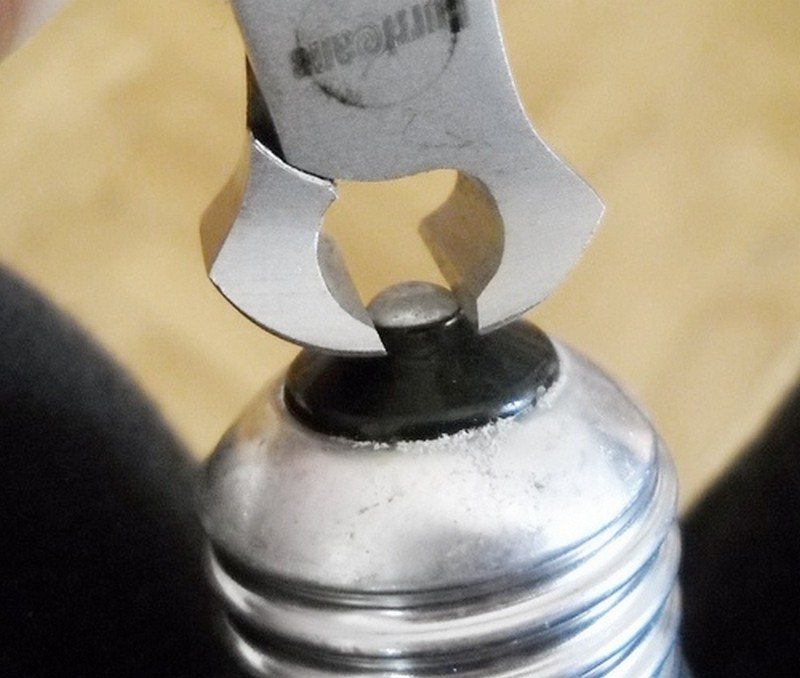
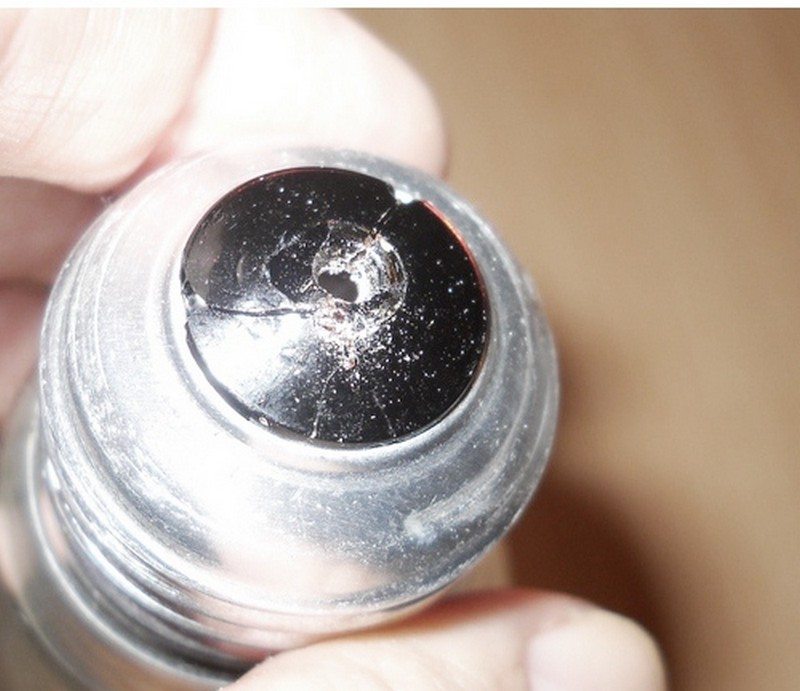
1. Remove the contact base
Carefully peel off the contact at the base of the light bulb using needle-nose pliers.
2. Tap the black glass
Lightly tap the black glass at the base of the light bulb with a hammer. It might take a bit of practice to carefully crack this black glass.
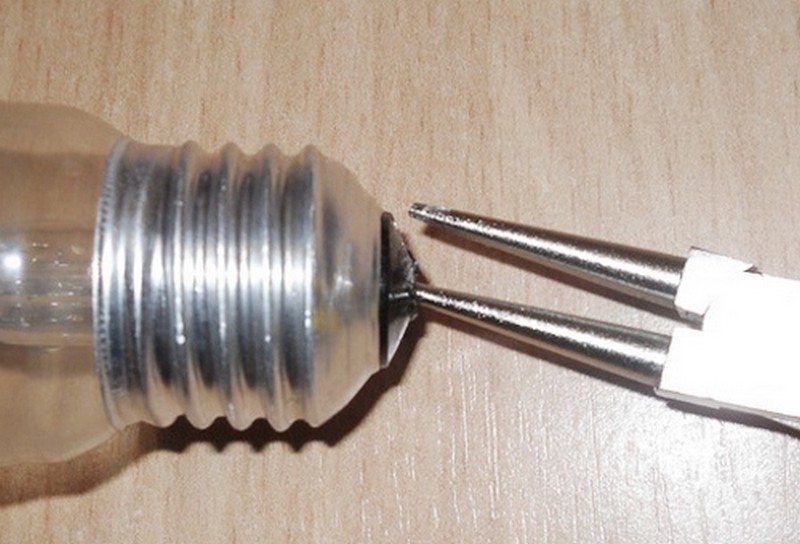
3. Remove the filament
Remove the filament (inner wires) of the light bulb.
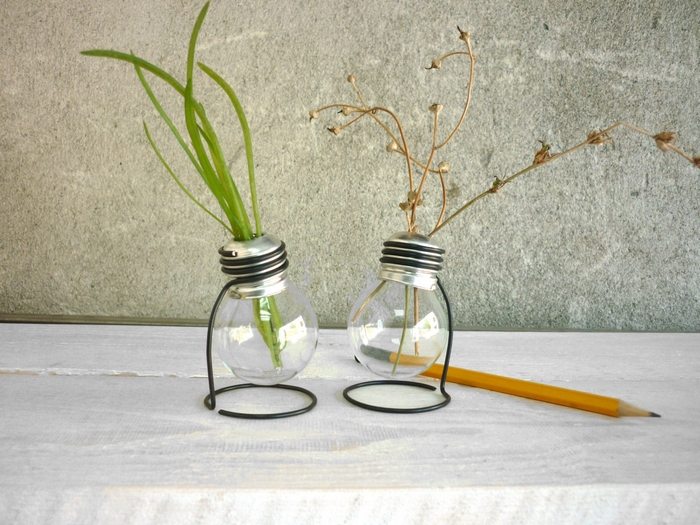
The napkin ring adds to the uniqueness of your handiwork :)
Source: craftykaja
Creative Ways to Style Your Light Bulb Vase
A light bulb vase already makes a bold statement. It’s clever, resourceful, and environmentally conscious. But like any other decorative piece, how you style it can either make it shine or let it fade into the background. This tiny vessel has the potential to fit into just about any home aesthetic, as long as you know how to dress it up.
Wrap It with Twine or Jute
One of the easiest ways to give your light bulb vase a rustic or farmhouse touch is to wrap the top or base with natural twine. You can use hot glue to secure the twine and create a texture that softens the industrial look of the glass. For a more weathered appearance, mix jute rope with a bit of white paint and gently brush it on. The neutral tones pair well with dried flowers, wildflowers, or even delicate white blooms like baby’s breath.
Painted for Personality
Glass is the perfect canvas. If you want to add color or patterns to your light bulb vase, use acrylic paints or glass-specific paint pens. Try color blocking with bold shades, paint a dip-dye effect at the bottom, or go for minimalist lines with black or gold. You can even try a frosted glass spray to create a soft, misty look that helps highlight your flowers. For a seasonal twist, paint tiny pumpkins in fall or snowflakes for winter. The best part? You can repaint it anytime.
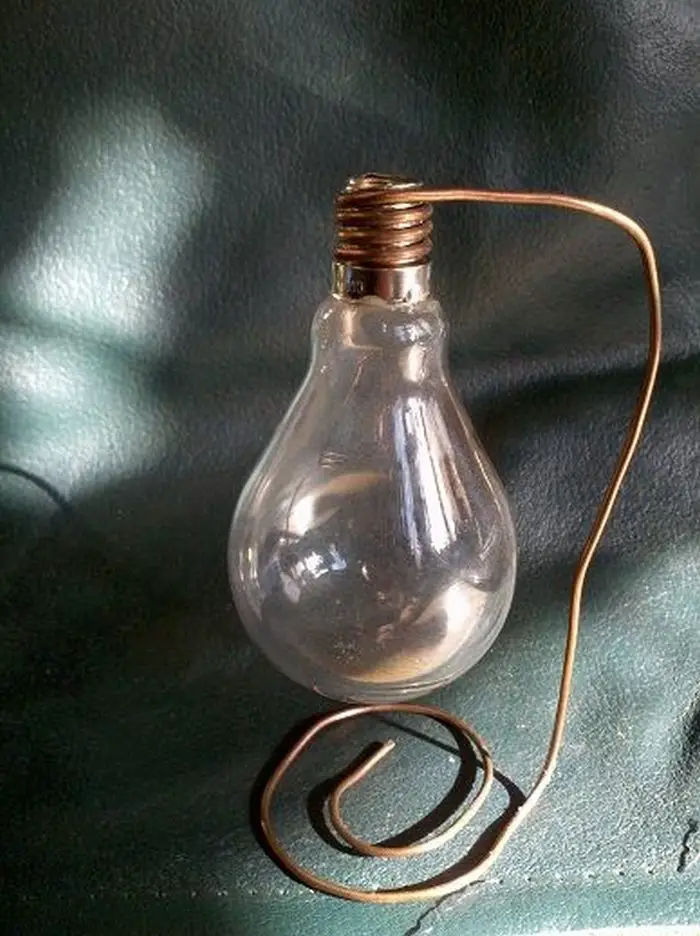
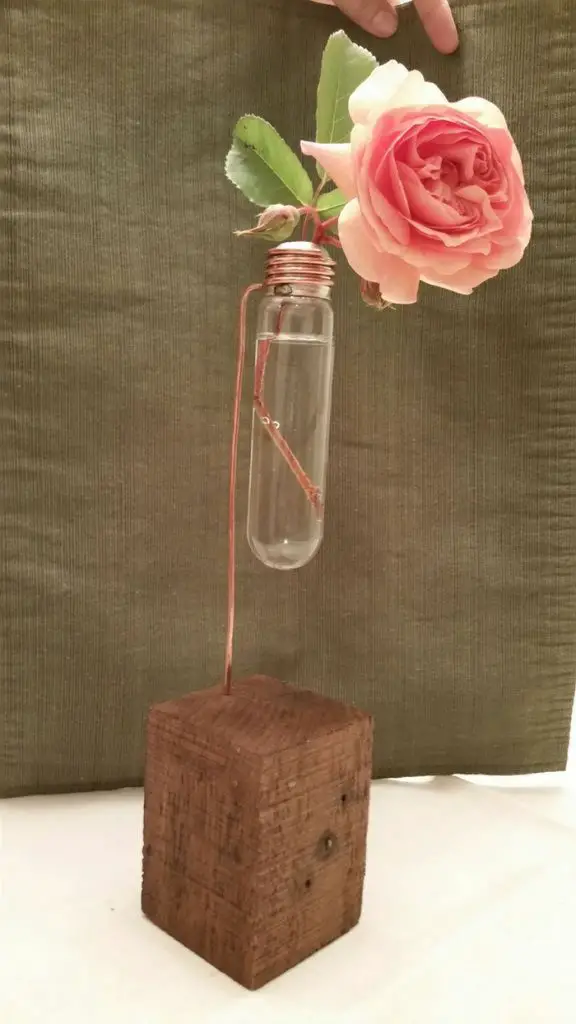
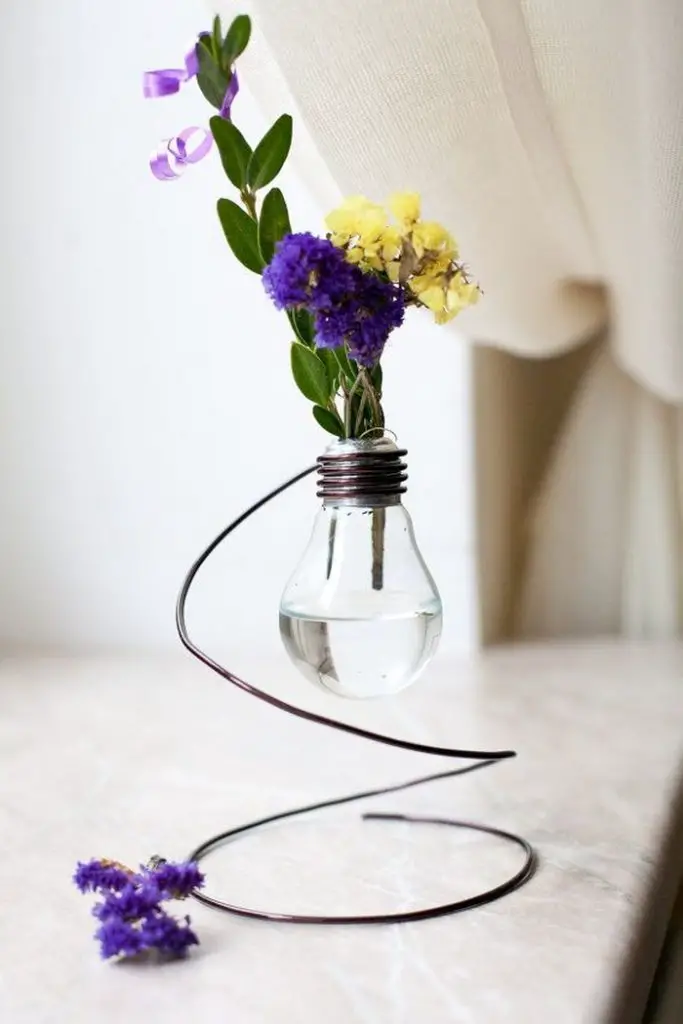
Wire Wraps and Hangers
For a steampunk or industrial look, use copper or silver wire to wrap around the neck of the bulb. You can shape the wire into spirals or weave it into simple loops. Leave some extra length to create a hook or hanger, so you can suspend the vase from a branch, shelf, or ceiling hook. Hanging light bulb vases look especially elegant when grouped together at different heights. Add tiny string lights for a warm, glowing effect that enhances the whole setup.
Floral Water with a Twist
Don’t underestimate what a splash of color can do to elevate a transparent light bulb vase. Add a few drops of food coloring to the water for a vibrant base. Coordinate the color with your flowers or go for a contrasting tone to make everything pop. For a magical feel, use glow-in-the-dark liquid or insert a waterproof LED light at the base. Add decorative stones, colored beads, or glitter for more depth and dimension.
Nature-Inspired Styling
Blend your vase into a more organic setting by styling it with natural accents. Surround it with pebbles, pinecones, dried moss, or bark pieces on a tray or plate. If you’re going for a coastal theme, switch out the greenery for seashells and driftwood. You can even add sand inside the bulb along with a sprig of faux fern or eucalyptus. These details ground the vase and help it feel part of the overall décor rather than a standalone piece.
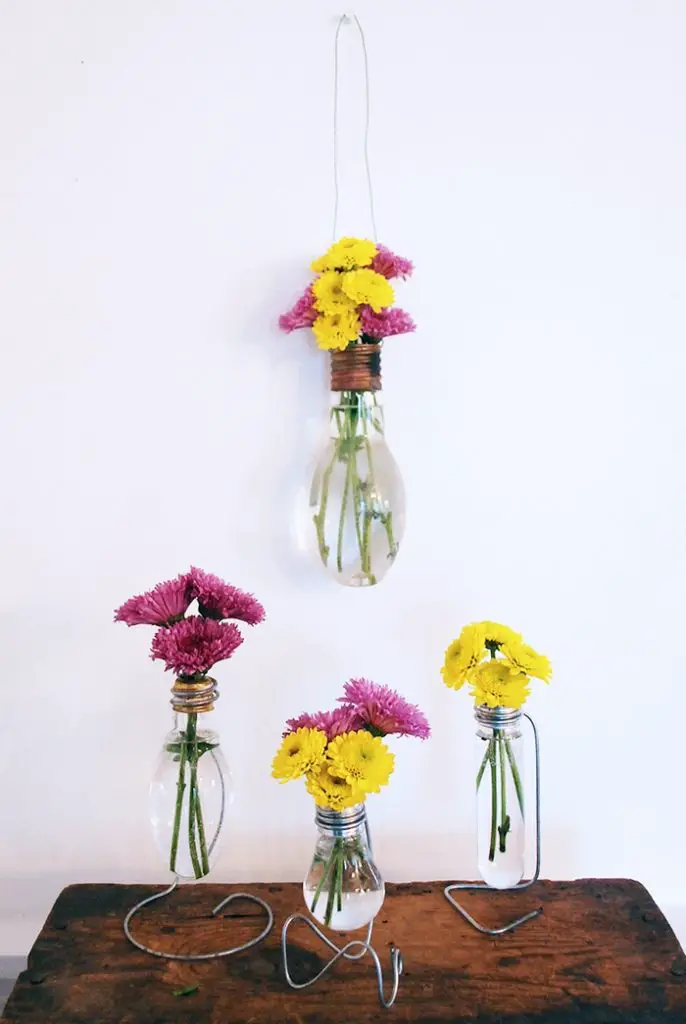
Combine with Other Mini Vases
Grouping light bulb vases together can create a visually strong focal point. Use an odd number of vases—three or five usually works best—and vary the height of each. Mix in different types of flowers or go monochrome for a clean look. Place them on a wooden board, a mirrored tray, or a long metal stand. This arrangement works well for tablescapes, mantlepieces, or windowsills where light can pass through the glass and water, adding sparkle and movement.
Use Fabric for Soft Accents
If your style leans toward boho or romantic, fabric accents can work wonders. Wrap a lace ribbon around the neck of the vase or tie on a piece of frayed linen. A small macramé hanger can also hold the vase and turn it into wall art. Stick to soft textures and light colors if you want to keep the focus on the flowers themselves.
Your light bulb vase doesn’t need to stay bare and simple. With a few styling ideas, you can turn it into a meaningful accent piece that fits right into your space. Whether you prefer natural textures, industrial edge, or colorful flair, there’s a way to make the most out of this upcycled creation.
Light Bulb Vase Gallery
Click on any image to start the lightbox display. Use your Esc key to close the lightbox.![]()
How to Hang a Light Bulb Vase
Turning your light bulb vase into a hanging piece adds charm and makes better use of vertical space. It’s a smart way to display small flowers or greenery in rooms where shelf space is limited. Hanging vases can also become part of a gallery wall, porch décor, or even a centerpiece suspended above a table. Here’s how you can do it safely and stylishly.
Choose the Right Bulb and Prep It Well
Start with an incandescent bulb that has already been hollowed out. These have a sturdy glass shell and a metal base that gives you something to work with when attaching a hanger. Avoid CFL or LED bulbs. They’re harder to open, and the glass tends to be more brittle. Once you’ve removed the filament and cleaned out the interior, rinse the vase with a bit of water and let it dry completely.
Wire Wrapping for a Secure Hold
The most common method for hanging a light bulb vase is wrapping wire around the metal threads near the opening. Use flexible craft wire or floral wire—something strong enough to hold the weight of the bulb when filled with water and flowers. Start by making a snug loop just under the lip of the metal base. Wrap it tightly two to three times, then twist it to lock in place. You can leave extra length at the top to create a loop or hook for hanging. If you’re feeling creative, shape the wire into spirals or add beads for a decorative touch.
Macramé Holders for a Soft Look
If you want something more organic, use macramé cord or thin jute rope. Cut three to four strands and tie them evenly around the neck of the bulb. Then knot the strands together below the bulb to form a cradle. This softens the look and adds texture, making your light bulb vase more suitable for cozy or rustic spaces. You can adjust the length of the cords depending on where you want to hang the vase.
Where to Hang Your Vase
Once you’ve got a secure hanger in place, the next step is deciding where to display it. A few good indoor options include near windows, inside picture frames, or from a curtain rod. Outdoor spots like covered patios or tree branches also work well. If you’re using hooks or nails, make sure they’re anchored properly. For temporary setups, adhesive ceiling hooks or command strips with hooks can do the trick. Just keep in mind the combined weight of the vase and water when choosing a hanging method.
Group Them for Visual Impact
A single hanging vase looks delicate and minimal, but grouping several together makes a stronger design statement. Try hanging three at different heights from a driftwood branch or metal rod. You can even suspend them from a wooden frame or ladder mounted on the wall. This works especially well for floral displays, wedding décor, or seasonal decorations.
Safety and Balance Tips
It’s easy to forget how fragile a light bulb is, even when it’s upcycled into a vase. Always test the balance of the hanger before filling it with water. Make sure the vase hangs straight and doesn’t tilt. Avoid overfilling to reduce weight. If you’re planning to use real flowers, choose lightweight stems like lavender, baby’s breath, or small wildflowers.
A hanging light bulb vase brings a playful and artistic element to your space. It draws the eye upward and adds interest to forgotten corners. Whether you go with wire, rope, or string, the key is keeping it secure and in harmony with your surroundings. A simple bulb, when styled right, becomes more than just recycled glass—it becomes a centerpiece.
Conclusion
Making a light bulb vase is a creative way to upcycle something most people throw away. It adds personality to your space while keeping waste out of landfills. With just a few tools and a bit of imagination, you can turn an old bulb into a beautiful, eco-friendly display.
If you liked this project, you might also like to view DIY Terrariums…


